Maintaining your tools is important to ensure they stay in good condition. Not only does this help the tools to last longer, but it also makes them safer to use. One way to help keep track of your tools and their maintenance is to mark them with a date when they were last cleaned or serviced. In this post, we’ll show you how to mark your tools!
What is Tool Marking?
Tool marking is the process of labeling your tools in order to keep track of their maintenance. This can be done by applying stickers, tags, or writing directly on the tool itself. The purpose of tool marking is to provide a visual reminder of when the tool needs to be cleaned or serviced.
The marking should include the date of the last maintenance as well as any additional notes such as the type of service performed or the name of the person who serviced it. This information can be helpful when trying to identify which tools need attention and when.
Why is it Important?
Marking your tools has numerous benefits. It helps to ensure that your tools are properly maintained and in good working condition. This not only prolongs the life of your tools but also helps prevent accidents caused by faulty equipment.
Additionally, tool marking can save you time and money. By keeping track of when your tools were last serviced, you can avoid unnecessary maintenance or repairs. It also allows you to easily identify which tools may require more frequent servicing and help you plan accordingly.
Why Should You Mark Your Tools?
When it comes to your tools, proper identification is key. Marking your tools helps ensure they don’t get lost or stolen, making it easy to find the right tool for the job at hand. In addition, marking your tools can help to prevent accidents by making it clear which tool is which.
For example, if you accidentally grab a hammer instead of a screwdriver, you could seriously injure yourself. By clearly labeling each tool, you can avoid these kinds of mistakes. So, next time you’re in the workshop, be sure to take the time to mark your tools properly. It could make all the difference in the world.
8 Ways to Follow on How to Mark Your Tools
1. Stamping
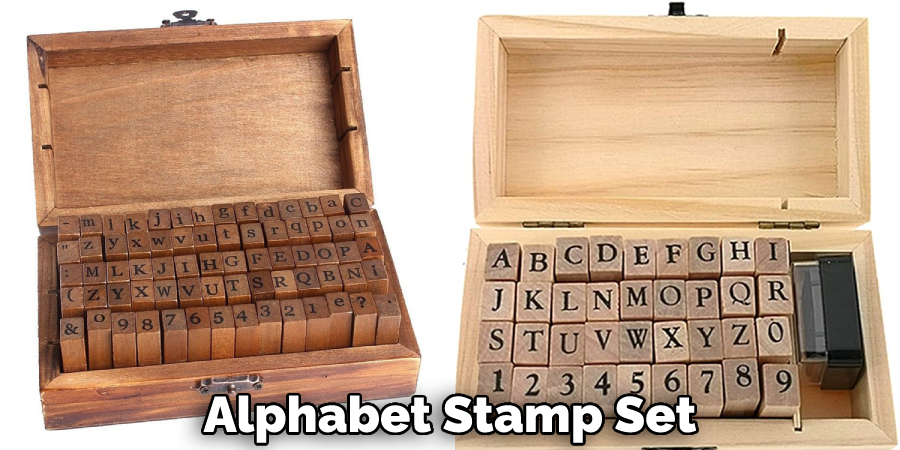
This is the most common and perhaps the easiest method of how to mark your tools. All you need is a hammer and an alphabet stamp set. You can buy these at any hardware store. Simply line up the stamps on the tool handle in the order that you want them, then hit each stamp with the hammer to leave an indelible impression. This method works best on metal tools.
2. Carving
You can carve your initials or other information directly into the tool handle if you have a steady hand. This is a more permanent solution, but it requires some skill to be executed properly. Make sure to use a sharp knife or chisel, and take your time to ensure the carving is neat and legible. Otherwise, it may be difficult to read later on.
3. Engraving
Engraving is similar to carving but requires an engraving tool, which can be purchased at most hardware stores. This method is more permanent than stamping or carving, but it requires some skill. Of course, if you’re not confident in your abilities, you can always hire a professional to do it for you. Just make sure to communicate clearly what you want engraved on your tools.
4. Etching
You can try etching if you want to mark your tools more sophisticatedly. This involves using a chemical process to remove material from the tool’s surface, revealing the initials or other information you have etched into it. This method requires specialized equipment and skills, so it is best left to those experienced in working with chemicals. The result is a clean and permanent marking.

5. Painting
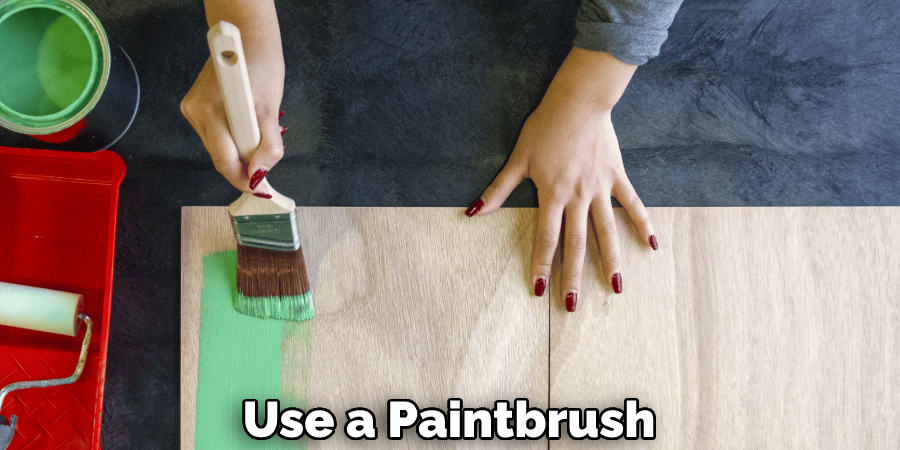
Painting your initials or other information on your tools is a simple way to mark them. Depending on your preferences, you can use a paint pen or a regular paintbrush. This method is not as permanent as others, but it is still an effective way to mark your tools. You may have to repaint the markings periodically, but at least you’ll always know which tools are yours. The downside is that the paint can wear off over time with use.
6. Use of Stickers
Stickers are another easy way to mark your tools. You can buy stickers with your initials or other information already printed on them, or you can make your own with a computer and printer. Just be sure to use stickers that are made for use on metal so they will adhere properly and not peel off. It’s also a good idea to apply a clear coat of sealant over the stickers to protect them from wear and tear.
7. Using a Label Maker
You can use a label maker if you want a professional-looking label for your tools. These machines print adhesive labels, so they will stick to your tools and resist peeling or fading. You can also use different colors and fonts to make your labels stand out. Label makers are widely available at office supply stores and online retailers.
8. Sharpie Method
This is the simplest way to mark your tools; all you need is a Sharpie marker. Just write your initials or other information directly on the tool handle with the marker. This method is not as permanent as some of the other methods, but it is quick and easy to do. You may have to reapply the markings periodically, but it’s an effective way to mark your tools in a pinch.
That’s it! You’ve now learned eight different ways how to mark your tools. So choose the method that best suits your needs and get started marking your tools today!
How to Properly Mark Your Tools
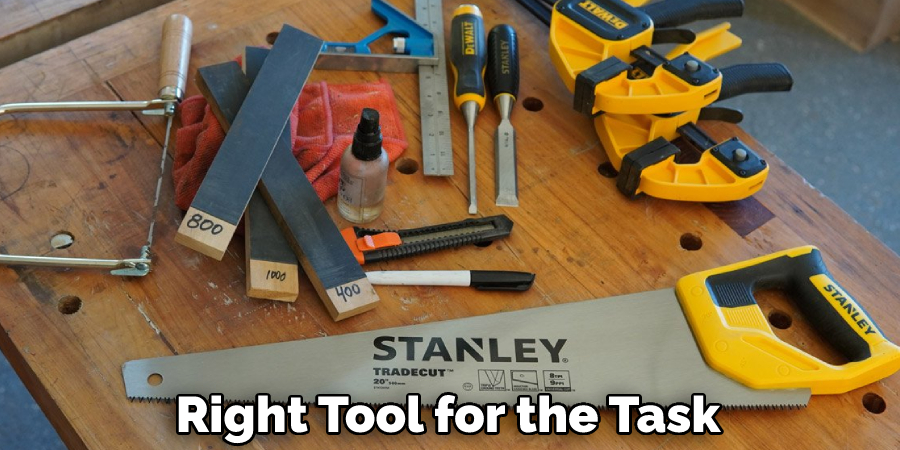
As any contractor knows, having the right tools for the job is essential. But even more important than having the right tools is ensuring they are properly labeled and accounted for. Nothing is more frustrating than realizing halfway through a job that you don’t have the right tool for the task at hand. To avoid this, it’s important to take some time at the beginning of each project to label all of your tools.
This may seem like a tedious task, but it will save you time and a headache in the long run. A simple label with the name of the tool and its purpose is all that is needed. Once you have marked all of your tools, be sure to put them back in their proper place after each use. This will ensure that you always know where to find them when you need them. These simple steps can save you a lot of time and frustration down the road.
How to Use a Permanent Marker on Metal
A permanent marker can be a useful tool for marking metal surfaces. However, it is important to use the marker correctly to avoid damage to the metal. When using a permanent marker on metal, it is best to start by testing the marker on a small surface area. This will allow you to see how the marker reacts with the metal and determine if it is safe to use. Once you have confirmed that the marker is safe to use, you can proceed to mark the metal surface.
When doing so, be sure to apply pressure evenly and move the marker in a consistent direction. This will help to ensure that the markings are clear and legible. Finally, allow the markings to dry completely before handling the metal surface. Doing so will help prevent smudging and ensure the markings are long-lasting.
Tips for Painting or Stamping Your Marks
Many people enjoy expressing their creative side through painting or stamping. Some tips can help you get the most out of your experience, whether you’re a beginner or a seasoned artist. First, it’s important to choose the right supplies. Make sure you have good-quality paint and a brush that is appropriate for the surface you’re working on. Second, take your time and don’t rush.
Rushing can lead to mistakes and a less-than-satisfactory final product. Third, be willing to experiment. Trying new techniques and approaches can help you find your own unique style. Lastly, have fun! Painting and stamping should be enjoyable, so relax and let your creativity flow.
You now have several options to choose from when it comes to marking your tools. Whether you prefer a more permanent method like engraving or etching, or a simpler approach like using stickers or a label maker, it’s important to take the time to mark your tools properly. This will not only save you time and frustration in the future but also ensure that your tools are easily identifiable and less likely to get mixed up with others. So choose a method and get marking your tools today!
The Best Ways to Label Your Tools so They Don’t Get Mixed Up
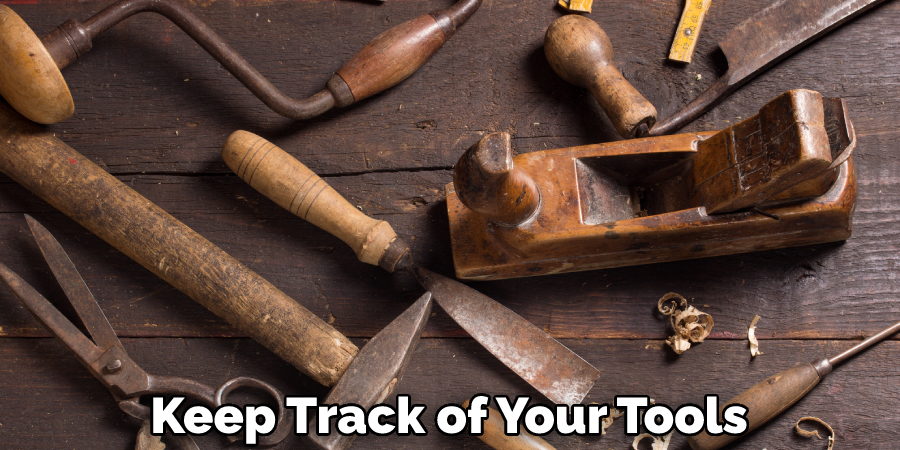
In any workshop, the organization is key to having a smooth workflow and preventing frustration. This is especially true when it comes to labeling your tools. The goal is to have an effective and efficient system so you can spend more time working on your projects and less time hunting for the right tool. There are a few different approaches that you can take.
One option is to use color coding. This can be effective if you have a limited number of tools and can easily track which tool goes with which color. Another option is to use shapes. This is especially helpful if you have a lot of similar-looking tools. For example, you could use circles for drill bits and squares for saw blades.
Ultimately, the best approach is the one that works best for you and your particular situation. So experiment with different methods and find the one that gives you the best results.
How to Keep Track of Your Tools Using Color Coding
Have you ever been in the middle of a project, only to realize that you can’t find the tool you need? It’s a frustrating experience and one that can easily be avoided with a little bit of organization. One way to keep track of your tools is to use color coding. For example, you could assign a different color to each type of tool.
Red could be for power tools, blue for hand tools, and green for gardening tools. Then, when you’re finished with a project, simply put all of the tools back in their correct buckets. Not only will this help you to stay organized, but it will also save you time in the long run.
How Can You Make Sure That Your Markings Are Accurate?
It is important to ensure that your markings are accurate when measuring something. You can use a ruler or a tape measure to help you with this. If you are using a ruler, make sure that it is level and that you start by measuring the length and width of the object. Then, use the Pythagorean theorem to find the hypotenuse of the triangle. The hypotenuse is the longest side of the triangle and is also the diagonal of the rectangle.
To find the hypotenuse, you need to square both sides of the equation and add them together. After you have found the hypotenuse, you can multiply it by the object’s width. This will give you the perimeter of the rectangle. Finally, divide the perimeter by two to find the midpoint. The midpoint is where you will start your measurements for the other side of the object.
Frequently Asked Questions:
Q: What is the Best Way to Mark My Tools?
A: The best way to mark your tools is to use a permanent marker on metal surfaces or paint/stamp your markings on them. It’s important to label them with the name of the tool and its purpose for easy identification. You can also use color-coding or shapes to keep track of your tools. It’s important to experiment and find the method that works best for you.
Q: How Can I Ensure the Accuracy of My Measurements?
A: To ensure accuracy in your measurements, use a rule or tape measure and make sure it is level before measuring. If using a ruler, start by measuring the length and width of the object, then use the Pythagorean theorem to find the hypotenuse. This will help you determine the perimeter and midpoint of the object for accurate marking.
Q: How Do I Keep My Tools Organized?
A: To keep your tools organized, you can use color-coding or shapes to label them and assign specific buckets for each type of tool. Make sure to put them back in their designated spots after use. This will save you time and frustration when trying to find a specific tool during a project. It is also helpful to regularly clean and declutter your workspace to avoid misplacing tools. Additionally, investing in a tool chest or organizer can also aid in keeping your tools organized and easily accessible. Ultimately, finding a system that works for you and consistently maintaining it will help keep your tools organized.
Q: How Can I Make My Markings Last Longer?
A: To make your markings last longer, make sure to use high-quality markers or paint and allow them to dry completely before handling the metal surface. Avoid smudging by using a light touch when handling marked objects. Additionally, regularly cleaning and maintaining your tools can also help prevent fading or wearing off of markings over time. Lastly, store your tools in a cool, dry place to avoid exposure to harsh elements that could damage or fade markings. Overall, proper handling and maintenance of your tools can help ensure the longevity of markings. And if needed, you can always reapply markings.
Q: Is it Necessary to Label All of My Tools?
A: It is not necessary to label every single tool, but it can be helpful for commonly used tools and ones that look similar to each other. The goal is to have an organized system that works for you, so labeling only the essential or frequently used tools may be sufficient. However, some people prefer to label all of their tools for consistency and easier identification. Ultimately, it is up to personal preference and what works best for your specific workshop or workspace.
Conclusion
By following these simple steps, you can ensure that your tools will be properly marked and less likely to be lost or stolen. It only takes a few minutes to do and could save you a lot of time and money in the long run. Thanks for reading our post about how to mark your tools. Have you ever misplaced a tool? How did you mark it so that it wouldn’t get lost again?

