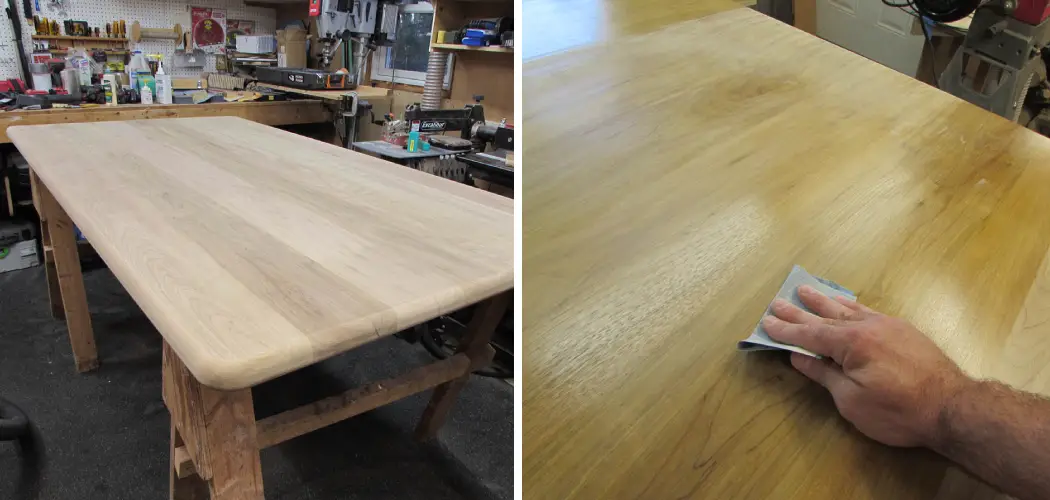
Working with wood can be a rewarding experience, but it requires more than a basic understanding of carving and sawing techniques. One of the most important steps in working with walnut is finishing: you don’t want to achieve your desired look without first protecting the wood from damage. But knowing how to finish walnut, especially when you are hoping for a light-colored result, can sometimes feel overwhelming.
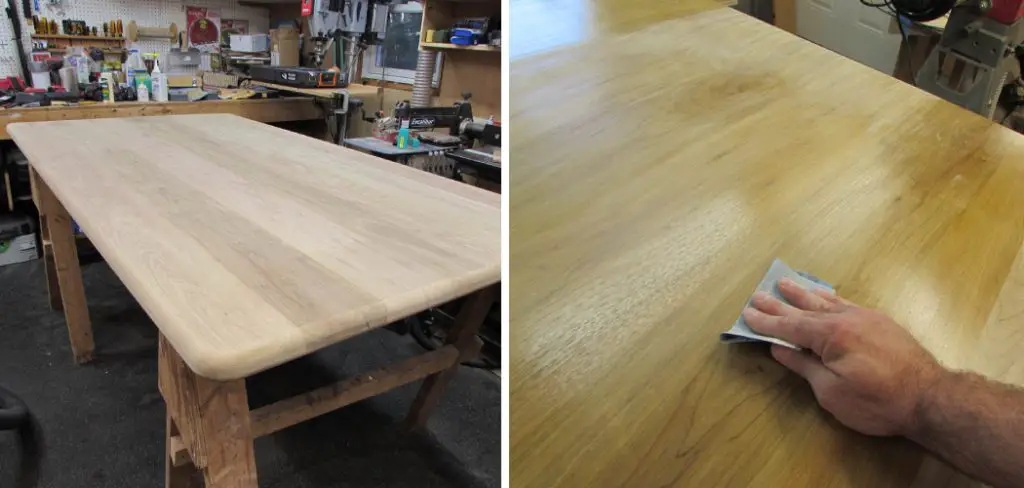
In this blog post, we will give you all the tips and tricks you need to learn how to effectively seal off your piece of walnut while still preserving its light tones. With these simple suggestions on how to finish walnut without darkening, you can successfully complete any project involving walnut without worrying about darkening it along the way.
Why Does Walnut Darken?
1. High Tannin
Before we get into the nitty-gritty of how to finish walnut without darkening it, let’s take a moment to understand why it tends to darken in the first place. In general, walnut is naturally darker than other types of wood due to its high tannin content. Tannins are natural compounds found in many trees and plants, including walnut, that can react with an object’s surface to change its color.
2. Exposure to Sunlight
Another factor that contributes to walnut darkening is exposure to sunlight. Over time, the ultraviolet rays from the sun can cause the wood to darken and discolor easily if not properly protected. To prevent this from happening, it’s important to take steps to ensure that your walnut is properly shielded from the sun whenever possible.
Required Items for Finishing Walnut
1. Sandpaper
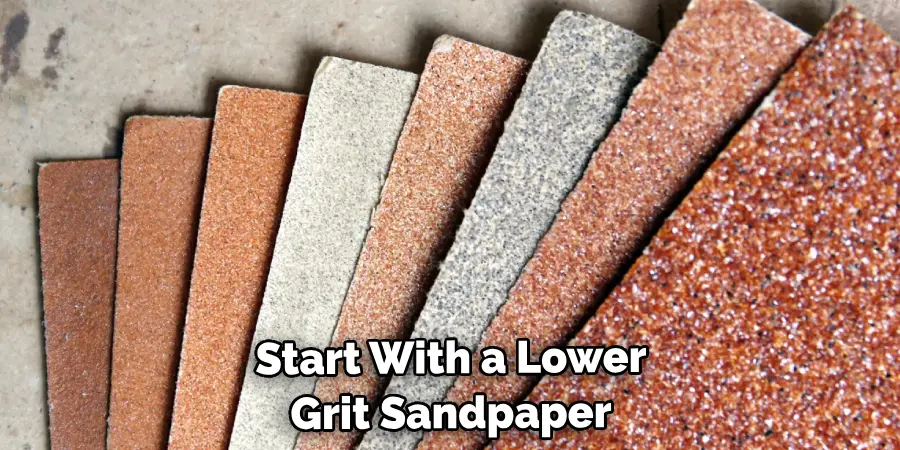
The first thing you’ll need to do before you can finish the walnut without darkening is to sand down the piece of wood to create a smooth surface. This will help ensure that the finish coats evenly, and there are no bumps or ridges. You should start with a lower grit sandpaper, such as 220, and gradually work your way up to a higher grit, such as 400.
2. Finishing Oil or Varnish
Next, you’ll need to select an oil or varnish to seal the wood. Finishing oils are generally easier to apply than varnishes but may not provide as much protection from the elements. Varnishes tend to be a bit more durable but may result in a darker shade on your walnut.
3. Soft Cloth
Finally, you’ll need a soft cloth for wiping away any excess oil or varnish after it has been applied. This will help ensure that the finish is even and nothing pools up in one area of the wood.
10 Ways How to Finish Walnut Without Darkening
1. Varnish or Shellac
One of the most common methods for finishing walnut without darkening it involves using either varnish or shellac. These two finishes are great because they provide a durable, protective layer without significantly darkening the wood.
2. Stain-Sealer Combo
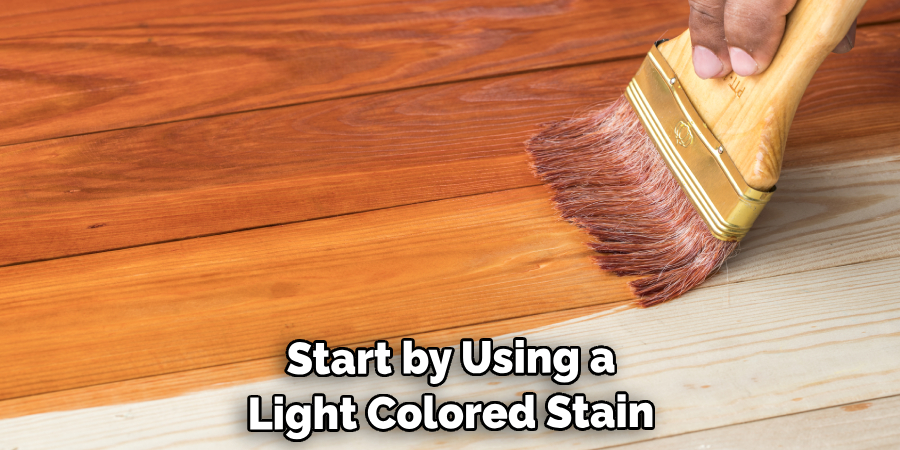
Another great option for finishing walnut without darkening it is to use a combination of stain and sealer. Start by using a light-colored stain on your piece of wood, then apply a sealer over the top to protect it from damage. Also, you can easily adjust the color of your stain to achieve the desired look.
3. White or Light-Colored Varnish
If you’re looking for a more dramatic effect, consider using a white or light-colored varnish on your walnut project. This will provide more protection than oil and also allow the natural colors of the wood to show through.
4. Oil-Based Finish
Oil-based finishes are another great option for preserving the natural tones of your finished walnut project. Many oil-based products will also provide a layer of protection. However you may need to apply multiple coats in order to achieve the desired level of durability.
5. Natural Waxes
When it comes to natural waxes, there are a few different options you can choose from. Beeswax and carnauba wax are both great choices for sealing off your walnut without darkening it. These finishes will also help bring out the natural grain of the wood and provide some protection against moisture.
6. Clear Polyurethane
Another option for finishing walnut without darkening it is to use a clear polyurethane. This finish will provide more protection than an oil-based product and also lasts longer. It’s important to make sure you use the correct type of polyurethane for your project, as some formulas may result in a darker finish.
7. Sanding Sealer
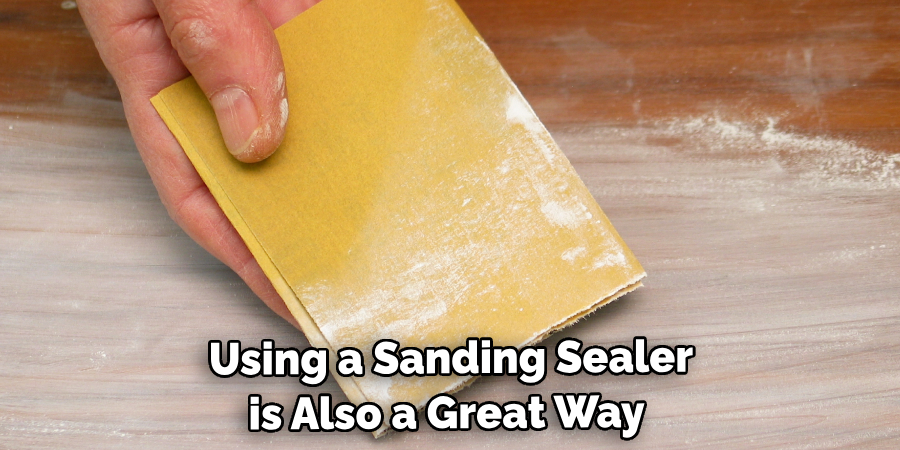
Using a sanding sealer is also a great way to finish walnut without darkening it. This product will fill in any possible gaps in the wood, making it easier to apply other finishes over the top. Additionally, sanding sealers are usually clear and won’t significantly darken the natural color of your walnut.
8. Water-Based Finish
Water-based finishes are another great option for finishing walnut without darkening them. These products will provide a layer of protection while still maintaining the natural tones of the wood. Additionally, water-based finishes tend to dry faster than oil- or varnish-based products, which can be helpful if you’re working on a tight timeline.
9. Spirit Varnish
Spirit varnishes are also an option for finishing walnut without darkening them. These finishes tend to be more transparent than other types of varnishes, which makes them great for preserving the natural colors of the wood. Additionally, spirit varnishes provide good protection against moisture and wear and tear.
10. Shellac
Finally, you can also use shellac to finish the walnut without darkening it. Shellac is a great choice because it provides a durable finish that won’t significantly alter the natural colors of the wood. Additionally, shellac dries quickly and can be easily applied with a brush or cloth.
With these tips for finishing walnut without darkening, you should now have everything you need to get started. Remember, it’s important to take your time and do things in the correct order to ensure that your project comes out looking its best!
When applying any type of finish to walnut, make sure that you are working in a well-ventilated area and wearing protective gear such as gloves and a face mask. Additionally, be sure to read the instructions on your product before beginning to make sure that you are getting the best possible results.
8 Maintenance Tips
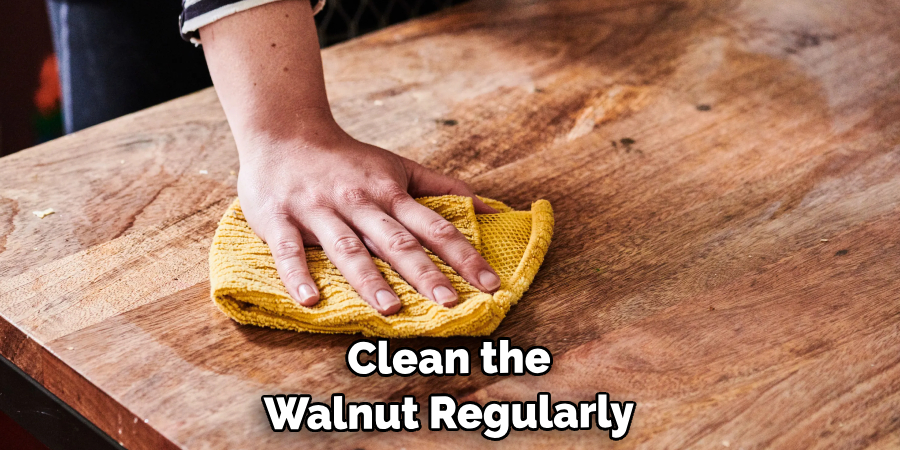
1. Clean the walnut regularly with a soft cloth dampened with denatured alcohol. This will help to remove any dirt and grime that may have built up over time. Clearing away these impurities will help to keep the walnut looking its best.
2. If you do decide to apply a finish, use an oil-based polyurethane or varnish. These finishes don’t darken the wood as much as other types of finishes can. A thin coat should be enough to protect the wood and keep it looking great.
3. If the wood shows any signs of fading or discoloration, try wiping it with a cloth dampened in mineral spirits. This should help to bring out its natural luster and color. Also, avoiding direct sunlight can help to prevent the wood from fading.
4. Refinishing the walnut occasionally is also a good idea. This will help to keep it looking fresh and vibrant. Make sure you sand the wood before applying a new finish to ensure that it’s properly prepared for the job.
5. To seal in moisture and protect the wood from scratches and other damage, apply a paste wax. This will provide a protective barrier which can help to keep the walnut looking its best.
6. If you notice any cracks or chips in the wood, fill them with a matching wood filler before applying a finish. This will ensure that your finishing job looks smooth and professional. Noticeable imperfections can detract from the beauty of the wood.
7. Use quality cleaning products designed specifically for the walnut to keep it looking its best. Avoid harsh chemical cleaners, as they can damage and discolor the wood over time.
8. Take extra care when handling your furniture or other items made from walnut to prevent damage or scratches. This will help to keep the wood looking great for years to come.
By following these tips, you can ensure that your walnut remains looking its best and stays protected from excessive damage or discoloration. Proper maintenance will help to maintain the beauty of your furniture or other items made from walnut for many years to come.
Frequently Asked Questions
How Long Will It Take to Finish the Project?
A project like this will vary in time depending on the size of the walnut and what type of finish is chosen. If you are using a traditional oil-based finish, it should take around two days to complete the entire process. For a water-based finish, it may take up to three days. In both cases, you should apply at least two coats of finish to ensure a durable, long-lasting result.
Which Type of Finish Should I Use?
If you are looking for a clear, natural finish that does not darken the wood, then water-based urethane is your best bet. This type of finish provides excellent protection against moisture and abrasion while allowing the true beauty of the walnut to shine through. For a darker finish, you can opt for an oil-based urethane or varnish. Be sure to follow the instructions on your product’s label and test a small area first.
What Should I Do After Applying the Finish?
Once you have applied the final coat of finish, you should allow it to cure completely before using or handling the piece. Depending on the type of finish, this may take anywhere from 24 to 48 hours. Once it is fully cured, you can begin enjoying your beautiful finished walnut project!
Will I Need Special Equipment?
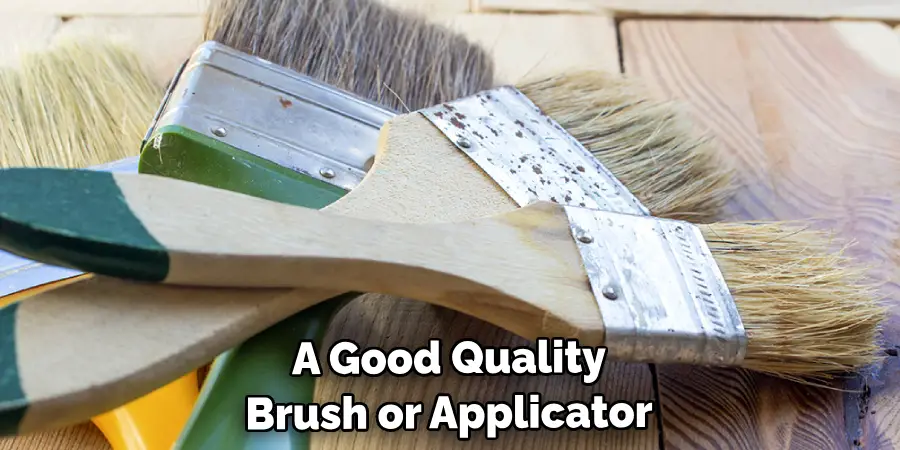
No special equipment is needed to finish the walnut. All you will need are the appropriate finishing products, a good quality brush or applicator, and clean rags or paper towels for cleaning up any spills. If you decide to use an oil-based finish, be sure to wear gloves and adequate ventilation, as these products can be hazardous.
Conclusion
By now, we can see that walnut is a beautiful, durable wood with unique characteristics and special care instructions to keep its luxurious color. With the steps stated throughout this blog post, your walnut furniture will look vibrant and new with minimal upkeep. Now that you know how to finish walnut without darkening, get creative and enjoy showcasing your beautiful piece of craftsmanship in any room of your home.
Don’t be afraid to consult with industry professionals or experts when needed if you run into any problems throughout the sanding and finishing stages. Follow the instructions step by step, and soon enough, you will have a stunning piece of walnut wood furniture that will look sophisticated and timeless. Good luck as you embark on this rewarding journey!

