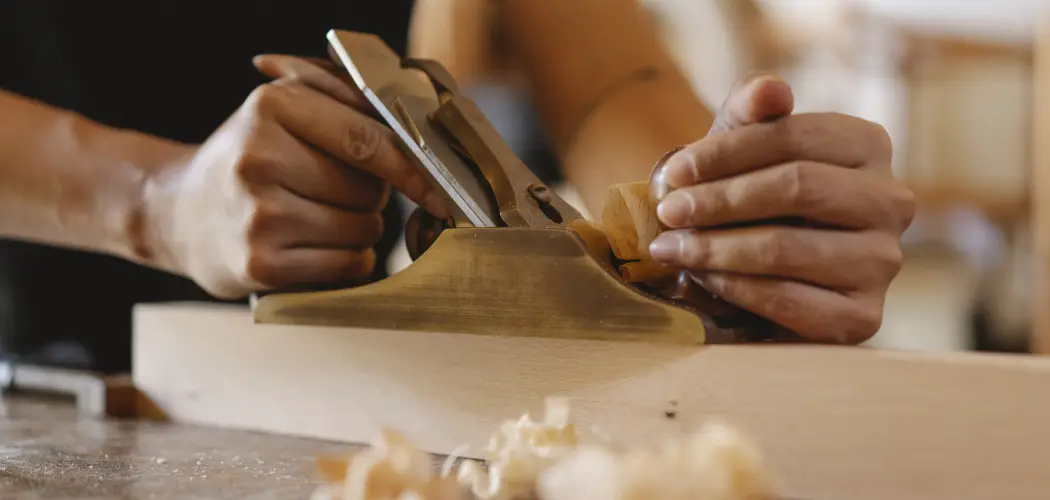
Do you know the feeling of frustration when you have a board that you just can’t get even? Knowing how to use a hand planer can come in handy. A hand planer is designed specifically to smooth surfaces and flatten off areas to achieve an even result.
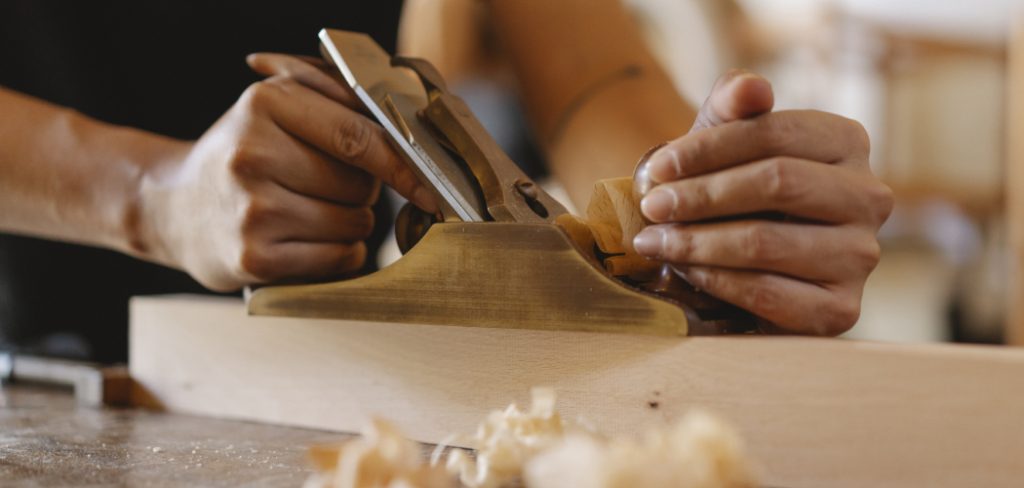
Whether you’re creating furniture, cabinetry, or any other kind of woodwork, using a hand planer is the way to go. With just a few simple steps, you, too, can learn how to use a hand planer to flatten a board.
In this blog post, we’ll show you how to get the job done – from ensuring your workspace setup is safe to ensuring the best results possible with each stroke of your planer. Join us as we dive into one of the most important woodworking basics: learn how to use a hand plane today effectively!
What Will You Need?
To use a hand planer to flatten a board, you will need the following tools:
- A Hand Planer: This is the most important tool for this job. Make sure that your planer is well maintained and sharpened so that it can effectively flatten your board.
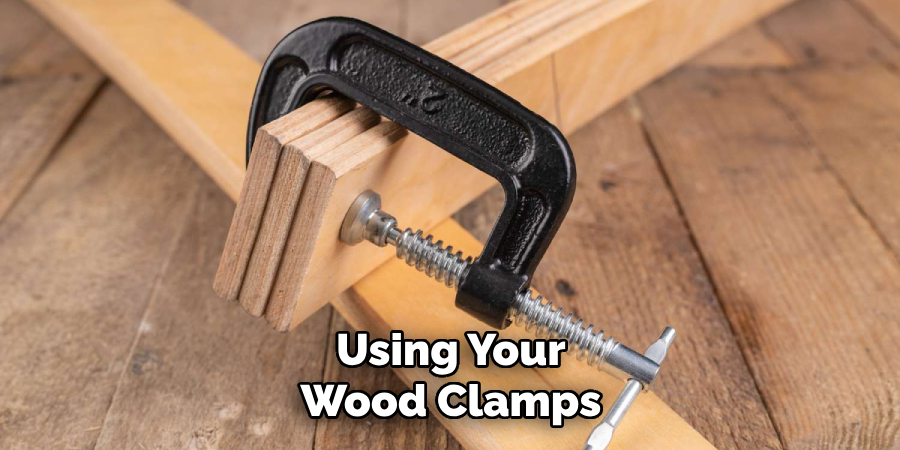
- Wood Clamps: Clamps are essential when using a planer as they hold the board in place while you work.
- Safety Glasses: Wear safety glasses when using a hand planer.
- Hearing Protection: You should wear ear muffs or ear plugs when operating a power tool such as a hand plane.
- Dust Mask: A dust mask will help to protect you from inhaling any particles created when planning the board.
Before you can start using your hand planer, you will need to ensure that your workspace is properly set up for safety. Here’s what you should do.
10 Easy Steps on How to Use a Hand Planer to Flatten a Board
Step 1: Secure Your Board
The first step is to secure your board in place properly. Using your wood clamps, firmly attach the board to your workbench. Ensure it’s tightly held to prevent any movement during the planning process, but be careful not to over tighten the clamps, as this could potentially damage your board. Your board should be stable enough to withstand the force applied by the hand planer.
Step 2: Position the Hand Planer
Once your board is secured, you can begin positioning the hand planer. Place the planer so its edge is parallel to the portion of the board you’re going to plane. Ensure it’s not too close to or far away from your board, as this could affect the quality of your planed surface.
Step 3: Start Planning
At this point, you can start using your hand planer. Make sure to hold the handle firmly and begin by pushing it at a slow and steady pace as you plank across the surface of the board. You should aim to make one smooth stroke with each pass.
Step 4: Check Your Progress
As you work, periodically check your progress and ensure that the board is getting more and more even with each stroke of your hand planer. Check that there are no high spots or low spots on the board. If you notice any, adjust your technique accordingly and plane those areas evenly.
Step 5: Flip the Board
Once one side of the board has been completely planned, flip it over and repeat steps 2-4 for the other side as well. This will ensure your board is flat and even on both sides. Remember to check your progress periodically.
Step 6: Sand It Down
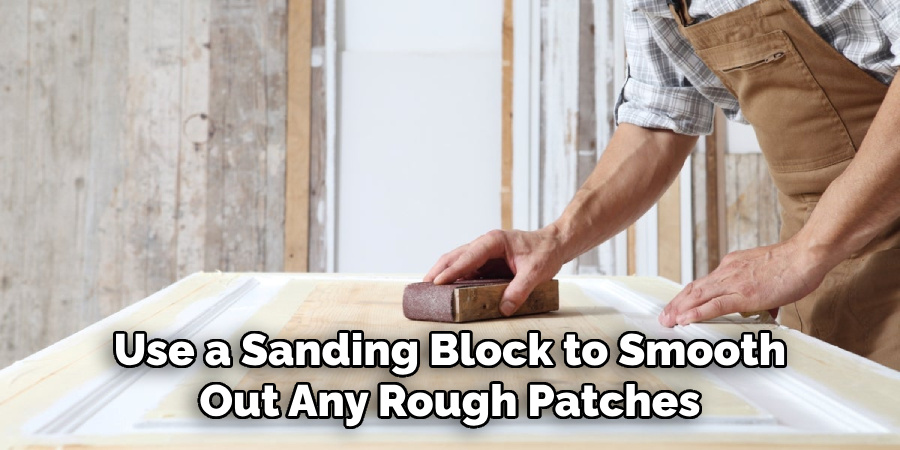
Once the board has been planned, you can use a sanding block to smooth out any rough patches or ridges left by the hand planer. This will give you an extra-smooth finish that looks professional. Try to use the same motion as you used when planning and work in a straight line.
Step 7: Clean It Up
It’s time to clean up once you’re satisfied with the results. Vacuum any sawdust or shavings left behind by your hand planer, and then wipe down the board with a damp cloth to remove any dust particles. Another way to check the quality of your woodworking project is to run your hand over the surface to ensure no splinters or rough patches.
Step 8: Apply a Protective Finish
Now that the board has been planed and sanded, it’s time to apply a protective finish. This will help to protect the board from moisture, wear, and tear. Depending on the type of wood you’re working with, you can choose from various finishes, such as oil, wax, or varnish.
Step 9: Let it Dry
After you have applied the finish to your board, let it dry completely before using it. This could take anywhere from a few hours to several days, depending on the type of finish used and the temperature in your workspace. Ensure you follow the manufacturer’s instructions when it comes to drying time.
Step 10: Enjoy the Results
Once your board is completely dry, you can finally enjoy the results of your hard work! You have successfully used a hand planer to flatten a board and now have a perfectly smooth surface ready for use. Remember to store your hand planer in a safe and dry place so it is always ready for use.
Now that you know how to use a hand planer to flatten a board, you can easily tackle any woodworking project with confidence. From creating furniture or cabinetry to repairing damaged boards – using a hand plane will save time, energy, and money. So get out there and start planning!
5 Additional Tips and Tricks
1. Keep the Planer Sharp
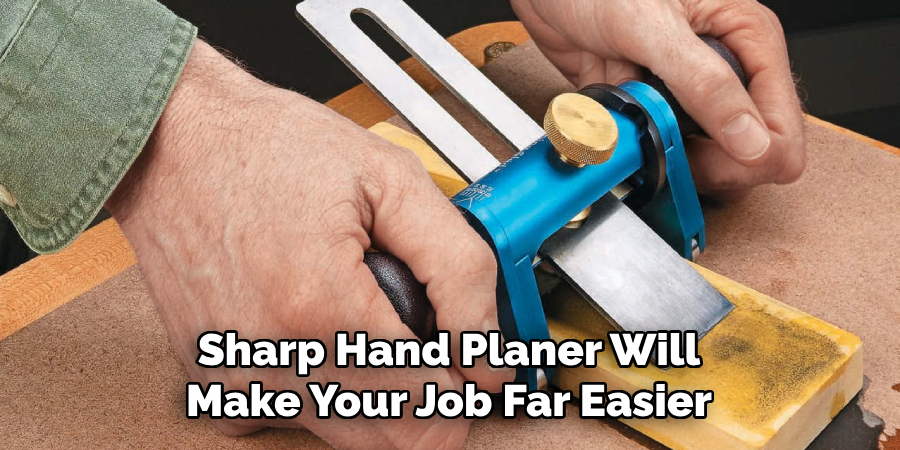
A sharp hand planer will make your job far easier and result in a smoother finish. Ensure you regularly check and maintain the sharpness of your tool. A dull blade will not only require more effort but also can cause irregularities or damage to your board.
2. Planer Angle
While planning, maintain the planer at an angle, not perpendicular to the board. This slight angle allows the blade to slice through the wood fibers, giving a cleaner cut.
3. Take it Slow
Take your time with the planning process. Rapid movements can lead to skips and gouges in the wood. Take your time, and make consistent, smooth strokes.
4. Grain Direction
Always plane in the direction of the wood grain. Planing against the grain can cause tear-out, where chunks of wood are torn away, leaving a rough surface.
5. Safety First
Even though it’s been mentioned before, always pay attention to safety when using a hand planer. Always use safety glasses, dust masks, and hearing protection. And remember, your safety is more important than the speed at which you complete your project.
With the right technique, a hand planer can help you create professional-looking wood projects. Whether it’s building furniture or sprucing up a damaged board, using a hand planer is an easy and effective way to achieve perfect results.
5 Things You Should Avoid
1. Avoid Using a Dull Planer:
Never use a hand planer that has a dull blade. This will not only make your task more strenuous, but it can also damage your board and leave a rough, unprofessional finish. Regularly check the sharpness of your planer and replace or sharpen the blade as needed.
2. Avoid Rushing:
Patience is key when using a hand planer. Rushing through the planning process can lead to uneven surfaces, gouges, and other mistakes. Always take your time, making consistent, smooth, and even strokes.
3. Don’t Ignore the Grain:
Always make sure you’re playing in the direction of the wood grain. Ignoring the grain can cause tear-outs in the wood, creating an uneven surface and potentially damaging your board.
4. Don’t Forget Safety:
Pay attention to your safety when using a hand planer. Always wear safety glasses, a dust mask, and hearing protection. Your safety should always be your first priority, regardless of the project you’re working on.

5. Don’t Skip the Finish:
Once your board is planed and sanded, remember to apply a protective finish. This important step will help protect your board from moisture and wear and tear, prolonging its lifespan and maintaining its quality.
Avoiding these mistakes will help ensure you use your hand planer correctly and achieve desired results. With a little practice, you can easily master using a hand planer to flatten a board and create beautiful wood projects. So don’t be intimidated – get out there and start planning!
Conclusion
Using a hand planer properly will make all the difference when flattening any wood board. Not only do you reduce material waste, but you can also enjoy a perfectly plain and flat finish with little effort. It’s important to remember that when using your hand planer properly secure your workpiece in place.
Additionally, ensure that the depth adjustment knob is always set correctly before beginning your project. Working with the grain of wood is also paramount for achieving successful results. With a few simple steps, you’ll be able to achieve a clean-cut, level surface every time you use your power tool.
Hopefully, the article on how to use a hand planer to flatten a board has been able to help you on your next woodworking project. Good luck!
You Can Check It Out to Use Wood Carving Tools

