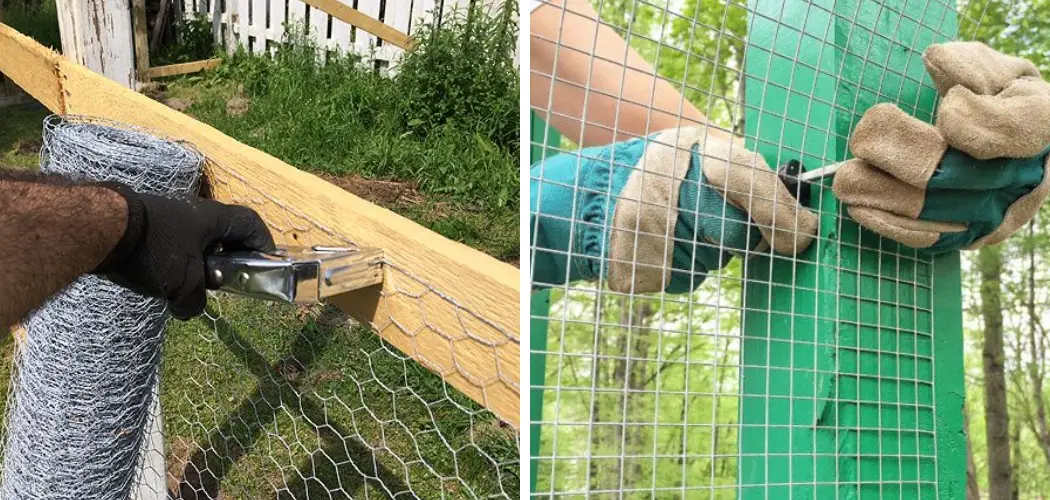
Do you want an effective way of protecting gardening beds or your fence from animals and pests? If you’re looking for a surefire way to keep unwanted pests and critters out of your garden and yards, you’re probably familiar with hardware cloth. Not only is this sturdy screening material great for keeping animals away, but it’s also very durable and easy to install in whatever space or location needs protecting.
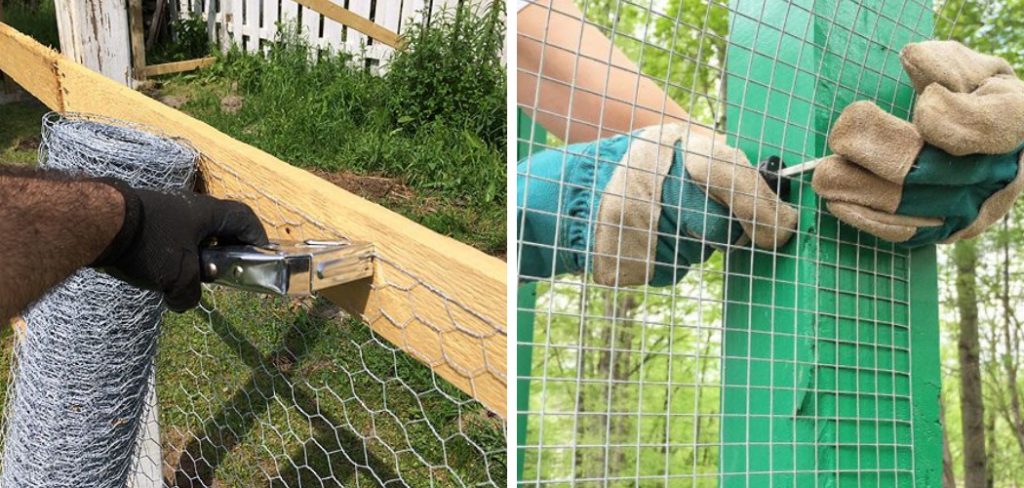
Installing hardware cloth can be tricky, but with the right materials and some know-how it’s actually quite easy. In this blog post, we’ll be walking through the steps needed to attach hardware cloth easily and securely to the wood so you can start enjoying protection from any pestering creatures immediately. Read on to find out more about the tools required, preparation tips, and detailed instructions on how to attach hardware cloth to wood in your outdoor spaces.
What is Hardware Wood?
Hardware cloth is a type of woven mesh composed of galvanized steel wire. It’s excellent at keeping out small animals and pests, like gophers and moles, due to its tightly-weaved construction. The materials used to make the cloth are also very durable; in fact, it can last for up to 50 years if properly cared for and maintained. Plus, it’s very affordable compared to other fencing materials, so you can get the protection you need without breaking the bank.
Things to Remember Before Installing
Before you begin attaching the hardware cloth, there are a few essential things to remember. First, make sure that the size of the mesh is appropriate for the animal or pests you’re trying to keep out. If it’s too small, animals may be able to squeeze through gaps in the mesh; if it’s too large, birds and other small creatures may become trapped.
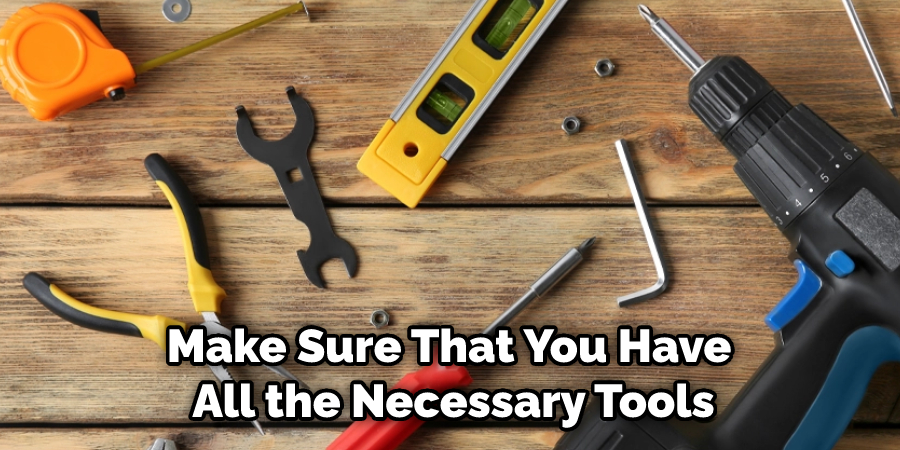
Next, make sure that you have all the necessary tools and materials with you before you begin. The right tools will make the whole process much easier, and you don’t want to find yourself halfway through with no way of finishing the job. Once you have these items, you’re ready to start attaching your hardware cloth.
Tools Needed for Installing Hardware Cloth
Before you begin attaching hardware cloth to wood, there are several tools that you will need:
- Hammer or a rubber mallet
- Tin snips
- Staple gun with 1/4″ staples
- Wire cutters
- Galvanized or stainless steel screws or nails
- Safety glasses
- Work gloves
Preparation on How to Attach Hardware Cloth to Wood
Once you have all the necessary tools, it’s time to prepare your workspace and the hardware cloth. The first step is to measure out the area you want to cover with hardware cloth, then cut the material using your tin snips to size. Make sure to leave a few extra inches since some of the material will be folded over once it’s attached. The preparation is complete, and you’re ready to start attaching the hardware cloth.
7 Instructions on How to Attach Hardware Cloth to Wood
Step 1: Measure and Cut the Mesh
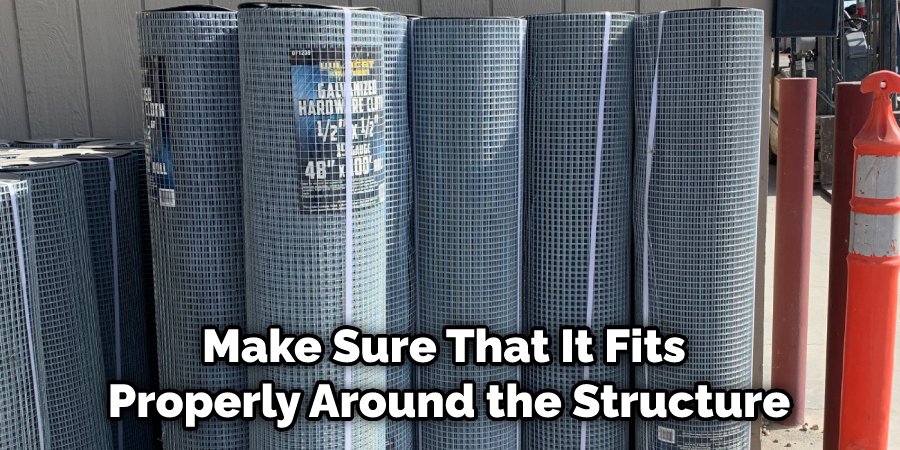
Before you begin attaching the mesh, make sure that it fits properly around the structure you’re protecting. For accuracy, use a tape measure so you can cut pieces of the mesh to fit.
Step 2: Secure the Mesh with Staples
Once you have the hardware cloth cut to the right size, it’s time to attach it to your wood. Start by stapling one side of the mesh with a staple gun, making sure that each staple is securely in place. Continue this process until you have finished the entire side.
Step 3: Secure Mesh with Screws or Nails
Once you’ve secured all sides of the mesh with staples, it’s time to add an extra layer of protection by screwing or nailing in the corners. To do this, use either galvanized steel screws or stainless steel nails, depending on what type of material you are attaching the hardware cloth to.
Step 4: Add a Final Layer of Protection
For an extra layer of protection, you may want to add some additional hardware cloth around the edges of the structure. This will help prevent animals from burrowing underneath or squeezing through any small gaps in the mesh.
Step 5: Trim off Any Excess Mesh
Once you have finished attaching the hardware cloth, use a pair of tin snips to cut off any excess material around the edges. This will help the installation look more polished and professional when it’s complete.
Step 6: Check for Gaps or Weak Spots
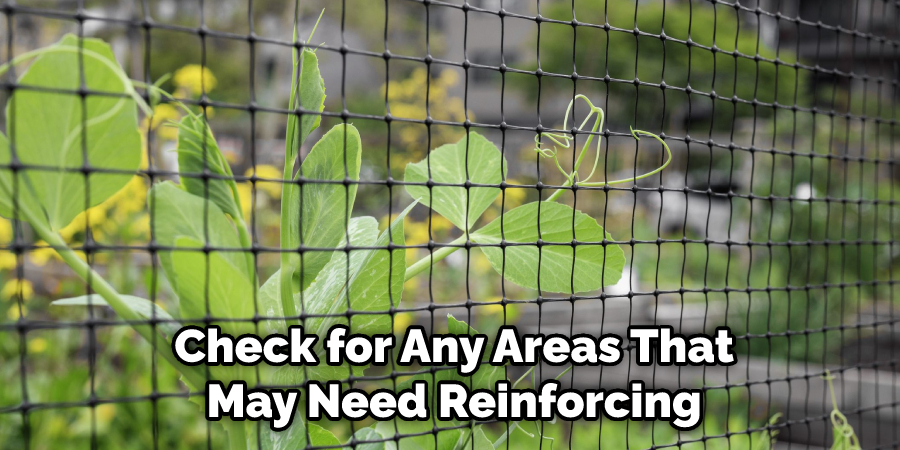
Once you have finished attaching the hardware cloth, it’s important to check for any areas that may need reinforcing. Look for any gaps or weak spots in the mesh and use additional staples or screws to reinforce them.
Step 7: Check the Mesh Regularly
It’s also a good idea to check your hardware cloth regularly for signs of wear and tear. If you notice any holes, tears, or other damage to the mesh, it’s important to repair them immediately to keep your structure secure.
These are all the steps on how to attach hardware cloth to wood you need to follow in order to attach hardware cloth to wood. Just remember to use the right tools for the job, always measure accurately before cutting, and check the mesh regularly for any signs of damage. With some patience, you can easily attach your hardware cloth to protect your home or garden from unwanted critters!
8 Maintenance Tips for Attaching Hardware Cloth to Wood
- Make sure the wood you are attaching to is in good condition and free of splinters, cracks, or warping. This will ensure that the hardware cloth adheres securely. Any type of treated wood may need to be sealed or primed before attaching the hardware cloth.
- Measure out the area of wood you are covering and cut the hardware cloth to size with either tin snips or a utility knife, leaving an extra inch or two on each side for overlap.
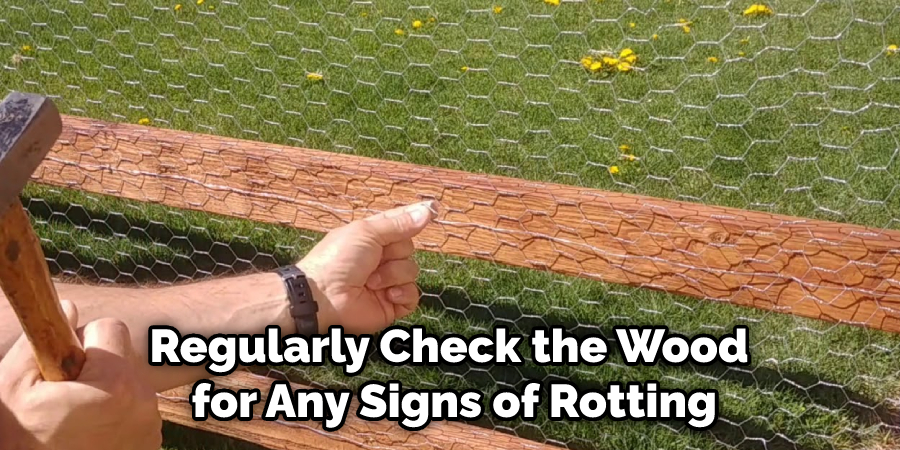
- Regularly check the wood for any signs of rotting or decay, and replace it if necessary. Any rotting wood will affect the integrity of your hardware cloth and leave it vulnerable to damage. The damage can be caused by animals, insects or weather.
- When attaching the hardware cloth to wood, use galvanized staples or screws. Ensure that the screws are not too long, as this will weaken the wood and may even cause it to split.
- Clean it regularly with a wire brush or scrubbing pad to get rid of any dirt, debris, and insects that may have built up on it. Dust and dirt can get caught in the mesh and make it difficult to attach.
- Inspect the hardware cloth every few months for any signs of rusting or wear and tear from the elements. If you notice any damage, replace it immediately, as this can weaken its structure and affect its overall stability.
- If you have used nails to attach the hardware cloth, use a nail set and hammer to drive them in securely, as this will prevent them from popping out over time due to vibration or movement.
- Lastly, when attaching hardware cloth to wood, be sure to leave some space between the two materials so that any moisture cannot pool and cause rot or decay. This will help to extend the life of your hardware cloth and make sure it provides maximum protection for years to come.
8 Safety Precautions to Take
When attaching hardware cloth to wood, it is important to follow certain safety precautions. The following list outlines some of the most common safety measures that should be taken when working with hardware, cloth, and wood:

- Wear protective gear such as gloves and glasses to protect your hands and eyes from any splinters or debris. Protective clothing may also be necessary. It will avoid any cuts or scrapes that may be caused by the sharp edges of the hardware cloth.
- Make sure all tools that will be used are in good working order, and check for any broken pieces before beginning. It is also important to read and understand all instructions included with the hardware cloth package prior to starting.
- Secure the hardware cloth to the wood using nails or screws that are long enough and strong enough. Make sure all fasteners are firmly set in place.
- Ensure that any gaps between the hardware cloth and the wood frame are filled in so no animals can get through them. A small amount of caulk may be used to fill in any gaps. The gaps may also be filled in by using a mesh that is of a smaller gauge than the hardware cloth.
- Be mindful of the sharp edges of the hardware cloth, and take extra precautions when handling it. If necessary, wear protective gloves to avoid any cuts or scrapes. Ensure that any exposed edges of the hardware cloth are covered or sealed off to prevent any animals from getting through.
- It is important to have a secure footing while attaching the hardware cloth to the wood frame so you do not slip and fall or injure yourself in any way.
- Be sure to properly dispose of any used nails, screws, or other pieces of hardware that were used in the installation process. It is also important to clean up any scraps of wood or metal that have been created during the process.
- Finally, ensure you are working in a well-ventilated area, as fumes from the sealant, wood glue, or caulk may be hazardous. Otherwise, you may need to wear a respirator.
Following these safety precautions will help to ensure that you attach hardware cloth to a wooden frame safely and securely. Be sure to take all necessary steps to protect yourself and others working on the project. Doing so will reduce the risk of injury or accidents occurring during installation.
Frequently Asked Questions
What is the Best Hardware Cloth?
The best hardware cloth will depend on your specific needs and the application. Generally, heavier gauge mesh is better for durability and security, while lighter gauges are better for flexibility. It is important to read the product specifications carefully before making a purchasing decision. It will help ensure you get the right product for your project.
How Long Will It Take to Finish the Project?
The length of time it takes to complete the project will vary depending on the size and complexity of the hardware cloth installation. Be sure to plan ahead, considering any other tasks that may need to be completed prior to the installation. Make sure you have enough time and resources allotted for the job so it can be done correctly and safely. Also, keep in mind that you may need to take additional steps for certain applications, such as caulking the edges or filling any gaps.
Can I Use Any Type of Wood?
Yes, different types of wood can be used depending on your specific project needs. However, it is important to note that some woods are better suited than others for attaching hardware cloth. For example, cedar and pressure-treated lumber are good choices as they are resistant to rot and insect infestation. It is recommended to consult with a professional if you are not sure which type of wood is best for your application.

Conclusion
By taking the time to attach hardware cloth securely to your wood pieces, you will ensure that your projects will be safely reinforced and able to endure weather wear. Remember that the width of the staple should not exceed the diameter of the wire mesh, as this can cause it to tear away from any wood frame over time. For sturdier items such as chicken coops, outdoor cages, or animal pens, using aluminum u-channel edging and screws further reinforce your project.
Whether you choose to nail or staple the hardware cloth in place or screw down with an aluminum channel edging, it is important to make sure that these items are properly secured so they maintain their strength and look great in your backyard. With these easy tips on how to attach hardware cloth to wood in mind, you can confidently build something safe and sturdy while giving it a professional touch.

