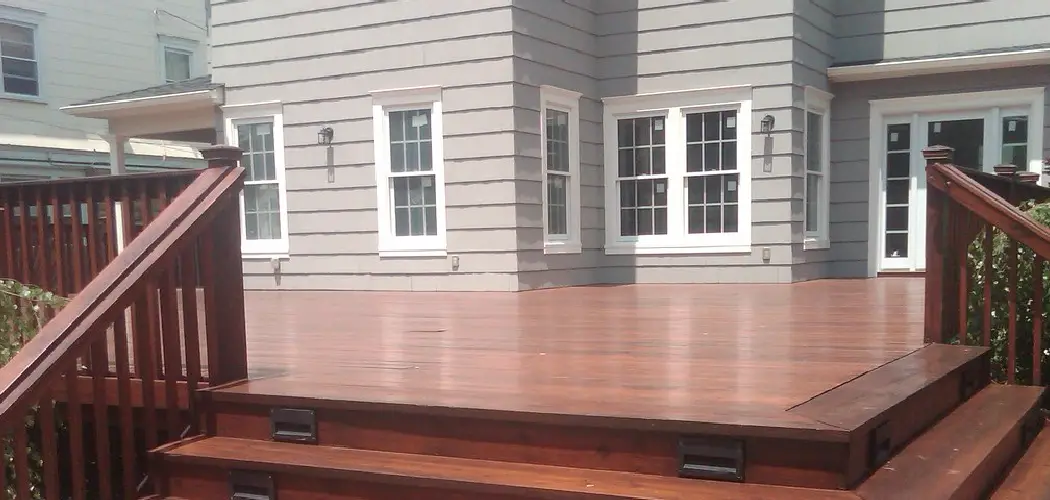
Maple wood is a beautiful, sturdy type of wood that can be stained in various colors. While staining maple wood can be daunting, it is doable with the right instructions. In this blog post, we will outline the steps you need to take to stain maple wood successfully.
So, if you’re interested in giving your maple furniture or floors a brand new look, keep reading to learn more about how to stain maple wood.
What Is Maple Wood?
Maple wood is a hardwood that is commonly used in furniture and flooring. It is also used to make musical instruments, such as guitars and violins. Maple wood has a light color, with creamy white sapwood and brown or red heartwood. The grain is straight, but it can also be curly or wavy. Maple wood is strong and durable, making it an ideal choice for high-traffic areas.
It is also easy to care for, requiring only occasional dusting or polishing. However, when choosing maple wood furniture or flooring, it is important to remember that sapwood is more susceptible to damage than heartwood. For this reason, it is often used in areas where it will not be subject to heavy wear and tear.
Why Should You Stain Maple Wood?
Maple wood is known for its durability and strength, making it a popular choice for furniture, flooring, and other household items. However, maple can also be susceptible to wear and tear over time. One way to help protect maple wood is to stain it. Staining not only enhances the wood’s color but also helps seal it against moisture and dirt.
In addition, staining can also help to camouflage any scratches or scuffs that occur over time. As a result, staining maple wood is an excellent way to help preserve its beauty and longevity.
Needed Materials:
Sandpaper (120-grit and 220-grit):
Sanding is essential to preparing the surface of maple wood for staining. The 120-grit sandpaper will help remove any rough spots or imperfections, while the 220-grit sandpaper will provide a smooth finish.
Wood Conditioner:
Because maple wood is dense, it can be challenging for stain to penetrate evenly. Using a wood conditioner before staining helps the stain to spread evenly and reduces the risk of blotches.
Stain:
Stains come in various colors, from light to dark. Choose a color that best complements your maple wood’s natural tones or go for a more dramatic look with a contrasting color.
Clean Cloth:
A clean cloth is necessary for wiping off excess stain and achieving an even finish. You can use a lint-free cloth or an old t-shirt for this step.
Polyurethane:
After staining, it is essential to protect the wood with a clear finish. Polyurethane is a popular choice as it creates a durable and water-resistant coating on the wood’s surface.
How to Stain Maple Wood in 9 Easy Steps
If you’re looking to add a bit of color to your maple wood, staining it is a great way to do so. Here’s how to stain maple wood:
Step 1: Sand the Wood
Before you can stain maple wood, you’ll need to sand it down to create a smooth surface. Start with medium-grit sandpaper and work your way up to fine-grit sandpaper. Sanding the wood will also help remove any existing stains or finishes. Make sure to sand in the direction of the wood grain for best results. Otherwise, you risk creating visible scratches or marks on the wood.
The end result of this step should be a smooth and even surface, free of any rough spots or imperfections.
Step 2: Choose the Right Stain
There are a variety of stains available on the market, so it’s important to choose one that is specifically designed for maple wood. Some stains will be more effective than others, so be sure to do your research before making a purchase.
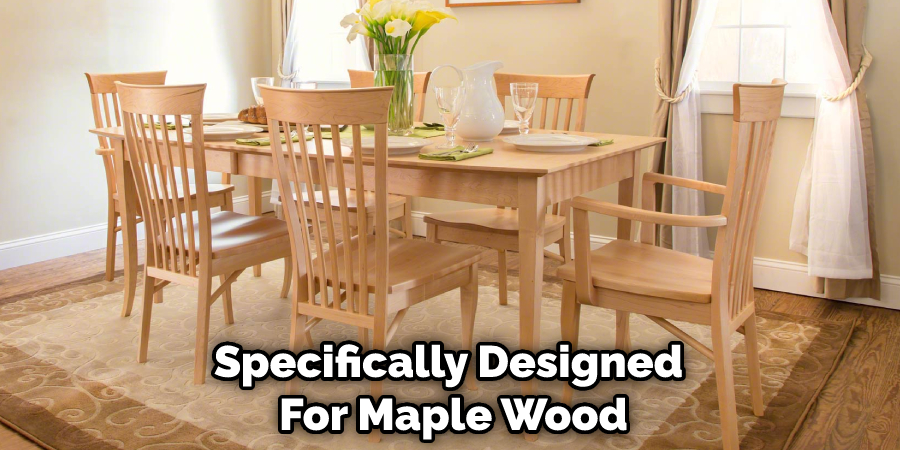
When staining maple wood, it’s also important to consider the type of finish you want. If you want a glossy finish, go for a stain that contains polyurethane. If you prefer a matte finish, choose a stain without polyurethane.
Step 3: Apply the Stain
Once you’ve chosen the right stain, it’s time to apply it to the maple wood. First, use a clean cloth or brush to apply the stain evenly across the surface. Depending on the type of stain you’re using, you may need to let it sit for a few minutes before wiping it off.
You may need to apply multiple coats of stain to create a darker color. Be sure to let each coat dry completely before adding another layer. It’s also essential to work quickly and efficiently to avoid any overlapping or patchy areas.
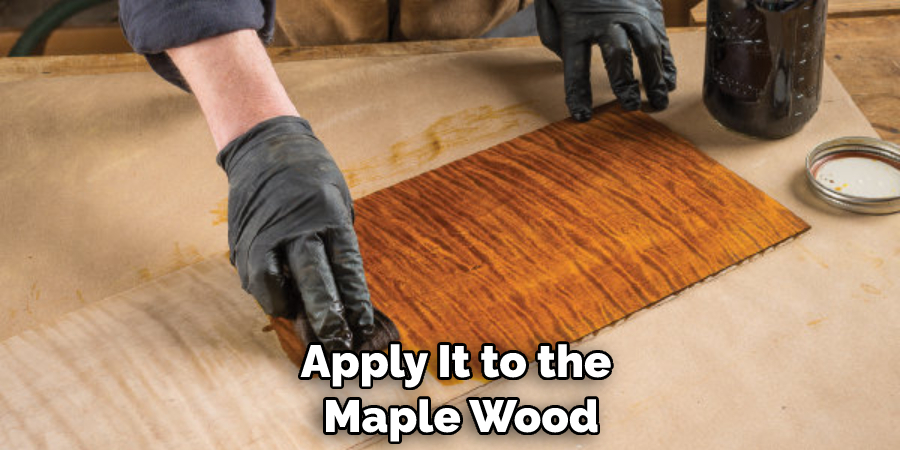
Step 4: Let the Stain Dry
After you’ve applied the stain to your maple wood, it’s important to let it dry completely before moving on to the next step. Depending on the type of stain you’re using, this could take anywhere from a few hours to a couple of days. Once the stain is dry, you can proceed to the next step in the staining process.
You can test the dryness of the stain by using a clean cloth to gently wipe the surface. If no stain comes off, it is ready for the next step.
Step 5: Apply a Top Coat
After the stain has dried, you’ll need to apply a top coat to protect it from wear and tear. You can use a clear varnish or polyurethane for this step. Apply the top coat with a brush or a rag, making sure to cover the entire surface of the wood. Once the top coat is dry, your stained maple wood will be protected and ready to use.
They say that the best things in life take time, and staining maple wood is no exception. I am sure that with these easy-to-follow steps and the right materials, you will be able to achieve a stunning finish on your maple wood.
Step 6: Consider Adding a Second Coat of Stain
For a deeper or darker color, you may want to consider applying a second coat of stain. However, make sure that the first coat is completely dry before proceeding with the second one. The second coat of stain will help enhance the color and provide a more uniform finish. It’s important to note that the more coats you apply, the darker the color will become.
But be careful not to apply too many coats, as it can lead to an uneven finish and take away from the natural beauty of the wood.
Step 7: Apply the Second Coat of Stain
Using the same method as before, apply an even coat of stain to the wood. Let it sit for a few minutes before wiping off any excess stains with a clean cloth. Once done, let the stain dry completely before adding another coat or proceeding to the next step.
The second coat of stain will also help to camouflage any scratches or scuffs that may have occurred during the staining process.
Step 8: Apply the Top Coat Again
After the second coat of stain has dried completely, apply another layer of top coat to protect the wood and give it a glossy finish. Just like before, make sure to cover the entire surface evenly. Let the top coat dry completely before using your stained maple wood.
The top coat will provide an extra layer of protection against scratches, spills and other types of damage. It also helps to bring out the color of the stain even more.
Step 9: Let It Dry Completely
Once you’ve applied the final coat of top coat, let it dry completely before using the stained maple wood. This may take a few hours to a couple of days, depending on the type of top coat used.
By following these 9 easy steps, you can successfully stain your maple wood and enhance its beauty while also protecting it for years to come. Remember to always be careful when working with stains and follow the product instructions for the best results. With proper care and maintenance, your stained maple wood will continue to look beautiful and last for generations. So go ahead and add some color and protection to your maple wood with staining!
What are the Different Types of Maple Wood Stains?
Many different types of maple wood stains are available on the market today. Some popular options include water, oil, and gel stains. Water-based stains are typically the easiest to apply and offer good coverage. However, they can also be difficult to remove if you decide to change the color later on.
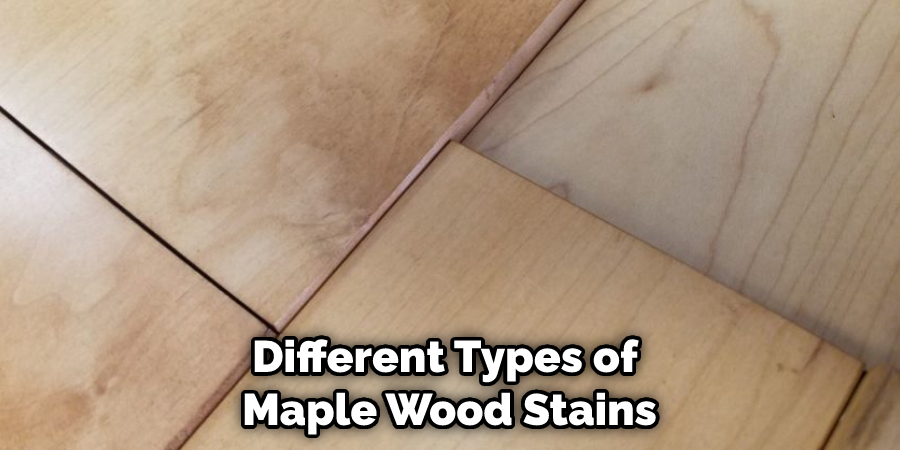
Oil-based stains provide excellent coverage and durability but can be tricky to apply evenly. Gel stains are somewhere in between, offering good coverage and ease of application, but they may not last as long as oil-based stains. Therefore, when choosing a maple wood stain, it is important to consider your specific needs and preferences.
Depending on the look you are going for, one type of stain may be better suited than another. However, with so many options available, it is easy to find the perfect maple wood stain for your project.
How to Protect Your Maple Wood Stain from Weathering
If you’ve stained your maple wood furniture, it’s important to take steps to protect the stain from weathering. One way to do this is to apply a thin layer of clear polyurethane over the stain. This will help seal the color and prevent the effects of ultraviolet sunlight from fading the stain.
You should also clean your furniture regularly with a mild soap and water solution. This will help remove any dirt or debris that could damage the finish. Finally, if you notice any chips or cracks in the finish, be sure to repair them as soon as possible. By taking these simple steps, you can keep your maple wood furniture looking its best for years to come.
What Kind of Maple Wood Should You Stain
There are a few qualities to look for when choosing maple wood for your project. The first is the grain. Maple wood is available in two grain types: hard and soft. Hard maple wood is denser and has a finer grain, while soft maple is lighter and has a coarser grain. The type of grain you choose will depend on the look you want to achieve.
For a bolder look, go with hard maple. Soft maple is the way to go if you want a more subtle look. The second quality to consider is the color. Maple wood ranges in color from pale white to dark brown. Once again, the color you choose will depend on the look you’re going for. If you want a natural look, choosing a lighter color is probably your best bet.
For a more elegant look, a dark brown maple wood stain can give your project a touch of sophistication. No matter what look you’re going for, there’s a maple wood stain that will help you achieve it.
How to Prepare the Maple Wood for Staining
Preparing your maple wood for staining is an important first step in ensuring a beautiful, long-lasting finish. Here are four simple steps to ensure that your maple wood is properly prepared for staining:
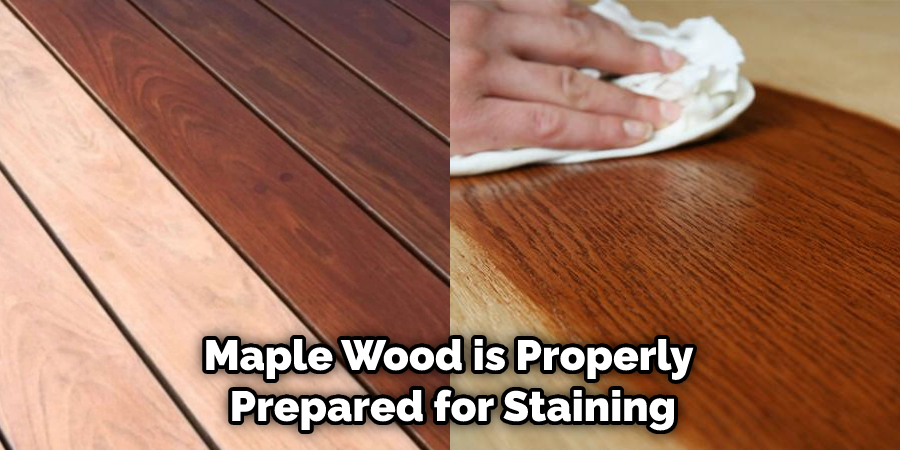
1. Begin by sanding the surface of the wood with medium-grit sandpaper. This will help create a smooth surface to which the stain can adhere.
2. Once the surface is sanded, wipe away dust with a clean cloth.
3. Next, apply a pre-stain conditioner to the wood using a clean cloth. This will help the stain evenly penetrate the wood.
4. Finally, allow the pre-stain conditioner to dry for at least 30 minutes before proceeding with the staining process. By following these simple steps, you’ll be on your way to achieving a beautiful, long-lasting finish for your maple wood project!
How to Clean up After Staining Maple Wood
After you’ve stained your Maplewood floors or furniture, cleaning up any excess stain immediately is important. Otherwise, the stain will set and become difficult to remove. Here’s how to clean up after staining maple wood:
1. Use a clean, dry cloth to wipe up any excess stain. Be sure to work in the grain direction to avoid damaging the wood.
2. If there is still some stain remaining, you can try gently rubbing it with a damp cloth. But, again, be sure to go with the grain.
3. If the stain is still stubborn, you can try using a mild cleaner specifically designed for wooden floors or furniture. Apply the cleaner to a clean cloth and rub in the direction of the grain until the stain is removed.
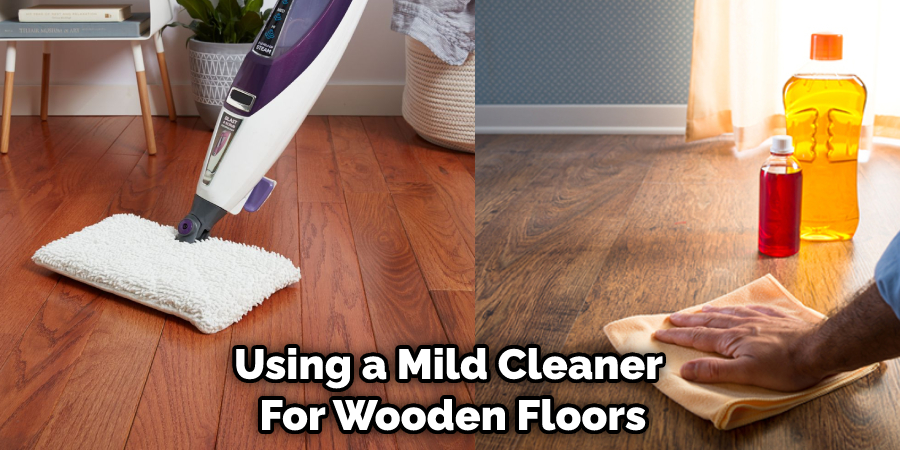
4. Once the stain is gone, buff the area with a dry cloth to restore the shine.
How Do You Get a Light Stain on Maple Wood?
Maple is a light-colored hardwood that is often used for furniture, flooring, and cabinets. When it comes to wood stain, there are two types: light and dark. A light stain will bring out the wood’s natural grain and add a touch of color, while a dark stain will give the wood a richer, more uniform appearance.
Start by sanding the surface with fine-grit sandpaper to get a light stain on maple wood. Then, wipe away any dust with a tack cloth. Next, apply the stain with a clean rag or brush, working in the direction of the grain. Finally, allow the stain to dry before applying a top coat of varnish or lacquer.
With a little bit of elbow grease, you can easily give your maple furniture a fresh new look.
What Is the Difference Between Wiping and Brushing Stains?
There are two schools of thought when it comes to stains: wiping and brushing. Wiping is the more popular method, as it is generally seen as being more effective. However, brushing has its advantages as well. So, let’s take a closer look at the two methods to see the difference.
When you wipe a stain, you are essentially just spreading the stain around. This can actually make the stain larger and more difficult to remove. Brushing, however, allows you to work the stain from the outside in, which is much more effective. In addition, brushing helps to break up the stain, making it easier to remove.
So, which method is better? It really depends on the type of stain and your personal preference. Wiping may be sufficient for small stains. However, brushing is usually the best option for larger or tougher stains. Be sure to act quickly for the best results, whichever method you choose.
What Is the Difference Between a Gel Stain and A Liquid Stain?
For anyone who has ever tackled a staining project, the array of products on the market can be daunting. Gel stains and liquid stains are two of the most common types of stains, but what is the difference between them?
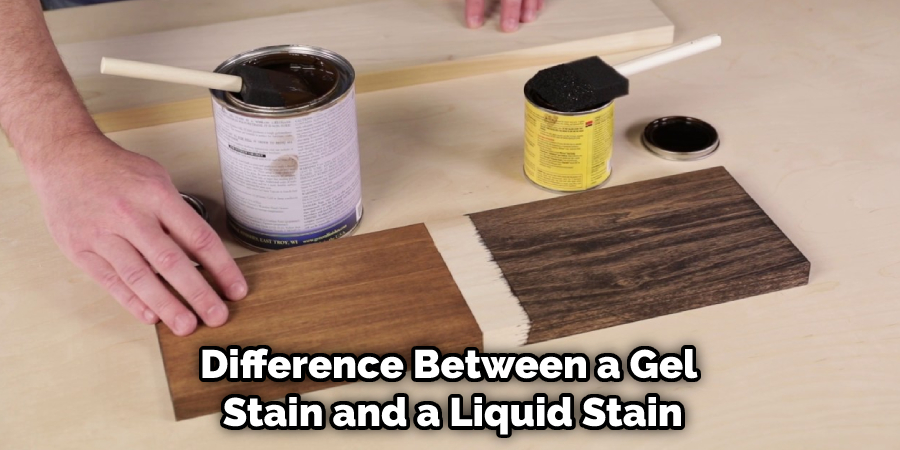
Gel stains are thicker than liquid stains and have a more viscous consistency. This makes them ideal for staining vertical surfaces, as they are less likely to run or drip. Gel stains also tend to penetrate the wood more deeply, resulting in a richer color. However, gel stains can be more difficult to apply evenly, and they often require several coats to achieve the desired effect.
On the other hand, liquid stains are thinner in consistency and easier to apply evenly. They are also commonly used for large surfaces, such as floors or decks. Liquid stains typically do not penetrate the wood as deeply as gel stains, so they may need to be reapplied more often.
When choosing between a gel stain and a liquid stain, it is important to consider the project at hand and decide which type of stain will best suit your needs.
Conclusion
Maple wood is a beautiful, sturdy hardwood that can be stained in various colors to match your décor. The following tips will help you finish your maple wood pieces perfectly. Thanks for reading our post about how to stain maple wood. Have you tried any of these techniques? In the comments, let us know how they worked for you!
You Can Check It Out To Stain Engineered Wood

