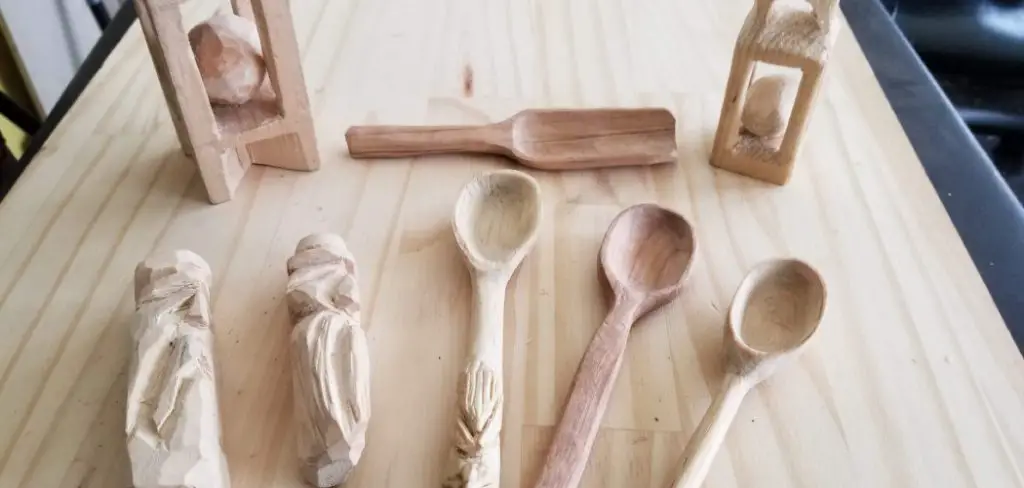
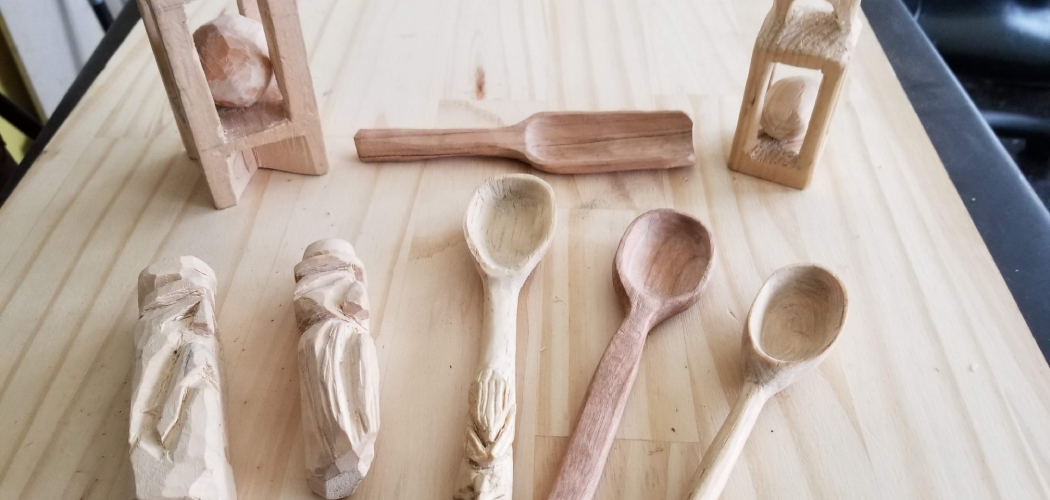
Whittling with a knife is one of the most time-honored hobbies out there; whether it’s for relaxation, creative inspiration, or even to make practical household objects, whittling has something to offer everyone. While the basics seem simple at first glance—just grab a piece of wood and start carving away—it takes time and careful instruction to create truly beautiful pieces you can be proud of.

Fortunately, this beginner’s guide will provide all the advice and tips on how to start whittling you need in order to get started on your whittling journey! In just minutes you’ll have everything set up so that you can begin enjoying this timeless craft. So if you’re ready to learn how to carve your own unique creations with nothing more than a sharp blade and some wood – read on!
How to Start Whittling 11 Step-by-step Instructions on How to Start Whittling
Step 1: Select Your Wood
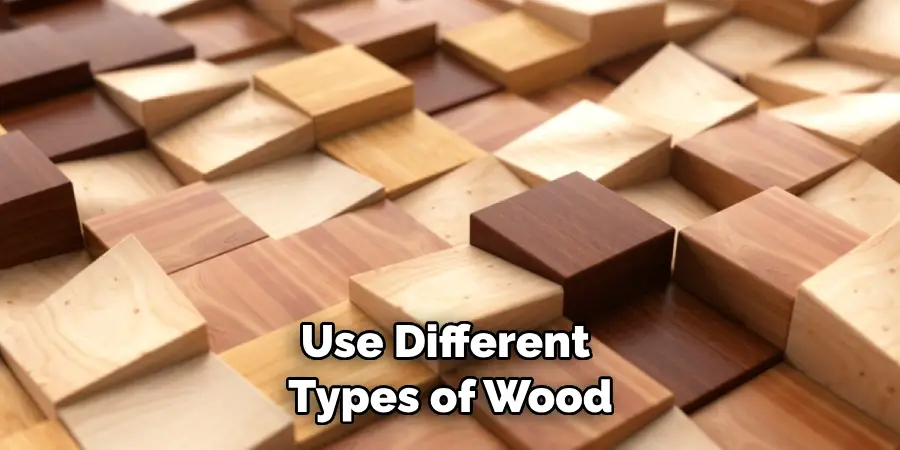
The first step to whittling is selecting the right kind of wood for your needs. Different kinds of wood have different properties, so make sure you research which types are best suited for what you’re looking to create. If you’re just starting out, it’s a good idea to find a softer type of wood like cedar or basswood for practice. It can be helpful to find block or pre-cut pieces so that you don’t have to worry about cutting your own.
Step 2: Choose Your Knife
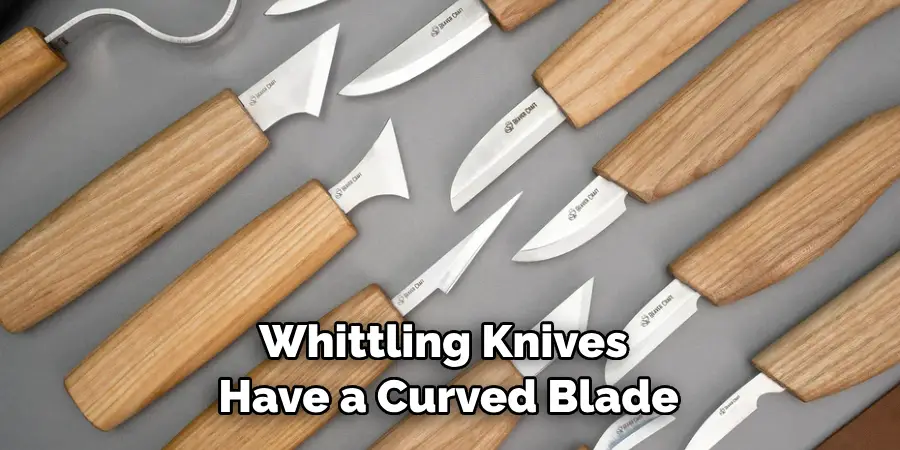
Once you’ve selected the right kind of wood, you need to pick your knife. Traditional whittling knives have a curved blade, but you may want to go with a straight blade if you’re just starting out. Whichever type of knife you choose, make sure it has a sharp and sturdy blade so that it won’t break or become dull easily. It’s also important to wear protective gear such as gloves and safety glasses while whittling.
Step 3: Get the Right Tools
You don’t need many tools to get started with whittling, but it’s important to have the basics. Along with your knife, you should also invest in good sandpaper, chisels, and carving gouges. This will save you time and allow you to create precise cuts that add detail to your projects. But above all, remember to take your time and practice.

Step 4: Sharpen Your Knife
Before you start carving, be sure to sharpen your knife. This will help you cut more precisely and accurately as well as reduce the risk of injury. You can use a whetstone or honing stone to sharpen your knife if you don’t have access to an electric sharpener. It’s important to remember that you need to use the right technique when sharpening your knife, so make sure you watch tutorials or read instructions on how to do it safely and correctly.
Step 5: Create Your Design
Once you have all the materials and tools you need, it’s time to create your design. Sketch out what you want to make on paper first, then transfer the design onto the wood with a pencil. This will help you keep track of where you’re going and ensure you don’t go off course as you carve. It’s also a good idea to practice whittling on scrap pieces of wood before starting on your final piece.
Step 6: Start Carving
Once your design is in place, you’re ready to start carving. Start by cutting out the larger portions of your design first, then move on to more detailed areas. Make sure to use proper form and keep your fingers away from the blade at all times. Otherwise, you risk injury. It’s also important to keep your knife sharp throughout the carving process. Although it may take more time, it will be worth it in the end.
Step 7: Sand Your Piece
Once your piece is complete, it’s time to sand it down. Use fine-grit sandpaper to smooth out any rough edges and make your piece look its best. You can also use finer grits for more delicate shapes and details. You should also make sure to wipe away any dust that accumulates as you work. But remember to be gentle when sanding, as too much pressure can damage your piece. It’s best to let the sandpaper do the work for you.

Step 8: Finish Your Piece
Once you’re satisfied with the shape of your carving, it’s time to finish it off. You can use oil, wax, or varnish to give your piece a protective coat and make it look even more attractive. It’s also a good idea to seal your piece with a clear coat of lacquer or polyurethane to protect it from physical damage. It’s important to use the right type of finish for your project, so make sure you do some research before starting.
Step 9: Showcase Your Work
Once you’ve finished your piece, show it off! Take pictures of your work and share them online with friends and family. You can also display them in a prominent place around your home or office so that everyone can admire your hard work. But above all, be proud of your creations! It may have taken some practice and patience to get there, but the results are worth it.
Step 10: Keep Practicing
Whittling is a craft that takes time and practice to master, so don’t be discouraged if your first project doesn’t turn out as planned. With a little patience and dedication, you can create beautiful pieces of art with nothing more than a piece of wood and a sharp knife. It’s also a great way to relax and unwind after a long day, so don’t forget to enjoy the process.
Step 11: Enjoy Your Creations
Above all else, don’t forget to enjoy the process! Whittling can be a great way to relax and take your mind off of day-to-day stress. So make sure you take some time to appreciate your creations and all of the hard work that went into making them. With these tips in hand, you’re now ready to start whittling!

Following these steps on how to start whittling, you may want to consider taking classes or joining a club. These will help you refine your skills and open up a world of new techniques and possibilities for your art. With all the resources available today, there’s no limit to what you can create with just a piece of wood and some carving tools!
Things to Remember When Whittling:
- Always Wear Safety Goggles to Protect Your Eyes From Flying Chips of Wood.
- Use a Steady Grip and Cut Away From Your Body for the Best Results.
- Take a Break Every So Often to Give Your Hands a Rest and Avoid Fatigue or Injury.
- Use Sharper Knives Rather Than Dull Ones for a More Precise Cut.
- Always Read Instruction Manuals Before Using Any Tools For Safety Purposes.
- Go Slowly and Take Your Time; Whittling is Not a Race!
- Use Different Types of Wood to Expand Your Skillset and Explore New Possibilities.
- Keep Your Working Area Clean and Well Lit for the Most Efficient Carving.
- Use Sandpaper or Abrasives to Smooth Out Rough Edges and Accentuate Details.
- Store Your Knives Away From Children for Safety Purposes.
- Have Fun and Enjoy the Process of Creating Something Unique With Your Hands!
Frequently Asked Questions
Q1: How Long Does It Take to Learn How to Whittle?
A1: Learning how to whittle is a process that can take days, weeks or even months depending on your skill level and experience. Start with simple projects and practice often! It’s important to take your time and learn the proper techniques in order to create beautiful pieces of art.
Q2: Is Whittling Safe?
A3: When done correctly, whittling is a safe activity that can be enjoyed by people of all ages. Always wear safety goggles to protect your eyes from flying chips of wood and use sharp knives rather than dull ones for a more precise cut. Additionally, keep your working area clean and well-lit for the most efficient carving. With these safety measures in place, you’ll be able to enjoy whittling for many years to come!
Q3: Where Can I Find Patterns and Ideas for Whittling Projects?

A4: There are plenty of resources online where you can find patterns and ideas for whittling projects. Look for websites that specialize in woodworking or browse Pinterest for inspiration. YouTube is also a great resource, as it’s filled with tutorials from experienced carvers who can show you the ropes.
Additionally, many books and magazines feature whittling projects that you can try out as well! With a bit of creativity and patience, you’ll be able to find plenty of ideas for your next project.
Conclusion
To conclude on how to start whittling, whittling can be a relaxing and creative way to spend time. Whether you’re a beginner or an experienced woodcarver, it is easy to get started. All you need is some wood, a knife, some patience and determination; the sky’s the limit when it comes to the possibilities of what you can create.
Furthermore, whittling is not difficult and the skills required to make your own unique designs will come easily with practice. With this newfound skill, you’ll be able to hone your techniques and develop new ones as well. So don’t wait another minute – grab yourself some wood and start whittling today! Who knows, you could be creating your own masterpiece in no time at all!

