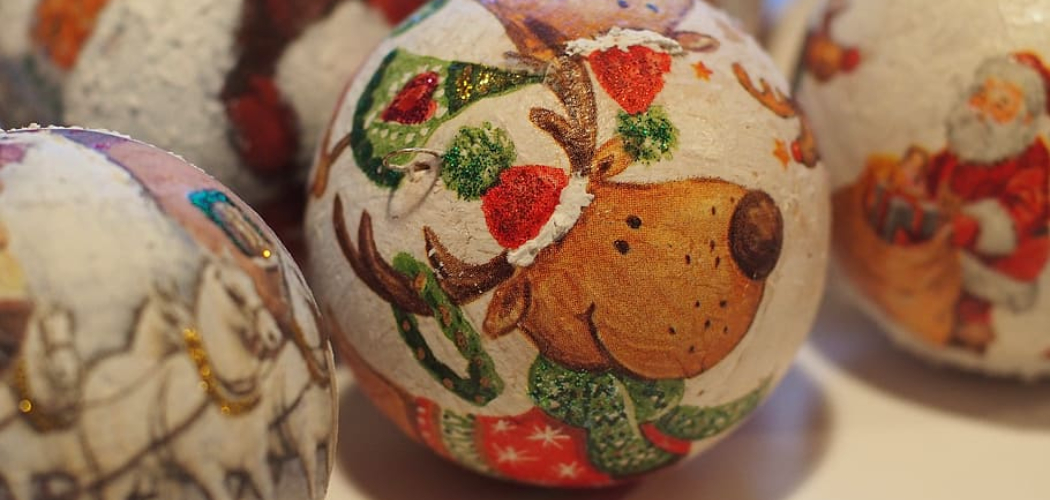
Decoupage, an ancient art form dating back centuries, is a delightful way to transform plain wood into a work of art. This technique involves decorating a surface—often wood—with cut-out images or designs, adhered in place with a special type of glue or decoupage medium.
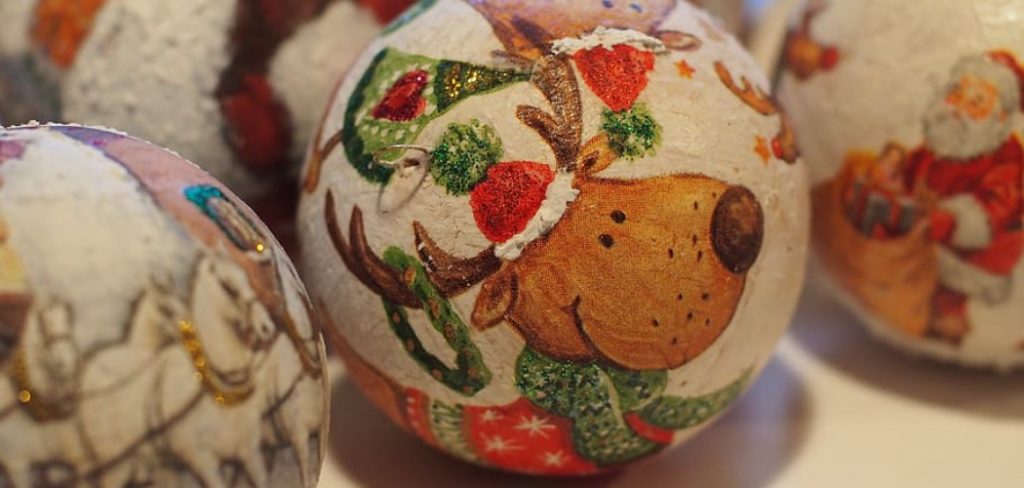
Not only does decoupage allow you to personalize and beautify wooden items, but it also lets you breathe new life into furniture, boxes, frames, and various other wooden pieces.
The process is relatively simple, making it accessible to both beginners and seasoned crafters. With a bit of creativity, some basic materials, and a touch of patience, you can master the art of decoupage on wood and create stunning, custom-made items that reflect your style and artistic expression.
In this article, we’ll delve into the step-by-step process of how to decoupage wood, providing you with the knowledge and inspiration to embark on your own decoupage adventures.
Benefits of Decoupage as a Decorative Technique
Decoupage offers many unique benefits as a decorative technique. It is an affordable and easy way to transform any surface into a attractive piece of art. With the use of simple materials, you can create beautiful designs that will last for years to come. Decoupage is also great for anyone who enjoys DIY projects because it does not require any special skills or tools.
Another great benefit of decoupage is that it can be used on a variety of surfaces, such as wood, metal, and fabric. This makes it a flexible option for creating unique decorations for any room in the home or office.
Additionally, decoupage also allows you to customize your artwork with images and text of your choice. Whether you want to create a piece of art to display in your home or create unique gifts for friends and family, decoupage provides endless possibilities.
Finally, the materials used in decoupage are generally very affordable and easy to find. All you need is some glue, paper or fabric with an image on it, and scissors to get started. With all these advantages combined, decoupage is an ideal choice for anyone looking to create unique works of art.
Choosing the Right Type of Wood for Decoupage
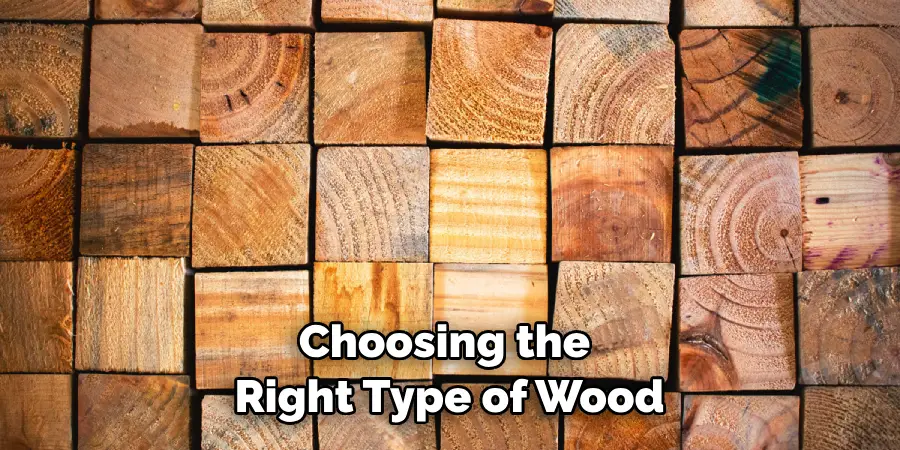
When it comes to decoupaging wood, choosing the right type of wood is very important. Softwoods such as pine and fir are an ideal choice for decoupage projects because they tend to be more absorbent than hardwoods like oak and maple.
Also, softwoods usually have a smoother surface which makes them easier to work with. When selecting a piece of wood for your project, ensure it is free from blemishes or defects as these can affect the way the decoupage paper adheres.
In addition, when working with decoupaging on wood, you should also take into consideration the grain of the wood and which direction it runs. This will help ensure that your paper pieces adhere properly and will not tear or pull away from the surface of the wood when applied. It is also important to note that some types of wood may require a primer before decoupaging in order to ensure that the paper will stick securely.
When it comes to adhesives for decoupage, there are many options available. These include both water-soluble and non-soluble glues as well as various types of sealers. You should always choose an adhesive that is specifically designed for decoupaging to ensure a secure bond between wood and paper. Once the glue has been applied, you can then begin to apply your paper pieces in whichever pattern or design you choose.
10 Steps How to Decoupage Wood
1. Gather Your Materials
The first step in decoupaging wood is to gather all of the materials you will need. These include wood, decoupage glue, paintbrushes, scissors, and a variety of decorative papers or fabrics. You may also want to have some sandpaper on hand for smoothing out any rough edges on the wood. Once you have all of your materials gathered, you can begin the decoupaging process.
2. Prepare the Wood
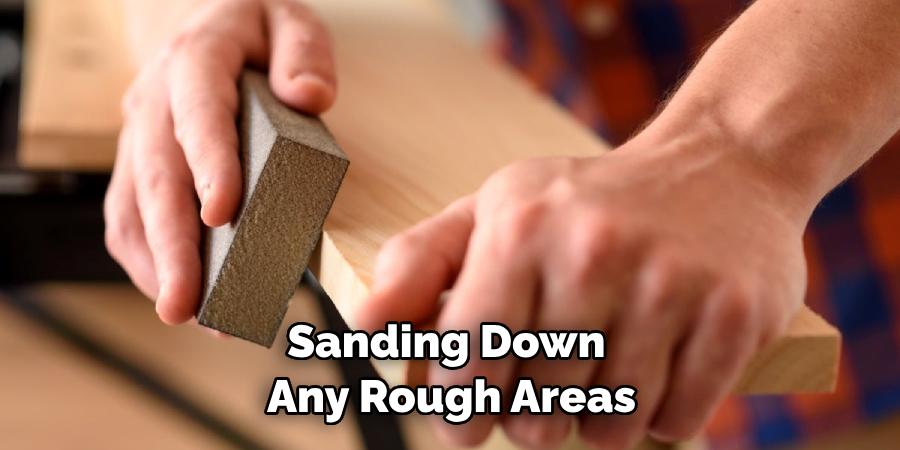
Before you start decoupaging, it is important to prepare the wood by sanding down any rough areas and cleaning off any dirt or dust that may be present. This will help ensure that your finished product looks as good as possible. Once the wood is prepped, you can move on to the next step.
3. Cut Your Decorative Paper
Once your wood is ready for decoupaging, it’s time to cut your decorative paper into small pieces that will fit onto the surface of the wood. Use scissors to cut out shapes or patterns from the paper that will look attractive when applied to the wood surface. Make sure that each piece is slightly larger than its intended area so that there won’t be any gaps between them when they are glued down.
4. Apply Glue
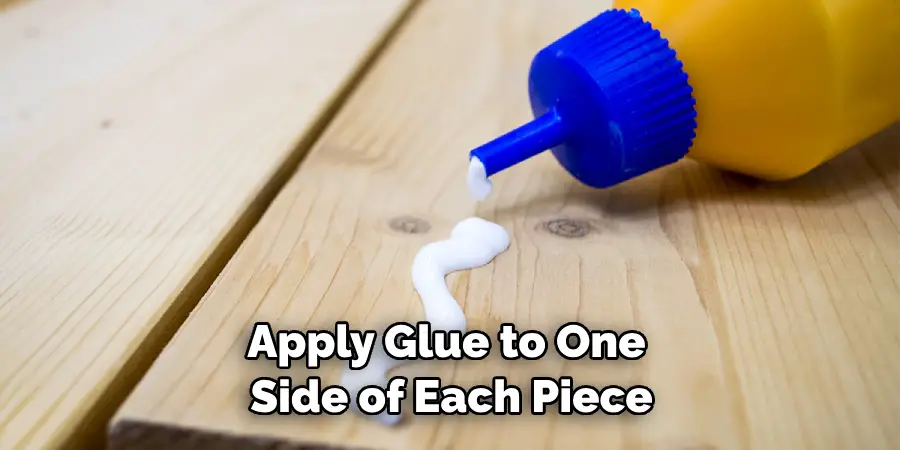
Once your decorative pieces are cut out and ready to go, it’s time to apply glue to one side of each piece and then place them onto the wood surface in whatever design you desire. Make sure that each piece is firmly adhered before moving on to the next step.
5. Smooth Out Any Rough Edges
Once all of your pieces are glued down onto the wood surface, use a damp cloth or sponge to smooth out any rough edges or bumps in order to create a neat and even finish overall. This will help ensure that no gaps remain between each piece after they are dried and sealed with varnish later on in this process.
6. Let Dry Completely
Now it’s time for patience! Allow your work-in-progress project to dry completely before proceeding with further steps in this process; otherwise, you risk ruining all of your hard work up until this point! Depending on how much adhesive was used and how thickly it was applied determines how long drying time will take; however, a minimum of 24 hours should be allowed before continuing with further steps here.
7. Seal With Varnish
After allowing ample drying time for everything involved here thus far (including both glue and paper), it’s now time to seal everything together using varnish or another type of sealant such as polyurethane or lacquer (depending upon what kind of look/finish you desire). Applying multiple coats may be necessary depending on how much coverage is needed; just make sure everything dries completely between each coat application here!
8. Add Finishing Touches
At this point in this process, feel free to add any finishing touches such as additional embellishments (e.g., buttons or beads) if desired! Doing so helps give more character and personality to your project overall while also making it more unique compared with other projects done using similar techniques like decoupage here!
9. Let Everything Cure Fully
It’s now very important not only to allow ample curing/drying time for all materials involved but also to allow enough time for varnish/sealant(s) used previously here too! Doing so helps ensure an even finish overall without leaving behind any sticky residue which could potentially ruin whatever project is being worked on at this stage!
10. Enjoy Your Finished Product!
Finally – enjoy your finished product once everything has been completed & cured fully!! Whether given away as gifts or kept for yourself – these types of projects always make great conversation starters & add unique character & charm wherever displayed afterwards too!!
Things to Consider When Decoupage Wood
Decoupage wood can be a great way to add interest and character to your home décor. However, there are some important things you should consider before starting your project.
First and foremost, make sure you have the right materials on hand. Decoupage requires special papers and adhesives designed specifically for this type of craft. Make sure the paper you choose is specifically designed for decoupage; regular paper won’t stick as well and can be damaged by water. Also, make sure your wood is clean and free from dirt and dust.
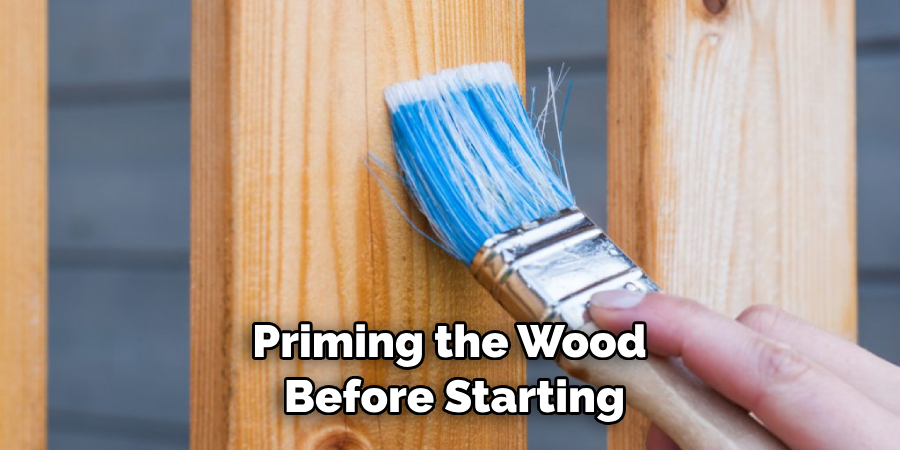
Once you have all the materials needed, it’s time to prepare your surface. Sanding or priming the wood before starting can help ensure a better bond between the adhesive and the wood. If you’re using a dark piece of wood, consider adding some white paint to the surface prior to applying the paper, as this will help bring out the colors in your design.
Finally, make sure to allow ample time for the glue to dry and the project to cure. This is especially important if you are applying varnish or sealer as a topcoat; allowing plenty of time will ensure that your project comes out looking great!
Decoupage is a fun and creative way to add unique decorative elements to any room in your home.
Conclusion
Decoupage projects are helpful for upcycling old wood and crafting beautiful pieces. Whether you choose to decoupage an old table or decorate a wall with an art piece, the possibilities are endless with this medium. Not only is it easy and fun to do, but it will also create a unique statement piece to showcase in any home or office. However, it takes some patience and caution to complete a decoupage project correctly.
With the tips provided here, decoupaging wood should be a breeze! So go ahead and give it a try – you’ll be so proud when you see the finished product that you made yourself! Let us know what kind of cool projects you make with your newfound knowledge on how to decoupage wood in the comments below, we can’t wait to hear about them!

