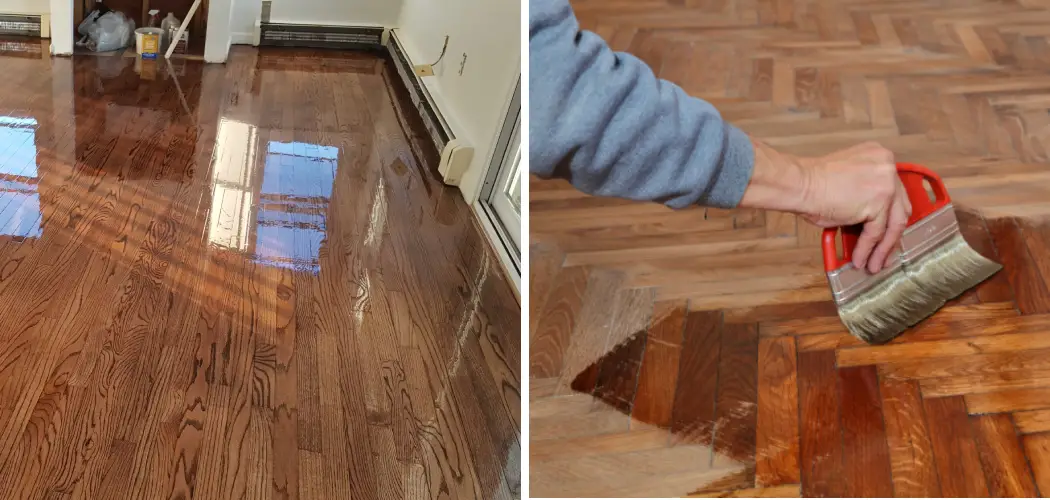
Engineered wood floors are beautiful and can be very affordable. But, they do require a bit more maintenance than traditional wood floors. However, they can also be challenging to stain if you don’t know how to do them properly.
Staining engineered wood can be daunting, but it’s not as hard as you think. With the right tools and a little know-how, you can have your floor look new in no time.
In this article, we’ll show you how to stain engineered wood floor in just a few simple steps!
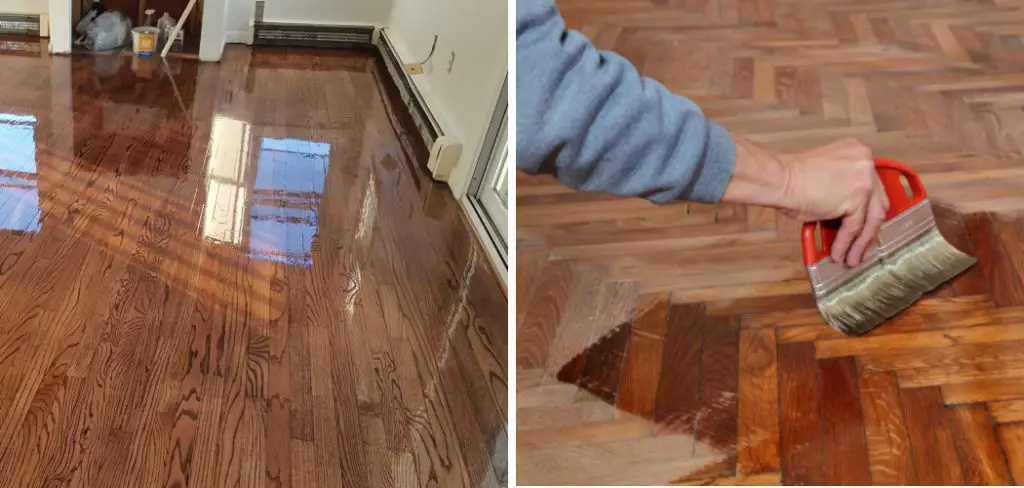
Summary: If you’re looking to add a bit of color or interest to your engineered wood furniture, there are several ways to stain it. One popular method is to use a natural dye, such as tea or coffee. You can also use a paint or wood stain. Just be sure to follow the manufacturer’s instructions for the specific product you’re using.
What Tools Needed to Stain Engineered Wood?
Staining engineered wood can be done with a few simple supplies and the right techniques. Here’s what you need to get started:
- Stain of your choice
- Lint-free clothes or rags
- Wood cleaner
- Fine-grit sandpaper (optional)
These are the necessary tools to get started on how to stain engineered wood.
8 Techniques on How to Stain Engineered Wood
If you want to know how to stain engineered wood the right way, then follow these key techniques:
Technique 1: Use a Wood Cleaner
Start by cleaning the engineered wood with a quality wood cleaner. This will remove any dirt, dust, and debris that could prevent the stain from evenly soaking into the wood. Also, you can use fine-grit sandpaper for sanding the wood’s surface lightly. This will create a slightly rough surface to help the stain adhere better.
Technique 2: Choose the Right Stain
Now, select the type of stain you want to use. Oil and water-based stains are available, and each has its own benefits. Oil-based stains are typically more durable and longer-lasting, but they can be difficult to apply and clean up. Water-based stains are easier to work with but don’t last as long.
Technique 3: Prepare the Stain
Once you’ve selected the stain you want to use, it’s time to prepare it for application. If you’re using an oil-based stain, mix it well before use. If you’re using a water-based stain, mix it with water according to the manufacturer’s directions.
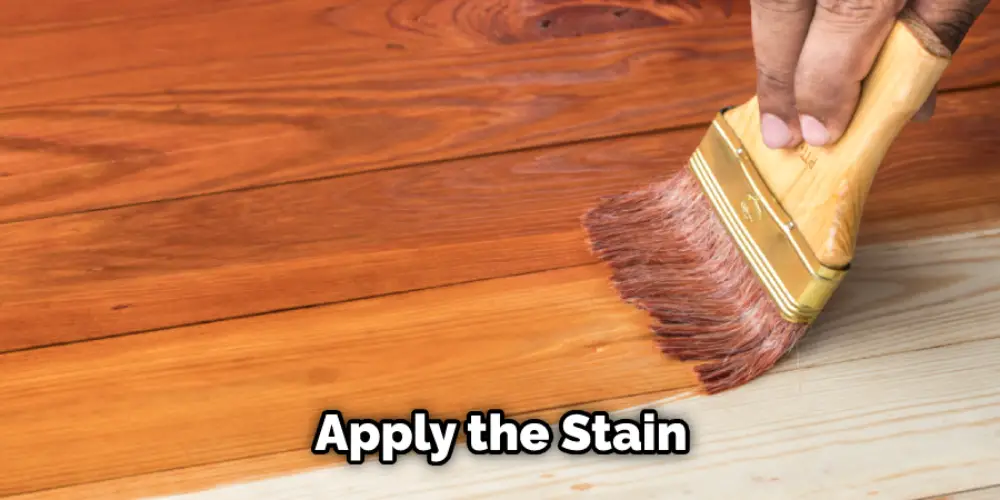
Technique 4: Apply the Stain
Now it’s time to apply the stain to the engineered wood. Use a lint-free cloth or rag to apply the stain in long, even strokes. Work in small sections, so the stain doesn’t have a chance to dry before you’re finished.
Technique 5: Wipe Away Excess Stain
After applying the stain, use a clean cloth or rag to remove any excess. You don’t want to leave any puddles of stain on the surface of the wood. You need to remember that, as with any staining project, it’s always best to start on the side of caution. It’s much easier to add more stain than it is to remove it.
If you do happen to get too much stain on the wood, you can try using a clean cloth or rag soaked in mineral spirits to remove it. Be sure to test this in an inconspicuous area first to ensure it doesn’t damage the wood.
You Can Check It Out To Clean Oiled Wood Floors
Technique 6: Let the Stain Dry
Once you’ve wiped away the excess stain, let the wood dry completely. This can take anywhere from a few hours to a couple of days, depending on the type of stain you used and the room’s temperature. Otherwise, the stain may not set properly and can even start to peel. If you’re impatient, speed up the drying process by using a hair dryer on its lowest heat setting.
After the engineered wood is completely dry, take a look at it in various lighting conditions to see how evenly the stain was absorbed. If you notice any patchy or uneven areas, you can go back and lightly sand those areas before applying another coat of stain. Once you’re happy with the results, apply a layer of sealer to protect the stain from wear and tear.

Technique 7: Apply Second Coat If Necessary
If you’re unhappy with the first coat of stain coverage, you can always apply a second coat. Just be sure to let the first coat dry completely before applying the second. No need to sand in between coats, but you may want to lightly scuff the surface with fine-grit sandpaper to help the second coat of stain adhere better.
Applying a second coat of stain is a great way to get richer color and deeper coverage on your engineered wood floors. If you’re unhappy with the first coat of stain, don’t worry! You can always apply a second coat.
Just be sure to let the first coat dry completely before applying the second. There’s no need to sand in between coats, but you may want to lightly scuff the surface with fine-grit sandpaper to help the second coat of stain adhere better.
Technique 8: Clean Up Your Supplies
Once you’re finished staining the engineered wood, it’s time to clean up your supplies. Be sure to dispose of any rags or clothes that are soaked with stains. If you don’t, they may cause rust or other damage. Next, clean your brush with soap and water. Once it’s clean, put it away in a safe place for next time.
Finally, make sure to seal the can of stain that you used tightly. The stain will eventually dry out and be unusable if you don’t.
After all of the work is done, you can sit back and enjoy your newly stained engineered wood. Your hard work will pay off when you see the beautiful new color of your floors or furniture.
You Can Check It Out To Use Unicorn Spit Gel Stain

Why Staining is Important for Engineered Wood?
Staining your engineered wood flooring is important for a couple of reasons. First, it helps to protect the wood from dirt, water, and other elements that can damage the surface. Second, staining can give the flooring a beautiful, rich color that enhances the overall look of your home.
Third, it can also help to hide any imperfections in the wood. Fourth, it can provide a barrier against scratches and other wear and tear. Finally, it can make the flooring easier to clean and maintain.
How to Maintain Stained Engineered Wood?
Stained engineered wood is a beautiful and durable flooring option. However, it requires some special care and maintenance to keep it looking its best. Here are some tips on how to maintain your stained engineered wood floors:
- Sweep or vacuum regularly to remove dirt and debris.
- Use a damp mop or cloth to clean the floors, taking care not to soak them.
- Avoid using harsh chemicals or cleaners on the floors.
- Stained engineered wood floors can be susceptible to scratches and scuffs. Use furniture pads or mats under heavy furniture and protect your floors from pet nails.
- Be sure to clean up spills quickly to avoid staining.
- Re-stain and seal the floors as needed to keep them looking fresh and new.
Your stained engineered wood floors will last for many years with proper care and maintenance. Enjoy their beauty and durability for years to come!
What are the Best Options to Finish Engineered Wood Flooring?
Three common ways to finish engineered wood flooring are floating, nail down, and glue down. Floating is the most popular installation method for engineered wood flooring. This is because it is the easiest to install and can be done by a do-it-yourselfer with little experience. The planks are not attached to the subfloor with nails or glue in a floating installation.

Instead, they are connected to each other using a tongue-and-groove system and then “float” over a foam pad. This type of installation is ideal for rooms subject to temperature and humidity changes, as it allows the flooring to expand and contract without damage.
Nail-down installation is similar to that of solid hardwood flooring. In this method, the planks are attached to the subfloor with nails or staples. This type of installation is more difficult than floating and should be done by a professional. However, it is more durable than a floating installation and is ideal for rooms that do not experience changes in temperature or humidity.
Glue-down installation is similar to nail-down, but the planks are attached to the subfloor with glue instead of nails or staples. This type of installation is more difficult than floating and should be done by a professional. However, it is more durable than a floating installation and is ideal for rooms that do not experience changes in temperature or humidity.
Can You Change the Color of Engineered Hardwood?
Many people love the look of engineered hardwood because it offers a beautiful wood grain appearance. But what if you want to change the color of your engineered hardwood? Is it possible?
The short answer is yes, but there are a few things you need to know before you start staining your engineered hardwood floors. So you can go for it and achieve the perfect color for your home.
Things You Need to Keep in Mind Before Staining Engineered Wood
- Make sure the wood is clean and free of dirt or debris before beginning.
- Always test the stain in an inconspicuous area first to ensure desired results.
- Follow the manufacturer’s instructions for how long to let the stain sit before wiping it off.
- Use a lint-free cloth or brush to apply the stain evenly.
- Wipe off any excess stain immediately.
- Allow the stain to dry completely before applying a topcoat or sealer if desired.
- Re-stain regularly as needed to maintain the color and finish.
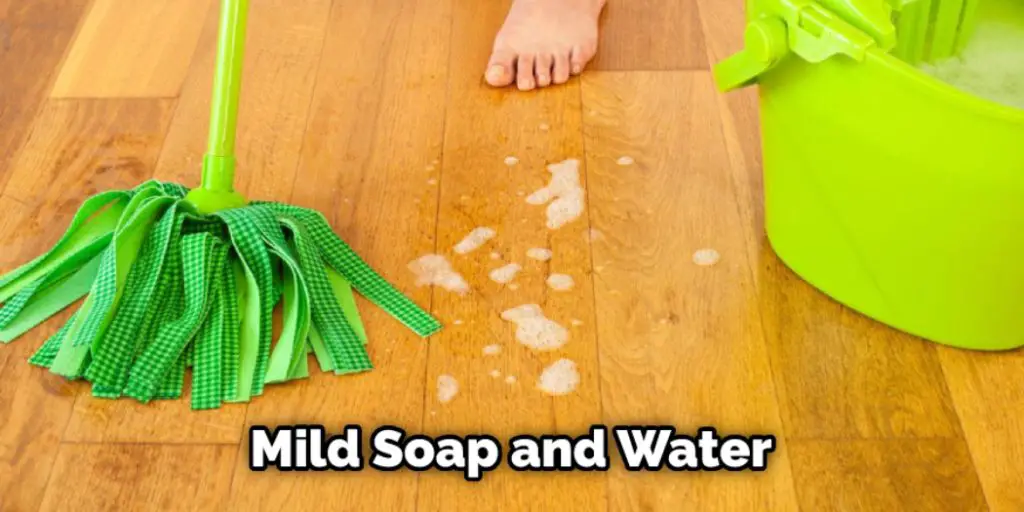
- When cleaning engineered wood floors, use only mild soap and water or a pH-neutral cleaner.
- Avoid using harsh chemicals or cleaners that could damage the wood.
- Consult with a professional if you have any questions or concerns about staining engineered wood.
Conclusion
In conclusion, there are a few techniques on how to stain engineered wood. Depending on the look that you are trying to achieve, one of these methods is likely to work better than the others. If you are unsure which techniques will give you the desired results, experiment until you find the right one.
With a little bit of effort, you should be able to get beautiful and long-lasting results. If you read the how-to-stain engineered wood reviews, you will know that there are many different ways to achieve the perfect finish. Good luck!

