Are you looking for a way to give your plywood project an updated look? Staining birch plywood is the perfect solution! Not only does it help to bring out the unique grain of the wood, but it also adds beautiful color that can really make your project stand out.
Here, we will walk you through everything you need to know about how to stain birch plywood so that you can achieve the exact look that compliments your project. Let’s get started!
Staining wood can add a beautiful finish to any project, but staining birch plywood can be trickier than other types of wood. Birch plywood is very light in color, and its open grain makes it difficult for the stain to penetrate and remain even after the staining process.
If done correctly, however, you can achieve a truly stunning look that enhances the natural beauty of the birch plywood grain. In this blog post, we will take you through all of the steps necessary so that you, too can successfully create a visually appealing look with your own birch plywood projects.
Why Do You Need to Stain Birch Plywood?
1. To Enhance the Natural Beauty of Birch Plywood
One of the main reasons for staining birch plywood is to accentuate its natural beauty. Birchwood has a beautiful grain pattern that can be further highlighted by using different types of stains. The color of the stain will depend on the type of wood you are using and can range from light browns to darker shades.
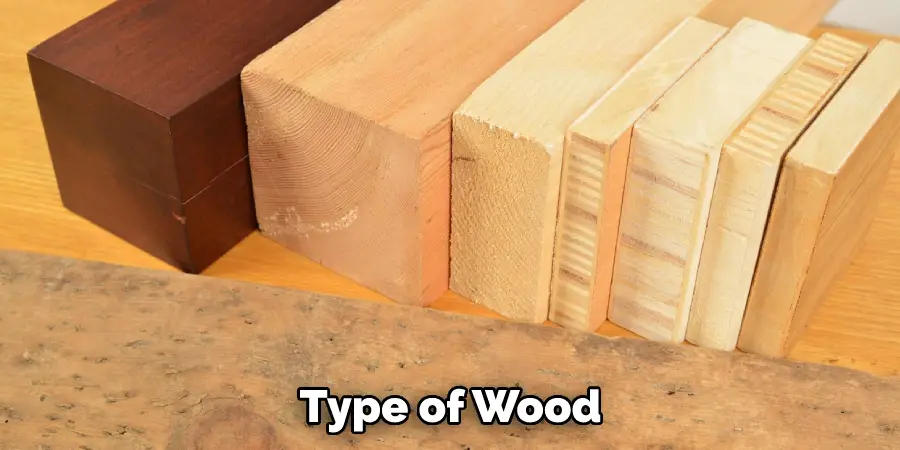
2. To Protect Against Damage
Another reason for staining birch plywood is that it helps protect the wood against damage and wear. Applying a clear sealant or stain to the wood will help prevent water, moisture, and dirt from penetrating into the material. This will help ensure that your birch plywood remains in good condition for many years.
3. To Create Unique Finishes
Staining is also great for creating unique finishes on birch plywood. Different types of stains can be used to create a range of different colors, from light hues to deeper shades. You can even mix and match different stains to create a completely unique look. Stains are available in both oil-based and water-based varieties, so you can choose the option that works best for your project.
4. To Change the Tone of Your Room
Finally, staining birch plywood is a great way to change the overall tone of a room or area in your home. Different shades and tones can help create a more inviting atmosphere, as well as transform any space into something truly unique. Whether you’re looking for an airy, light feel or a more dramatic, bold look, staining birch plywood is the perfect way to achieve it.
Staining birch plywood is an easy and effective way to bring out its natural beauty and protect it from damage. With a range of stains available, you can create unique finishes and customize the look of your birch plywood to suit any design or style.
How to Stain Birch Plywood in 5 Easy Steps
Step 1: Sandpaper the Birch Plywood
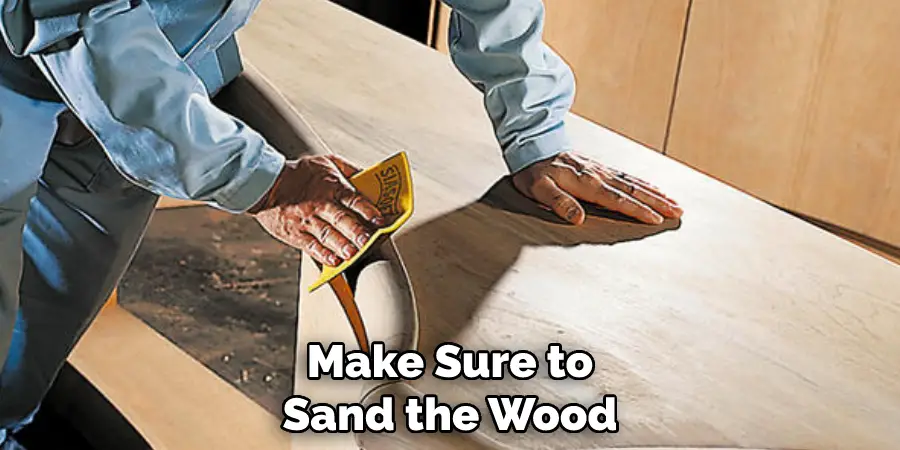
To ensure a smooth, even finish when staining your birch plywood, use fine-grit sandpaper to lightly sand the surface. This will remove any imperfections or unevenness in the wood, creating a clean canvas for you to work with. Also, be careful not to sand too deep, as this can damage the plywood.

Step 2: Clean the Birch Plywood
Once you have sanded the surface of your birch plywood, it is important to make sure that it is completely free of any dust or other debris. Use a damp cloth and warm water to wipe down the wood, and make sure it is completely dry before you begin to stain.
Step 3: Apply a Wood Conditioner
Applying a wood conditioner before staining your birch plywood will help the stain penetrate into the wood more evenly, resulting in a smoother finish. Simply apply the conditioner with a brush or cloth and let it sit for about 15 minutes before wiping off any excess.
Step 4: Apply the Stain
Once you have prepped your birch plywood, it is time to apply the stain. Use a brush or cloth to spread an even layer of stain onto the wood and let it sit for about 10 minutes before wiping off any remaining product. You can also use different techniques such as stippling, rubbing or wiping to achieve different looks.
Step 5: Seal the Stain
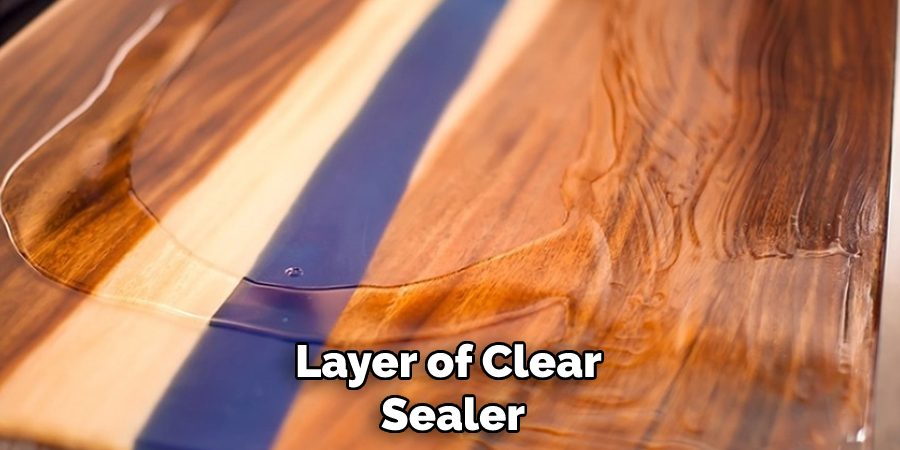
Once you have applied and wiped off the stain, it is important to seal it so that your work lasts. Use a brush or cloth to apply a thin layer of clear sealer on top of the stained wood and let it dry completely before using.
Following these five steps will ensure that your birch plywood is stained properly and evenly for a beautiful finish. It is important to note, however, that the type of stain you use will play a role in the final look of your project. Therefore, it is wise to do some research ahead of time to make sure that you choose the right stain for your needs. With a little bit of practice, staining birch plywood can be easy and rewarding! Good luck!
Some Additional Tips to Stain Birch Plywood
1. Do Not Use Dye Stains on Birch Plywood
Dyes are transparent and will not highlight the distinctive grain pattern of birch plywood. So if you want to bring out the grain of birch plywood, it is best to use a pigmented wood stain. Also, make sure to test it on a scrap piece of plywood first.
2. Use Sandpaper Before Staining
Birch plywood has a hard, smooth surface that can make it difficult for the stain to penetrate. So before applying the stain, sand the plywood with fine-grit sandpaper in order to help the stain get absorbed into the wood.
3. Finish with Polyurethane
Once you’ve stained your birch plywood, it is important to protect the surface from wear and tear. The best way to do this is by finishing the wood with a coat of polyurethane. This will help seal in the stain and give the plywood a glossy shine.
4. Seal the Plywood Before Staining
Before staining your birch plywood project, you should seal the surface with at least two coats of clear sanding sealer. This will prevent the grain from absorbing too much of the stain and make sure it is evenly distributed across the surface.
Following these steps will ensure that you get beautiful results when staining your birch plywood project. With a bit of preparation and patience, you can achieve a stunning finish that will last for many years to come. Good luck!
Frequently Asked Questions
What Precautions Should be Taken When Staining Birch Plywood?
When staining birch plywood, it is important to take certain precautions in order to get the best results. First, you should always wear protective gloves and eye protection when handling any chemicals or wood stains.
It is also important to use high-quality sandpaper and apply several coats of wood stain in order to get a consistent color. Finally, make sure to follow all directions on the product label when applying and removing the stain.
What Types of Stain Work Best on Birch Plywood?
Oil-based stains are typically the best option for staining birch plywood due to their durability and ability to bring out the natural grain of the wood. However, water-based stains can also work well if they are applied correctly and evenly. For a lighter color, you may want to opt for a gel stain rather than an oil- or water-based option.
What is the Best Way to Apply Stain?
The best way to apply stain is by using a brush or cloth. If using a brush, make sure to use smooth strokes to avoid streaks and ensure an even finish. You should also work in small sections at a time so that the stain has time to dry before being exposed to water or moisture. Additionally, always remember to wipe away any excess stains with a clean cloth. Also, make sure to let the stain dry completely before sealing the wood.
Are There Any Special Considerations When Staining Birch Plywood?
Yes, there are a few special considerations when staining birch plywood. First, it is important to use a high-quality wood sealer that is designed for exterior use in order to protect your project from the elements. Additionally, it is best to apply multiple thin coats of a stain rather than one thick coat.
This will help ensure consistent color and finish. Finally, make sure to sand the wood with high-grit sandpaper before applying any stains or sealers. Doing so will help create a smooth surface for a professional-looking finish.
Conclusion
We’ve discussed the factors that should be considered before staining birch plywood, the best methods to prepare and stain your wood, and the different types of stains available. Ultimately, you have to decide which method and stain is best suited to your vision.
Staining birch plywood doesn’t have to be intimidating or overwhelming; it can also be incredibly enjoyable. After all, creating art from something as simple and common as wood is truly amazing.
Now you know about how to stain birch plywood! If done correctly, your finished product will last for generations to come and be something you are proud of! So no matter what route you take with birch plywood staining, make sure you take your time when preparing and applying it, so it will turn out looking precisely how you want it and serve your needs for years to come!

