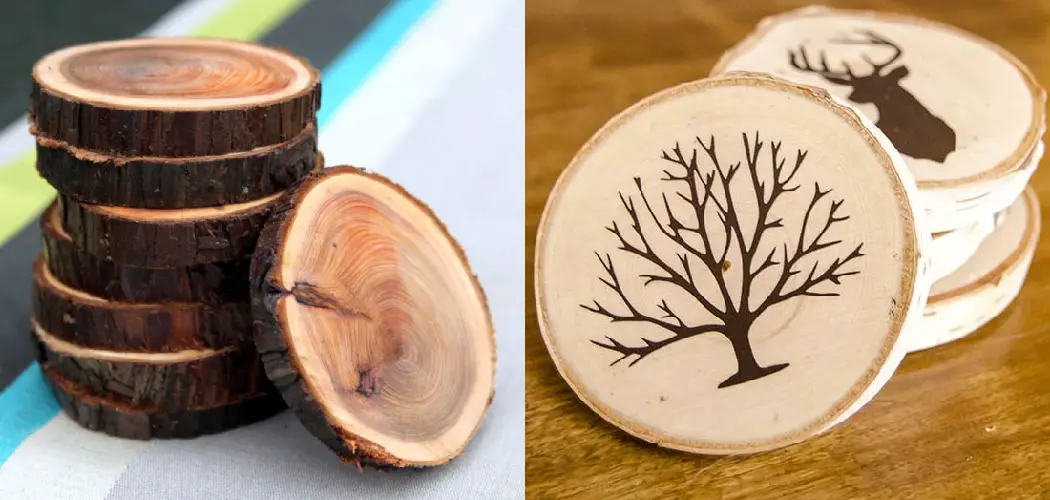
If you’re looking for an easy (and cheap) way to add some personality to your home décor, painted wood coasters are a great option. They’re also a great DIY project for kids. The only downside is that they can be prone to water damage if not sealed properly. This post will show you how to seal painted wood coasters. Let’s get started.
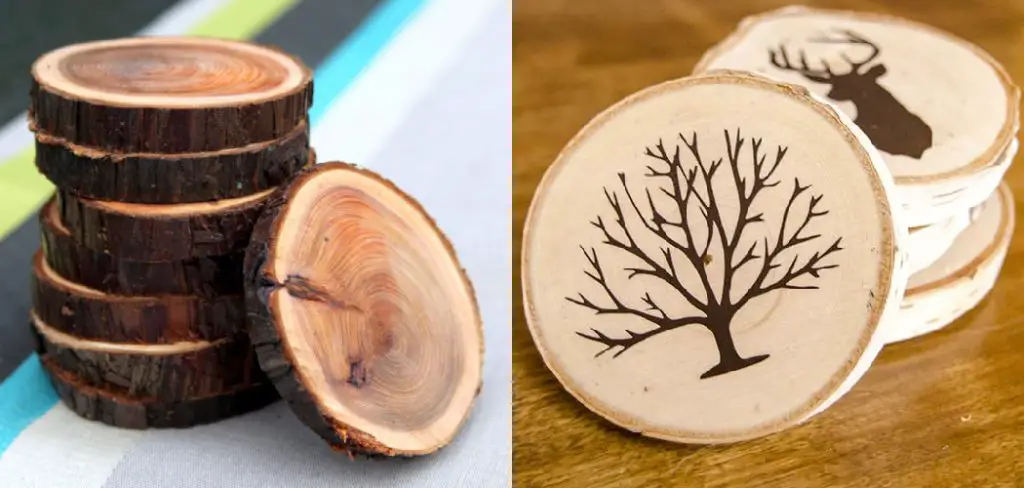
What Causes Water Damage to Painted Wood Coasters?
Painted wood coasters are susceptible to water damage for a few reasons. First, the paint itself is not water-resistant. This means that if water seeps through the paint and into the wood, it can cause the paint to blister and peel. Second, even if the paint is water-resistant, the wood itself is not.
This means that if water gets into the wood, it can cause the wood to swell and warp. Another reason why painted wood coasters are susceptible to water damage is that they’re often made with porous materials like cork or felt. These materials can absorb water, which can then seep into the wood and cause damage.
Why Seal Painted Wood Coasters?
Sealing your coasters is important because it will create a barrier between the wood and the moisture from your drinks. This will help to prevent the wood from warping or cracking over time. Sealing the coasters before you use them for the first time is also a good idea to help protect the wood and ensure that they last for as long as possible.
Another reason to seal your coasters is to protect the paint or other finish that you may have applied to them. In addition, sealing the coasters will help to keep the finish from chipping or fading over time. Lastly, sealing your coasters will also help prevent staining. If you spill a dark drink on an unsealed coaster, the stain will likely be permanent. However, if you spill the same drink on a sealed coaster, it is much more likely that the stain will come out easily with a little bit of scrubbing.
Needed Materials:
Before you start sealing your painted wood coasters, make sure you have the following materials on hand:
Sealer (Such as Polyurethane or Acrylic Sealer):
There are a few different options for sealers when it comes to painted wood coasters. You can choose between polyurethane or acrylic sealer, both of which will provide a strong protective layer on your coasters.
Paintbrush:
A small paintbrush is best for applying the sealer. Make sure it is clean and in good condition before using it. If you don’t have a paintbrush, you can also use a foam brush or a lint-free cloth.
Sandpaper:
Before sealing your coasters, it’s important to lightly sand them to smooth out any imperfections. Use a fine-grit sandpaper (around 220 grit) and make sure to wipe off any dust afterwards.
Protective Equipment:
Since sealers can be toxic, it’s important to wear protective gear such as gloves and a mask while applying the sealer.
Some Effective Ways on How to Seal Painted Wood Coasters:
1. Sanding Your Coasters
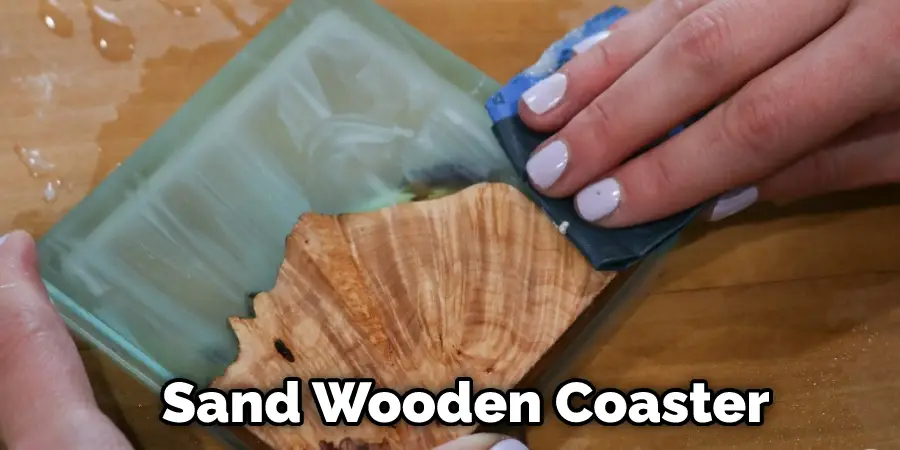
The first step in how to seal painted wood coasters is to sand them down. This will help to rough up the surface of the wood and allow the sealant to better adhere to the coaster. You can use fine-grit sandpaper for this step. First, sand the grain in the direction of the grain to remove any raised edges. Then, sand is perpendicular to the grain to create a more even surface. If you’re using cork or felt, you don’t need to sand them. The material is already porous, so the sealant will be able to penetrate it easily.
2. Cleaning Your Coasters
After you’ve sanded your coasters, you’ll need to clean them to remove any dust or debris. The best way to do this is to wipe them down with a damp cloth. You can also use a vacuum with a soft brush attachment to gently remove any dust from the surface—first, vacuum in the direction of the grain. Then, vacuum perpendicular to the grain to ensure that all of the dust is removed. If you’re using cork or felt, you can skip this step. It’s not necessary to clean them since they are porous and will absorb the sealant.
3. Use a Water-based Polyurethane
Once your coasters are clean and sanded, you’re ready to apply the sealant. We recommend using water-based polyurethane for this step. Polyurethane is a clear finish that will protect your coasters from water damage without changing the color or appearance.
It’s also easy to apply and can be found at most hardware stores. To apply the polyurethane, start by stirring it well. Then, apply a thin, even layer to the coasters using a foam brush or a lint-free cloth. Make sure to get into all the nooks and crannies. Once you’ve covered the entire surface, allow the coasters to dry for at least 24 hours. After they’re dry, you can apply a second coat if you’d like. Just be sure to let them dry completely before using them.
4. Use an Oil-based Polyurethane
If you’d prefer to use an oil-based polyurethane, you’ll find that it’s much more durable than water-based polyurethane. It will also yellow the paint slightly, so keep that in mind when choosing your paint color. You’ll need to apply at least three coats of oil-based polyurethane, allowing each coat to dry for 24 hours before applying the next. If you’re planning on using your coasters outdoors, oil-based polyurethane is better than water-based. You may also want to use a spray-on polyurethane for easier application.
5. Use a Polycrylic
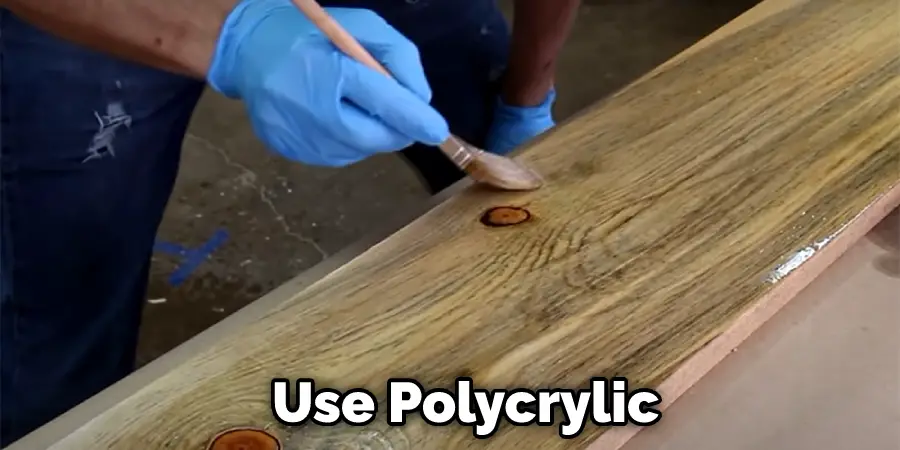
Another option for sealing your coasters is to use polycrylic. Polycrylic is a water-based product that dries clear and has little to no odor. It’s also non-toxic, making it a great option if you’re sealing coasters that will be used for food and drinks. Brush on a thin layer of polyacrylic and allow it to dry completely before using your coasters. You can apply multiple coats for added protection. But be sure to let each coat dry completely before applying the next one. The polyacrylic should be fully dry within 24 hours.
6. Use a Varnish
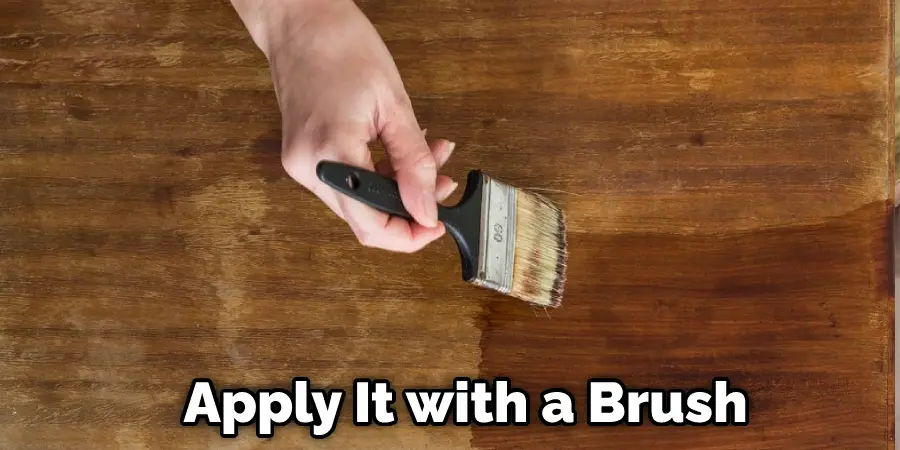
A varnish is a good option if you’re looking for a durable sealant. It’s available in both water-based and oil-based formulas, so choose the one that will work best with your paint. First, apply a thin layer of varnish with a brush, making sure to work it into all the crevices. Then, let it dry completely before adding a second coat. If you’re using an oil-based varnish, you may need to apply a third coat to achieve a fully sealed surface. It’s also important to note that varnish will darken the color of your paint slightly. You can test this by first applying a small amount to an inconspicuous area.
7. Use a Clear Coat
Another option for sealing your coasters is to use a clear coat. Clear coats are available in both water-based and oil-based formulas. Oil-based clear coats tend to yellow over time, so choose a water-based clear coat if you want your coasters to remain bright and vibrant. To apply a clear coat, brush it on with a soft-bristled brush, making sure to cover the entire surface of the coaster. Allow the clear coat to dry completely before using or handling the coasters. Either method is always a good idea for testing a small coaster area before sealing the entire piece. This will allow you to see how the sealant will affect the paint color and finish.
8. Use Lacquer
Lacquer is a clear finish that dries quickly and offers a high level of protection. It’s available in both spray and brush-on versions, making it a good option for both large and small projects. Lacquer can be applied directly over paint, so it’s a good choice if you want to seal your coasters without changing the color. To apply lacquer, first, make sure that your coasters are completely dry. Then, apply a thin layer of lacquer with a brush or sprayer. Allow the lacquer to dry for at least 24 hours before using your coasters.
9. Use Enamel
Enamel is a clear finish that’s similar to lacquer. It dries quickly and offers a high level of protection. You can apply it with a brush, roller, or spray gun. To use enamel to seal your coasters, first sand the surface of the wood to create a smooth base. Then, apply a thin layer of enamel with a brush or roller. Allow the first coat to dry for two hours, then apply a second coat. Let the coasters dry overnight before using them. Enamel is a durable finish that will protect your coasters from water damage and stains. However, it’s not as heat-resistant as other finishes, so be careful not to place hot mugs or cups on your coasters.
10. Use Shellac
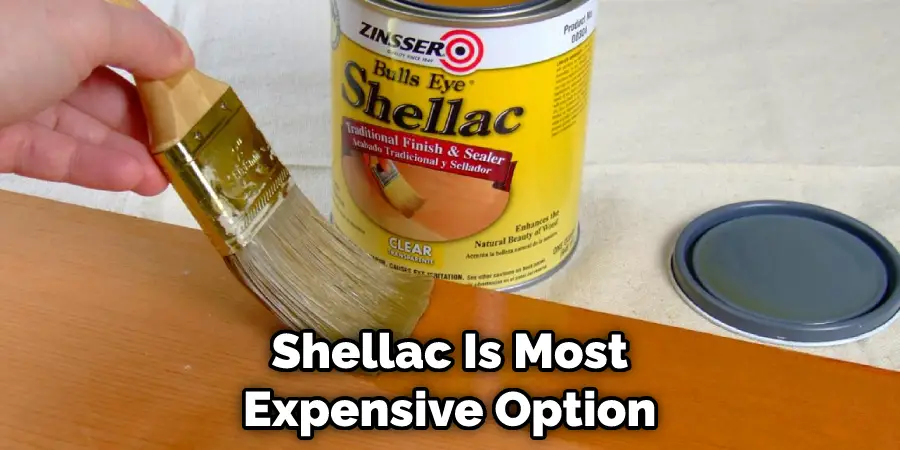
Shellac is a great option for sealing painted wood coasters because it’s very durable and provides high protection. Shellac is a natural resin that’s derived from the lac bug. It’s available in both liquid and spray form. Shellac has a very strong odor, so it’s important to use it in a well-ventilated area. It’s also flammable, so be sure to keep it away from any open flames. When using shellac, always follow the manufacturer’s instructions. Apply a thin layer of shellac to the coaster using a brush or sprayer. Allow it to dry for the recommended amount of time before applying another layer. Repeat this process until you have achieved the desired level of protection.
Following these steps will ensure that your painted wood coasters are properly sealed and protected. Now, you can confidently use them without worrying about water damage or stains. Remember to choose the best sealant for your specific project and always follow the manufacturer’s instructions for application and drying times. With the right sealant, your painted wood coasters will last for many years to come!
How Much Does It Cost to Seal Painted Wood Coasters?
Usually, the cost of sealing wood coasters is about 10 to 20 cents per coaster. This will depend on the type of sealer you use and how many coats you apply. Water-based sealants are typically less expensive than oil-based sealants. However, oil-based sealants tend to be more durable and offer better protection. Clear coats are also available in both water-based and oil-based formulas. Water-based clear coats are typically less expensive, but oil-based clear coats offer better protection. Shellac is the most expensive option but also the most durable.
You can also save money by purchasing a larger quantity of sealant and using it for multiple coaster projects. It’s important to properly calculate the cost of sealers when planning your project budget. Remember to also factor in the cost of brushes, sprayers, or other tools that you may need to apply the sealer.
Tips for Sealing Painted Wood Coasters:
- Always test a small area before sealing the entire piece to see how the sealant will affect the paint color and finish.
- Use a well-ventilated area when applying sealers, as some may have strong odors.
- Make sure to let each coat of sealer dry completely before applying the next one.
- For extra protection, apply at least three coats of sealer.
- Take the time to properly sand and prepare the surface of your coasters before sealing for a smooth and even finish.
- Consider using a heat-resistant sealant if you plan on using your coasters for hot drinks or items.
- Regularly clean and maintain your sealed wood coasters to ensure they continue to look their best.
- Always follow the manufacturer’s instructions for the specific sealer you are using. The proper application and drying times will ensure the best results.
- Consider adding a cork or felt backing to your coasters to prevent any potential damage to furniture surfaces.
- Have fun with different types of sealants, such as varnish, lacquer, enamel, and shellac, to achieve different levels of protection and finishes for your coasters. Experiment with different techniques to see which one works best for you.
- Remember that proper sealing can not only protect your painted wood coasters but also enhance their overall appearance and longevity. It’s an important step in any coaster project, so take the time to do it right.
Frequently Asked Questions:
Q: How Long Do Painted Wood Coasters Need to Dry Before Sealing?
A: It’s best to allow your painted wood coasters to dry for a full 24 hours before sealing them. This ensures that the paint is completely dry and won’t be affected by the sealant. You can also use a hairdryer on low heat to speed up the drying process. But if you’re in a rush, be sure to test the painted surface before applying the sealant.
Q: Can I Use Any Type of Paint for Wood Coasters?
A: Yes, you can use any type of paint for wood coasters. However, keep in mind that some paints may require a longer drying time before sealing. It’s also important to choose a paint that is suitable for the type of sealant you plan to use. The type of paint you use will also affect the durability and longevity of your coasters, so choose a high-quality paint for the best results.
Q: How Often Should I Re-Seal My Coasters?
A: The frequency of re-sealing your coaster will depend on how often they are used and the type of sealant you use. Generally, it is recommended to re-seal your coasters every 6 to 12 months for maximum protection. However, if you notice any damage or wear on the coating, it’s best to re-seal them immediately. You can also test the effectiveness of your sealant by placing a drop of water on the coaster and seeing if it beads up or is absorbed. If it’s absorbed, it’s time to re-seal.
Q: Can I Use My Coasters Outdoors?
A: Yes, you can use your coasters outdoors. However, it’s important to choose a sealant that is suitable for outdoor use and can withstand weather conditions. Also, be sure to regularly re-seal your coasters if they are exposed to the elements. It’s also a good idea to bring them indoors during extreme weather conditions to prolong their lifespan.
Conclusion Paragraph:
So there you have it! Your very own set of how to seal painted wood coasters. Following these simple steps will seal and protect your coasters against water damage, heat damage, and scratches. Show them off to your friends and family – they’ll be impressed by your handiwork. Have fun with this project, and happy crafting!
You Can Check It Out To Oxidize Wood
You May Also Read: How to Darken Cherry Wood

