Are you dealing with unsightly bumps and imperfections in the polyurethane finish on your furniture? Polyurethane is a durable, protective coating commonly used to refinish hardwood surfaces such as counters and floors. Unfortunately, it’s not immune to becoming bumpy or distorted over time due to factors like humidity, age, or sun exposure.
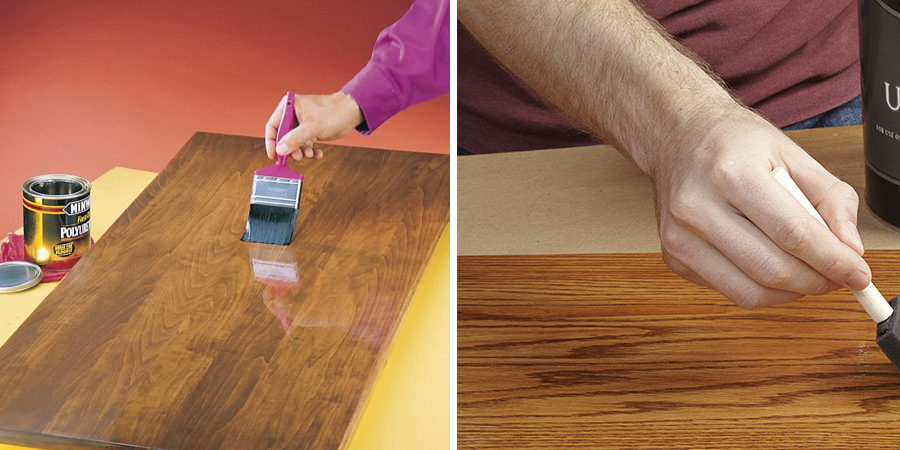
Luckily, there are some simple steps you can take to restore the surface of your finished wood to its smooth appearance. In this blog post, we’ll cover all the best practices for how to get bumps out of polyurethane finish so you can enjoy your beautiful furniture again!
Tools You Will Need
- Sandpaper in various grits (120, 220, 400)
- Vacuum
- Soft cloth
- Mineral Spirits or Naphtha
- Foam brush
- Polyurethane finish of the same type and color as the existing finish.
8 Steps Guide on How to Get Bumps Out of Polyurethane Finish
1. Vacuum the Area
Vacuuming the area is a great first step to getting bumps out of polyurethane finishes. It removes any dust and debris that could rub against the finish and make the problem worse.
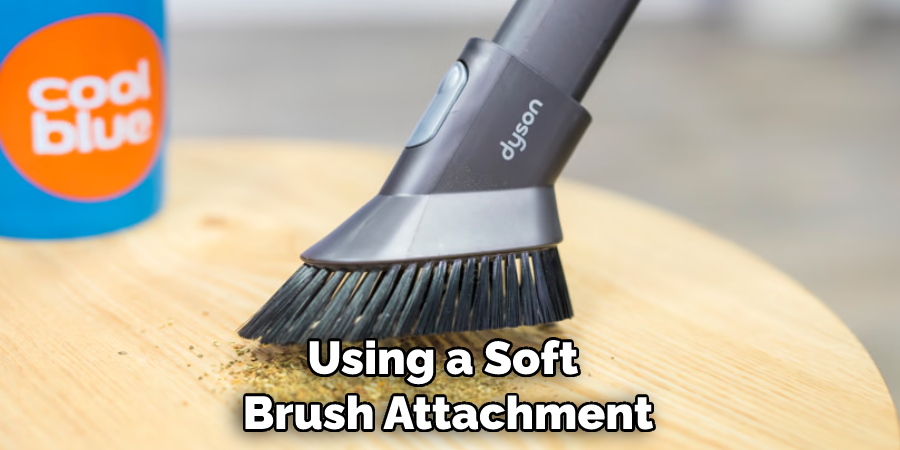
Additionally, using a soft brush attachment on your vacuum cleaner helps to ensure that you don’t accidentally scratch or cause more damage while cleaning the surface. Once your area is vacuumed, you can employ other solutions to help smooth the finish.
2. Sand the Finished Wood
Wet sanding is a fantastic way to eliminate any pesky bumps in your polyurethane finish. To get started, you will need 120-grit sandpaper and plenty of water. Simply dip the sandpaper in water before lightly moving it around the area that needs to be leveled out in a circular motion.
After you are done with this process, use a slightly higher grit sandpaper to buff out all the scratches left behind by wet sanding. This will ensure your polyurethane wood finish looks smooth and beautiful!
3. Clean the Area
To ensure a smooth and bubble-free polyurethane finish, it’s important to properly clean the area after sanding has been completed. The most effective way to remove dust particles is to use a soft cloth dampened with mineral spirits or naphtha. Be sure to dispose of these materials safely afterward, as either can be highly flammable and potentially cause serious harm if not handled correctly.
After the brush or paper towels are used to wipe away the solvent, use clean and dry cloths to buff away any excess residue and finish prepping the surface for a perfect finish. Keeping your work area clean while refurbishing items can help make all the difference between success and disappointment!
4. Apply a Thin Coat of Polyurethane Finish
Applying a thin coat of polyurethane finish can help give your furniture a shimmering and smooth look. To ensure the best results, use a foam brush to evenly spread the finish across the area.
Once you have applied the coating, make sure that it has fully dried before proceeding with any other steps. If done correctly, this finishing technique will restore your furniture’s original shine and give it back its former charm.
5. Sand the Area Again
After applying the first coat of polyurethane to the surface, it is important to allow adequate time for it to dry. The total drying time will vary depending on your atmospheric conditions and how thick the coating is, but generally, it should be fully cured in 8 hours or less.
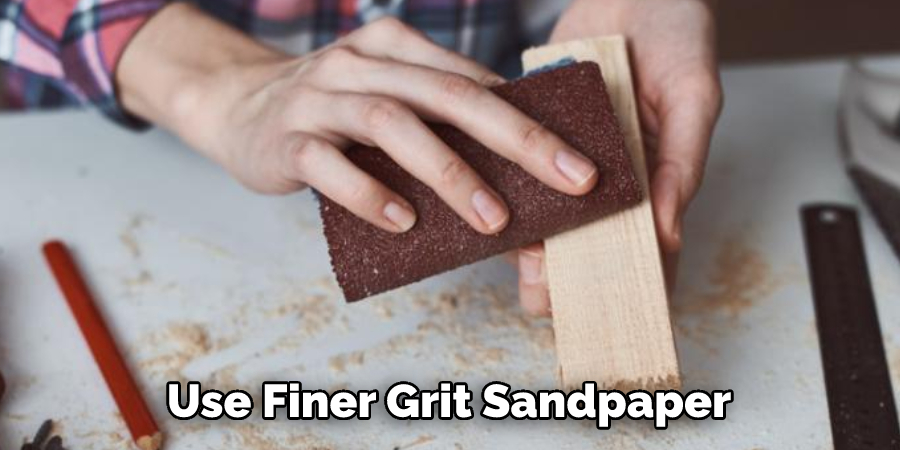
After the initial coat has dried, you should use finer grit sandpaper (220) in a circular motion to ensure that your finish looks smooth and consistent. By giving each layer of the finish light sanding between coats, you can avoid any bumps or lumps that would take away from the final look of your finished product – leaving you with an evenly polished and professional-looking result.
6. Apply Another Thin Coat of Polyurethane Finish
Applying a polyurethane finish to your wood or furniture can bring a luxurious sheen and prevent scratches. However, it is important to ensure the surface is completely clean before you start. Ensure the area is adequately wiped down using mineral spirits or naphtha and a soft cloth.
This procedure will remove any dirt and impurities that could potentially cause unevenness in the finish. Once done, assess if another thin coat of polyurethane finish is required – this step should not be neglected as it provides a protective coating and long-term durability for your project!
7. Smooth and Even Surface
After the second coat of polyurethane has dried, sand the area with 400 grit sandpaper. Sanding helps to ensure an even and smooth surface with no bumps or defects in the finish. Getting bumps out of the polyurethane finish can be a tedious process as it requires many layers of coats.
So sanding and rubbing down with 400-grit sandpaper will give you a great starting point for creating a beautiful finished product. Taking extra care throughout the painting process ensures that all your hard work is reflected in your final masterpiece.
8. Wipe Down the Area
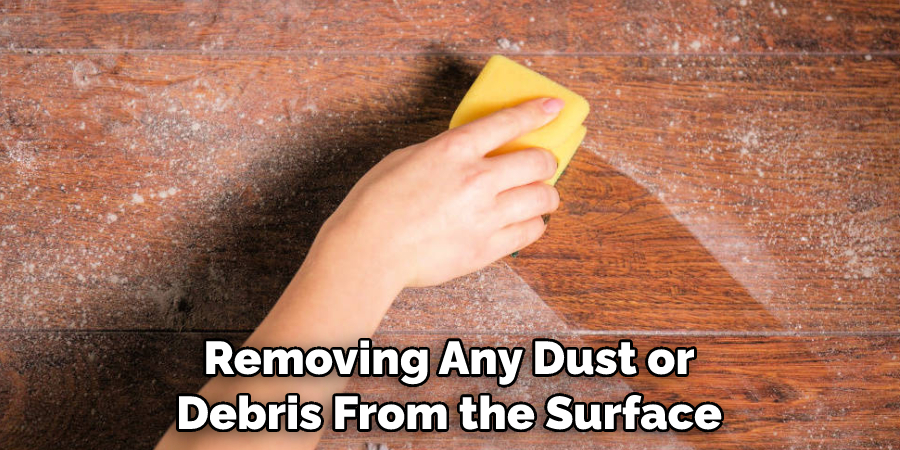
Before you can enjoy a beautiful, glossy finish on your wood project, it is important to take one extra step – wiping down the area with mineral spirits or naphtha and a soft cloth. Doing this will help to remove any dust particles which may have been created from sanding the surface.
Removing dust from the surface before adding a final coat of polyurethane finish will help ensure your project looks as beautiful as possible after it has dried. Taking the extra few moments to complete this task will be worth the effort in the end!
Following these steps for how to get bumps out of polyurethane finish will help you restore your wood furniture and other surfaces to their original beauty. Be sure to use the proper tools and techniques when sanding, cleaning, and applying the new finish to achieve desirable results.
Frequently Asked Questions
How to Fix Bumps in your Polyurethane Finish?
Fixing bumps in a polyurethane finish can be tricky, especially if you’re not familiar with this type of wood coating. Fortunately, it can also be done quickly and easily with the right tools. Start by removing any dust or debris from the surface of the finish before lightly sanding it down with fine-grit sandpaper.
Depending on how deep the bump is, you may need to use something like a rubber mallet to flatten it. After sanding the area, make sure it’s free of dust, and then reapply your polyurethane finish. Allow at least 30 minutes for drying before handling or using your furniture or floor again – that way, you’ll avoid any damage to your fresh finish!
How Deep Do the Bumps Have to Be for Me to Fix Them?
Fixing car bumps can be tricky, but knowing the extent of the damage is the first step. The depth of the bump will determine if it will need to be fixed or if it just needs a touch-up. Bumps that are minimal and have no dent should not take more than half an hour to fix and do not require specialized tools.
More severe damage, like one that creates an indentation, may require additional materials and repairs, with estimates being between two to five hours. If uncertain, take a look at what’s underneath – often there’s a minor surface scratch due to curb rash which can be buffed out, also low-lying scratches can be polished away with regular Elixer compound.
However, larger dents and gouges which penetrate deeper into the exterior will require drum sanding or welding to fully remove them – these types of bumps should always be assessed by a professional to determine the best repair strategy before attempting any DIY measures.
How Long Does It Take for the Finish to Dry After I’ve Fixed the Bumps?
The time it takes for your paint finish to fully dry after fixing bumps depends on several factors, mainly the type of paint and temperature. If you use oil-based paint in a warm space, for example, it may take around 8 hours to completely dry. On the other hand, if you are working with acrylic paints in a cool environment, this process may take anywhere between 24 and 48 hours.
Additionally, the size of the surface you are painting on may also play a role in determining how long the finishing process will take – larger areas require more drying time than smaller ones. It is therefore important to be patient with your project as waiting for that last step of drying will ensure optimal results!
Conclusion
With these tips, you should be able to fix those unsightly bumps in your polyurethane finish. Give them a try and see which one works best for you. If the problem persists or you’re not comfortable taking on the task yourself, don’t hesitate to call in a professional. You should carefully determine how to get bumps out of polyurethane finish.
By following these simple steps, you can repair minor imperfections in your polyurethane finish and enjoy a smooth, glossy surface for years to come. Do you have any tips for fixing scratches or dents in wood furniture? Share them with us in the comments below!
You Can Check It Out to Level a Ceiling With Furring Strips

