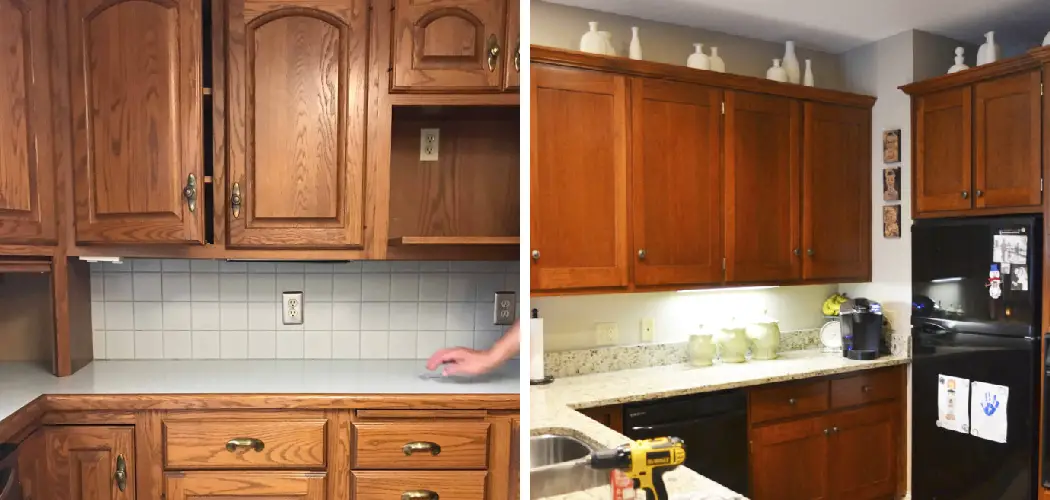
Chalk paint is a popular choice for painting furniture because it produces a subtle, distressed look. While leaving chalk paint cabinets unsealed is usually fine, sealing them can help protect the finish and make them easier to clean. This article will show you how to seal chalk paint kitchen cabinets and offer a few tips on maintaining them. Keep reading to learn more.
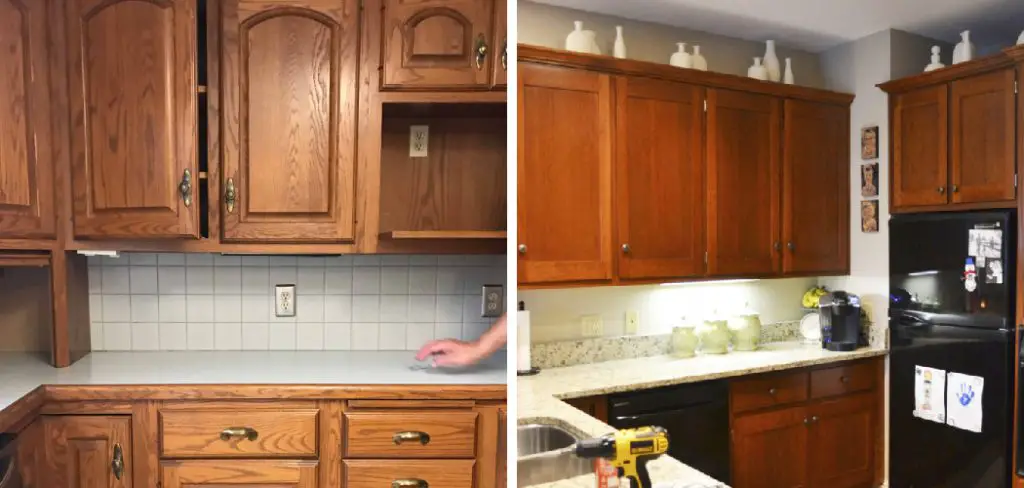
Summary: The best way to seal chalk paint kitchen cabinets is to use a clear sealer. First, clean the cabinet with a degreaser and a scrub brush. Then, mix two parts of sealer to one part of water and apply the sealer to the cabinet using a cloth or a sponge. Let the sealer dry for at least two hours. Finally, wipe off the sealer with a cloth and let the cabinet finish drying.
What Causes Chalk Paint to Deteriorate?
There are a few things that can cause chalk paint to deteriorate. One is exposure to sunlight. UV rays can damage the paint, causing it to fade or become chalky. Another is moisture. Chalk paint is water-based, so that it can be affected by humidity. Moisture can also cause the paint to blister or peel.
Additionally, dirt and grease can build up on unsealed chalk paint, making cleaning difficult. The other main cause of chalk paint deterioration is wear and tear. Over time, the paint will start to show signs of age, such as chipping or cracking. This is especially true if the paint is not sealed. Finally, heat can also cause chalk paint to deteriorate. Extreme temperatures can make the paint brittle, causing it to crack or flake off.
Why Should You Seal Chalk Paint?
There are several reasons why you should seal chalk paint. One is to protect it from the elements. Sealing the paint will create a barrier that will prevent UV rays, moisture, and dirt from damaging it. Additionally, sealing chalk paint will make it more durable and easier to clean. It will also help prevent the paint from chipping or cracking. Another reason to seal chalk paint is to preserve the color.
Unsealed chalk paint can fade over time, but sealing it will help to keep the color bright and vibrant. The other main reason to seal chalk paint is to create a smooth, professional-looking finish. Sealing the paint will give it a shiny, protective layer that will make it look more polished and finished. Finally, sealing chalk paint will also make it easier to touch up.
Step by Step How to Seal Chalk Paint Kitchen Cabinets
1. Clean the Cabinets
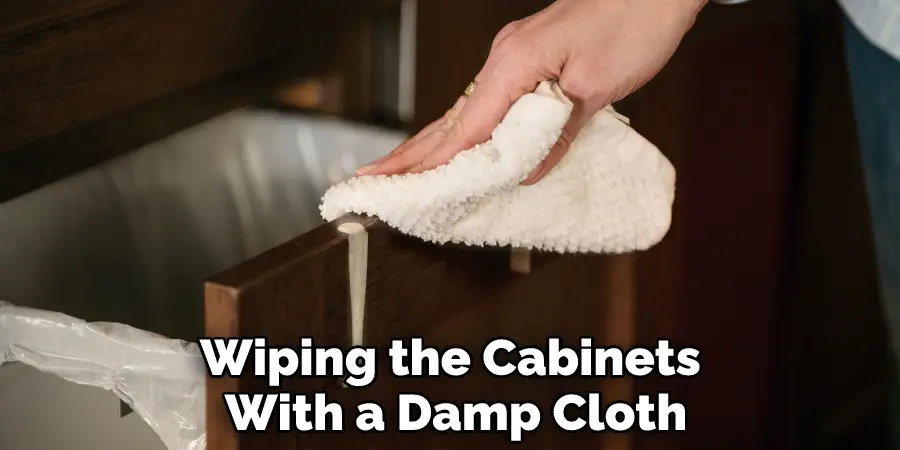
The first step in sealing chalk paint is to clean the cabinets. Start by removing all the hardware and then wiping the cabinets with a damp cloth. If the cabinets are particularly dirty, you may need to use a mild cleaner and a scrub brush to remove all of the dirt and grime. Once the cabinets are clean, allow them to dry completely before proceeding.
2. Sand the Cabinets
The next step is to sand the cabinets. This will help to create a smooth surface for the paint to adhere to. Start with medium-grit sandpaper and then move to fine-grit sandpaper. Sand the cabinets until they are smooth and even. Once you’re finished, wipe down the cabinets with a damp cloth to remove any dust. If the cabinets are very smooth, you may not need to sand them at all.
3. Apply a Primer
Once the cabinets are clean and dry, it’s time to apply a primer. This will help the paint adhere to the cabinets and create a more even finish. Use a brush or roller to apply a thin primer layer to the cabinets. First, apply the primer to the edges and then work your way inward. Allow the primer to dry completely before proceeding.
4. Chalk Paint the Cabinets
Make sure to get into all of the nooks and crannies. Once the primer is dry, sand the cabinets again. This will help to create an ultra-smooth surface for the paint. Now, it’s time to chalk paint the cabinets. Use a brush or a roller to apply the paint evenly. To do this, start at the top and work your way down. Make sure to paint the cabinet doors and drawers separately.
5. Use a Top Quality Sealer
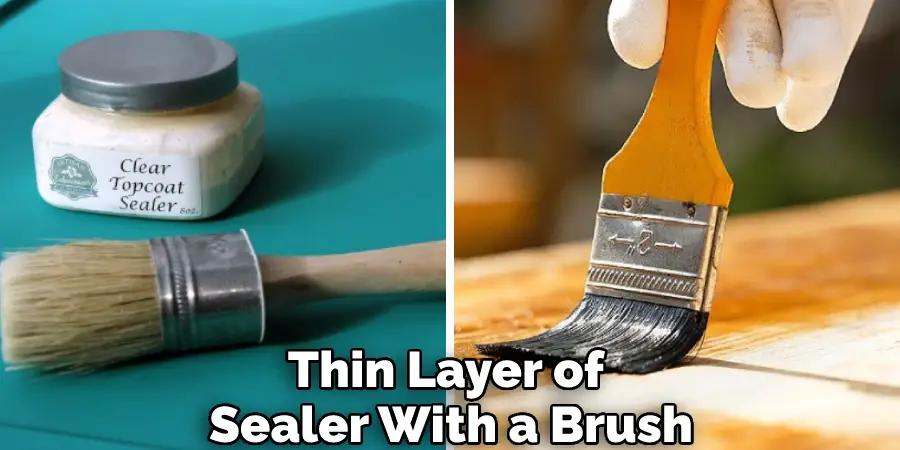
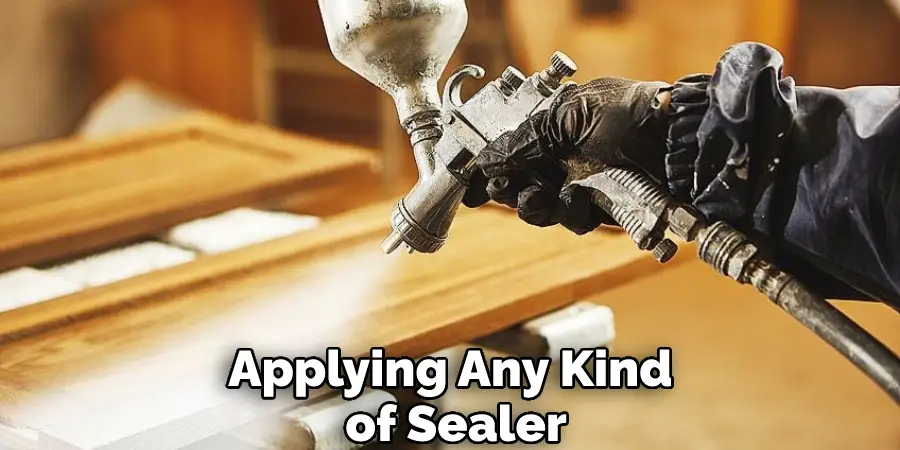
Once the paint is dry, it’s time to seal it. This will protect the paint from the elements and make it more durable. Use a top-quality sealer such as wax, polyurethane, or varnish. First, apply a thin layer of sealer with a brush. Then, use a lint-free cloth to buff it on the surface. Let it dry completely before applying a second coat. If you’re using wax, make sure to apply it in thin layers. Too much wax can make the surface look cloudy.
6. Apply a Topcoat
Once the sealer is dry, you may want to apply a topcoat. This will give the cabinets an extra layer of protection and make them easier to clean. Use a top-quality topcoat that is specifically designed for use on chalk paint. Apply the topcoat in thin, even coats and allow it to dry completely between each coat. When the topcoat is dry, your cabinets will be ready to use.
How Much Does It Cost to Seal Chalk Paint Kitchen Cabinets?
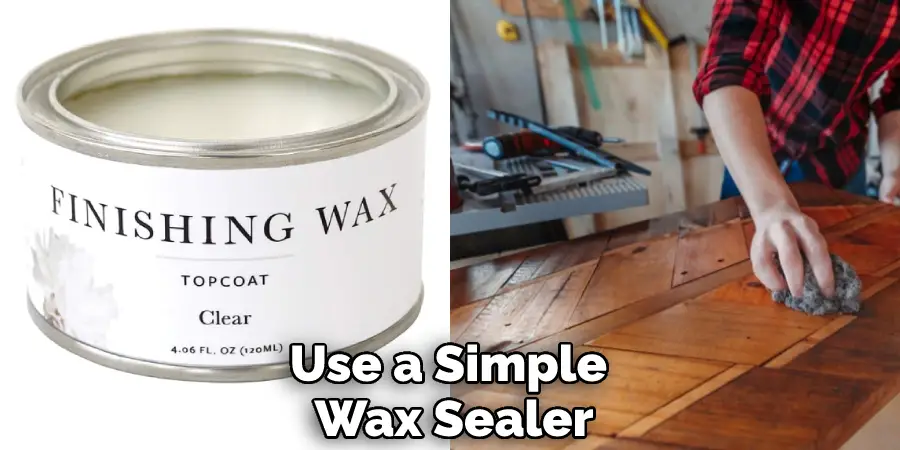
The cost of sealing chalk paint kitchen cabinets will vary depending on the type of sealer you use. Using a simple wax sealer, you can expect to spend around $20. If you’re using a more durable sealer such as polyurethane or varnish, you can expect to spend around $50. The cost of the sealer is not the only expense you’ll incur. You’ll also need to purchase primer, paint, and a top coat.
The cost of these materials will vary depending on the type and quality you choose. You can generally expect to spend around $100-$200 on the materials needed to seal chalk paint kitchen cabinets.
Tips and Warnings on How to Seal Chalk Paint Kitchen Cabinets
Tips:
- Be sure to sand your chalk-painted kitchen cabinets before applying any kind of sealer. This will help the sealer adhere to the paint better and give you a smoother finish.
- If you’re using an oil-based sealer, apply it with a clean rag or brush and be sure to wipe off any excess with a clean cloth. Oil-based sealers can yellow over time, so if you’re going for white or light color, be sure to test it on a small area first.
- For a more durable finish, consider using a polyurethane-based sealer. These sealers are available in water- and oil-based formulas and can be applied with a brush or rag. But, again, be sure to follow the manufacturer’s directions for the best results.
- When applying any sealer, always work in a well-ventilated area and wear gloves and a mask to avoid inhaling fumes.
Warnings:
- Do not use a regular paint brush to apply the sealer. Instead, use a synthetic bristle brush or a foam brush designed for use with chalk paint.
- Do not use a water-based sealer over chalk paint. This will cause the paint to lose its adhesion and can lead to peeling and flaking.
- Do not add a top coat of paint over the sealer. This will also cause the paint to lose its adhesion and can lead to peeling and flaking.
- Do not apply the sealer in direct sunlight or on a hot surface. This can cause the sealer to blister and ruin your paint job.
- Do not apply the sealer to a wet surface. This can also cause the sealer to blister and ruin your paint job.
- Do not apply the sealer to a previously painted surface. The paint may not adhere properly and can flake off.
Why use Chalk Paint Wax?
Chalk Paint Wax is an ideal product for sealing chalk paint kitchen cabinets. It provides a beautiful, smooth finish with a slight sheen. The wax will protect the paint from dirt and dust, making it easier to clean and maintain in the long term.
Additionally, Chalk Paint Wax is easy to apply and does not require any harsh chemicals to do so. To apply the wax, use a lint-free cloth and rub it into the paint in circular motions. Allow the wax to dry for 20 minutes before buffing it with another clean cloth to achieve a beautiful finish.
One coat of wax is usually enough but if you want an extra glossy effect, you can add another coat after 2-3 hours. When used properly, Chalk Paint Wax can provide a lasting seal that will protect your kitchen cabinets for many years to come.
Do you have to seal Chalk Paint?
Yes, sealing chalk paint kitchen cabinets is important to protect them from wear and tear. Sealing chalk paint also helps to prevent moisture and other liquids from seeping into the wood and causing discoloration, warping, or mold growth. Furthermore, sealers provide a matte finish that gives your cabinets a professional look.
The best way to seal chalk paint kitchen cabinets is with a water-based polyurethane. This sealer will penetrate the wood, creating a barrier between the paint and any moisture that might come in contact with it. It’s also easy to apply and dries quickly. Just make sure you use an abundant amount of sealer, as too little will not provide adequate protection.
Frequently Asked Questions
Will Chalk Paint Hold Up on Kitchen Cabinets?
Chalk paint is very durable and will hold up well on kitchen cabinets. However, it is important to seal the paint to protect it from the elements and ensure that it lasts for many years. If you do not seal the paint, it may begin to chip and peel over time.
Can I Use Chalk Paint on Laminate Kitchen Cabinets?
Yes, you can use chalk paint on laminate kitchen cabinets. However, it is important to sand the surface before painting to ensure that the paint will adhere properly. You may also want to consider using a primer before painting to help the paint stick better.
Should I Use a Varnish to Seal the Chalk Paint?
The answer is yes, as it will protect the finish of your painted kitchen cabinets and keep it looking good for longer. Varnishes are able to provide a durable, waterproof layer that helps prevent scratches, dirt, and other damage. Additionally, they can help to lock in the color of your chalk paint, ensuring that it doesn’t fade or become discolored over time.
When selecting a varnish for your kitchen cabinets, look for one suitable for furniture use. Many varnishes are available, which are specifically designed to be used with chalk paint and will provide a durable finish. Use a brush or foam roller to ensure even and consistent coverage when applying the varnish. Take care not to overlap brushing strokes, as this can create an uneven finish.
What Do You Put Over Chalk Paint on Cabinets?
It would be best if you always sealed chalk paint with a topcoat to protect it from the elements and ensure that it lasts for many years. You can use a simple wax sealer or a more durable polyurethane-based sealer. Be sure to follow the manufacturer’s directions for the best results. If you do not seal the paint, it may begin to chip and peel over time.
Conclusion
So, there you have it! Our step-by-step guide on how to seal chalk paint kitchen cabinets. We hope this article was helpful and that you are now ready to give your old cabinets a fresh new look with chalk paint. If you decide to tackle this project yourself, let us know how it goes in the comments section below. And if you need help along the way, our team is always happy to offer advice and assistance. Good luck – we can’t wait to see your finished cabinets!
You Can Check It Out to Use Krud Kutter on Cabinets

