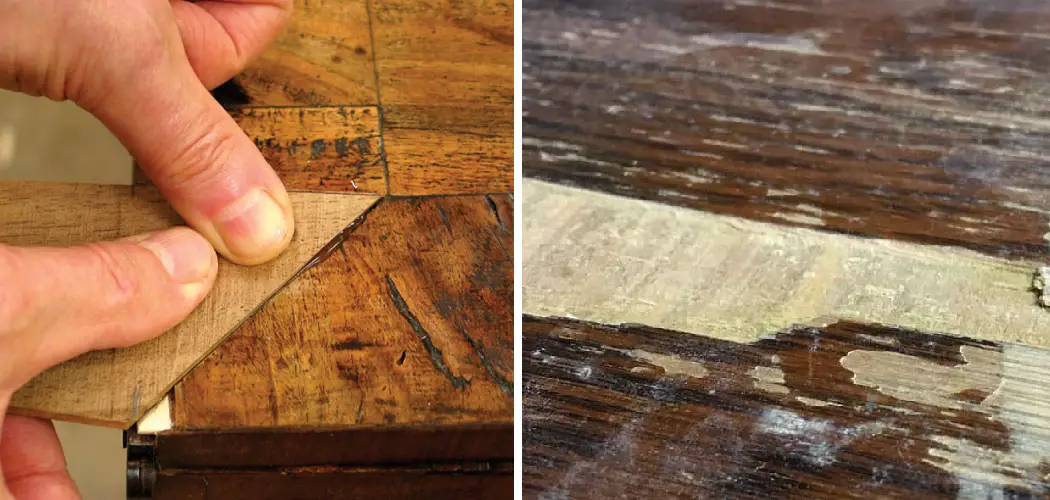
Do you find yourself in need of a little furniture repair? Are you trying to figure out how to repair a veneer table top, but don’t know where to start? You’re not alone! Veneer is a common material for surfaces and furniture finishes, but it can be difficult to tackle repairs.
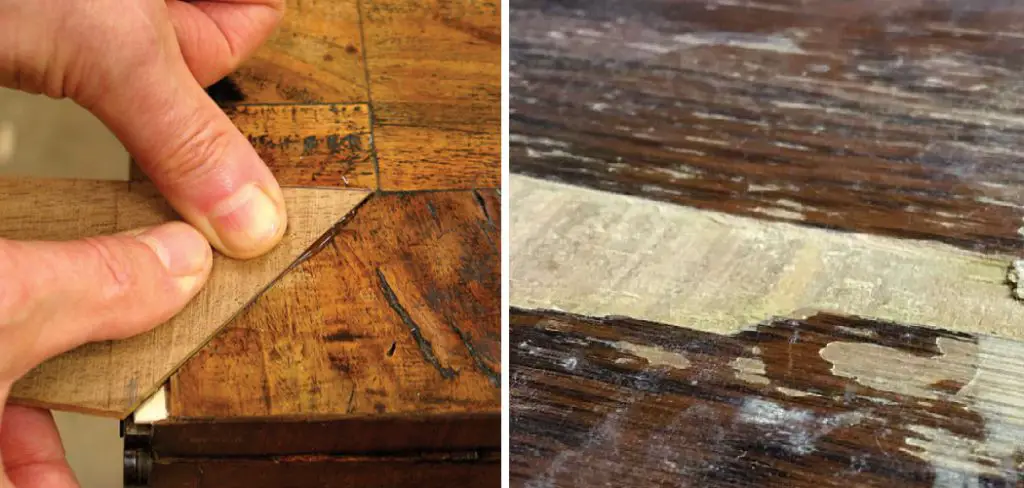
In this blog post, we will discuss some time-tested tips on how to properly assess the damage and address it accordingly so your beloved table looks as good as new. We’ll walk through all of the steps from clearing up any debris from the chip to touching it up with paint or filler for maximum results. With our help, you will soon have that beautiful piece of home décor restored before you know it!
Tools and Materials You Will Need to Repair a Veneer Table Top
- Wood glue
- Sandpaper (various grits)
- Putty knife
- Veneer or wood filler
- Paintbrushes (various sizes)
- Stain or paint to match the table finish
- Protective gloves and eyewear
Step-by-step Guidelines on How to Repair a Veneer Table Top
Step 1: Assess the Damage to the Veneer Table Top
First, you need to assess the extent of the damage to your veneer table top. If it’s just a small chip or scratch, then you may be able to fix it on your own. However, if there is extensive damage such as large chips or cracks, you may need professional help. This is important to determine before you start the repair process. If the damage is too severe, you may end up causing more harm than good.
Step 2: Gather Your Tools and Materials
After assessing the damage, gather all of the tools and materials you will need for the repair process. Make sure to have everything on hand so that you don’t have to make any unnecessary trips to the store in the middle of your project. This includes wood glue, sandpaper, putty knife, veneer or wood filler, paintbrushes, stain or paint to match the table finish, and protective gear.
Step 3: Clean the Area
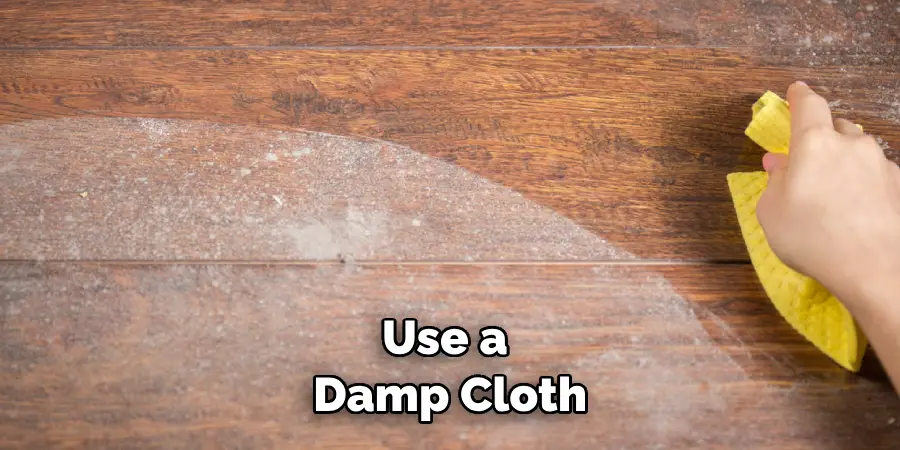
Before starting any repairs, make sure to clean the damaged area thoroughly. Use a damp cloth to remove any dirt or debris from the chip or scratch. This will ensure that the repair materials adhere properly and give you a smooth finish. While cleaning, make sure to wear gloves and eye protection as some chemicals can be harmful.
Step 4: Prepare the Wood Glue
If you are using wood glue for your repair, prepare it according to the manufacturer’s instructions. Most wood glues will require a specific ratio of water to glue for optimal results. Make sure to mix it well before starting the repair process. Preparing the glue properly is crucial to getting a strong bond and ensuring that your repair lasts. Apply the glue to both the chipped area and the chip itself.
Step 5: Fill in the Chip or Scratch
After applying the wood glue, use a putty knife to fill in the chip or scratch with veneer or wood filler. Make sure to smooth out any excess filler and create an even surface. If necessary, you can repeat this step until the damaged area is filled in. A putty knife can also be used to remove any air bubbles that may have formed in the filler.
Step 6: Sand the Repaired Area
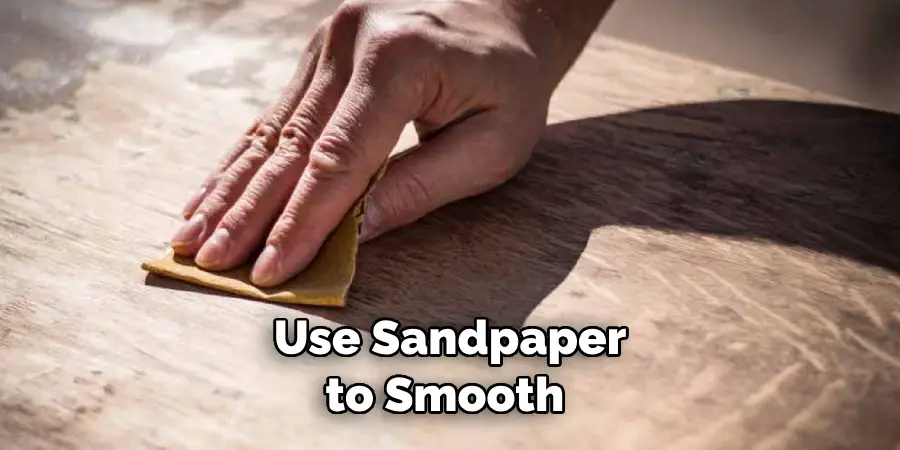
Once the filler has dried, use sandpaper to smooth out the repaired area. Start with a coarse grit sandpaper and gradually move on to finer grits until you achieve a smooth surface. This step is important for achieving a seamless finish and removing any excess filler. While sanding, make sure to wear protective gear and work in a well-ventilated area.
Step 7: Touch Up the Finish
If your table has a stained or painted finish, you will need to touch up the repaired area to match. Use a paintbrush or stain with a similar color and apply it to the repaired area. Make sure to blend it in with the rest of the table for a seamless finish. You may need to apply multiple coats until you achieve a perfect match.
Step 8: Allow for Drying Time
Once the repair is complete, allow the area to dry completely before using it again. This can take anywhere from a few hours to overnight, depending on the type of filler and finish used. It’s important not to rush this step as it can affect the final result. Make sure to follow the manufacturer’s instructions for drying time.
Following these steps will help you repair your veneer table top with confidence and achieve professional-looking results. Remember to always assess the damage, gather all necessary tools and materials, clean the area thoroughly, and take your time with each step for optimal results. Your beautiful table will be looking as good as new in no time! Happy repairing!
Additional Tips and Tricks to Repair a Veneer Table Top
- Always start by cleaning the damaged area with a mild soap and warm water. This will remove any dirt or grime, making it easier to work on the veneer.
- Use wood filler to fill in any cracks or holes in the veneer. Make sure to choose a color that matches as closely as possible to the existing wood tone.
- For small chips or scratches, use a putty knife to carefully push the filler into the damaged area. For larger areas, use a small spatula or scraper.
- Once the filler has dried completely, sand down any excess using fine-grit sandpaper until it is level with the surrounding veneer.
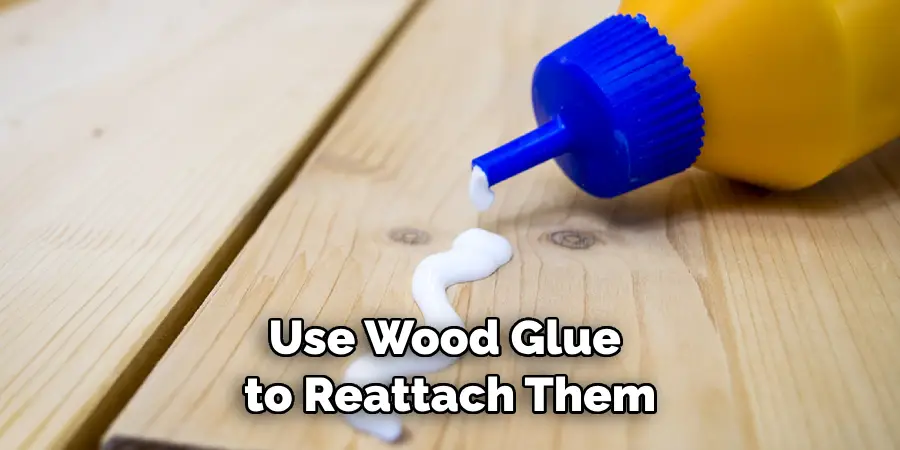
- If there are loose or lifting edges on the veneer, use wood glue to reattach them. Apply a small amount of glue to both the veneer and the surface underneath, then use a clamp or heavy object to hold it in place until it dries.
- For deep scratches or gouges, consider using wood putty instead of filler for a stronger and more durable repair.
- If your veneer is bubbling or buckling due to moisture damage, use a damp cloth and an iron on a low setting to gently heat and reactivate the adhesive.
- Use a piece of sandpaper wrapped around a small block of wood for more precise sanding in difficult areas.
- Always test any products or methods on a small, inconspicuous area before using them on the entire tabletop.
- Lastly, remember to always take your time and work carefully when repairing a veneer table top. Rushing or using excessive force can cause further damage and potentially make the repair more difficult.
Following these tips and tricks can help you successfully repair your veneer table top and restore it to its original beauty. Remember to also take care of your table by using coasters and avoiding placing hot or wet items directly on the surface.
With proper maintenance, your veneer table top will last for many years to come. So don’t be afraid to tackle any small repairs that may arise in the future, armed with these helpful techniques. Happy repairing!
Things You Should Consider to Repair a Veneer Table Top
- Consider the type of veneer on your table top. Veneers can be made from different materials such as wood, plastic, or metal. Understanding the type of veneer will help you determine the best repair method.
- Evaluate the extent of damage on the veneer. Minor damages like scratches and dents can be easily repaired at home, while major damages like water stains or deep scratches may require professional help.
- Gather all the necessary tools and materials before starting the repair process. These include sandpaper, wood glue, clamps, putty knives, and matching veneer sheets or paint.
- Prepare the surface by cleaning it thoroughly with a mild detergent and water. Make sure to dry it completely before proceeding with repairs.
- Carefully sand the damaged area with fine-grit sandpaper to remove any rough edges or debris. This will also help create a smooth surface for the glue or putty to adhere to.
- If the damage is minor, you can use wood filler or putty to fill in any gaps or cracks. Apply it evenly and let it dry completely before sanding it down to match the surrounding area.
- For deeper scratches or dents, use wood glue to fill in the gaps. Apply a thin layer of glue and use clamps to hold the veneer in place until it dries completely.
- If the damage is extensive and cannot be repaired with filler or glue, you may need to replace the damaged section of the veneer. Carefully remove the damaged section with a putty knife and replace it with a matching veneer sheet or paint.
- 9. Once the repair is complete, sand down the entire surface to ensure it is smooth and even. You can also apply a finish or stain to match the rest of the tabletop.
- 10. Finally, take preventative measures such as using coasters and trivets to protect your veneer table top from future damage. Regular cleaning and maintenance will also help prolong the life of your tabletop.
Following these considerations will ensure a successful repair of your veneer tabletop and help maintain its beauty and functionality for years to come. Remember, it’s always best to seek professional help if you are unsure or uncomfortable with performing the repairs yourself. So, keep these tips in mind and enjoy your beautifully repaired veneer tabletop! Thank you for reading. Happy repairing!
Frequently Asked Questions
What is a Veneer Table Top?
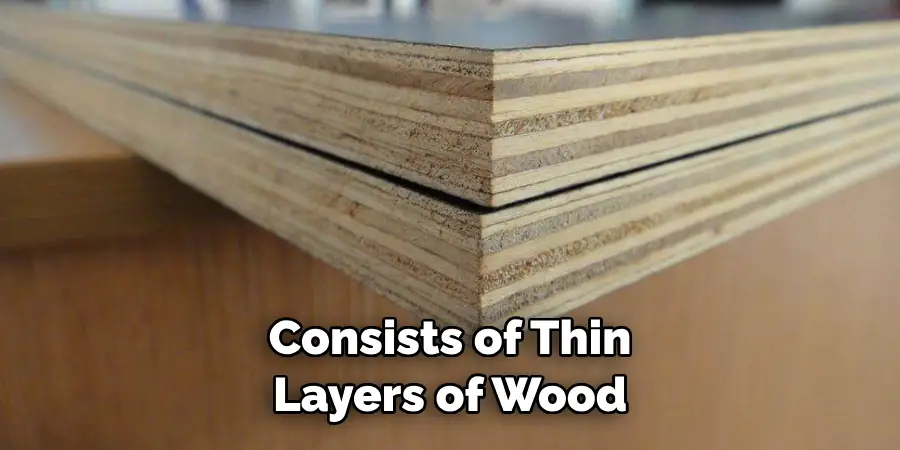
A veneer table top is a type of furniture surface that consists of thin layers of wood or other materials glued together. This gives the appearance of solid wood while providing greater durability and resistance to warping.
How Do I Know if My Veneer Tabletop Needs Repair?
Some common signs that your veneer tabletop needs repair include peeling or cracked veneer, water damage, and visible scratches or dents. If the surface is no longer smooth and even, it may also be a sign that repairs are needed.
Can I Repair My Veneer Tabletop Myself?
It is possible to repair a veneer tabletop yourself with the right tools and materials. However, it is recommended to seek professional help for more complex repairs or if you are unsure of your abilities.
How Do I Prevent Future Damage to My Veneer Tabletop?
To prevent future damage, always use coasters and trivets to protect the surface from heat and moisture. Avoid placing heavy objects directly on the tabletop, and use placemats or a tablecloth to protect against scratches. Regularly dust and clean the tabletop with mild soap and water, and be sure to wipe up any spills immediately.
Do I Need to Refinish My Veneer Tabletop After Making Repairs?
In most cases, minor repairs can be blended in with the existing finish on the veneer tabletop. However, if the damage is extensive or the repair requires replacing a large section of veneer, it may be necessary to refinish the entire tabletop for a uniform appearance.
Are There Any Special Maintenance Tips for Veneer Tabletops?

To keep your veneer tabletop looking its best, avoid using abrasive cleaners or harsh chemicals that can damage the surface. Use a soft cloth or microfiber cloth for cleaning, and be gentle when scrubbing any stubborn stains. Additionally, consider using furniture polish or wax to protect the veneer and give it a glossy shine.
Conclusion
Veneer table tops are a smart and cost-effective way to amplify the aesthetics of your home. Keeping up with regular maintenance will make sure you maintain them in excellent condition, however, if they do become damaged, don’t fret – repairs are possible! You can easily handle several necessary tasks such as cleaning and patching any surface scratches or spots yourself with the right supplies.
If there’s more extensive damage such as tear-throughs or chip-offs that should be patched over, it would be best to outsource repair services from a professional for optimum results. Now that you know how to repair a veneer table top, let’s put theory into practice and give new life to your tabletop furniture. So, why wait? Get started today, unleash your creativity, and transform an old veneer table into something beautiful!

