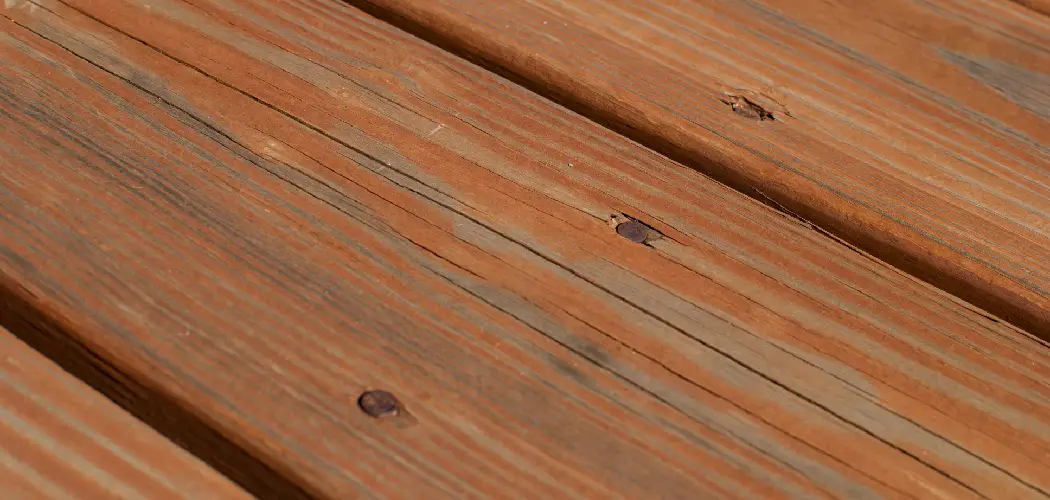
Do you have a deck that needs some repairs, but you’re unsure how to remove the old nails without causing damage to the wood? Here are some tips on how to remove deck nails without damaging wood.
If you’re like me, you probably have at least one outdoor project that needs to be completed before summer is over. Maybe you’re building a new deck or repairing an old one – in either case. There’s going to be some nailing involved. But what do you do if you accidentally drive a nail too deep and become stuck?
Dealing with nails on a deck can be frustrating. If you don’t have the right tools, it can be difficult to remove them without damaging the surrounding wood. Removing deck nails without damaging the wood can be a tricky process. If done incorrectly, you can end up with much damage to the wood. Let’s get started!
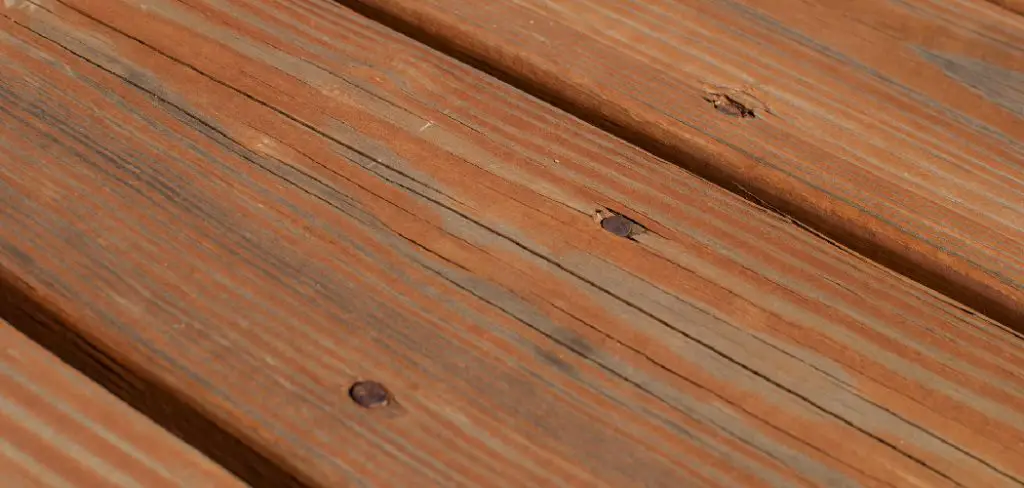
Is It Easy to Remove Deck Nails Without Damaging Wood?
Usually, it is not easy to remove deck nails without damaging the wood. It can often be a tricky process and requires patience and careful technique.
It can be difficult to remove deck nails without causing some damage to the wood. However, using the correct tools and techniques can help minimize the damage and make for a smoother removal process.
Tools and Materials Needed
- Hammer
- Nail puller/claw
- Pry bar or flathead screwdriver
- Sandpaper (optional)
With these simple tools, you can remove those pesky deck nails without causing major damage to the wood.
10 Effective Steps on How to Remove Deck Nails Without Damaging Wood
Step 1: Remove the Nail
First, use a hammer and nail puller/claw to try and remove the nail from the wood. This is often the most successful method for removing a nail without causing too much damage to the wood. Be careful not to splinter the wood while removing the nail. Otherwise, you may need to sand down the area afterward.
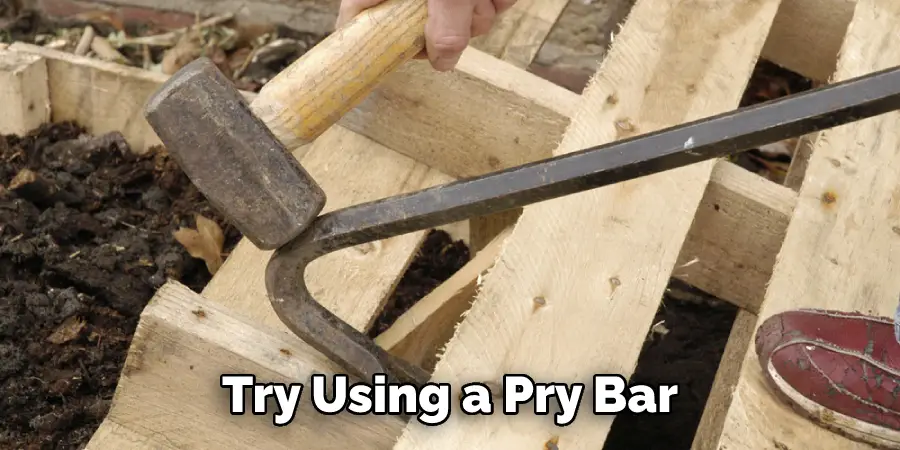
Step 2: Use a Pry Bar or Flathead Screwdriver
If the hammer and nail puller/claw method does not work, try using a pry bar or flathead screwdriver to lift the wood surrounding the nail carefully. This can help loosen and remove the nail without causing too much damage to the wood. Be careful not to splinter or crack the wood as you pry it up. Don’t forget to wear protective gloves to avoid injury.
Step 3: Drill Out Remaining Nail
If the nail is still stubbornly stuck in place, try drilling into the head of the nail and slowly removing it with a drill bit. This method may cause some damage to the surrounding wood, so be careful and go slow. Make sure to use a drill bit that is slightly smaller than the diameter of the nail to avoid splitting the wood.
Step 4: Cut Off the Nail with a Saw
If all else fails, try using a saw or power drill to cut off the nail as close to the wood surface as possible. This may leave a small hole in the wood, but it can often be filled and sanded down for a smooth finish. Using a saw or power drill may cause some damage to the surrounding wood, so proceed with caution.
Step 5: Use Heat to Remove the Nail
Another alternative method is to use heat to remove the nail from the wood. This can be done using a heated screwdriver or soldering iron, but be careful not to scorch or burn the wood. This method may leave some damage to the wood, but it can also be easily repaired with a wood filler. Make sure to wear protective gloves and safety glasses during this process.
Step 6: Use Sandpaper (optional)
If any splinters or marks are left on the wood from removing the nail, use some fine-grit sandpaper to smooth out and remove these marks. You can get a smooth finish on the wood after removing the nail. Repeat steps one through three for any remaining nails that need to be removed from the deck. Be sure to use caution and patience while removing each nail to minimize damage to the wood.
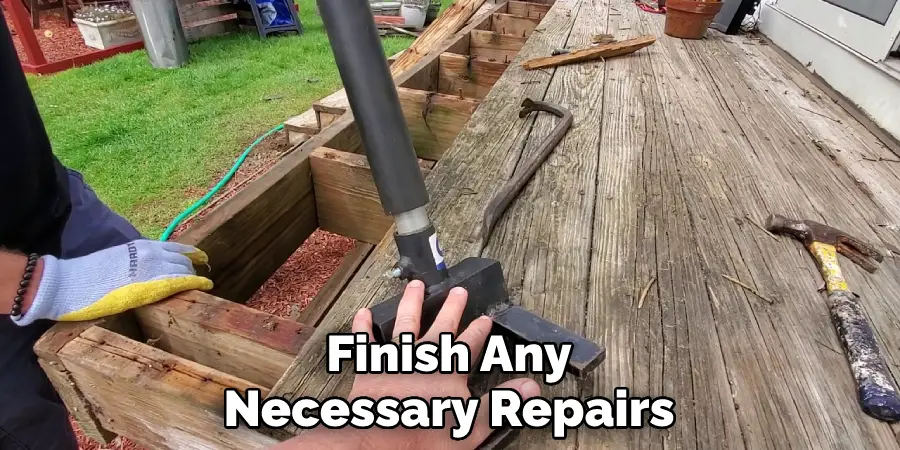
Step 7: Finish Any Necessary Repairs
After removing the nails, make sure to finish any necessary repairs to the deck before completing your project. This can include sanding, staining, or sealing the wood. Sanding and staining can help cover any marks or damage left from removing the nails. Sealing the wood after repairs can also help protect it from future damage.
Step 8: Fix Any Mistakes
If any major damage was caused during the nail removal process, it might be necessary to replace the damaged wood before completing your project. You can find matching wood at your local hardware store or home improvement store. This will ensure that your deck looks flawless and well-maintained after completing the project.
Step 9: Try Different Methods
If one method does not successfully remove a deck nail without causing damage to the wood, try another method. It’s important to be flexible and try different techniques until you find the one that works best for your specific situation. There are often multiple ways to approach a problem, so don’t be afraid to try something new.
Step 10: Get Help from a Professional
If you are unsure about removing deck nails or have concerns about causing damage to the wood, it may be helpful to consult with a professional. They can provide advice and assist with safely removing the deck nails without causing damage.
Following these steps can help ensure that you remove those deck nails without causing unnecessary damage to the wood. Whether you’re repairing an old deck or starting a new project, removing deck nails without damaging the wood is crucial in achieving a smooth and successful finish. Happy nailing!
5 Additional Tips and Tricks
- If possible, use a pry bar or flathead screwdriver to gently lift the nail before removing it.
- Use a hammer and punch to gently tap the deck nails in if they stick out too far.
- When using pliers or other gripping tools, wrap the jaws with tape or cloth to prevent damaging the wood.
- Use a nail set to push the nail further into the wood before removing it.
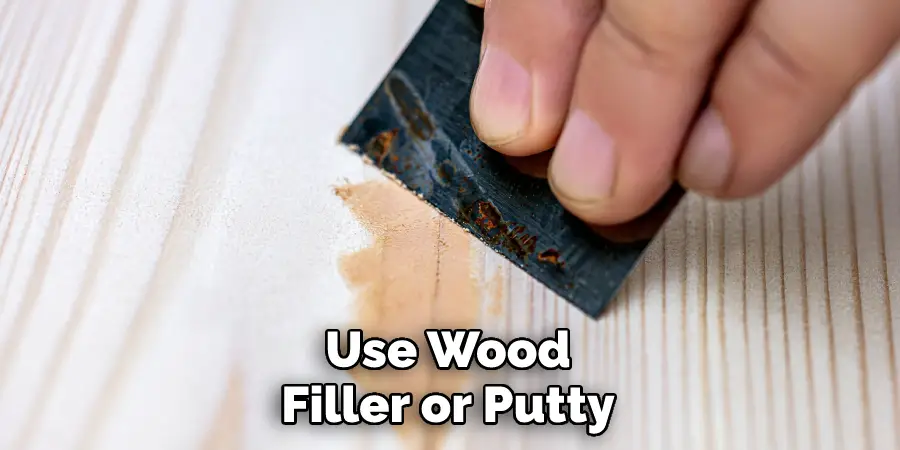
- If necessary, use wood filler or putty to fill any holes left behind by removed nails.
I hope these tips and tricks help remove deck nails easier and are less damaging to your wood surfaces. Happy nailing!
5 Precautions You Can Take While Removing Deck Nails Without Damaging Wood
- Proceed with caution and do not rush the process.
- Use appropriate tools for your specific situation and follow the manufacturer’s instructions.
- Wear protective gear, such as gloves and safety glasses, to prevent injury.
- Regularly check for damage to the wood during the removal process and make necessary repairs or replacements.
- Take your time and carefully clean up any nails that may have fallen during removal.
Following these precautions can help ensure the best possible outcome for removing deck nails without causing damage to the wood. Happy nailing!
Frequently Asked Questions
Is It Effective to Use a Hammer Claw?
Using a hammer claw to remove deck nails can be effective, but it may also cause damage to the surrounding wood. It is important to proceed cautiously and try other methods if the hammer claw is causing damage. Consulting with a professional may also be helpful in safely removing the nails.
How Can You Repair It if Any Damage Occurs?
If damage occurs during the removal process, it may be necessary to replace the damaged wood before completing your project. Using wood filler or putty can also help fill in any holes left behind by removed nails. Consulting with a professional may provide additional advice on repairing any damage caused during the removal process.
Moreover, matching wood can be found at local hardware or home improvement stores to ensure the repaired area blends seamlessly with the rest of the deck.
How Often Should You Check for Loose Nails?
It is important to regularly check for any loose nails on your deck, as they can cause potential hazards and damage. Some experts recommend checking for loose nails at least once a year, or after any severe weather events. It is also important to check for loose nails before using the deck, such as before hosting a party or gathering.
Regularly checking and removing any loose nails can help ensure the safety and longevity of your deck.
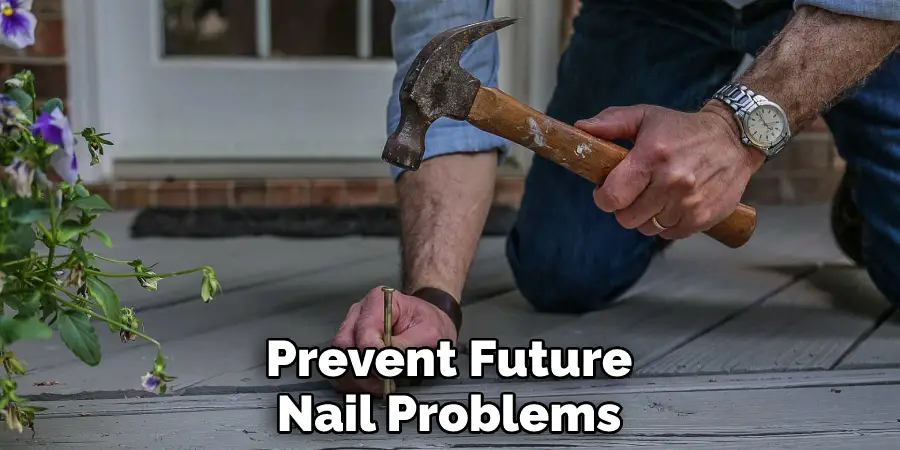
How Can You Prevent Future Nail Problems?
To prevent future nail problems, it is important to use appropriate nails for your specific decking material and properly secure them in place. It may also be helpful to regularly check and tighten any nails that may have become loose over time. Proper maintenance and repairs can also prevent future nail issues on your deck. Consulting with a professional may provide additional advice on preventing future nail problems.
Conclusion
If you have a deck that needs to be torn down, or you’re thinking about redoing your deck and want to do it yourself, follow these tips on how to remove nails without damaging the wood. With a little bit of care and patience, you can avoid costly repairs from removing old decking nails incorrectly.
The task of removing old deck nails can be daunting, but with the right tools and a little bit of know-how, it’s a relatively easy process. By following the tips outlined in this blog post, you’ll be able to remove your deck nails without causing any damage to the wood.
Now that you know how to remove deck nails without damaging wood, you’re one step closer to being able to refinish or repurpose your deck. Thanks for reading and we hope this was helpful!

