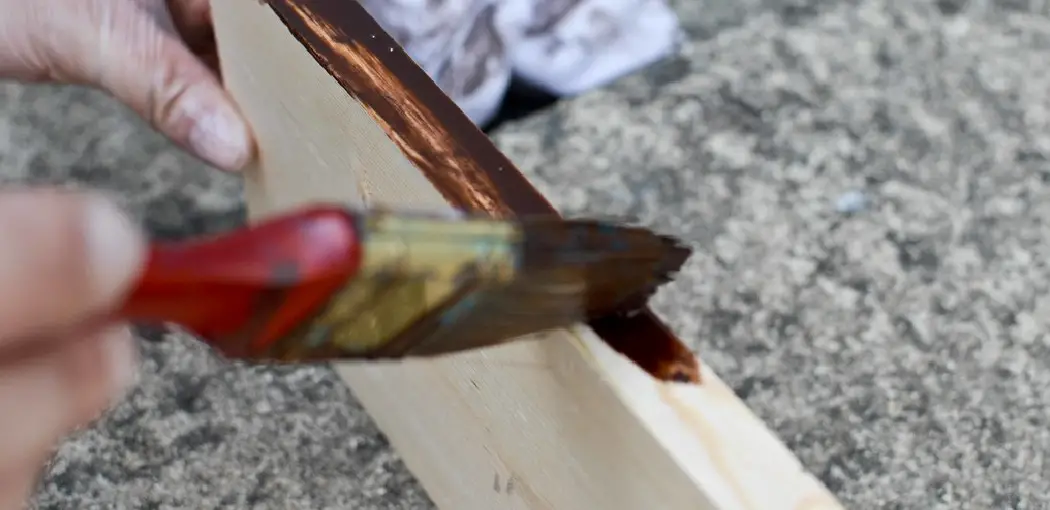
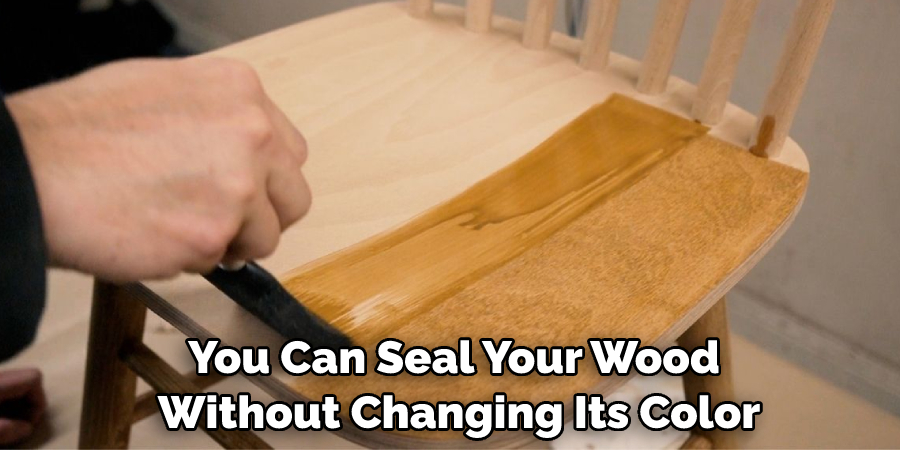
If you’ve ever sealed the wood with a clear sealant, only to have it turn a different color, you know how frustrating that can be. You may think that your only option is to live with the color change, but there is another way to seal your wood without having it change color. In this article, we’re going to show you how to seal wood without changing color. Keep reading for more information.
Sealing wood is a necessary step in protecting it from the elements. Whether sealing a deck or fence or simply protecting some outdoor furniture, it’s essential to use the right sealant. If you want to avoid changing the color of your wood, you need to use a clear sealant. There are many different brands and types of clear sealants on the market, so read the labels carefully before purchasing.
What You’ll Need:
Clear Sealer:
As mentioned earlier, the most important thing you’ll need is a clear sealer. Look for ones specifically labeled as “clear” or “non-tinted.” Some sealants may have a slight yellow tint, so be sure to check before purchasing.
Paint Brush or Roller:
You’ll need something to apply the sealer with, such as a paintbrush or roller. Make sure to choose a brush or roller that is appropriate for the size of the project.
Sandpaper:
Before sealing your wood, it’s important to sand it down lightly. This will help create a smooth surface and allow the sealer to adhere better.
Cloth:
Have a clean cloth on hand to wipe off excess sealer as you work. This will prevent any build-up or uneven application.
A Stepwise Guide on How to Seal Wood Without Changing Color
Step 1: Choose the Right Water-white Sealer
There are many different types on the market when it comes to sealers. However, water-white sealers are the best option for projects that require a clear finish. Water-white sealers remain completely clear, unlike other sealers, which can be yellow or cloudy over time.
In addition, they are highly resistant to UV rays and moisture, making them ideal for outdoor projects. Water-white sealers can be applied to various surfaces, including metal, glass, and plastic. They can also be used indoors or outdoors. When choosing a water-white sealer, it is essential to select one that is specifically designed for the project at hand.
For example, some sealers are specifically formulated for use on concrete, while others are designed for use on wood.
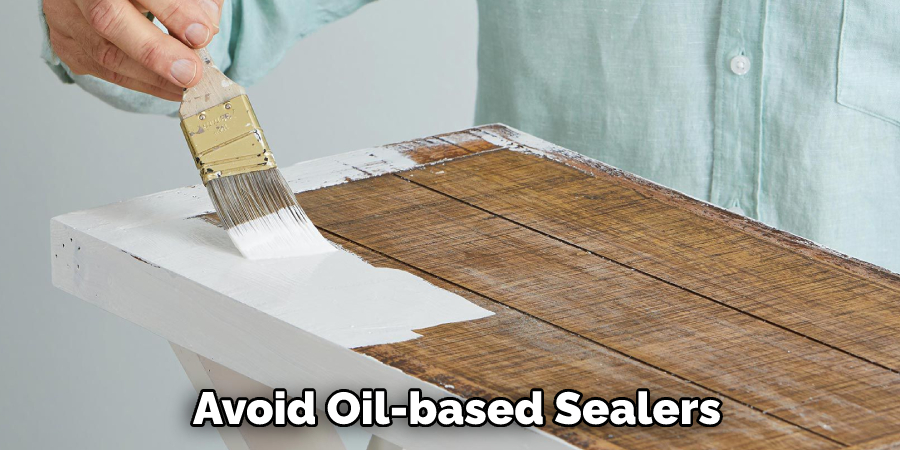
Oil-based can change the color of the wood, making it darker and more opaque. If you want to maintain the natural color of your wood, avoid oil-based sealers.
Step 2: Choose the Right Location
Before beginning any project, it is essential to choose the correct location. When sealing the wood, make sure to do so in a well-ventilated area. If possible, seal the wood outdoors.
If you are working indoors, open all of the windows and doors to ensure plenty of ventilation. If you are working in an enclosed space, such as a garage, turn on a fan to help circulate the air.
Although water-white sealers are less toxic than other sealers, it is still important to take precautions and work in a well-ventilated area.
Step 3: Sanding
Once you have chosen the right location, it is time to begin prepping the wood. The first step is to sand the surface of the wood. If possible, use a power sander to make the job go faster.
The purpose of sanding is to create a smooth surface for the sealer or topcoat to adhere to. If you skip this step, the finish may not adhere properly and peel or flake prematurely. Sanding also allows you to remove any existing finishes on the wood, such as paint, stains, or varnish. Choose medium-grit sandpaper (around 100-grit) for most projects. However, if the wood is particularly rough or damaged, start with coarse-grit paper (like 60-grit) and work your way up to a finer grit. Always sand in the direction of the grain to avoid creating scratches.
Once you’ve finished sanding, vacuum the area or wipe away any dust with a clean cloth. If you’re working with unfinished wood, you can move on to staining (if desired) and then sealing. If the wood is already finished, remove all of the old finish before applying a new one.
Step 4: Applying the Sealer
Now that the surface is prepared, it is time to apply the sealer. To avoid streaks, apply the sealer with a lint-free cloth.
Start by saturating the cloth with the sealer. Then, apply the sealer to the surface of the wood in long, even strokes.
Make sure to cover the entire surface, including all nooks and crannies.
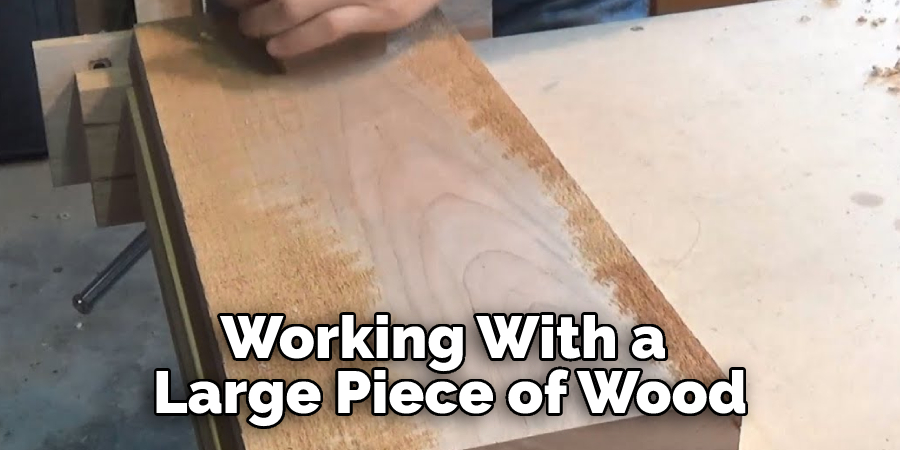
If you are working with a large piece of wood, it is best to work in small sections. This will help ensure that the sealer is evenly applied.
Once the sealer has been applied, allow it to dry for at least 24 hours.
Step 5: Applying a Second Coat
In most cases, one coat of sealer is sufficient. However, you may want to apply a second coat for added protection.
If you decide to apply a second coat, allow the first coat to dry completely before beginning. Then, follow the same application process as before.
Once the second coat has dried, your wood should be well protected against moisture and UV rays. You can now enjoy your beautifully sealed wood without worrying about color changes.
Step 6: Apply the Topcoat
After the sealer has dried, you may want to apply a topcoat. A topcoat is unnecessary, but it can give the wood an extra layer of protection. It can also add shine and luster to the surface of the wood.
Start by applying the topcoat with a lint-free cloth. Saturate the cloth with the topcoat and then apply it to the surface of the wood in long, even strokes. Once again, make sure to cover the entire surface, including all nooks and crannies.
Allow the topcoat to dry for at least 24 hours before using the wood. Once dry, the wood will be protected against scratches and other surface damage.
Step 7: Buffing
If you want your wood to have a glossy finish, you can buff it after the topcoat has dried. Buffing creates a smooth and shiny surface on the wood.
To buff, use a clean cloth or buffing pad. Start by applying light pressure in circular motions, and gradually increase pressure as you go. Buff until the wood has a glossy finish. The more you buff, the shinier the wood will become. It is essential to buff in the direction of the grain to avoid creating scratches.
It is essential to note that buffing is not necessary for all projects, and some may prefer a more natural-looking finish.
Step 8: Clean Up
Once you have finished sealing and topcoating your wood, it is important to clean up properly. If you used an oil-based sealer or topcoat, dispose of any used materials safely according to the manufacturer’s instructions.
If you use a water-based sealer or topcoat, you can clean up with soap and water. Make sure to rinse out any rags or brushes thoroughly. There should be no residue left on any surfaces or tools used in the sealing process. The area should also be properly ventilated to avoid any harmful fumes.
It is also important to properly store any leftover sealer or topcoat according to the manufacturer’s instructions. This will help ensure that it stays usable for future projects.
Step 9: Finishing Touches
Now that your wood is properly sealed, it’s time to add the finishing touches. You can sand down any rough edges or imperfections with fine-grit sandpaper. This will help create a smooth and polished surface.
You can also add decorative touches, such as staining or painting designs onto the wood. Just make sure to seal over any added decorations to protect them from wear and tear. It’s also a good idea to add felt pads or rubber stoppers to the bottom of furniture pieces to prevent them from scratching floors.
Step 10: Regular Maintenance
To maintain the seal on your wood, it is important to regularly clean and reapply the sealer as needed. How often this needs to be done will depend on the type of sealer used and the amount of wear and tear the wood receives.
In general, it is recommended to clean and reseal outdoor surfaces once a year. Indoor surfaces may only need to be cleaned and resealed every few years.
Regular maintenance will help keep your wood looking beautiful and protected for years to come. And with these simple steps, you can confidently seal any wood surface like a pro. So go ahead and start your next project with the knowledge and skills to properly seal your wood for long-lasting beauty and protection. Happy sealing!
Tips and Warnings:
Tips:
– If you are working with very light-colored wood, using a white primer before sealing can help prevent the final color from being altered.
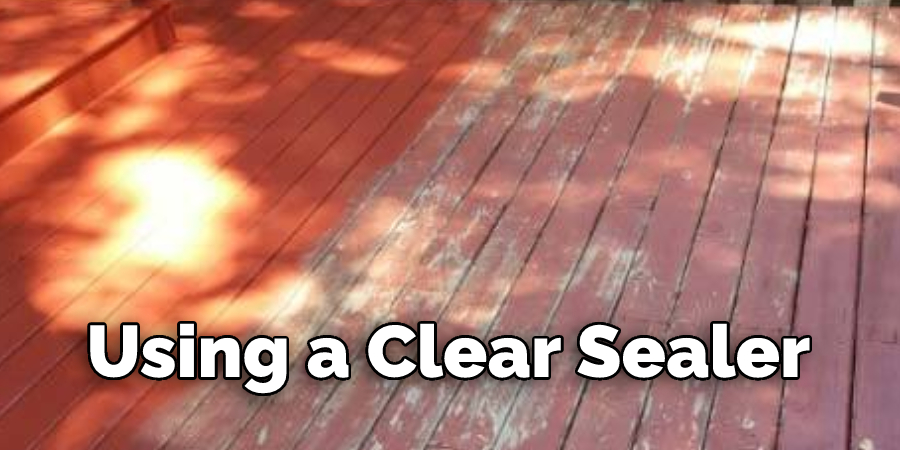
– If you are looking for a more natural look, consider using a clear sealer instead of a tinted one. This will allow the wood’s original color to show through.
– When working with darker woods, using a dark stain before sealing can help create a richer and more uniform final color.
Sealing your woodworking projects is essential in protecting them from the elements and ensuring that they last for years to come. By following these simple tips, you can seal your wood without changing its color.
Warnings:
– Always test your sealer on a small, inconspicuous area before applying it to the entire piece. This will help you to avoid any unwanted color changes.
– Be sure to follow the manufacturer’s instructions carefully when using any sealer or stain. Improper application can cause damage to the wood.
How Do You Seal Wood Naturally?
Wood is a beautiful, natural material used for everything from furniture to flooring. However, it is also susceptible to water, humidity, and ultraviolet (UV) light damage. Over time, this damage can cause the wood to warp, crack, or even rot. To protect your investment and keep your wood looking its best, it is essential to seal it against these potential threats.
While there are a variety of chemical-based wood sealers on the market, many homeowners are now opting for more natural options. Two of the most popular natural wood sealers are linseed oil and beeswax. Linseed oil is derived from flax seeds and used as a wood sealer for centuries.
It penetrates deep into the wood, providing long-lasting protection against water damage. Beeswax is another natural option that can be used to seal the wood. It creates a protective barrier on the surface of the wood that repels water and helps prevent fading and other forms of damage caused by UV light.
When choosing a natural wood sealer, selecting the appropriate one for the type of wood you are sealing is essential. For example, if you are sealing a piece of furniture made from softwood, such as pine or cedar, you will need to use a different sealer than you would for hardwood, such as oak or mahogany. Softwoods are more porous than hardwoods and require a sealer penetrating deep into the wood. On the other hand, hardwoods have a tighter grain and need a sealer that forms a protective barrier on the surface.
How Do You Make Homemade Wood Sealer?
There are a few different ways to make homemade wood sealer, but one of the most popular is boiled linseed oil. Boiled linseed oil creates a durable and waterproof seal that will help to protect your wood from moisture and weathering. Boil some linseed oil in a pan and then brush it onto your wood to use this method. Let the oil soak in for at least an hour before wiping away any excess. Then, you can apply multiple coats of boiled linseed oil to create a more durable seal.
Another option for making a homemade wood sealer is to mix equal parts of beeswax and olive oil. This mixture can be applied to wood in the same way as the boiled linseed oil. The beeswax will help create a water-resistant barrier, while the olive oil will nourish and condition the wood.
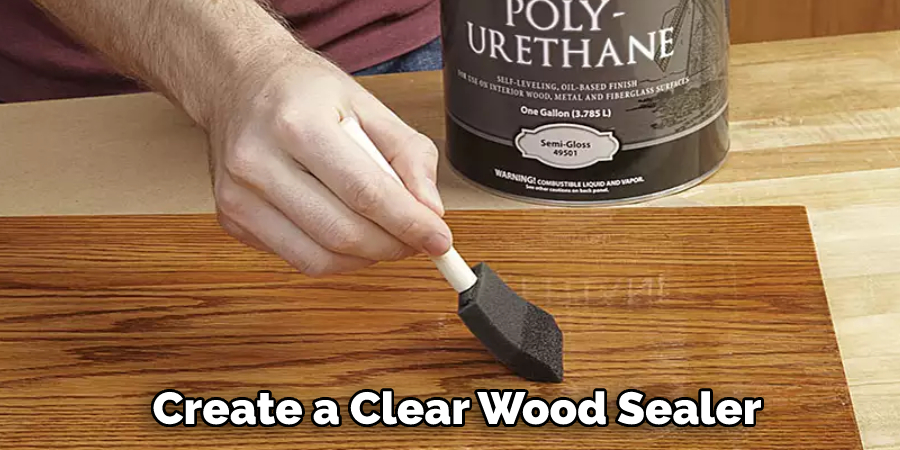
If you want to create a clear wood sealer, you can mix equal parts of shellac and denatured alcohol. This sealer will not change the color of your wood, but it will provide a durable and long-lasting protective coat.
Frequently Asked Questions:
Q: How Do You Know When Wood Needs to Be Sealed?
A: A simple way to test if wood needs to be sealed is by sprinkling water on the surface. If the water beads up, the wood is still sealed. However, if the water soaks into the wood, it is time to reseal. You can also look for signs of wear and tear, such as discoloration or rough patches, which may indicate that the seal has worn off.
Q: Can You Seal Wood With Just Beeswax?
A: While beeswax can provide some protection against water and UV light, it is not enough to fully seal wood on its own. Beeswax is more commonly used as a topcoat over another type of sealer to add an extra layer of protection and shine.
Q: Is It Better To Seal Wood With Oil or Wax?
A: This depends on personal preference and the type of wood you are sealing. Oils like linseed oil penetrate deeper into the wood, providing better protection against water damage. Waxes, on the other hand, create a protective barrier on the surface of the wood. Both can be effective in sealing wood if applied properly. Overall, it is recommended to use a combination of both oil and wax for maximum protection and longevity.
Q: How Often Should You Seal Wood?
A: The frequency of sealing wood depends on several factors, such as the type of wood, the level of exposure to the elements, and the type of sealer used. In general, it is recommended to reseal every 1-3 years for outdoor projects and every 3-5 years for indoor projects. However, always check your specific sealer’s instructions for the recommended reapplication schedule.
Additionally, regularly inspecting and maintaining your wood can also help prolong the need for resealing. Overall, it is important to monitor the condition of your wood and reseal it as needed to keep it protected and looking its best.
Conclusion:
So, if you are looking for a sealant that will protect your wood without changing its color, we recommend using our beeswax and mineral oil finishing combination. It is an effective sealant, but it will also give your wood a beautiful finish that will last for years. If you have tried this finishing technique before, let us know what results from you achieved. We hope you have learned how to seal wood without changing color.
You Can Check It Out To Make Paper Look Like Wood
You Can Check it Out to Get Rid of Wood Stain Smell
You may read also How to Glue Granite to Wood

