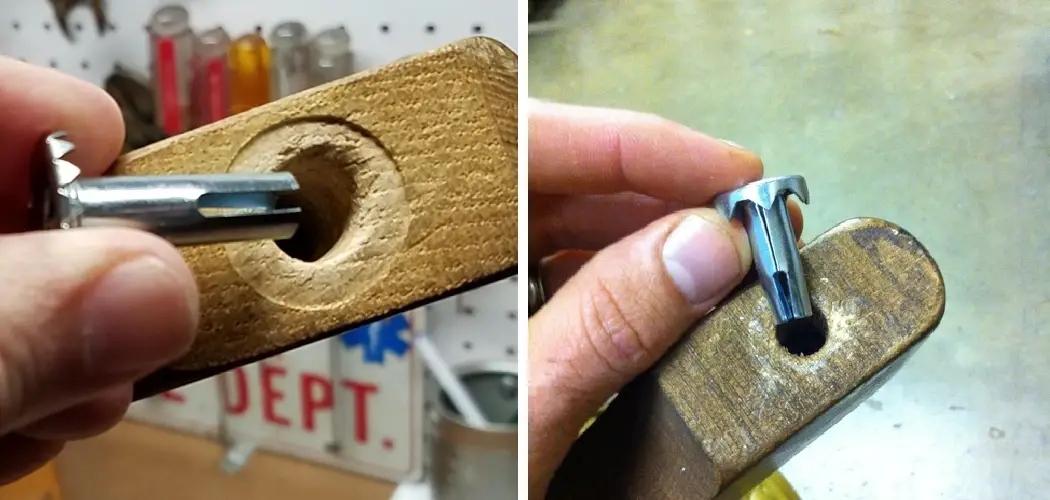
Whether you’re moving furniture or redecorating, there are times when you need to remove a caster socket. Caster sockets are the small metal or plastic discs in which the wheels of a caster sit. While they’re easy to install, removing them can be a bit more challenging. So here are a few tips on how to remove caster socket.
What Is Caster Socket?
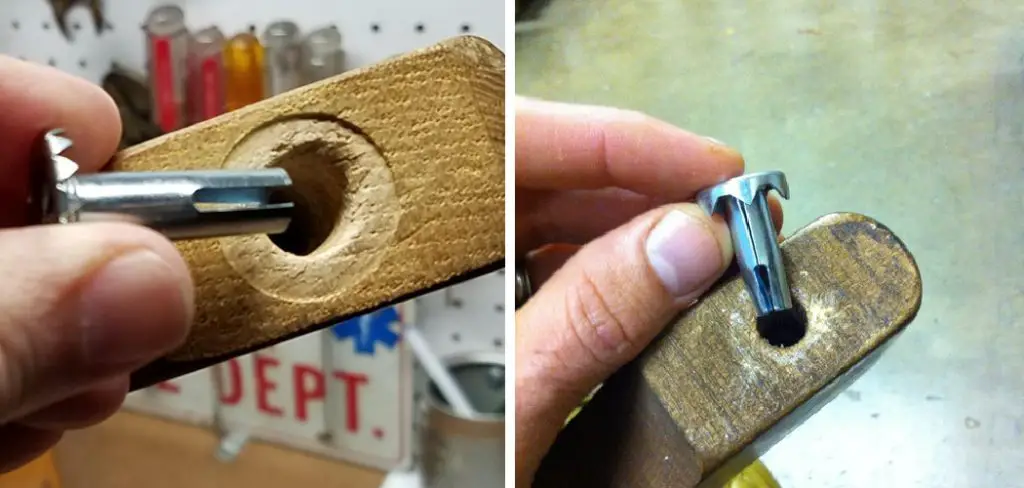
A caster socket is a type of base used to attach casters to furniture or other objects. The socket is typically made of metal or plastic and is attached to the object using screws, bolts, or another type of fastener. The socket has a hole in the center that is slightly larger than the stem of the caster, allowing the caster to be inserted and removed as needed.
In some cases, the socket also has a lip or flange that helps to keep the caster in place. Caster sockets are commonly used on chairs, carts, and other types of furniture that need to be able to roll easily. They are also sometimes used on children’s toys, such as wagons and tricycles.
Why Should You Remove Caster Socket?
Caster sockets are an important part of any office chair and should be removed and cleaned regularly. Otherwise, they can become clogged with dirt and dust, making it difficult for the caster to move freely. In addition, if the caster socket is not properly lubricated, the chair can squeak or creak when used. By removing the caster socket regularly, you can ensure that your chair will operate smoothly and quietly.
You may also need to remove a caster socket if you are replacing the casters on your furniture or swapping them out for a different style. In these cases, it is important to remove the old socket so that you can properly attach the new one.
9 Steps to Follow on How to Remove Caster Socket
Step 1: Unscrewing the Caster Socket
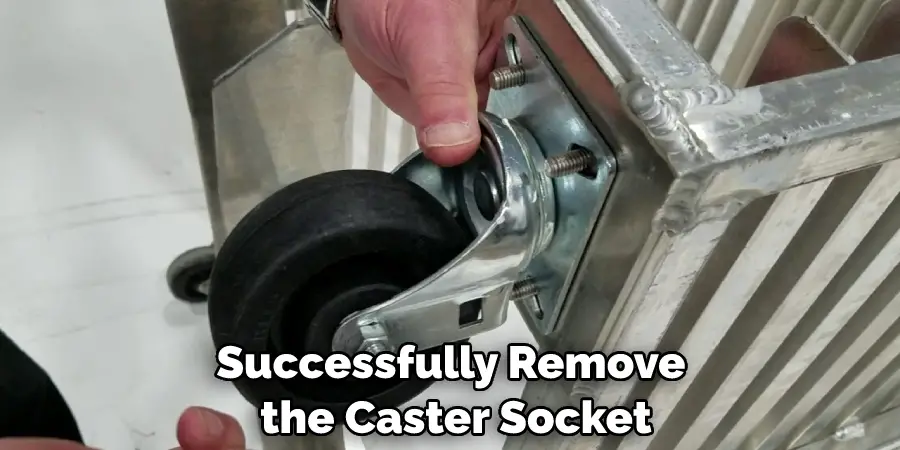
First, start by unscrewing the caster socket from the underside of the furniture piece. If the socket is threaded, use a screwdriver or Allen wrench to loosen it until it comes out. If the socket is not threaded, gently pry it out with a flathead screwdriver or putty knife. Once the socket is removed, the caster should come out easily. If it’s stuck, gently tap it with a rubber mallet until it pops out. The socket may also have clips or retainers that need to be released before it can be removed.
Step 2: Preparing the New Caster Socket
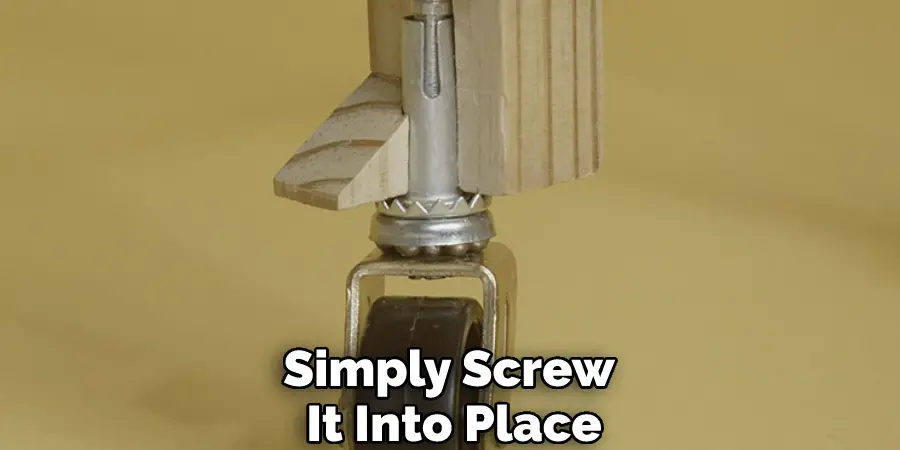
Now that the old socket has been removed, it’s time to prepare the new one for installation. If the new socket is threaded, simply screw it into place. If it’s not threaded, apply a small amount of glue or adhesive to the underside of the socket. Then, press it firmly into place and allow it to dry for the recommended amount of time. You may also need to clean the area where the socket will be installed, removing any debris or old adhesive.
Step 3: Installing the New Caster Socket
To install the new socket, simply place it into the pre-drilled hole in the furniture piece. If the socket is threaded, screw it in until it’s tight. If the new socket has a set screw, tighten it with a screwdriver until it’s snug. Once the new caster socket is in place, your furniture piece should return to normal! The process may be slightly different depending on the type of furniture and socket, so always refer to the manufacturer’s instructions if available.
Step 4: Attaching the Caster to the Socket
Once the socket is installed, it’s time to attach the caster. Start by threading the stem of the caster into the socket. If the stem is too long, you can trim it down with a hacksaw. Once the stem is in place, screw on the retaining nut until it’s snug. Be careful not to over-tighten the nut, as this could strip the threads or damage the socket. It’s important to ensure that the caster is securely attached to the socket before using the furniture piece.
Step 5: Securing the Caster
Once the caster is attached to the socket, it’s time to secure it. If the caster has a threaded stem, simply screw on a nut until it’s tight. If the caster has a grip ring, push it up until it’s snug against the bottom of the socket. That’s all there is to it! Your caster should now be securely in place and ready to roll. You may need to adjust the nut or grip ring periodically to ensure that the caster stays in place and rolls smoothly.
Step 6: Checking the Caster
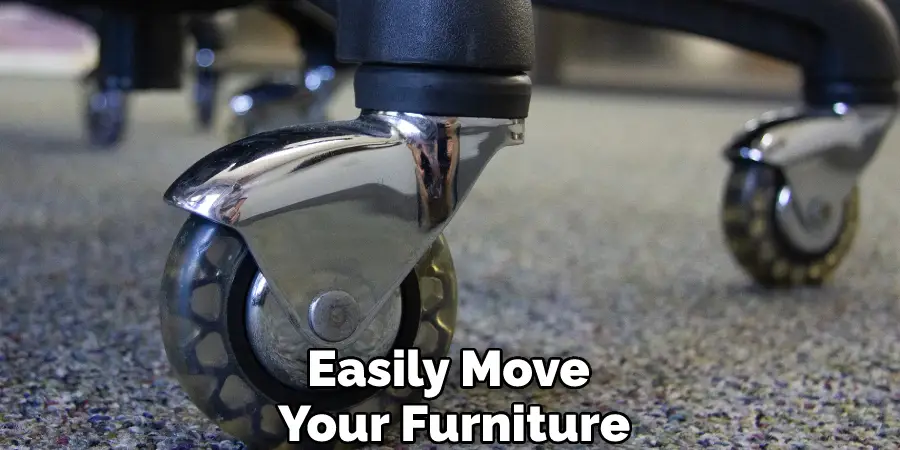
Once the caster is secured, it’s time to check it to ensure it’s working properly. Start by gently pressing down on the caster to see if it rolls smoothly. Suppose it doesn’t try adjusting the nut or screw that’s holding it in place. Once the caster is rolling smoothly, test it out by moving the furniture piece around to make sure it’s not going to fall off. You may need to make minor adjustments until the caster is working perfectly.
Step 7: Cleaning the Caster and Socket
While you have the caster removed, it’s a good idea to clean both the caster and socket before reattaching them. Use a damp cloth or mild detergent to remove any dirt, debris, or grease from the surfaces. This will help ensure that the caster can move freely and operate properly. The sockets can also be lubricated with a small amount of oil or silicone spray to keep them functioning smoothly.
Step 8: Reattaching the Caster
Once the caster and socket are clean, reattach them by following the previous steps in reverse. If necessary, add a little lubricant to help the caster move smoothly. Once everything is back in place, test it out again to make sure the caster is working properly. If not, make any necessary adjustments and retest until it’s operating smoothly. The caster may also need to be replaced if it’s damaged or worn.
Step 9: Regular Maintenance
To keep your casters and sockets in good working condition, it’s important to perform regular maintenance. This includes cleaning and lubricating them every few months or whenever they start to feel stiff or squeaky. By keeping your casters and sockets well-maintained, you can extend their lifespan and ensure that your furniture moves smoothly for years to come.
With this knowledge, you can now easily move your furniture around without worrying about the casters falling off. So get out there and start moving those pieces around!
Following these steps on how to remove caster socket and regularly maintaining your casters and sockets will ensure that they continue to function properly. You can now confidently remove caster sockets whenever necessary, whether it be for cleaning, replacement or adjustment.
What You Need to Know Before Removing a Caster Socket
Before removing a caster socket, it is important to understand the function of this item and how it is used. A caster socket is a housing that holds the wheel of a caster in place. This socket is threaded, which allows it to be screwed into the floor or another surface. To remove the socket, you will need to unscrew it from the surface.
It is important to be careful when unscrewing the socket, as you may damage the surface if you are not careful. Once the socket is removed, you can then replace it with a new one or simply screw it back into place. With a little bit of care and understanding, removing a caster socket is a simple task.
When to Remove a Caster Socket
When to remove a caster socket is a question that does not have one right answer. Sockets should be removed when they are damaged or when they become loose and no longer fit snugly on the caster. In addition, if a socket prevents the caster from rolling smoothly, it may need to be removed and replaced.
Finally, if the caster needs to be replaced, the old socket must be removed first. With these factors in mind, there is no definitive answer as to when to remove a caster socket. Ultimately, it is up to the individual to decide when it is time to make this decision. Keep reading for more information about how to remove caster socket.
What to Do When the Castor Socket Breaks
The castor is an important part of the furniture and helps provide support and stability. However, the castor can sometimes become damaged or broken, causing the furniture to become unstable. If the castor socket breaks, there are a few things that you can do to repair it. First, try to find a replacement castor that is the same size and shape as the one that broke. If you cannot find an exact match, you can try to find a similar castor that will fit into the socket.
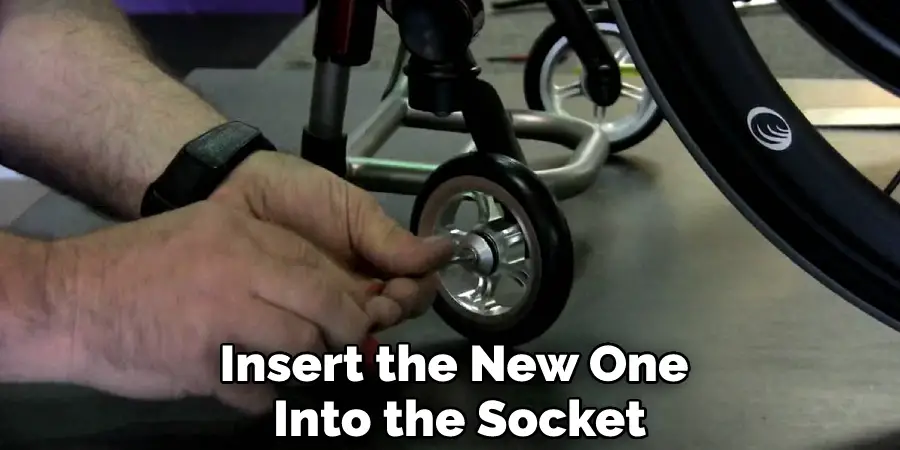
Once you have found a replacement castor, simply remove the old castor and insert the new one into the socket. If the new castor does not fit snugly, you can try to sand down the edges until it fits correctly. With a little bit of effort, you should be able to fix a broken castor socket and keep your furniture in good condition.
What to Do if You Can’t Remove the Caster Socket
If you’re trying to remove a caster socket and find that it’s stuck, there are a few things you can do to try to loosen it. First, try gently tapping around the edge of the socket with a hammer. Then, if that doesn’t work, you can try using a chisel to pry the socket up gently.
If the socket is still stuck, you may need to use a drill to make a hole in the center of the socket. Once you have made a hole, insert a screwdriver and twist it to try to loosen the socket. If none of these methods work, you may need to call a professional to remove the socket for you.
What Are the Benefits of Removing a Caster Socket?
Removing a caster socket can offer several benefits. For one thing, it can help improve your furniture’s appearance. If you have an old piece of furniture with a worn or damaged caster socket, removing it can give the piece a cleaner, more modern look. In addition, removing a caster socket can also make it easier to move your furniture.
If you have ever tried to move a piece of furniture with a caster socket, you know that the socket can get caught on carpeting or other things and make the process much more difficult than it needs to be. Finally, removing a caster socket can also extend the life of your furniture. Over time, the weight of the furniture can cause the socket to become deformed, making it harder for the casters to roll smoothly.
By removing the socket, you can help to prevent this type of damage from happening.
Is There a Tool that Can Help Me Remove a Caster Socket?
Yes, there is a tool that can help remove a caster socket. This tool is called a Caster Socket Removal Tool. This tool is specifically designed to remove caster sockets without damaging the surrounding area. The Caster Socket Removal Tool is easy to use and very affordable. This makes it a great tool for anyone who needs to remove a caster socket. The Caster Socket Removal Tool is available at most hardware stores and online retailers.
It is important to note that while the Caster Socket Removal Tool can make the process of removing a socket easier, it is not always necessary. In some cases, a hammer and chisel or screwdriver may be enough to remove the socket. It ultimately depends on how tightly the socket is screwed into place. If you are having trouble removing the socket, it may be worth investing in a Caster Socket Removal Tool for an easier and more efficient removal process.
Frequently Asked Questions:
Q: Is It Necessary to Remove the Caster Socket for Regular Maintenance?
A: No, it is not necessary to remove the caster socket for regular maintenance. However, removing the socket can make cleaning and lubricating the casters easier. You can also use this opportunity to inspect the socket and casters for any damage or wear. It is recommended to clean and lubricate the casters at least once a year for optimal performance.
Q: Can I Reuse a Caster Socket After Removing It?
A: Yes, you can reuse a caster socket after removing it. Simply screw it back into place or replace any damaged parts before reinserting it into the surface. However, if the socket is severely damaged or worn, it may be best to replace it with a new one for better functionality. The decision to reuse or replace a caster socket ultimately depends on its condition and how it affects the performance of your furniture.
Q: Can I Remove a Caster Socket Without Damaging the Surface?
A: Yes, it is possible to remove a caster socket without damaging the surface. The key is to use caution and gentle techniques, such as tapping with a hammer or using a chisel, to prevent any damage. If you are unsure or uncomfortable with removing the socket yourself, it is best to seek professional help. Thoroughly researching and understanding the process beforehand can also help prevent any damage.
Q: Can I Remove a Caster Socket on My Own?
A: Yes, you can remove a caster socket on your own with the right tools and techniques. However, if you are unsure or uncomfortable with removing the socket yourself, it is best to seek professional help to avoid any potential damage or injury. You can also try watching tutorials or consulting with experts for guidance on how to safely remove a caster socket.
Overall, removing a caster socket can be a simple task with the proper tools and knowledge. Whether it is for repair or maintenance, knowing when and how to remove a caster socket can help keep your furniture looking and functioning at its best. So keep these tips in mind and always exercise caution to ensure a successful removal process. Happy removing!
Conclusion
Removing a caster socket may seem daunting, but with these simple tips, you’ll have those casters out in no time! Whether you’re moving furniture or redecorating your space, knowing how to remove and installcaster sockets will make your life much easier. Thanks for reading our post about how to remove caster socket. The process may vary depending on the type of caster socket you have, but these general guidelines should help guide you in the right direction. Remember to always exercise caution and seek professional help if needed.

