Are you looking for a way to give your home character and charm? It is important to know how to make rustic wood beams. If so, try adding some rustic wood beams! Creating wood beams can help transform an ordinary living room into an elevated space with character and warmth.

Not only do they bring an element of nature indoors, but they also act as visual anchors that draw the eye upward. With just a few tools and materials, you’ll be able to build your wooden beams right in the comfort of your own home. Ready to get started? Let’s take a look at what supplies and steps will be needed for this project!
Tools You Will Need:
• Tape measure
• Circular saw or table saw
• Miter saw
• Safety glasses/goggles
• Work gloves
Materials You Will Need:
• Lumber of your choice (a 4×6 or 6×6 is recommended)
• Wood glue or construction adhesive
• Sandpaper
• Wood filler
• Stain or paint of your choice
Top 6 Steps Guide on How to Make Rustic Wood Beams:
Step 1: Measure and Cut the Wood
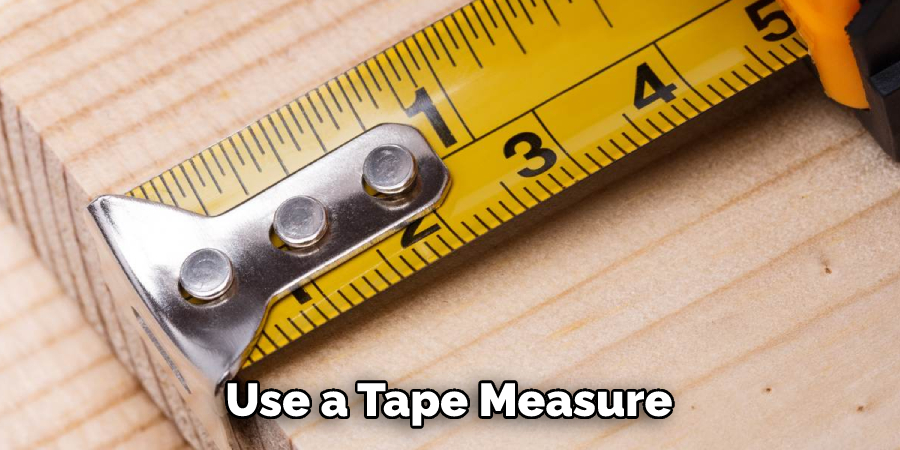
Use a tape measure to determine the length you would like your beam to be, then use either a circular saw or table saw and miter saw to cut it down to that size. Make sure you are wearing safety glasses/goggles and work gloves for protection during this step.
When making rustic wood beams, the precise measurement and cutting of the wood are essential to ensure that the finished project looks perfect. Before you start sawing, measure your desired length with a tape measure. Once you have determined the right length, you can make use of either a circular saw or table saw, as well as a miter saw to cut it down.
As with any woodworking job, it is important that you wear protective eyewear and work gloves to keep yourself safe from flying debris or splinters. With these simple tools and pieces of equipment, you can create stunning rustic wood beams for any project!
Step 2: Make a Larger Beam
To successfully Make Rustic Wood Beams, applying wood glue or construction adhesive to your smaller pieces of lumber before adhering them together is an essential step. Not only does this allow for extra stability and strength once fixed, but it also means that you can fix the beams without having to use nails or screws.

It’s important to give the glue enough time to dry completely in line with manufacturer instructions, as rushing this critical stage may lead to possible problems later on. Once the adhesive has successfully dried, you’re ready to start making your beautiful rustic wood beams.
Step 3: Sand the Edges and Surface of Your Beam
Creating rustic-style wood beams requires a few steps to achieve the desired appearance. Sanding is one of them. The edges and surface of the beam should be sanded with 80-grit sandpaper, followed by 120 and then 220 grit until it’s thoroughly smooth.
Make sure to start with the coarser grit and gradually increase the fineness as it will help you attain a smoother surface finish on your rustic wood beam without having to apply too much pressure on the paper. Additionally, be sure to wear safety gear such as dust masks, safety glasses, and gloves during the sanding process.
Step 4: Fill Any Gaps or Holes With Wood Filler
To make rustic wood beams, fill any gaps or holes with wood filler and allow it to dry. Next, use sandpaper to gently sand the beam until its texture is even and uniform. For a truly rustic look, you may wish to use a belt sander rather than hand sanding; however, discretion should be used here.
Too much sanding can strip away the unique grain patterns of the wood, so take care not to erase those features that give it character and charm. Once you have achieved a smooth surface with an attractive rustic look, seal the wood with a clear finish of your choice for added protection and durability.
Step 5: Apply a Stain or Paint
The options you have with the finish on your rustic wood beam are endless. From lighter shades of paint to brighter, more colorful stains, you can customize the look of your beam to best reflect your style and decor. Not only will adding a stain or paint provides an eye-catching design element that stands out from other pieces in a room, but it also gives an extra layer of protection from environmental elements and everyday grime.
For those looking for something more natural, there are a variety of beautiful neutral tones available that allow the wood grain’s natural beauty to shine through. Whatever finish you choose for your beam, its unique character will add texture and visual appeal to whatever space you install it in!
Step 6: Install Your Rustic Wood Beam
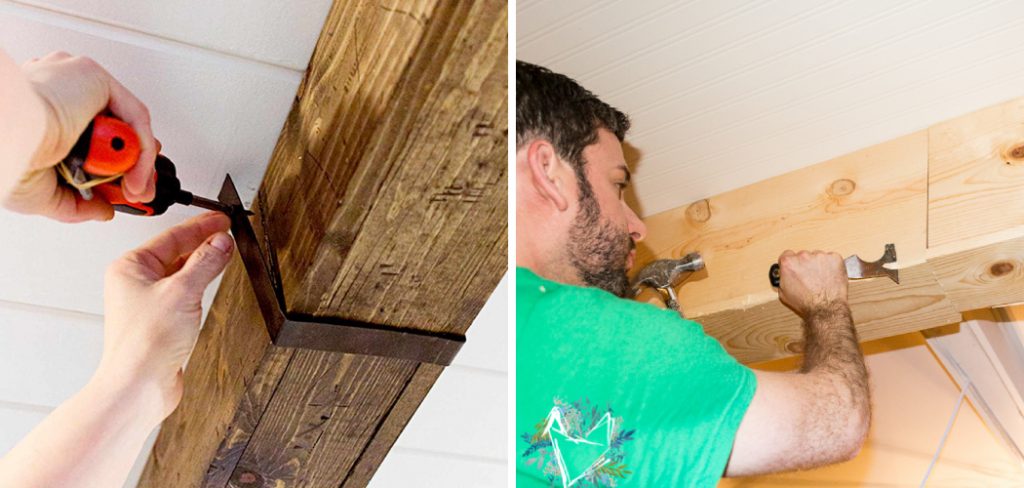
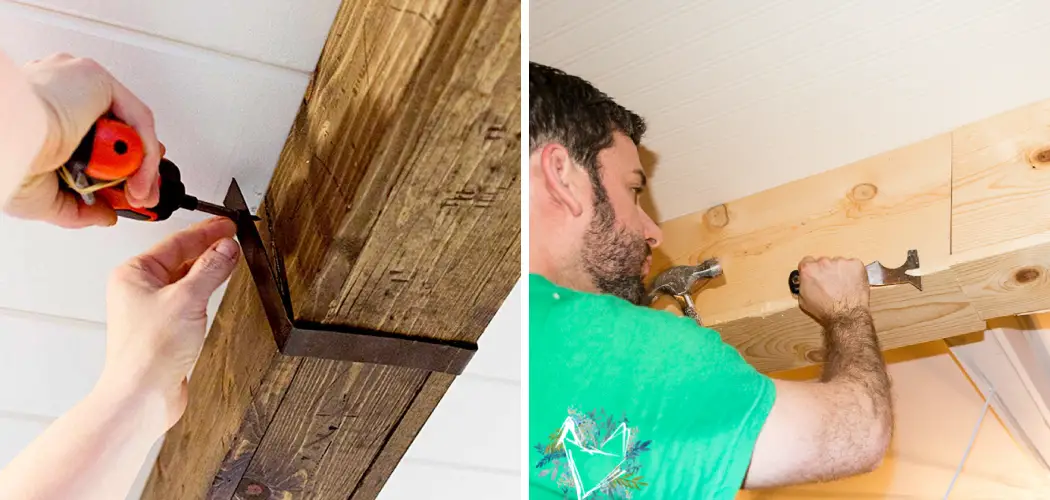
Finally, you are ready to install your rustic wood beam! Measure and mark the placement of the beam on your ceiling or walls using a level to ensure it is straight. Then, use heavy-duty screws or brackets to secure the beam in place.
If you are attaching the beam to drywall, be sure to locate and screw into the studs for added support. Once it is securely installed, step back and admire your handiwork! Your new rustic wood beam will add warmth, character, and a touch of nature to any room in your home.
Now that you know How to Make Rustic Wood Beams, it’s time to get started on your project. With a few simple steps and the right supplies and tools, you can create a beautiful wooden beam for your home in no time. Happy building!
What is the Best Way to Attach Smaller Pieces of Lumber for Rustic Wood Beams?
Attaching smaller pieces of lumber to form rustic wood beams can be done easily with the right tools and techniques. Screws and nails are often used to join pieces of wood together, but for a more old-fashioned look, using traditional mortise and tenon joints is the better option, as these joints create an incredibly strong bond between two pieces of wood without the need for bulky hardware or clamps.
Mortise and tenon joints involve inserting a protrusion into what is known as a mortise cavity, corresponding to the size of the protrusion. Once these two pieces are joined securely, additional small screws can be added for extra strength. When creating rustic wood beams from smaller pieces of lumber, the use of mortise and tenon joint construction provides durable results with an aesthetically pleasing finish.
How Long Should the Adhesive Used for Making Rustic Wood Beams Be Given to Dry Before Proceeding?
When using adhesive to construct rustic wood beams, it is important to give the adhesive ample time to dry. Generally speaking, this process can take anywhere from five minutes to a few hours. If extra precaution is desired, it would be prudent to wait at least 24 hours before applying any additional finishes or proceeding with any other part of the wood beam building process.
Adhesives are designed to adhere quickly but will not reach their full bonding strength until they are given time to properly cure. Taking the necessary steps towards making sure the adhesive fully cures will help ensure lasting beauty in your rustic wood beams for years to come.
Do You Need to Use Professionals?
The process of making rustic wood beams is relatively simple and can be done by anyone with basic woodworking skills. However, it’s important to note that safety precautions should always be taken when working with power tools and sharp objects. If you are not confident in your abilities or do not have the necessary tools and equipment, it may be best to hire a professional.
Professionals have the expertise and experience to ensure that your rustic wood beams are not only beautiful but also structurally sound. They can also provide guidance on choosing the right type of wood and finishes for your specific project. Ultimately, it is up to the individual’s discretion whether or not to hire professionals for this project, but it is always a good idea to consult with an expert if you have any doubts or concerns. So, take your time, follow the steps carefully, and enjoy creating gorgeous rustic wood beams for your home! Happy building!

How Much Could It Cost?
The cost of making rustic wood beams will vary depending on the materials, tools, and finishes you choose to use. However, it is generally an affordable DIY project that can save you money compared to purchasing pre-made beams from a store.
Some potential costs to consider include:
Wood:
The type and amount of wood needed will have the biggest impact on the overall cost. Reclaimed wood tends to be more expensive, while cheaper options like pine or cedar can save you money.
Tools:
If you already have basic woodworking tools, the additional cost will be minimal. However, if you need to purchase power tools such as a saw or sander, this could increase the overall cost.
Finishes:
The cost of finishes will depend on the type and brand you choose. Stains and paints can range from a few dollars to hundreds of dollars per gallon.
Professional Help:
As mentioned before, hiring professionals may increase the cost but can also ensure a high-quality end result.

Overall, making rustic wood beams is a budget-friendly project that adds charm and character to any space. It’s worth researching and comparing prices for materials and finishes to find the best options for your budget. Happy building!
Maintenance Tips for Your Rustic Wood Beams
Once you have completed making your rustic wood beams, it’s important to properly maintain them to ensure their longevity and beauty. Here are a few tips to help you keep your beams in top condition:
Regular Dusting and Cleaning:
Use a soft cloth or duster to remove any dust or debris from the surface of the beams. Avoid using harsh chemicals or abrasive cleaners that can damage the wood.
Protect From Moisture:
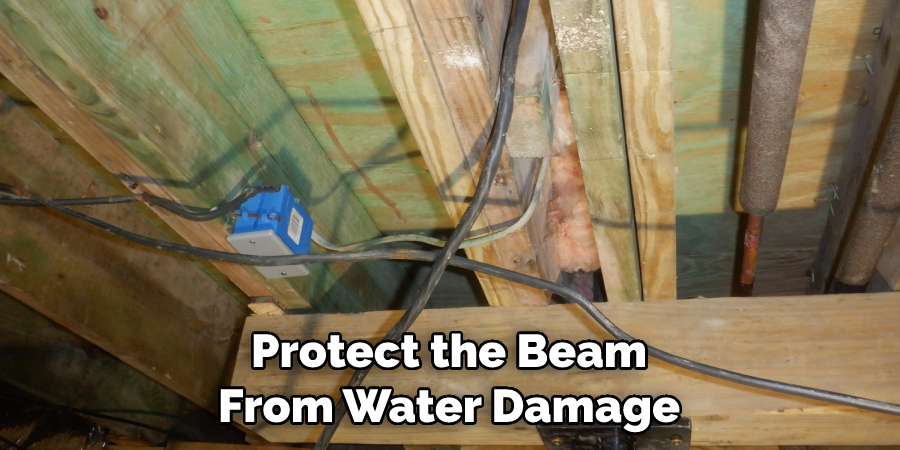
Wood is susceptible to damage from excess moisture, so it’s important to protect your beams from water sources like leaky pipes or spills. It’s also a good idea to seal the wood with a protective finish to prevent moisture from seeping in.
Inspect for Pests:
Wood can attract pests such as termites, so it’s important to regularly inspect your rustic wood beams for signs of infestation. If you notice any issues, consult a professional for effective treatment options.
Refinish as Needed:
Over time, the finish on your wood beams may start to wear off or become damaged. When this happens, it’s important to refinish them to maintain their beauty and protection. Follow the manufacturer’s instructions for the best results.
Following these maintenance tips will help keep your rustic wood beams looking beautiful and in top condition for years to come. With proper care, they can become a timeless and charming addition to any home. Happy building!
FAQS
How Much Pressure Needs to Be Applied While Sanding a Beam for a Truly Rustic Look?
For a truly rustic look, sanding a beam requires careful attention to detail. The right amount of pressure may vary depending on the type of wood and desired finish, but the best results are achieved when sanding with light pressure. With each pass of the sander, start lightly and increase pressure as needed to level out any uneven surfaces.
When using an electric sander, move it in smoothly, even passing through the grain of the wood for a look that’s sure to turn heads. Even a small amount of extra effort goes a long way toward creating a rustic masterpiece you’ll be proud to show off for years to come!
How Can I Protect My Newly Made Beam From Environmental Elements and Everyday Grime?
Proactively protecting a beam from any environmental element or everyday grime is essential for extending its lifespan and durability. The best way to protect it is proper maintenance, which includes regularly cleaning the beam and treating it with a protective coating. Additionally, keeping the area surrounding the beam clean and free of debris can help safeguard it from further exposure to dirt and dust.
Additionally, if left exposed outdoors, applying a sealant at least once a year can help protect the beam from water damage caused by rain or snow. Taking these extra steps of protection will ensure that your newly made beam remains in excellent condition for many years to come.
How Many Layers of Paint/stain Should I Use on My Project When Making a Rustic Wood Beam?
When making a rustic wood beam, there’s no one-size-fits-all answer for the number of layers of paint or stain you should use. The amount will depend on the species of wood, its condition, the environment it will be exposed to, and the desired final look. Ideally, three layers should provide sufficient coverage; this increases the thickness to produce a more consistent finish.
However, two layers could also suffice if applied correctly – one that seals and one that gives your project its desired color. Be sure to apply each layer with a brush or cloth in even strokes and allow enough drying time between coats. With adequate preparation and multiple coats of paint or stain, you’ll be well on your way to achieving the perfect rustic wooden beam!
Can I Use Reclaimed Wood to Make Rustic Wooden Beams?
Yes, you can use reclaimed wood to make rustic wood beams. In fact, using reclaimed wood adds a unique and authentic touch to your project. However, it is important to properly prepare the wood before use by cleaning it thoroughly and removing any old nails or screws.
Also, keep in mind that reclaimed wood may have imperfections and irregularities that add to the rustic look but may also require extra care during the construction process. Overall, using reclaimed wood for your rustic wood beam project is a sustainable and creative way to add character to your home. So go ahead and get creative with your materials!
Overall, making rustic wood beams is not only a fun DIY project but also a great way to add character and warmth to any space. With the right tools, techniques, and materials, you can create beautiful beams that will be admired for years to come.

Conclusion
It’s not hard to find the right kind of wood for your rustic beams. You should carefully determine how to make rustic wood beams. Reclaimed barn wood is a great option, but you can also use new lumber that’s been distressed to look like reclaimed wood.
Once you have the materials, it’s just a matter of following some basic instructions and letting your creative juices flow. With a little time and effort, you can have beautiful rustic wood beams that add character and charm to any space.

