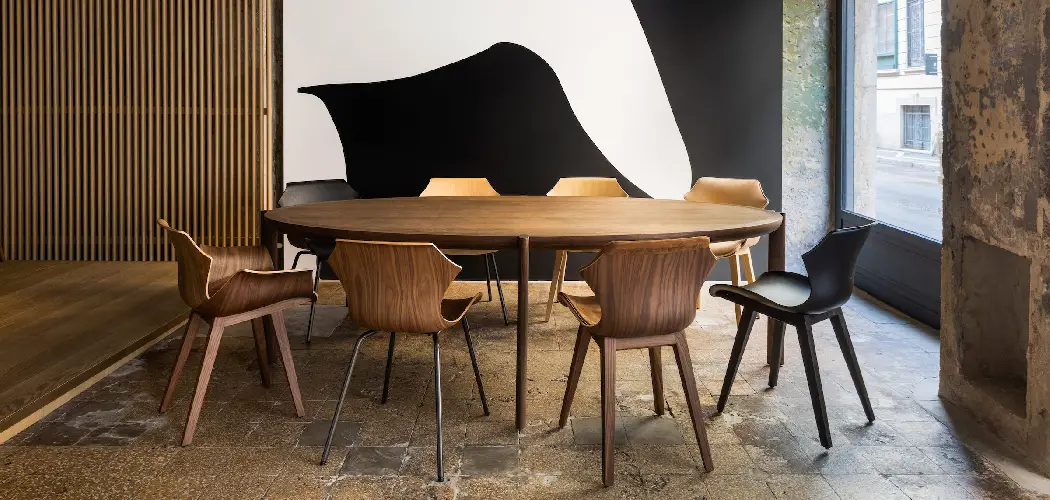
Do you own a beautiful wood dining table and want to keep it looking gorgeous? If so, read on. In this blog post on how to protect wood dining table, we’ll discuss the best ways to protect your wooden dining table from accidental spills or scratches, giving you tips on preventing future damage and restoring any existing imperfections.
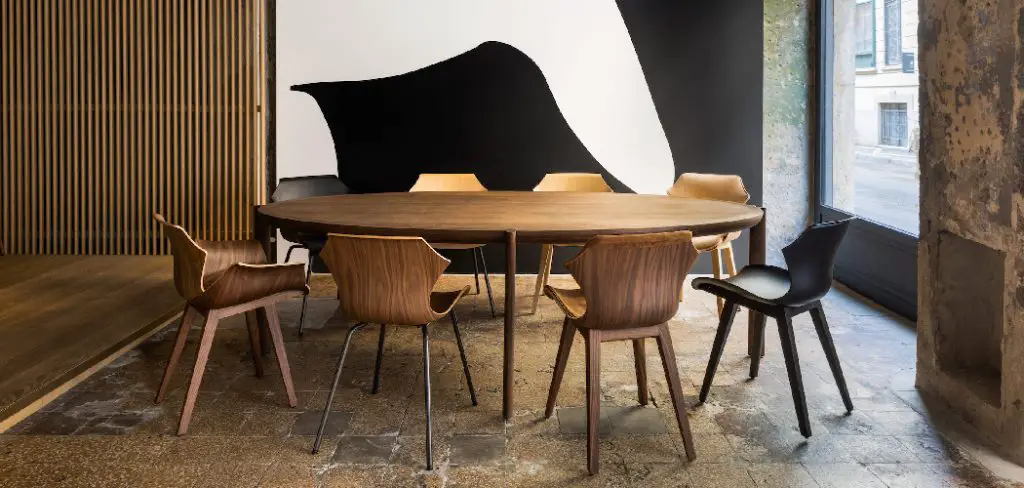
From selecting the right finish to using protective covers and placemats, there are plenty of simple steps that can make sure that your exquisite furnishings stay pristine for years to come.
Needed Materials
Given below are some of the materials which you would need to protect your wood dining table:
- Appropriate Finish
- Protective Covers or Placemats
- Cleaning and Polishing Products Like Mineral Oil, Beeswax, Lint-free Cloths, Protective Wax Polish
11 Step-by-step Guidelines on How to Protect Wood Dining Table
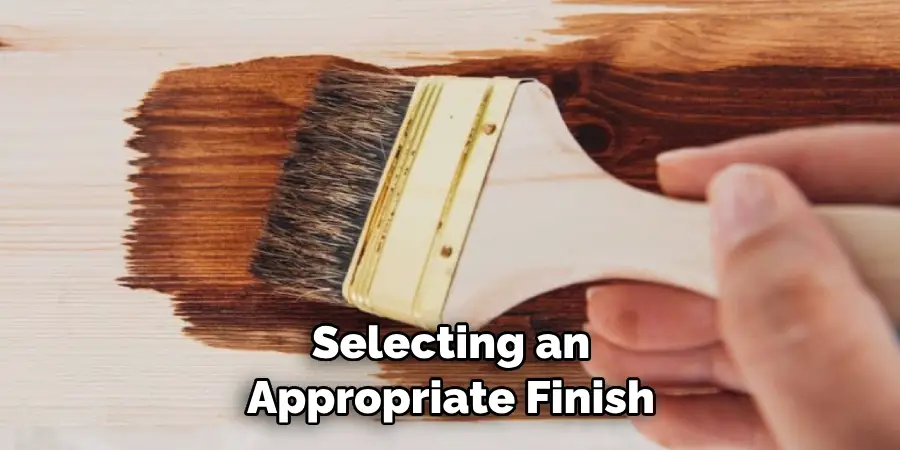
Step 1: Select the Right Finish
The first step in protecting your wood dining table is to select an appropriate finish. You want a finish that will provide the desired amount of protection without making the table look overly glossy.
Some finishes to consider include oil, wax, varnish or polyurethane. Be sure to read up on the different types and decide which one is best for your needs. It is also important to note that oil finishes are easier to repair than wax and polyurethane finishes.
Step 2: Clean Your Table Regularly
Cleaning your wood dining table regularly is essential in order to protect it from dirt and grime that can lead to scratches, stains or warping over time. Use a mild detergent and damp cloth to wipe down the table after each use.
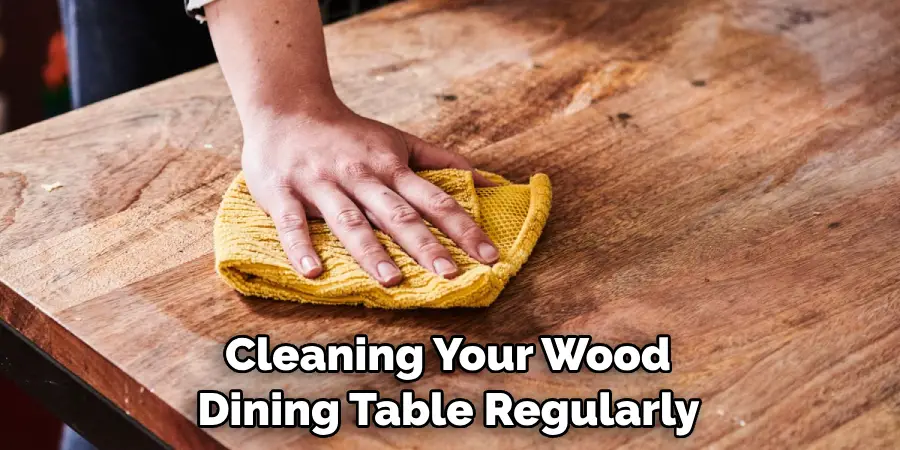
You can also use mineral oil or beeswax if you prefer not to introduce chemicals into your home. But whatever you choose, be sure to follow the directions. This will help ensure that your table looks its best for years to come.
Step 3: Polish Periodically
Polishing your wood dining table periodically will give it that extra bit of protection and make it look stunning for years to come. Use a lint-free cloth and protective wax polish to rub in circular motions on the table’s surface.
This will help keep the finish looking new while providing an extra layer of protection from spills, heat or scratches. If you prefer, you can also use mineral oil or beeswax. This should be done at least twice a year. It’s also a good idea to give the table a touch-up if it begins to look dull or faded.
Step 4: Choose Appropriate Covers or Placemats
One way to protect your wood dining table is by using appropriate covers or placemats. Placemats are especially good at preventing spills since they create a barrier between your dishes and the table surface. Be sure to select covers or placemats that do not stick to the finish or cause discoloration over time. If you have small children, it’s also a good idea to consider using place mats that can be wiped down easily.
Step 5: Avoid Extremes in Temperature
Avoid keeping your wood dining table too close to a direct heat source like radiators, as this could cause warping over time. Keep the area around the table well-ventilated and make sure that any drinks or food containers are kept away from direct sunlight. But at the same time, make sure that your wood dining table is not in an overly damp environment as this can also encourage warping or splitting.
Step 6: Don’t Place Heavy Objects on Your Table
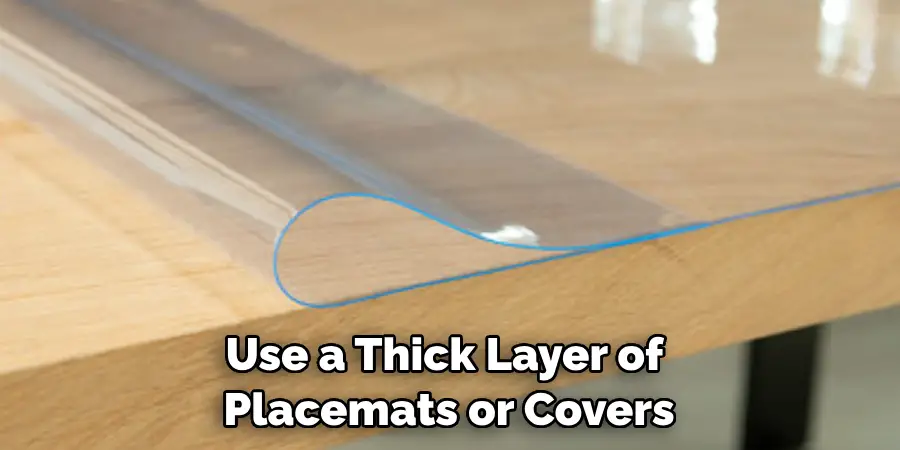
Your wood dining table is not meant for heavy objects as this can cause cracks and scratches. If you must place something heavy, make sure to use a thick layer of placemats or covers first. This will create a protective buffer so that the table top is not damaged. If anything does spill, be sure to immediately clean it up as soon as possible.
Step 7: Avoid Abrasives or Scrubbing Pads
When cleaning your wood dining table, avoid harsh abrasives or scrubbing pads which can cause scratches. Instead, opt for a mild detergent and lint-free cloth to gently wipe away any dirt. But be sure to avoid saturating the wood’s surface.
Otherwise, you might encourage warping or splitting. If you do need to use a scrubbing pad, be sure to cover the area with a protective covering first. If something does get stained, use mineral oil or wax to restore the area.
Step 8: Remove Stains Right Away
If you spill something on your wood dining table, make sure to remove the stain as soon as possible using a damp cloth. Depending on the type of stain, you may need to use specific cleaning products to get rid of it completely. It’s always best to test any cleaning products on a small, hidden area first. If the stain is proving difficult to remove, you can use a mild detergent and lint-free cloth.
Step 9: Fix Scratches or Warping Immediately
Scratches or warping can be fixed quickly by applying a finish that matches the existing one. Alternatively, you can choose to sand down the affected area and start over with a new finish if necessary. Just be sure that whatever product you use won’t damage the table’s existing finish. Although it might seem daunting, fixing scratches or warping is not as difficult as you think. All you need is the right finish and patience!
Step 10: Keep Sandpaper Handy
Having some sandpaper on hand will help you get rid of any minor scratches or marks that may occur over time. Just use a very fine grade of sandpaper to lightly buff out the area, then apply a matching finish if needed.
But it is important to note that sanding should only be done as a last resort, as oftentimes the finish can be fixed with some simple polishing. However, if the scratch is too deep or a new finish needs to be applied, sanding is the only option.
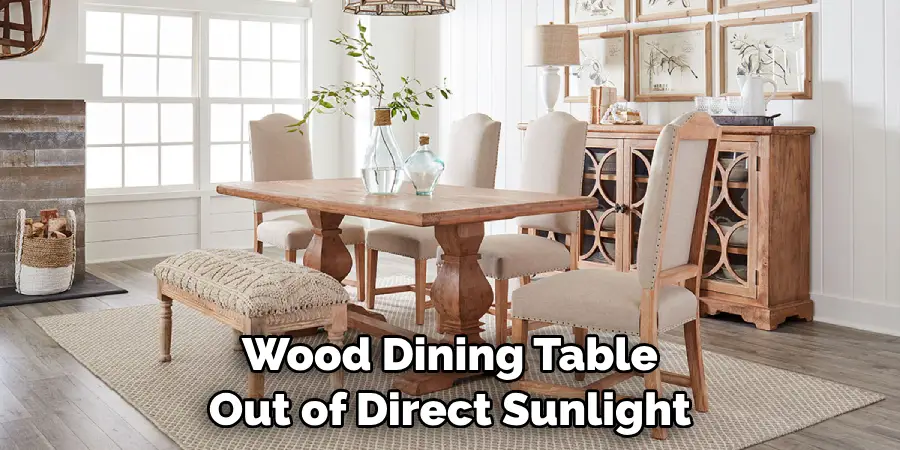
Step 11: Keep Your Table Out of Direct Sunlight
Finally, make sure to keep your wood dining table out of direct sunlight as this can cause fading and discoloration over time. If necessary, use window treatments like curtains or blinds to reduce glare from entering the room. Always choose materials that allow some light to come through but also reduce the intensity of the sun’s rays. This will help protect your table and keep it looking beautiful for years to come.
By following these steps on how to protect wood dining table, you can ensure that your wood dining table remains in pristine condition for years to come. With the appropriate finish, regular cleaning, and other protective measures, you can keep your furniture looking as good as new for many years.
Happy dining!
How Much It Will Cost?
The cost to protect your wood dining table will depend on the type of finish, covers or placemats, and other products you choose. Generally, you can expect to spend anywhere from $25 to $100 for all the materials needed. If you want to use professional services, the cost may be higher.
Frequently Asked Questions
Q: How Often Should I Clean My Wood Dining Table?
A: You should clean your wood dining table after each use to keep it looking pristine. For deeper cleaning, aim to do it once a month or as needed.
Q: What is the Best Way to Remove Stains from My Wood Dining Table?
A: To remove stains from your wood dining table, use a damp cloth and mild detergent to wipe away the stain. Depending on the type of stain, you may also need specific products like mineral oil or beeswax for complete removal.
Q: How Do I Fix Scratches or Warping on My Wood Dining Table?
A: To fix scratches or warping on your wood dining table, you will need to use a finish that matches the existing one. You can also choose to sand down the area and start over with a new finish if necessary. Be sure that whatever product you use won’t damage the existing finish.
Q: What Is the Best Way to Protect My Wood Dining Table?
A: The best way to protect your wood dining table is by selecting an appropriate finish, cleaning it regularly and using covers or placemats. You should also avoid extremes in temperature, heavy objects, abrasives or scrubbing pads and direct sunlight and use sandpaper for minor scratches. Following these steps will help keep your furniture looking as good as new for many years.
Conclusion
As we have explored, there are many ways you can protect your wood dining table from scratches, stains and other damage. Keeping a cloth to wipe up spills and crumbs right away is a great way to prevent staining. You should also use placemats or tablecloths to protect the surface against hot plates or wooden utensils.
Lastly on how to protect wood dining table, consider using a finishing wax or putting a scratch guard on the tabletop. Ultimately, how much protection you choose to add depends on the type of wood dining table you have and your own needs. With proper care and protection, your wood dining table can last for generations!

