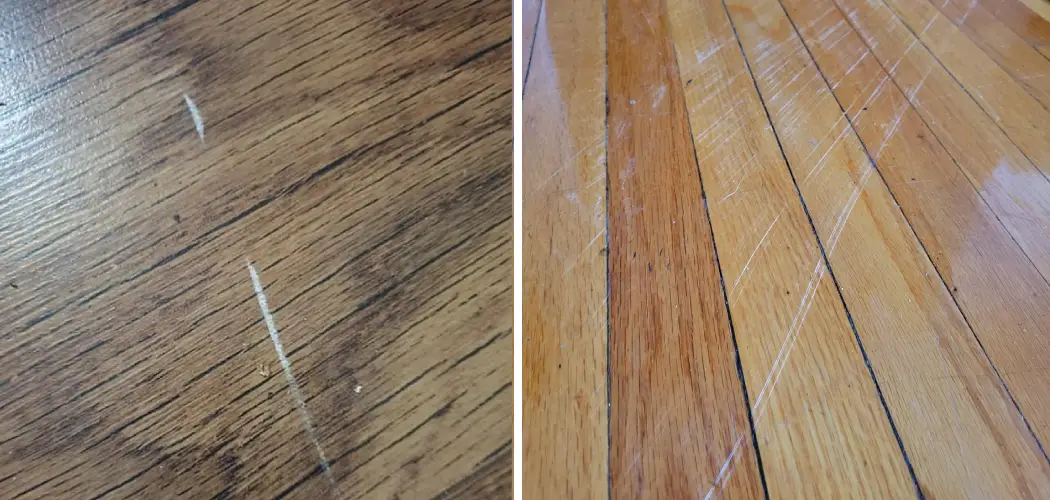
If you’re looking for an efficient way to help keep your wooden floors in top condition, then this post is a must-read. We’re going to give you the lowdown on how to remove pesky streaks from wood flooring – it’s quick, easy, and doesn’t require any fancy tools or expensive products!
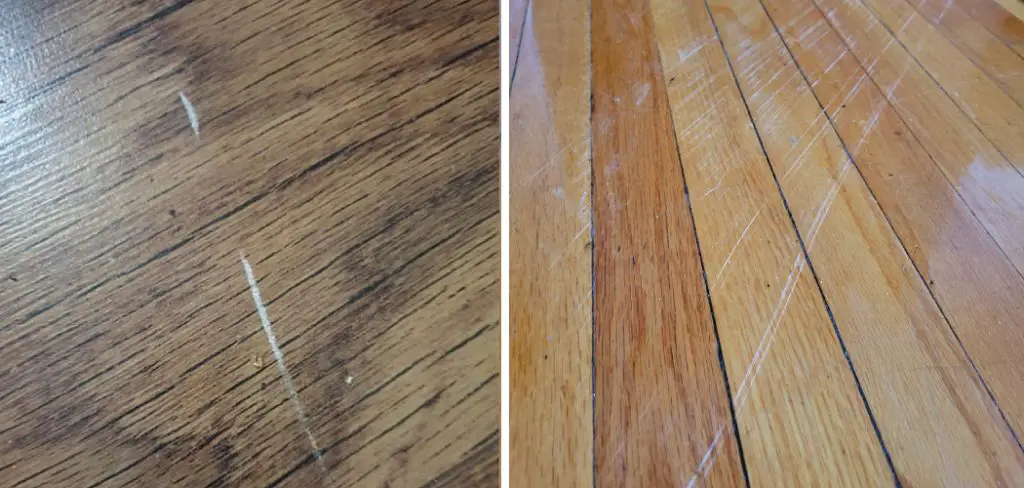
Whether your hardwood floors are new or old, our tips will have them look as good as new in no time at all. Keep reading if you want to learn more about how taking a few simple steps on how to remove streaks from wood floor can leave your floors shiny and streak-free!
11 Step-by-step Guides on How to Remove Streaks From Wood Floor
Step 1: Vacuum the Floor
Start by vacuuming up any dust and dirt from the floor, which will make it easier to remove streaks later on. This step is essential for removing any existing dirt or debris that could be causing the streaks. It’s important to make sure you get into all the crevices and cracks, as dirt or dust can accumulate in these hidden areas. If you have carpeted areas, use a brush attachment to get into those tight spaces.
Step 2: Mix Solution
Mix a solution of equal parts vinegar and water in a bucket, then use it to mop the floor. This natural cleaning solution will help break down dirt and leftover grime without damaging the wood.
But make sure you don’t let the solution sit on the floor for too long, and also be careful not to use too much liquid as this could cause the wood to swell. It’s best to use a damp mop and not a soaking-wet one. This will help ensure that you don’t over-saturate the floor.
Step 3: Dry Mop Floor
Dry mop the floor with a soft microfiber cloth after you’ve mopped it, as this will help pick up any remaining streaks or dirt particles on the wood surface. Make sure to move the cloth in long strokes parallel to the grain of the wood for best results.
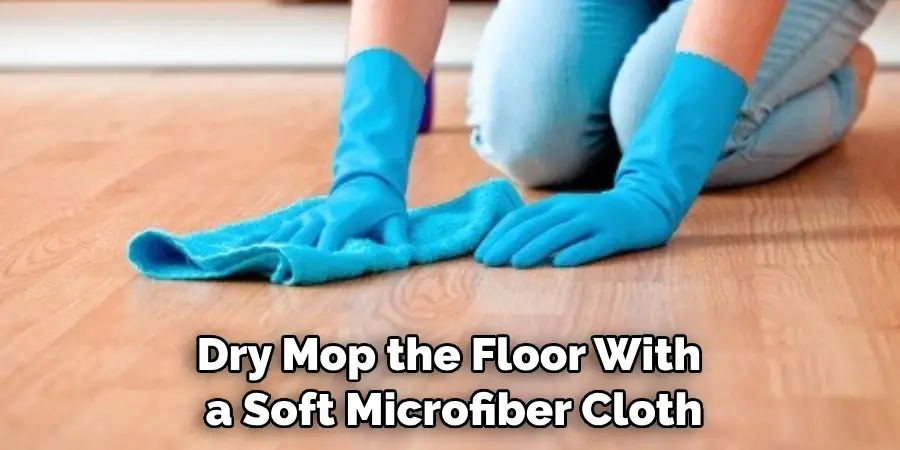
But be careful not to use too much pressure, as this could cause damage to the wood. It’s also important to dry the floor quickly, as any remaining moisture could cause the wood to swell or warp.
Step 4: Apply Wood Cleaner/Polish
Next, apply a generous amount of wood cleaner/polish designed specifically for hardwood floors onto the affected area. This can help to further remove streaks and enhance the shine of the wood flooring.
But don’t forget to read and follow the instructions on the cleaner/polisher for the best results! It’s also important to avoid using too much cleaner/polisher, as this could leave a residue and cause the wood to look dull.
Step 5: Remove Excess Cleaner/Polish
Remove any excess cleaner or polish by wiping it with a damp cloth. Make sure to move the cloth in long strokes parallel to the grain of the wood for best results. But be careful not to use too much pressure, as this could cause damage to the wood. If there are any stubborn streaks that you can’t remove with the damp cloth, use a buffing machine to help get rid of them. This should leave your wood flooring looking as good as new!
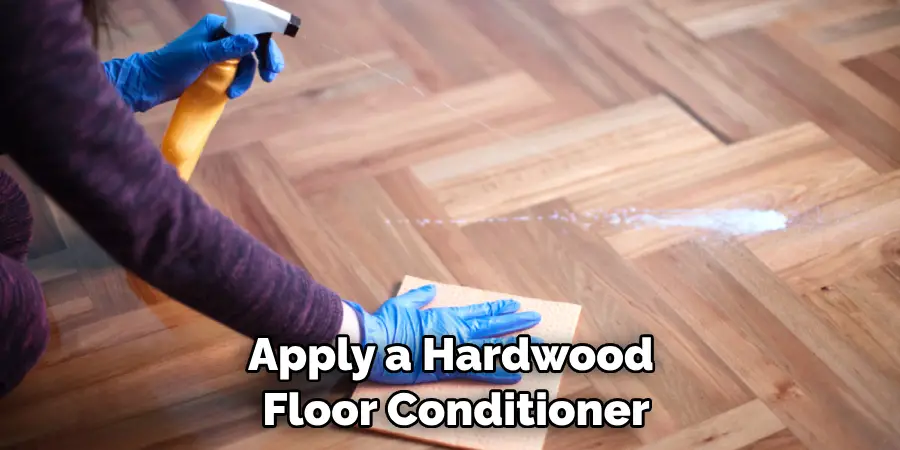
Step 6: Apply Conditioner
Apply a hardwood floor conditioner onto the affected area using a soft microfiber cloth to protect and rehydrate the wood fibers, helping them look their best while keeping them strong against future wear and tear. But don’t forget to read and follow the instructions on the conditioner for best results.
However, it’s important to avoid using too much conditioner as this could leave a residue and cause the wood to look dull. This step is essential for keeping your hardwood floors looking as good as new!
Step 7: Let Dry
Let everything dry overnight before continuing, as this will give enough time for both solution and conditioner to set. It’s also important to ensure the floor is completely dry before stepping on it, as any remaining moisture could cause the wood to swell or warp. This will help keep your hardwood floors looking as good as new for longer! If you’re in a rush, you can use a fan or dehumidifier to speed up the drying process.
Step 8: Buff Floor
Buff the area with a soft, clean cloth, making sure to move in long strokes parallel to the grain of the wood for best results. This will help restore shine and make your hardwood floors look as good as new. But be careful not to use too much pressure, as this could cause damage to the wood.
Step 9: Vacuum Once More
Vacuum up any remaining dirt and dust particles that may have been loosened by the previous steps. It’s important to make sure you get into all the crevices and cracks, as dirt or dust can accumulate in these hidden areas. This will help keep your hardwood floors looking as good as new for longer!
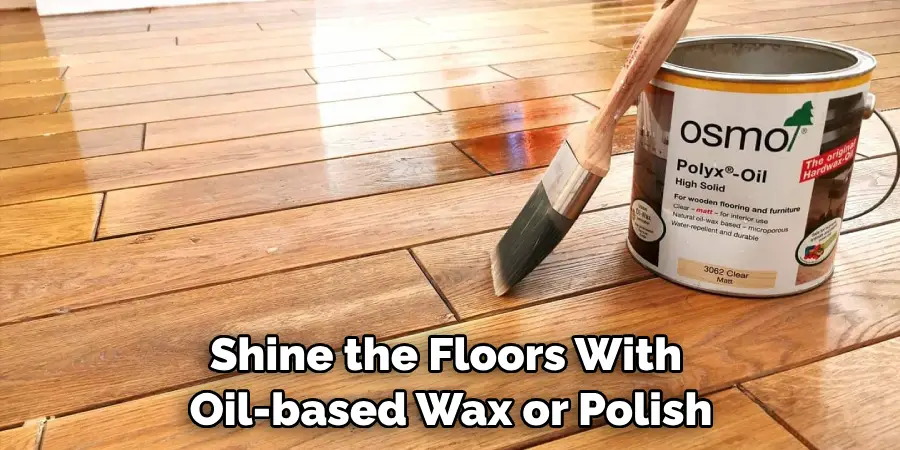
Step 10: Shine Wood Floors With Oil Based Wax or Polish
Shine the floors with oil-based wax or polish by applying it in small sections and buffing it out using a soft microfiber cloth. Again, make sure to move in long strokes parallel to the grain of the wood. This will help give your floors a beautiful sheen and make them look as good as new! It’s also important to avoid using too much wax or polish, as this could leave a residue and cause the wood to look dull.
Step 11: Enjoy Your Streak-Free Hardwood Floors
Enjoy your streak-free hardwood floors and bask in the satisfaction of a job well done! Your floor will look as good as new and be much easier to keep clean going forward. It’s amazing what a few simple steps can do to restore the beauty of your hardwood floors.
Now you know how to remove streaks from wood floor and keep them looking their best! Always make sure to take the necessary steps to protect your floors from future damage as well. Good luck, and happy cleaning!
Following these steps is sure to help you get rid of pesky streaks from wood flooring quickly, easily, and without breaking the bank. With regular cleaning, you can ensure that your wooden floors stay beautiful for years to come. So go ahead – take some time today and show those streaks who’s boss!
Frequently Asked Questions
Q: Can I Use Regular Soap to Remove Streaks From Wood Floor?
A: No, regular soap can damage the finish on wooden floors and should be avoided. Instead, use a wood cleaner/polish designed specifically for hardwood floors.
Q: How Often Should I Clean My Wood Floors?
A: It’s best to clean your wood floors at least once a week with a damp cloth. For deeper cleaning, use the 11-step process outlined in this post every 3-4 months.
Q: What If My Floor Is Still Streaky After Following These Steps?
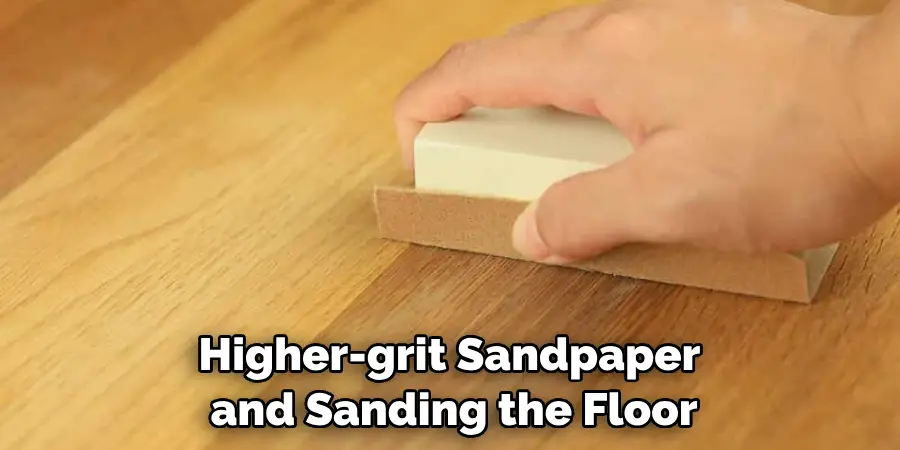
A: If your floor is still streaked after following these steps, try using higher-grit sandpaper and sanding the floor in the direction of the grain. This should help remove any remaining streaks and restore the shine to your floors.
Q: Is There Anything Else That I Can Do To Keep My Floors Looking Their Best?
A: Absolutely! Place floor protectors on furniture legs, regularly sweep up any dirt or debris and use a doormat to help reduce the amount of dirt that gets tracked onto your floors. All of these things will help keep your wooden floors looking their best for years to come.
We hope this guide has been helpful in showing you how to remove streaks from wood flooring quickly, easily, and without breaking the bank. With regular cleaning and maintenance, you can ensure that your wooden floors stay beautiful for many years to come. So don’t wait – start following our 11-step process today and show those pesky streaks who’s boss
Conclusion
By following this advice on how to remove streaks from wood floor, you should be on your way to cleaner wood flooring and ridding yourself of any streaks or nasty marks. Remember to keep your floor clean by ensuring debris doesn’t linger and mop up spills right away. Taking these steps will help extend the life of your wood flooring and keep it looking as beautiful as ever.
Don’t forget that taking the time to use a cleaner and polisher designed specifically for wood floors can make a huge difference in preserving its quality. Cleaning your wood floors regularly will help protect its shiny new-looking feel while also keeping dirt and dust down.
For those spots that won’t go away no matter what cleaners you try, consider getting the help of a professional such as a restoration service or a home improvement specialist to bring back that shine you once had. Preserving the beauty of your hardwood floors is an achievable goal with these easy-to-follow tips!

