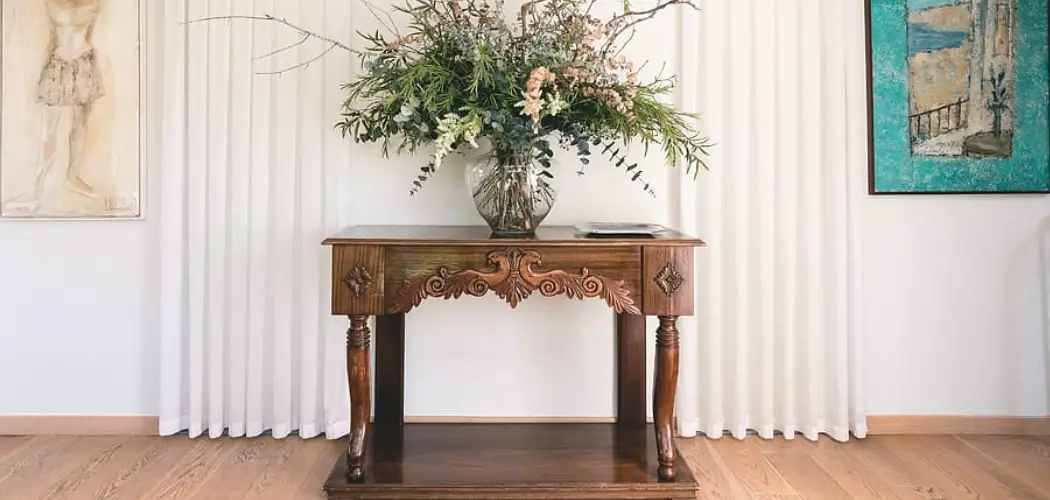
Having a warm, welcoming entryway is a key component to making your home feel inviting and livable. An entryway table not only provides you with function—such as a place to store keys and mail—but it can also be an aesthetically pleasing feature in the room. Whether you’re looking for something stylish or functional, creating an entryway table from scratch is an achievable goal that doesn’t require too much skill or experience.
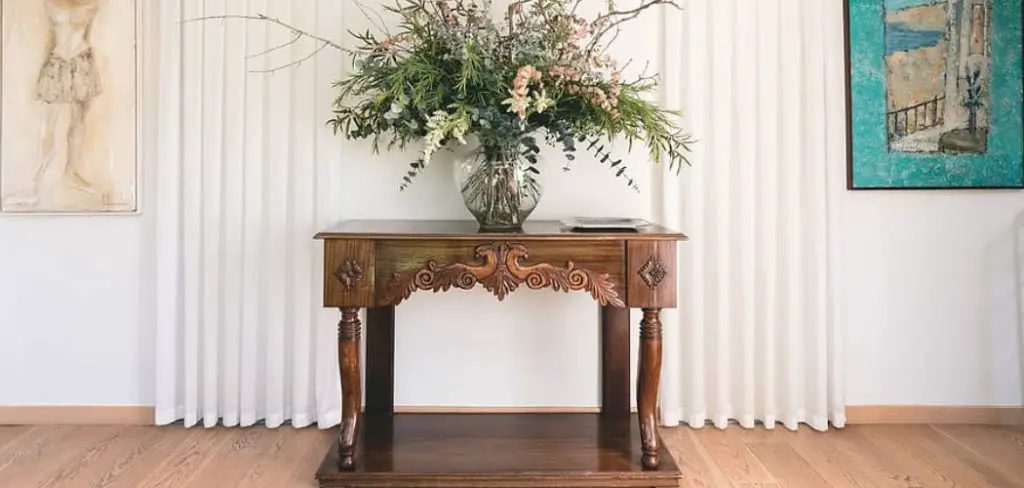
In this blog post, we’ll show you how to build an entryway table quickly and efficiently, giving step-by-step instructions along the way. Through choosing materials, building a sturdy frame, and completing the finished product with decorative extras like extra shelving units or drawers, soon enough you’ll have achieved exactly what you wanted out of your brand-new entryway table!
Tools and Materials You Will Need to Build an Entryway Table
- Saw or saw blade
- Hammer
- Wood glue
- Nails
- Sandpaper
- Protective finish (varnish, polyurethane)
- Plywood or particle board for the table top and shelf(s)
- Lumber to build a frame (2x4s are recommended)
Step-by-Step Guidelines on How to Build an Entryway Table
Step 1: Build the Frame for Your Entryway Table
Using either 2x4s or other lumber, construct a sturdy frame for your table. Cut boards to size and then use wood glue and nails to secure them together. Make sure they fit flush against each other while assembling your frame. Once you have your frame constructed, use sandpaper to smooth out any rough edges and protect your frame with a protective finish.
Step 2: Attach Tabletop
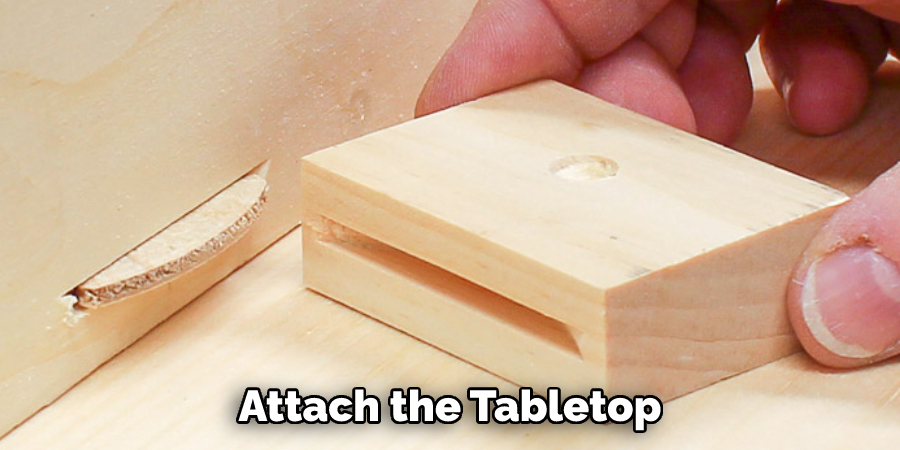
Using wood glue and nails, attach the tabletop and shelf (if desired) to the frame you constructed in step one. You can choose from plywood or particle board for your tabletop depending on the look you’re wanting to achieve. Make sure the tabletop is secured tightly to the frame and that it fits flush against the edges. Attaching the tabletop to the frame may require the use of a saw so make sure you’re comfortable using one before attempting this step.
Step 3: Decorative Extras:
Once you’ve got your table frame and tabletop built, it’s time to add any decorative extras that will help further customize your entryway table. Depending on the design of your entryway table, this may include additional shelves or drawers. Attach these using wood glue and nails, making sure they fit flush against the frame.
Step 4: Finish off with a Protective Coat
Once you’ve got your entryway table built, the final step is to protect it from wear and tear. Apply a protective finish such as varnish or polyurethane to seal and protect your entryway table from scratches, moisture, and other damage. Allow your protective finish to cure completely before using the table.
And that’s it! With these steps, you should have a beautiful entryway table to match your home decor and provide extra storage space for keys, mail, or other items. Thanks for reading this article and we hope it helps you in creating your perfect entryway table!
Additional Tips and Tricks to Build an Entryway Table
1. Select the right type of wood for your table. Hardwood is generally more durable and will last longer, but softer woods like pine are cheaper and can look just as good with a few coats of paint or stain.
2. Measure twice, cut once! Make sure to measure the exact dimensions of your entryway before purchasing wood to build the table. This will help ensure that your table fits perfectly in the entryway and looks great.
3. Consider adding some type of reinforcement, such as corner braces or support beams, to add stability to the table. These reinforcements can be made from metal or wood depending on what you prefer.
4. Sanding is an important step when it comes to building a table. Sanding helps create a smooth and even surface that will look much better than one with imperfections.
5. Lastly, remember to finish the table off with paint, stain, or some other type of finish for protection and aesthetics. This will help seal the wood from water damage and make your table look great. With a little bit of care and attention, you’ll have an entryway table that looks great and lasts for years to come!
6. If possible, it’s a good idea to use premade wood pieces like legs or the top when building your entryway table. This can help make the construction process much easier and faster. You can even use unfinished pieces of wood to save money and let you customize your table more.
7. If you’re making a design that has drawers, be sure to attach the drawer runners before installing them in the table frame. This will help ensure a smooth operation for years to come.
8. If you’re using hardware like screws or nails, be sure to pre-drill your holes. This will help prevent the wood from splitting and ensure that everything is securely attached.
With the following tips and tricks, you can easily build an entryway table that will look great and last for years to come. Remember to measure twice, cut once; sand down the wood to a smooth finish; reinforce the table for stability; use pre-made pieces when possible; attach drawer runners before installing them in the frame; pre-drill holes for hardware; and finish the table with paint, stain, or another type of finish for protection. Good luck with building your entryway table!
Things You Should Consider While Building an Entryway Table
1. Choose the Right Material for Your Entryway Table:
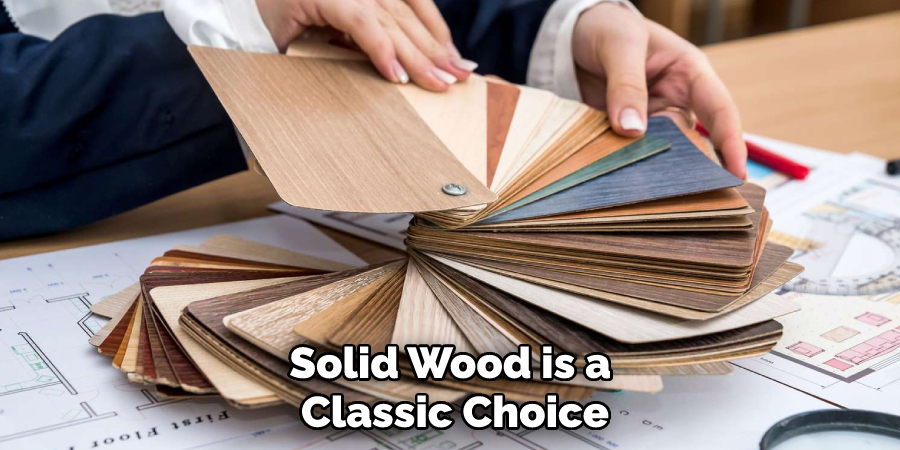
Depending on the style of entryway table you want to build, you should select the most suitable material for your project. Solid wood is a classic choice that will last for generations if properly cared for, but you could also opt for laminate or veneer if you want a more contemporary, lower-maintenance look.
2. Consider the Table’s Dimensions:
Before you begin building your entryway table, it’s important to measure the area in which it will be located and determine how much space is available for the table itself. Once the dimensions have been established, you can decide on the height, width, and depth that will best suit your needs.
3. Decide on Table Surface Finishes:
The surface of your entryway table should be treated with a finish to protect it from dirt, moisture, and everyday wear and tear. Depending on the type of material you have chosen for your project, you may want to use a sealer, varnish, oil, paint, stain, or wax.
4. Install the Legs and Supports:
The legs of your table provide both stability and aesthetic appeal. Choose the design that best suits your style; you could go for simple turned legs or more elaborate ornate carvings if desired. In addition, you’ll need to add support beams and braces for extra stability.
5. Attach the Table Top:
Once all other components of the table are in place, it’s time to attach the top. Make sure that it is securely attached using screws or adhesive; it should not move when pushed or pulled. Finally, you can add decorative touches such as trim, knobs, handles, or other accents.
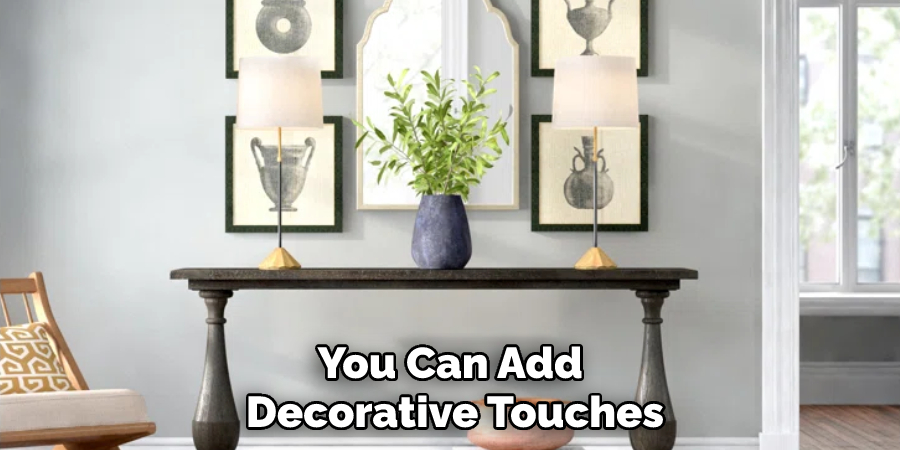
By following these simple steps and taking the time to choose the right materials and finishes for your entryway table, you will be able to create a beautiful piece of furniture that lasts for years to come. With a little bit of time and effort, you can build an entryway table that suits your needs and reflects your personal style. Good luck!
Frequently Asked Questions
What Kind of Material Do I Need to Build an Entryway Table?
You will need wood, screws, and a drill. Depending on the type of style you are going for, you may also need some sort of decorative elements like wood stain or paint. Additionally, if you want to add extra finishes such as handles or pulls, you may need additional materials like metal and fabric.
How Long Does It Take to Build an Entryway Table?
The amount of time it takes to build an entryway table depends on the size and complexity of your project. A simple, square-shaped table can usually be completed in a few hours, while a more intricate design could take days or even weeks.
Where Can I Find Plans for an Entryway Table?
You can find free plans for entryway tables online, or you can purchase them from furniture stores and woodworking magazines. You may also be able to find detailed instructions in books on woodworking and do-it-yourself projects.
Do I Need Power Tools to Build an Entryway Table?
Power tools can make the process of building a table much faster and easier, but they are not absolutely necessary. You will still be able to build a beautiful entryway table with basic hand tools like a hammer, saw, screwdriver, and drill bit.
What Is the Best Way to Finish an Entryway Table?
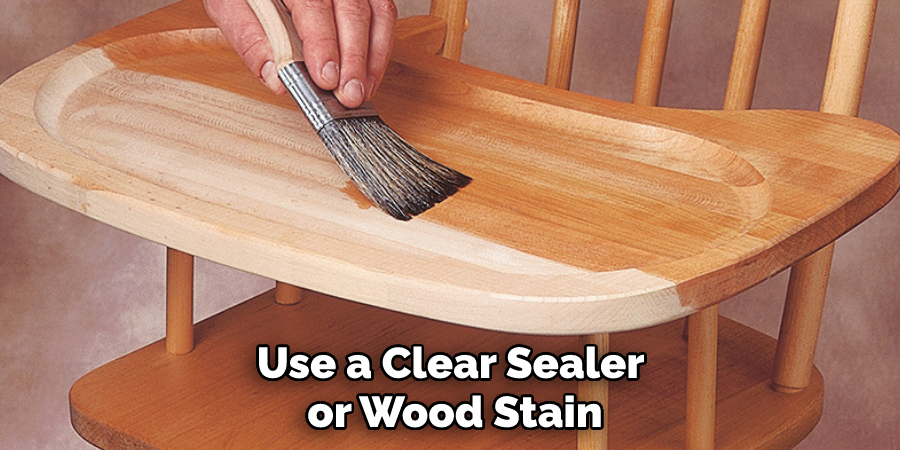
The best way to finish an entryway table depends on the type of wood you’re using and the type of look you want. If you’re looking for a natural look, then you may want to use a clear sealer or wood stain. For a more decorative look, consider painting it and adding hardware like handles or pulls.
Conclusion
Knowing how to build an entryway table can be a great way to add a fashionable and functional piece of furniture to your home. With the right materials, plans, and tools, you can create an attractive table that will make a statement in your entryway. Be sure to finish the table off with a protective sealant or stain so that it lasts for years to come.

