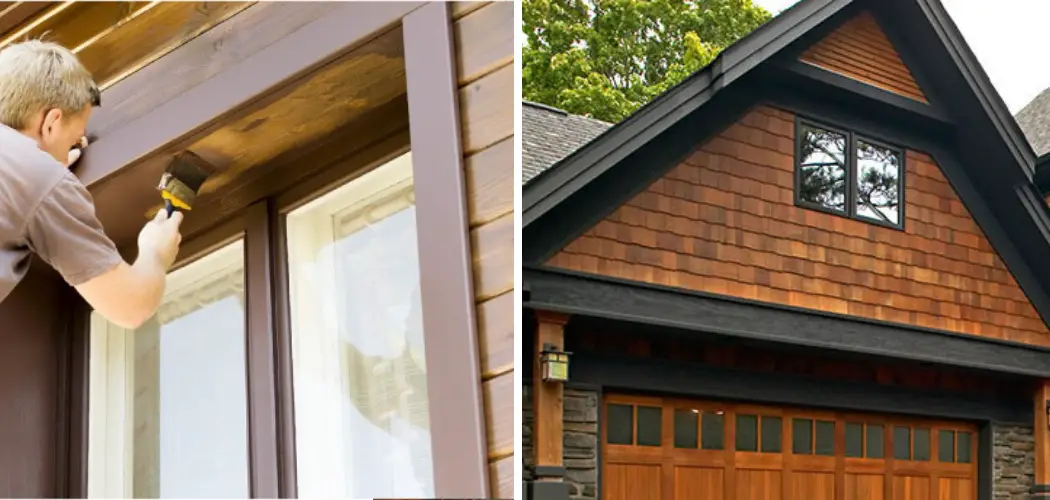
Are you preparing to make the exterior of your home look more crisp and inviting? Painting wood trim is an easy way to brighten up a space and give it some much-deserved life. Whether you’re aiming to add an invigorating yet classic touch or simply looking for ways to spruce up your outdoor area, painting wooden trim can be the perfect project, as long as it’s done correctly.
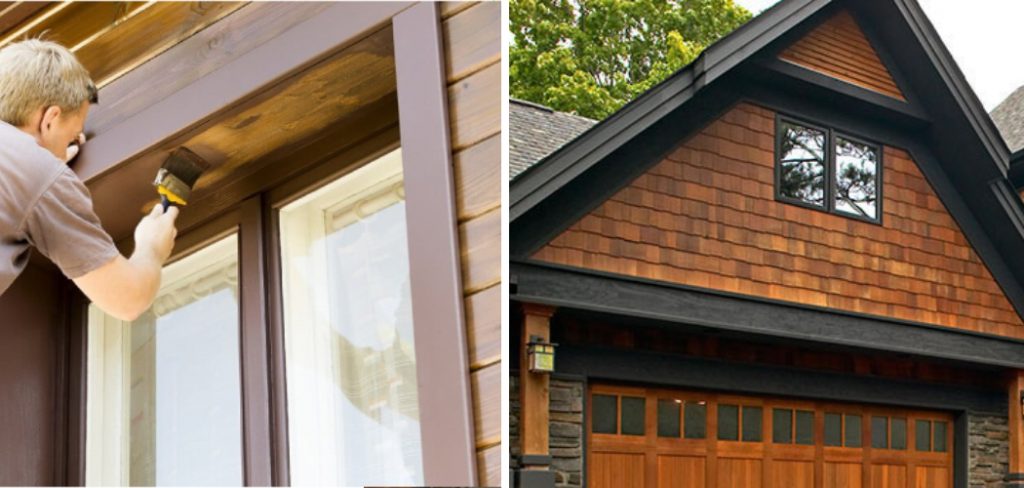
From selecting supplies, choosing necessary tools, and adequately prepping the surface before getting started – many key steps must be followed to achieve optimal results! If you’re ready to take on a DIY challenge, read on as we provide expert tips for any novice painter who wishes to learn how to paint exterior wood trim like a professional.
Tools and Materials You Will Need to Paint Exterior Wood Trim
- Exterior paint and primer
- Paint brushes, rollers, or spray gun
- Drop cloths
- Sandpaper (coarse, medium, and fine)
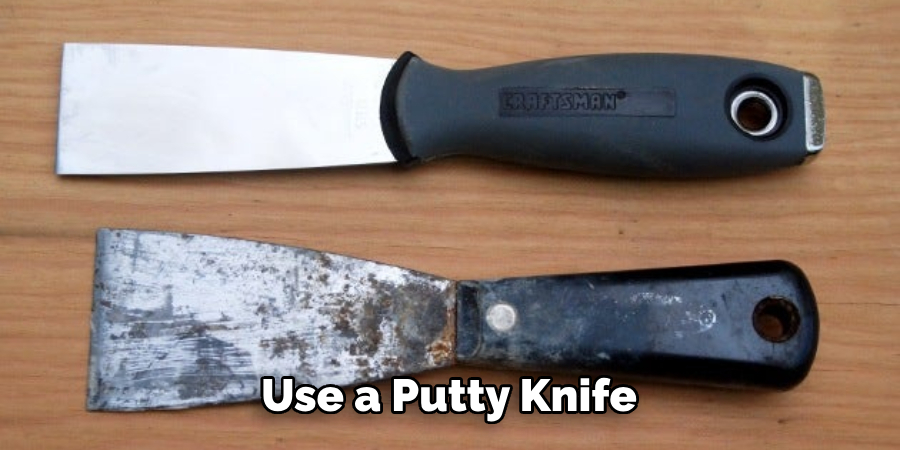
- Putty knife or scraper
- Putty
- Masking tape
Step-by-Step Guidelines on How to Paint Exterior Wood Trim
Step 1: Gather Supplies
Before you can begin painting, be sure to have all of the necessary supplies on hand. You will need two types of paint for this project – latex exterior primer and acrylic topcoat. When purchasing your paints, ensure that they are specifically made for outdoor use as these formulas come with special additives that help protect against the elements.
Step 2: Prep the Wood
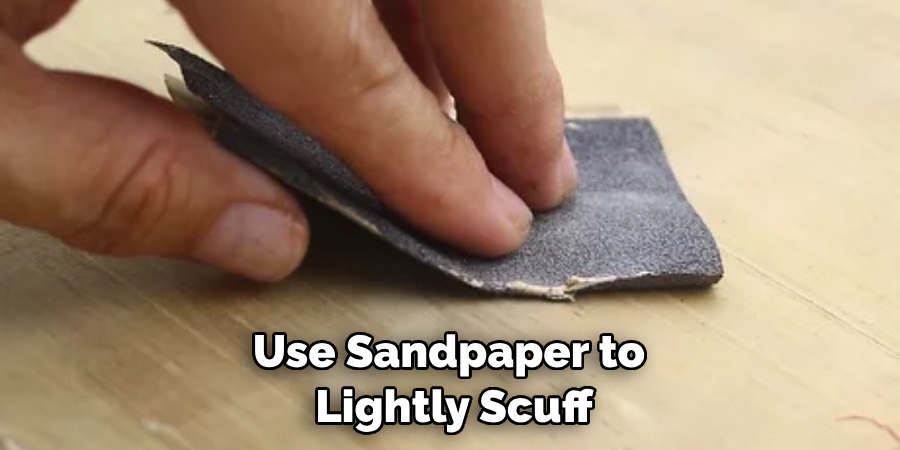
Before you get started, use sandpaper to lightly scuff up the surface of your wood trim. This will help ensure that the paint adheres properly and evenly across the board. Once you’ve sanded down any glossy areas, use a putty knife or scraper to clean off any paint chips or debris. While preparing the wood, make sure to use drop cloths to protect your surroundings from paint splatters.
Step 3: Prime the Wood
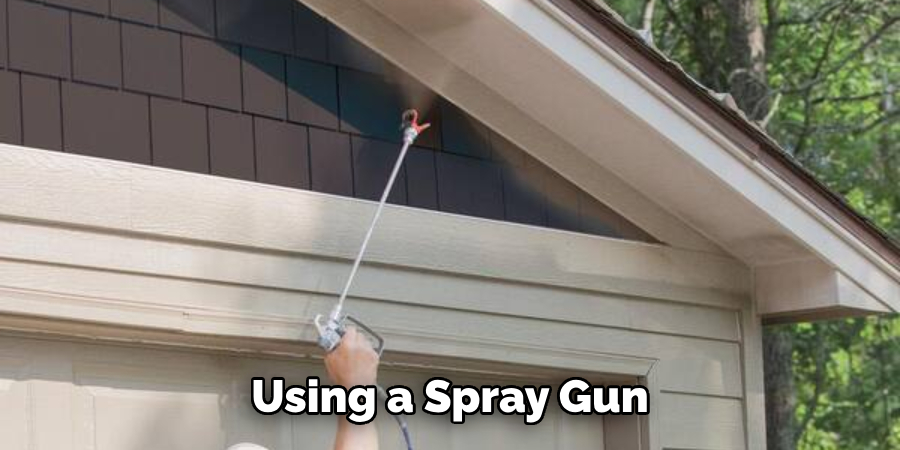
Using a brush, roller, or spray gun, apply the exterior primer to your wood trim in thin, even coats. If you’re using a spray gun, be sure to practice first on a scrap piece of wood before aiming it at your actual trim. Allow for at least an hour of drying time before moving on to the next step. Priming your wood should create a barrier that helps protect the trim from warping, cracking, and fading.
Step 4: Paint the Wood
Now that your primer is dry, it’s time to apply a few coats of exterior topcoat paint to give your trim its finished look. Once again, be sure to use even strokes and let the paint dry for approximately one hour in between each coat. Carefully use a putty knife to remove any excess paint around corners and edges.
Step 5: Caulk and Touch Up
Once all of the coats are dry, use a putty knife or scraper to smooth out any blemishes or rough spots. To ensure that no water seeps into the wood, you can also caulk any cracks or gaps in the trim. Finally, add some extra protection by applying a clear sealant or primer to your wood trim.
By following these simple steps, you’ll have the perfect exterior wooden trim in no time. Whether you decide to paint it yourself or hire a professional, your home’s outdoor space will be ready for its close-up! Now that your wood trim is prepped and painted, you can take on other outdoor projects like building a patio or putting in a garden.
The possibilities are endless! With these tips and tricks, you have all the information you need to become an expert at painting exterior wood trim. So get out there and start beautifying your home!
Additional Tips and Tricks to Paint Exterior Wood Trim
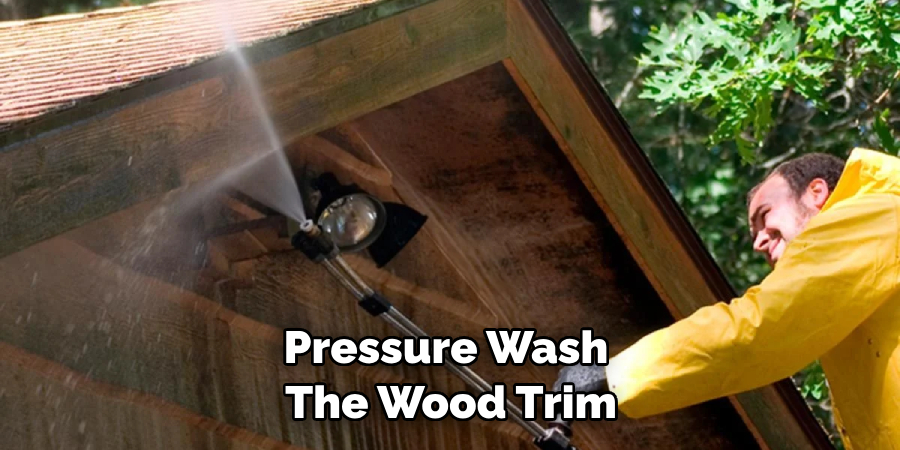
- Before you get started, make sure to pressure wash the wood trim to remove any dirt or debris from the surface and give the paint something to grip onto.
- When painting around windows and doors, use masking tape to create a straight edge and help prevent any accidental smudging on your glass surfaces.
- Always work in a well-ventilated area. When working with exterior paints, you must be in an environment where fumes are not present.
- If painting on days with high humidity or temperatures, be sure to use slow-drying paint – this will give you more time to work before the paint has dried completely.
- To make cleanup easier, consider investing in disposable paint brushes and rollers – this will help save you time at the end of a long project.
- When your painting is complete, be sure to store any leftover paint correctly by closing all containers tightly and keeping them away from direct sunlight or extreme temperatures. This will ensure that the paint remains usable for future projects.
- Last, but not least, make sure to wear protective clothing and safety goggles when painting wood trim – this will help keep you safe from any splatters or smudges of paint.
Following these tips and tricks is a great way to ensure that your exterior wood trim looks as good as new! With just a few simple steps, you’ll be able to create a polished outdoor space that will impress your guests and make your home look more inviting. So don’t wait any longer – get out there and start painting! With the right supplies, attention to detail, and patience, you can spruce up your exterior wooden trim in no time. Good luck!
Things You Should Consider to Paint Exterior Wood Trim
- Check the weather forecast and plan your project for days with low humidity – this will help ensure that the paint adheres to the surface correctly.
- Choose high-quality paint specifically designed for exterior use – these paints are formulated with special additives that make them more durable in outdoor temperatures.
- Keep an eye out for mold, mildew, or rot on the wood trim – this can indicate serious damage and may need to be treated before painting.
- Consider using a spray gun for larger projects – this will help you cover more area with less effort.
- Be aware of any regulations or codes in your area – some cities have restrictions on when and how you can paint the exterior of your home.
By following these tips and considerations, you’ll be well on your way to having the perfect exterior wood trim. With a little bit of extra effort, you can ensure that your home is looking its best! So go ahead and start planning – a beautiful outdoor space isn’t too far away! Happy painting!
Precautions Need to Follow for Painting Exterior Wood Trim
Before starting to paint exterior wooden trim, there are several precautions that need to be taken for the best results.
- Make sure the wood is dry and free of dirt, grime, mildew, and other contaminants before painting. A pressure washer can make this process easier.
- Fill in any cracks or damages with wood filler or caulk before painting in order to ensure the best results.
- Apply a coat of primer on bare wood or previously painted surfaces which can help protect it from moisture and will make the paint adhere better.
- Use an exterior grade paint that is designed for outside use and has UV protection to prevent chipping, fading, and cracking over time.
- Make sure that the area is well-ventilated before painting.
- Make sure to wear protective gear such as masks, gloves, and glasses when handling solvents or spray paints.
- For more difficult areas where traditional brushes cannot reach, an airless sprayer may be necessary for best results. Make sure to read and follow all of the manufacturer’s instructions for use.
- If painting in direct sunlight, be sure to work in the shade and keep the wooden surface cool to ensure proper coverage.
Following these precautions will make sure that your exterior wood trim is painted correctly and will last for many years.
Frequently Asked Questions
What Kind of Paint Should I Use to Paint Exterior Wood Trim?
The best type of paint to use on exterior wood trim is a high-quality, exterior-grade acrylic latex or alkyd enamel, such as those made by Sherwin Williams or Benjamin Moore. This will provide the best protection against weathering and moisture damage.
For the best results, make sure to choose a paint that is specifically formulated for use on wood surfaces. Avoid using paints labeled “interior/exterior” as they may not provide the same level of protection from moisture and UV rays as those made specifically for exterior use.
How Many Coats Should I Apply?
Typically, two coats of paint are recommended for exterior wood trim. The first coat should be an even basecoat that covers the entire surface, and the second coat should be a topcoat to provide some additional protection from weathering and wear and tear. If possible, wait at least 24 hours between coats to allow them time to dry completely.
Should I Sand the Wood Before Painting?
Yes, sanding is a crucial part of painting exterior wood trim. Start by using 80-grit sandpaper to remove any existing paint or varnish and smooth out any rough spots. If necessary, switch to finer grits (100-grit or higher) for a perfectly smooth surface before painting.
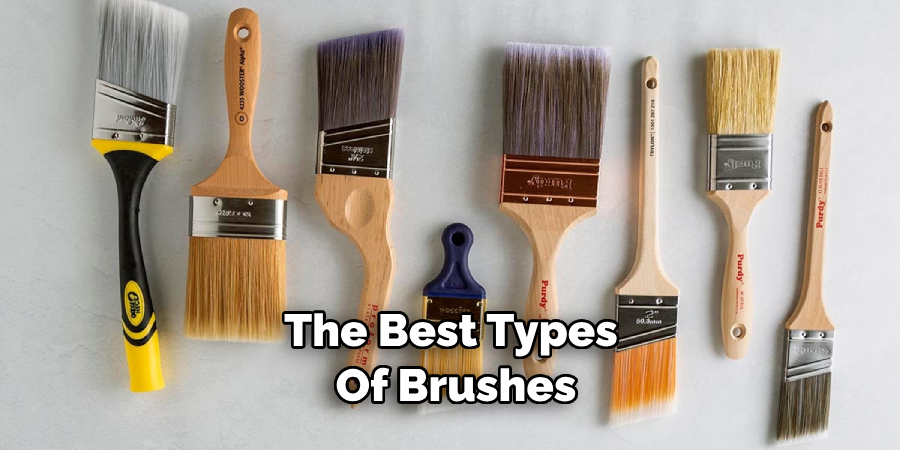
What Types of Brushes Should I Use?
The best types of brushes to use are synthetic bristle brushes, such as those made by Purdy or Wooster. These provide the smoothest finish and will help ensure that your paint job looks professional. Avoid using natural bristle brushes, as these can leave behind unsightly brush marks.
How Should I Clean Up After Painting?
Once you’re finished painting, make sure to clean all of your brushes and rollers thoroughly with warm soapy water. Depending on the type of paint used, you may also need to use mineral spirits or another solvent for a thorough cleaning. Make sure to store your brushes and rollers in a cool, dry place when not in use.
Conclusion
Now you know how to paint exterior wood trim! With the right materials, some patience, and a bit of elbow grease, you’ll be able to give your home’s wood trim an attractive new look.
Just remember to choose good quality paint made specifically for exterior use, sand the wood before painting, use synthetic bristle brushes, and clear all of your tools properly afterward. Doing these steps will help ensure that your exterior wood trim looks great for years to come. Good luck!

