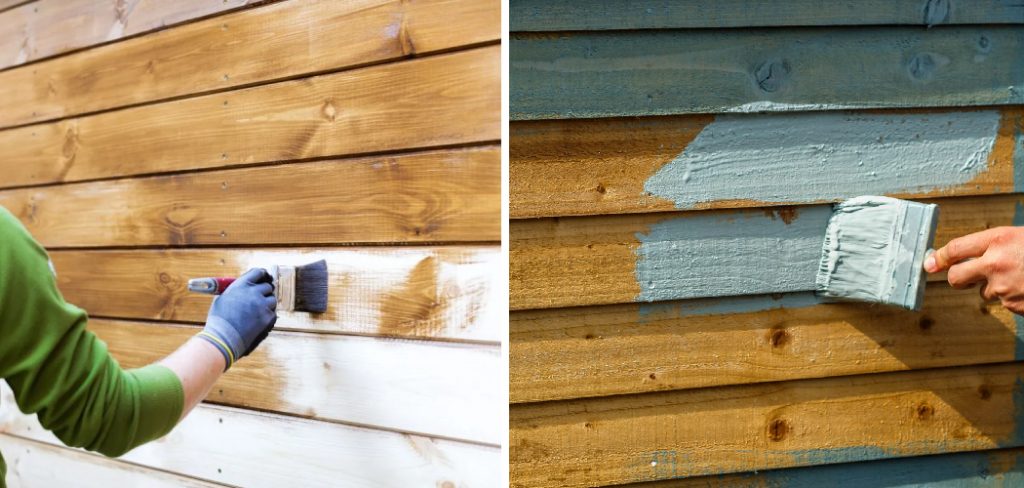
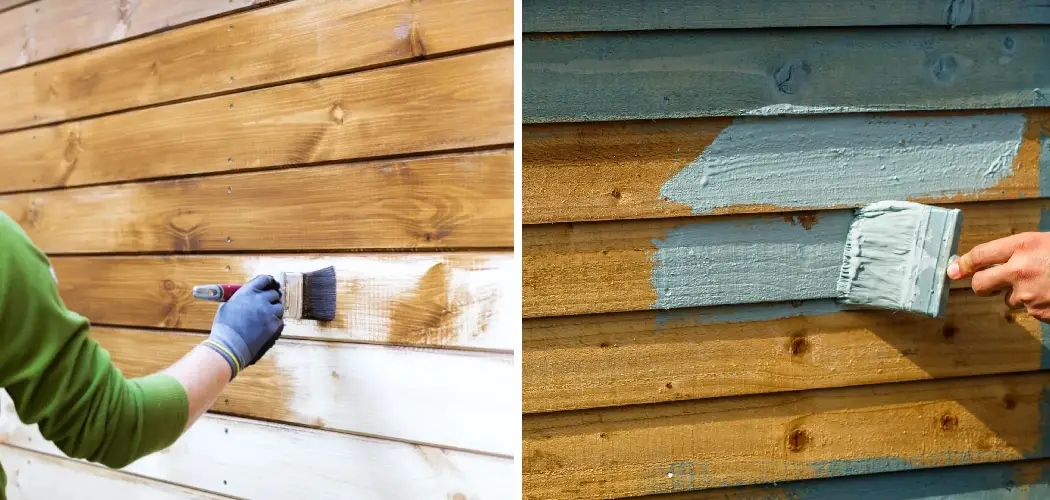
Are you tired of looking at your home’s dull, dingy exterior wood siding? Ready to transform its look and elevate its curb appeal by giving it a fresh coat of paint instead? Painting exterior wood siding can be time consuming and labor intensive — but worth it when you step back and admire the results!

Whether it’s primed, bare, or already previously painted wood siding, here are the steps to follow for a successful painting job. Always wear safety gear such as gloves and goggles when working with paints and solvents.
With these top tips on how to paint exterior wood siding, we’ll guide you through all the steps necessary for a successful painting project. From prep work to choosing colors and types of paints, keep reading to get all the details that will help make your efforts truly shine!
What Will You Need?
- A high quality exterior paint, like latex or oil based paints
- Primer
- Sandpaper
- Caulk and caulk gun
- Putty knife
- Paintbrush
- Roller and roller tray
- Drop cloths.
Once you’ve gathered all the necessary materials, it’s time to start!
10 Easy Steps on How to Paint Exterior Wood Siding
Step 1. Prepping the Wood Siding:
Before you start painting, preparing the wood siding by cleaning and sanding it is important. Start by washing down the wood with a power washer or scrubbing brush. This will help remove any dirt and grime built up over time.
Step 2: Caulk and Fill any Holes or Cracks
Look over the wood siding for cracks or holes, and use a caulk gun to fill them in. Allow the caulking to dry before you continue with the painting process. If there are larger holes, use a putty knife to fill them with wood putty and let it dry.

Step 3: Sand the Wood Siding
Once all of the cracks and holes have been filled, use sandpaper to carefully sand down any rough edges or excess caulking that has built up. This will ensure the paint adheres evenly and smoothly to the wood siding. Try to use a finer grade of sandpaper for the best results.
Step 4: Choose Paint Colors
Once your wood siding is prepped and ready, it’s time to choose paint colors! You can explore various color options, like bold hues or muted tones. Consider what colors will complement your home’s exterior before deciding.
Step 5: Prime the Wood Siding
Before painting, prime your wood siding and allow it to dry. This will help make sure that your paint adheres evenly and properly. Make sure to follow the directions on the primer can for best results.
Step 6: Paint with a Roller
After you’ve applied the first coat with a brush, it’s time to use a roller for the larger surface areas. Load your roller with paint and apply it in “W” or “M” shaped strokes for even distribution. Be sure to overlap each pass to avoid unpainted areas or roller marks. This method will help you cover more areas faster than with a brush.
Step 7: Apply the Second Coat
Once the first coat has completely dried, assess the coverage. You may not need a second coat if the wood siding is uniformly covered. However, a second coat is usually beneficial for a richer color and a more durable finish. Repeat the painting process with your brush and roller.

Step 8: Clean Up
When you’re done painting, it’s crucial to clean up your tools and dispose of any leftover paint or chemicals responsibly. Rinse your brushes and rollers thoroughly under water until the water runs clear, then let them dry before storing.
Step 9: Admire Your Hard Work
Step back and admire your hard work once everything is cleaned up and the paint is completely dry. Keep an eye on the weather before you start this project, as the paint needs dry conditions to cure properly. With the right planning and preparation, your new home exterior will add value to your house and bring you satisfaction for years to come.
Step 10: Maintenance and Preservation
Finally, it’s crucial to maintain and preserve your freshly painted exterior wood siding to ensure it retains its vibrant color and durability. Regularly clean the surface to remove dirt and dust build-up that can degrade the paint over time. Minor touch-ups may be necessary annually, especially for areas exposed to harsh weather conditions. Careful maintenance will extend the life of your paint job, keeping your home looking bright and fresh for years to come.
By following these ten easy steps to paint exterior wood siding, you can transform the look of your home and give it a much-needed facelift. Remember to put safety first and enjoy the results!
5 Additional Tips and Tricks
- Be sure to use a primer that is designed for exterior wood siding. It will help ensure that your paint job lasts longer and looks better.
- Remove any dirt, mold, or mildew from the surface before beginning the painting process. Pressure washing can be helpful in this regard.
- If you want a more professional finish, use a brush rather than a roller to paint the siding. This will give your house a much cleaner look.
- Use tape and drop cloths to protect areas around windows, doors, or trim from overspray.
- To get an even coat of paint on all sides of your home, paint the top and work your way down. This will help you avoid any laps or missed spots in the paint job.

With these tips in mind, you’ll be well on your way to a beautiful, long-lasting paint job for your exterior wood siding. Preparing and properly painting the siding will ensure it looks great for years.
5 Things You Should Avoid
- Don’t paint in direct sunlight or in temperatures that are too hot. This can cause the paint to bubble and blister, ruining your hard work.
- Avoid painting on a windy day as it will blow dust and debris onto the wet paint, leaving an uneven finish.
- Don’t use latex paint on exterior wood siding; it won’t last and can peel off over time.
- Only paint over top of the existing paint by sanding it first. This will prevent the new coat from adhering properly.
- Don’t apply too thick a layer of paint as this can lead to dripping and runs in the finish.
Avoiding these common mistakes will help you get the perfect finish for your exterior wood siding. If you’re ever unsure, it’s best to consult a professional painter for advice and assistance. With their expertise and guidance, you’ll be sure to get the job done right the first time!
5 Different Design Ideas
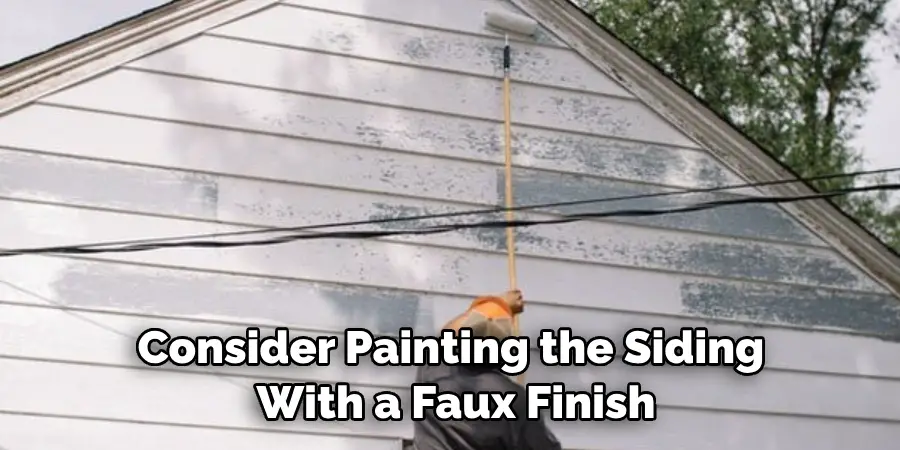
- If you want to add a touch of color and texture to your home, consider painting the siding with a faux finish. This could include stripes, chevrons in different colors, or even a unique wood grain effect.
- You can also experiment with two-tone paint jobs using complementary shades of paint to create contrast in your home.
- For a more classic look, try using the same paint color on the siding and trim for a unified look.
- Or you can use contrasting colors to create a bold statement on the exterior of your home.
- If you’re feeling adventurous, why not try painting stripes or patterns onto your siding to make it unique?
These are just a few ideas of what you can do with paint and exterior wood siding. You can transform your home’s exterior into something extraordinary with the right tools, materials, and creativity!

What Type of Paint is Best for Exterior Wood Siding?
When painting your exterior wood siding, there are several types of paint to choose from. The most common type is alkyd or oil-based paint. This type of paint is highly durable and long lasting, making it a great choice if you want your paint job to last for many years.
However, this paint type takes longer to dry and is more difficult to clean up. You may opt for latex or acrylic paint for faster drying time and easier cleanup. This type of paint is also less prone to fading and cracking over time.
No matter which paint you choose, make sure it’s specifically designed for exterior use. This will help ensure your paint job looks great and lasts for years!
Conclusion
How to paint exterior wood siding can give your home a fresh, new look and much needed protection. With a bit of preparation and the right materials, you’ve got what it takes to make your house beautiful and well-maintained. After considering the job size, style preferences, and steps outlined in this article, you should be ready to get started.
Taking some time to review instructions from experts may save you time and money in the end. Properly planned and executed painting projects don’t necessarily have to be expensive either; you can even do them yourself if time permits.
Regardless of how you decide to tackle it, paint is an excellent way to show off your DIY skills while sprucing up the outside of your home.
you can check it out also : Install Wood Siding on a House

