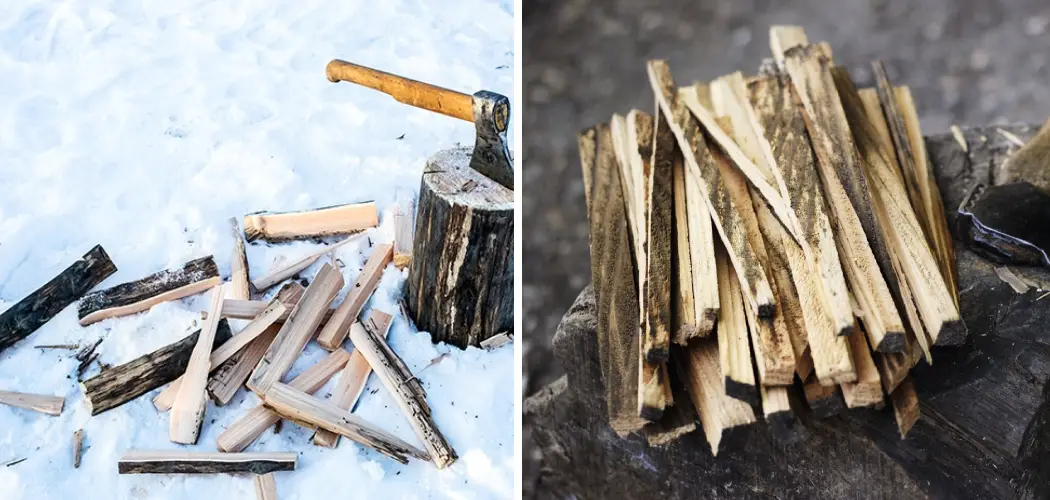
Do you often find yourself in the great outdoors but stuck without a fire to keep you warm? It’s easy to forget that starting a fire requires several essential components – kindling wood. Starting your kindling supply from scratch may seem daunting, but it doesn’t have to be! We’ve outlined an easy guide with all the tips and tricks to ensure you’re never left in the cold again.
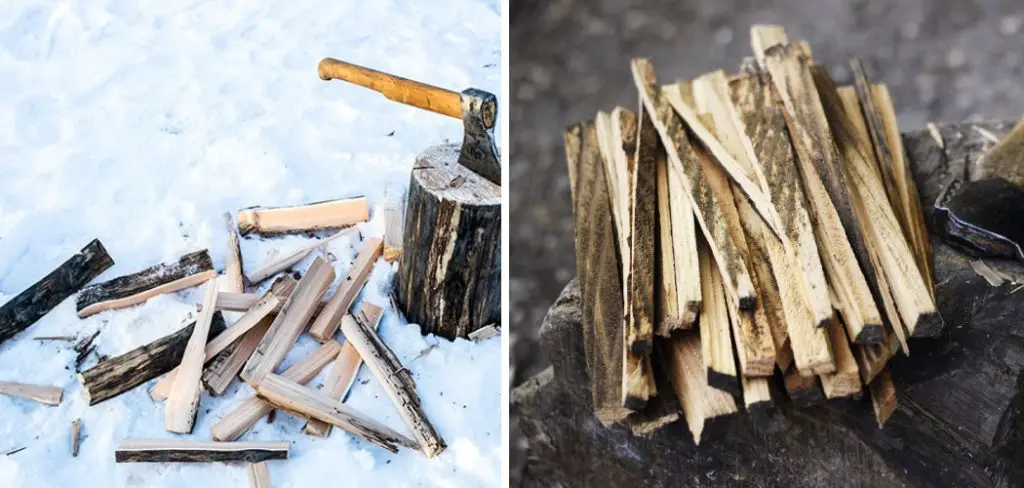
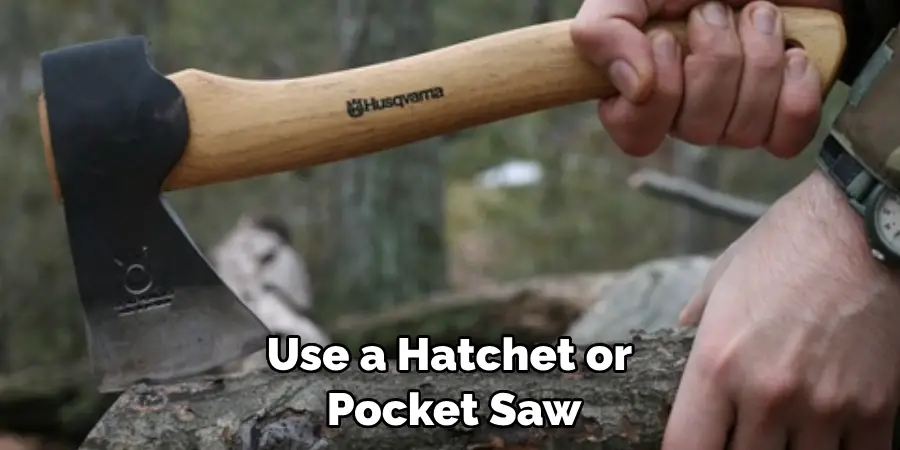
If you’re starting from scratch, you’ll want to choose small pieces of wood with many branches and twigs – these will be your kindling. If only large pieces are available, use a hatchet or pocket saw to break them down into smaller chunks.
Read on for our advice on how to make kindling wood!
What are the Benefits of Making Kindling Wood?
Making kindling wood has many advantages. First and foremost, it’s a great way to save money on buying pre-made kindling from the store. You can also tailor your kindling to fit whatever type of fire you’re trying to build – no matter the size or shape.
If you’re in the great outdoors and stuck without a fire, collecting kindling wood can be a great way to pass the time!
Overall, making kindling wood yourself is an excellent way to be prepared for any situation.
What Will You Need?
- Small pieces of wood
- Hatchet or pocket saw (if only large pieces are available)
- A container for storage
Once you’ve collected your wood, you are ready to get started.
10 Easy Steps on How to Make Kindling Wood
Step 1. Find the Right Wood:
Look for dry, seasoned wood. Softwoods like pine or fir are particularly good for kindling due to their lower density and faster burning times. Remember, the wood should be dry to make sure it catches fire easily – try to steer clear of green or freshly cut wood as they contain a lot of moisture and don’t make the best kindling.
Step 2. Cut or Chop Wood Into Pieces:
You can skip this step if your wood is already in small pieces! But if it’s larger, use a hatchet or pocket saw to break it down into smaller chunks. Aim for roughly 4-6 inches long pieces – this will make them easier to light and keep the fire going.
Step 3. Make a Kindling Bundle:
A kindling bundle is simply a small pile of sticks bound together with some twine or string. This makes it easier to transport and prevents the kindling from getting scattered around – so you don’t have to waste time collecting it all again! If you don’t have any twine or string handy, you can simply use a couple of thin sticks to wrap around the bundle.
Step 4. Light It Up:
Once your kindling bundle is ready, set it in the middle of your fire and light it up! The flames should quickly spread to the surrounding wood and get your fire burning. Try to move the kindling around with a stick or poker so that it catches fire evenly.
Step 5. Let It Burn:
Now, you just need to let your fire do its thing. Make sure to add more logs and larger pieces of wood as needed – your kindling will keep burning until those are lit up too! You can also keep adding more kindling if you want the fire to burn longer.
Step 6. Let It Cool Down:
Once your fire has died down, let it cool off before moving any remaining wood or ashes. If you’re done with your fire, use a shovel and rake to spread the ashes around and help put out any remaining embers. Another option is to leave the ashes in the fire pit and cover it with dirt – this will help prevent accidental fires.
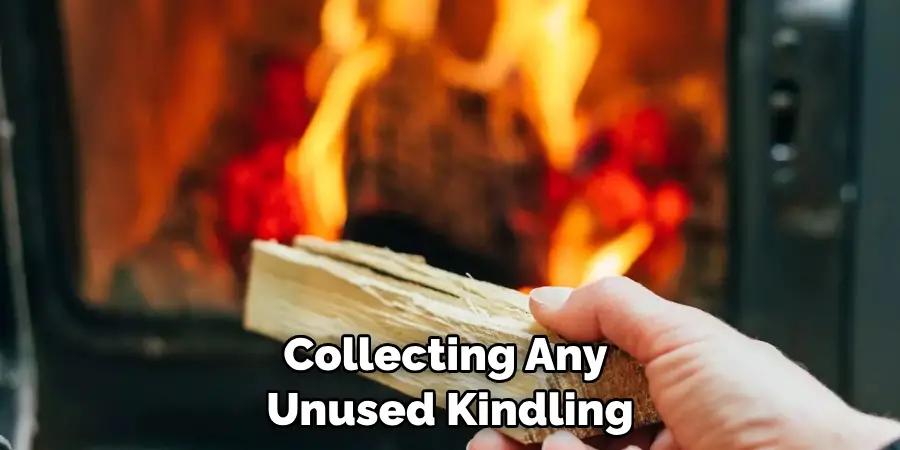
Step 7. Collect Any Unused Kindling:
Save time by collecting any unused kindling while your fire is still hot! This way, you don’t have to worry about finding more wood if you want to start another fire later. Be careful, though – wear gloves and use a metal shovel or rake so you don’t get burned.
Step 8. Store Your Kindling in a Dry Place:
When you’re done, store your kindling in a container with a lid (such as an old coffee can) to prevent any moisture from getting inside. Ensure the container is stored in a dry place – such as an enclosed garage or shed – to keep your kindling from getting damp. Once you’ve got the basics down, it’s easy to make kindling wood whenever you need it! Be sure to practice safety precautions and keep a good eye on any fires that you light.
Step 9. Get Creative:
Once you get the hang of it, feel free to experiment with different types of wood and techniques for making kindling bundles. You can even try adding some wax paper or dried herbs for an extra bit of flavor! The possibilities are endless – so have fun and be creative.
Step 10. Enjoy!
Whether creating the perfect campfire or just trying to stay warm on a cold night, making kindling wood is an easy way to keep your fire burning. Enjoy the warmth and have fun making your kindling bundles – there’s no better feeling than being prepared for any situation! Remember to practice safety when handling fire and never leave your kindling unattended.
You are now ready to make your kindling wood for any situation. With the right tools and some practice, you can easily create a fire that will last all night long. So get outdoors and start making those bundles – happy kindling-making!
5 Additional Tips and Tricks
- Make sure that the wood is dry and not wet. Wet wood will be difficult to light and produce a lot of smoke, making it inefficient for kindling.
- When splitting the logs into small pieces, use sharp tools such as axes or hatchets to make clean cuts. If the edges are too rough, they will burn more easily.
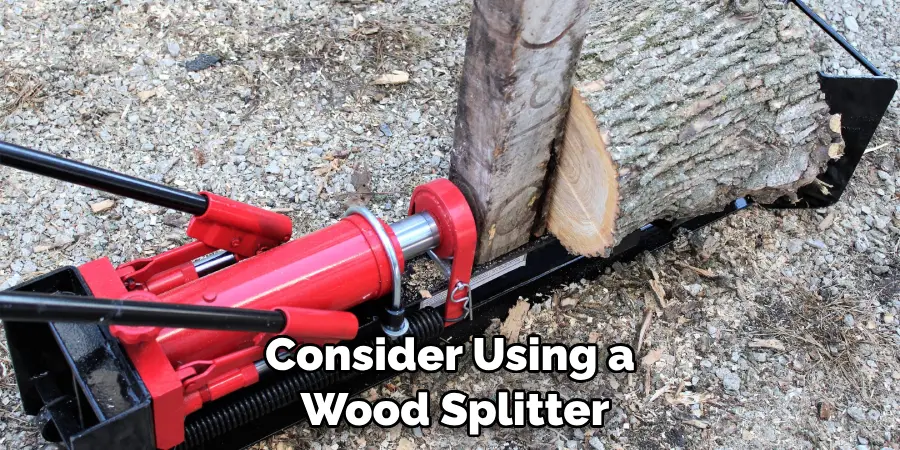
- Consider using a wood splitter to speed up splitting logs into kindling. It will save time and energy.
- Use smaller pieces of wood to make kindling, as they catch fire much faster than larger ones.
- Store your kindling in a dry place to remain usable for longer periods. This is also an important safety measure, as wet kindling can easily cause house fires.
Following these tips and tricks, you can make your kindling wood quickly and efficiently! It’s really easy – anyone can do it with the right tools and knowledge. So why not give it a try? You’ll only know once you try!
5 Things You Should Avoid
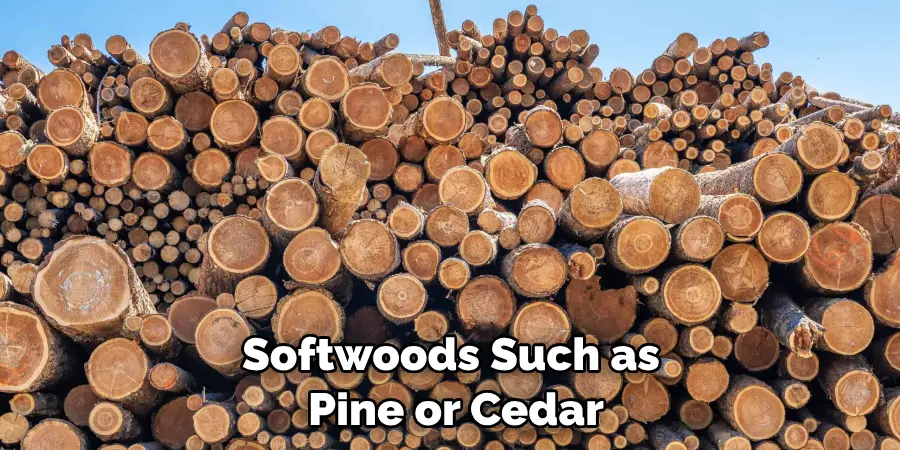
- Avoid using wood that is too hard or dense. While these types of wood will eventually burn, they can be tough to split into small pieces suitable for kindling. Softer woods such as pine or cedar are ideal for this purpose.
- Never leave your kindling exposed to the elements. Rain, snow, and even high humidity can dampen your kindling and make it less effective.
- Don’t neglect safety. Always wear safety glasses when splitting wood and keep your hands away from the blade’s path.
- Avoid using rotten or decaying wood. While it might seem like a good way to get rid of waste, this wood will produce more smoke and less heat, making it less efficient than kindling.
- Never store large amounts of kindling near a fireplace or wood stove. The smallest spark can ignite the kindling, potentially leading to a house fire. Always keep it stored in a safe, dry place, away from any open flames or heat sources.
Avoiding these mistakes will help ensure that your kindling burns efficiently and safely. With the right tools and knowledge, you’ll be able to make the perfect kindling for any fire!
What is the Best Wood for Kindling?
The best type of wood for kindling is softwoods such as pine or cedar. These woods burn quickly and easily, giving off a lot of heat without producing too much smoke. Hardwoods such as oak or ash can also be used, but they burn less hot or fast than softwoods. In general, it’s best to use dry wood, as wet wood won’t light as easily and might even smother the fire instead of helping it to grow.
It’s also important to use small pieces of wood when making kindling. This ensures the wood catches fire quickly and burns hot enough for your larger logs. A good rule of thumb is to use pieces no bigger than your thumb, as larger pieces will take much longer to burn.
By following these tips and using the right type of wood, you can make kindling that will help get your fire started quickly and efficiently!
Conclusion
When it comes to making kindling wood, the basics remain the same. Split the logs into smaller pieces and ensure they are dry enough to burn easily. Use a hatchet to achieve this splitting, and stay safe. You can then use the kindling wood for activities such as campfires and stoves.
Creating kindling wood is a great way to put your woodworking skills to good use. Not only can you make items for burning, but you can also help increase the efficiency of your fires in an eco-friendly manner.
With these tips in mind, you’ll never have an issue gathering kindling again. Crafting the perfect fire starts with taking the right steps towards success, and now you have all of the information needed about how to make kindling wood.

