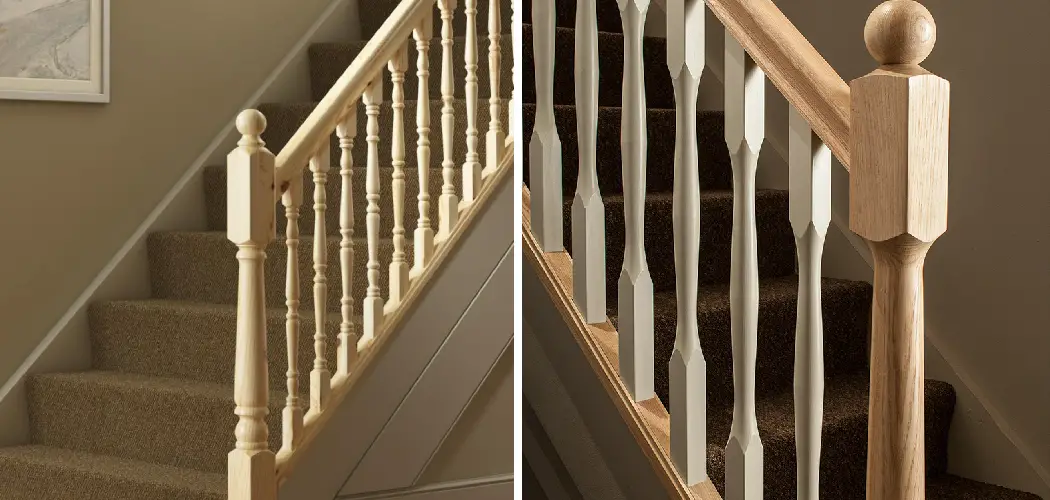
Securing a newel post is a crucial step in the construction or renovation of staircases and balustrades. The newel post, vertical support at the beginning, end, or change in the direction of a handrail, provides structural integrity and aesthetics to the entire railing system.
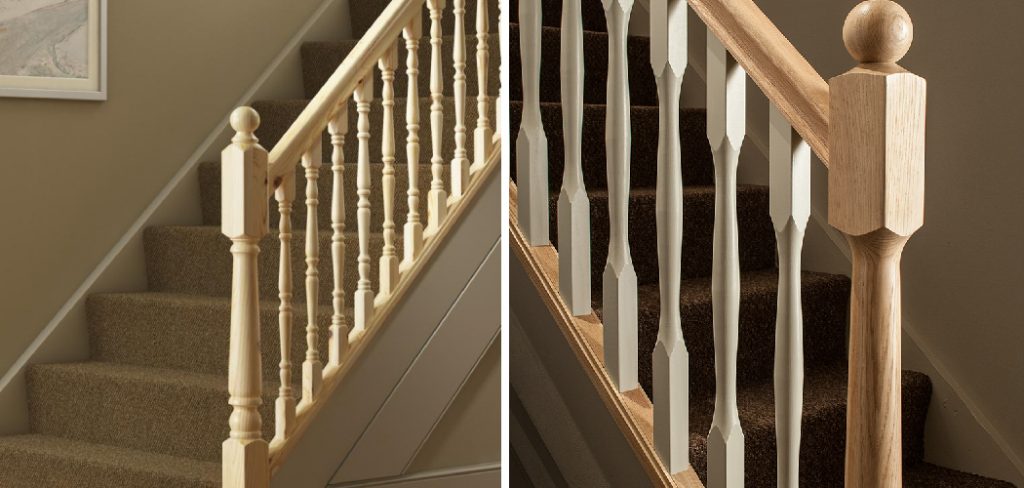
Whether you’re a DIY enthusiast or a professional builder, ensuring that the newel post is securely anchored is essential for the safety and stability of the staircase. This article delves into how to secure a newel post, exploring various techniques, materials, and considerations that contribute to a robust and durable installation.
From choosing the appropriate fasteners and tools to aligning the post accurately, mastering the process guarantees not only functional support but also a visually pleasing architectural element that enhances the overall design of the staircase.
Importance of a Stable Newel Post in Staircases or Railings
When it comes to staircases and railings, a stable newel post is essential for safety and stability. Not only does the newel post provide structural support but also serves as an anchor point for the spindles and handrail of your staircase or railing system. Installing a newel post correctly can help ensure that your stairs or railings remain safe, stable, and secure for years to come.
This article will provide step-by-step instructions on how to secure a newel post in your staircase or railing system.
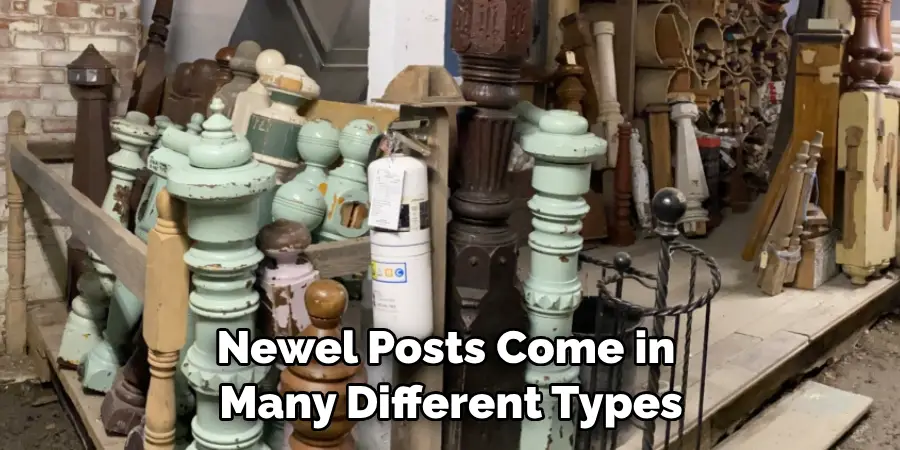
First, you’ll need to decide which type of newel post is right for your application. Newel posts come in many different types and sizes but they all have the same purpose: to provide a stable anchor point for your stairs or railings.
Once you’ve chosen the right newel post, it’s time to start the installation process. Before you begin, make sure that the area where your newel post will be installed is level and free of obstructions. You may also want to measure out twice the diameter of your newel post to ensure that the post is centered in the area.
Ensuring Safety and Preventing Wobbling or Shifting
When it comes to securing a newel post, safety should be your top priority. If the post isn’t installed correctly, you risk shifting or wobbling while walking up and down the stairs. To prevent this from happening, here are some tips for properly installing your newel post:
- Make sure that the post is securely attached to both the top and bottom of the stairs. If you are using a mounting block, make sure to use at least two screws into the wall studs on either side of the post.
- Depending on the type of newel post you have, you may need to use metal brackets on both sides to provide extra support.
- You can also consider using wood glue for an extra layer of adhesion. This is especially important if you are using wood posts since the glue will help to keep them in place and prevent shifting.
- Finally, when it comes time to actually attach the post, use at least three lag screws into each side of the mounting block. This will ensure that your newel post is secure and stable for years to come.
By following these tips, you can ensure that your newel post is securely installed and won’t be at risk of wobbling or shifting. With the right amount of attention to detail, you can have confidence that your stairs will remain safe for use in the years to come.
10 Methods How to Secure a Newel Post
1. Mastery of Newel Post Types: Defining Your Aesthetic
Before delving into the installation process, familiarize yourself with the array of newel post types at your disposal. Whether your design calls for full newel posts, which stand independently to support the entire handrail, or half-newel posts, which are affixed to walls and provide support to one side of the handrail, understanding these distinctions is integral to envisioning the final outcome.
2. Marking and Positioning: The Dance of Alignment
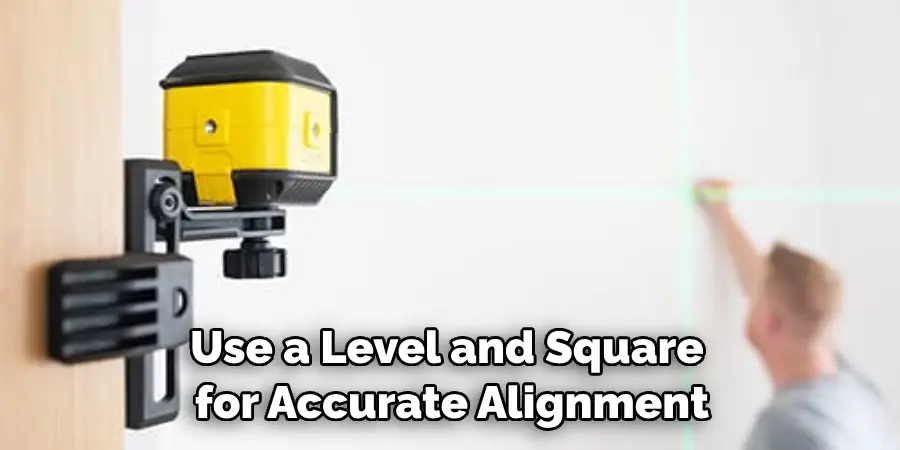
The journey commences with the art of marking and positioning the newel post. This foundational step requires precision and attention to detail, as it dictates the post’s alignment and ultimately influences the structural integrity of the staircase. Measure meticulously, use a level and square for accurate alignment, and ensure the post is plumb (vertically aligned) and level to maintain a balanced appearance.
3. Crafting a Solid Base: Preparing for Stability
To bestow longevity and strength upon your installation, meticulously prepare the base that will cradle the newel post. Clear the designated area of any debris, ensuring a pristine canvas for your work. If the post will stand on a finished floor, tread, or landing, exercise care in temporarily removing any necessary flooring materials to access the underlying subfloor. The subfloor, being the unsung hero, offers stability and a firm foundation.
4. The Art of Mounting Plate Installation: Establishing Reliability
For full newel posts, mounting plates play an integral role in bolstering structural support. These plates are the unsung heroes that uphold the newel post’s weight and provide a secure anchor. Position the mounting plate on the marked spot, ensuring it aligns with your meticulous measurements. Affix it to the subfloor using appropriate screws or anchors, achieving a flush and level connection.
5. The Art of Attachment: Fastening with Precision
With your meticulously prepared base and mounting plate in place, it’s time to secure the newel post. Forging a steadfast bond requires choosing appropriate fasteners such as screws, lag bolts, or threaded inserts. Align the post with the mounting plate or subfloor, and attach it firmly. Remember, the essence here is snugness; tighten the fasteners with care, avoiding over-tightening to prevent damage to the wood.
6. Strengthening with Blocking and Dowels: Adding Layers of Stability
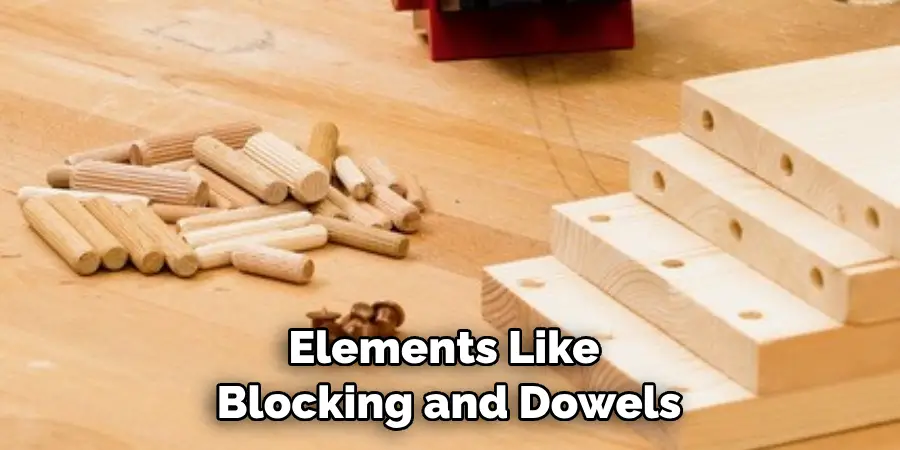
Elevating the level of stability involves introducing elements like blocking and dowels. These reinforcements fortify the newel post’s connection to the floor and subfloor. Blocking entails inserting wooden pieces between the subfloor and the post’s base, while dowels involve drilling holes into both the subfloor and the newel post and inserting wooden pins for a secure connection.
7. Unveiling the Potential of Epoxy Adhesive: Enhanced Bonding
For those who seek the zenith of bonding strength, epoxy adhesive emerges as a stalwart companion. By applying epoxy to the base of the newel post before attachment, you create a robust, gap-filling bond that amplifies the post’s stability. Embrace the manufacturer’s guidelines for mixing and application to harness the adhesive’s full potential.
8. Embracing Lag Bolts and T-Nuts: Fortress of Support
If your pursuit craves ultimate stability, look no further than lag bolts and T-nuts. Drill holes through the post and subfloor, inserting T-nuts into the holes. The subsequent step involves threading lag bolts through the post and into the T-nuts, employing the power of torque to secure the newel post with unparalleled fortitude.
9. Concealing Fasteners: The Aesthetics of Wood Plugs and Caps
For those who revere seamless aesthetics, the incorporation of wood plugs and caps offers a sophisticated solution. Conceal the fastener holes with wood plugs that mirror the wood type of the newel post. Sand them flush with the surface, and finalize the process with the addition of a wood cap. The outcome is an exquisite, uninterrupted visual appeal that speaks of craftsmanship.
10. The Culmination: Harmonious Handrails and Balusters
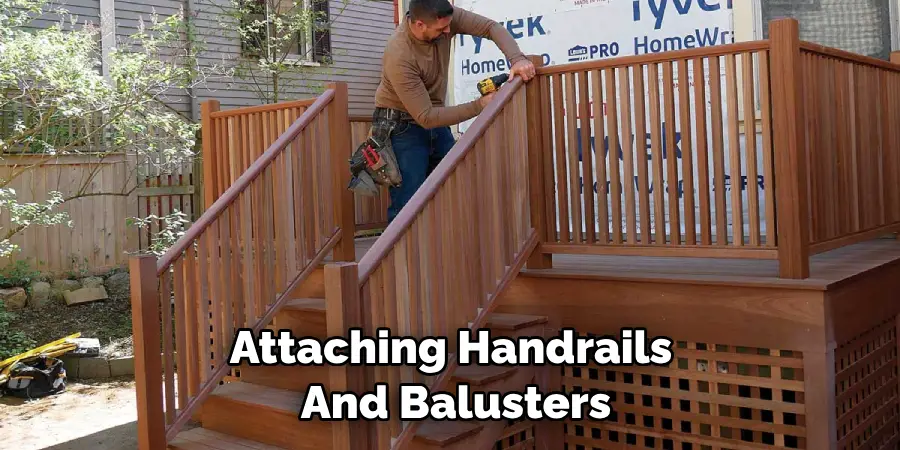
With the newel post now securely in place, the journey nears its conclusion. The final touch involves attaching handrails and balusters to achieve the harmonious union of form and function. Abide by the manufacturer’s instructions to ensure that both handrails and balusters are securely fastened to the newel post, allowing the balustrade to stand as a testament to your craftsmanship.
Some Common Mistakes When Securing a Newel Post
When securing a newel post, it’s important to take the time to do the job properly. A few common mistakes can make your job more difficult and increase the chances of failure.
First off, don’t use nails or screws that are too long for the job – this will cause the wood to split. It’s also important not to tighten screws or nails too much – this will crush the wood and decrease its structural integrity.
Make sure to countersink your screws and nails properly, as this will help them adhere better to the wood. If you don’t know how to do this, refer to an instructional guide or video for guidance. Finally, make sure not to use galvanized steel in areas that could come into contact with the wood – this will cause corrosion and weaken the post over time.
Conclusion
In conclusion, it is important to know how to secure a newel post properly and safely. Securing the newel post correctly will ensure that your staircase is sound for years to come. With the helpful tips outlined here, you should be able to successfully complete this task and enjoy your finished product in no time.
Even if you don’t consider yourself a very handy person, knowing the proper way to secure a newel post can save you headaches down the line. If, however, you do run into trouble during the installation process, be sure to consult an experienced professional for additional guidance.

