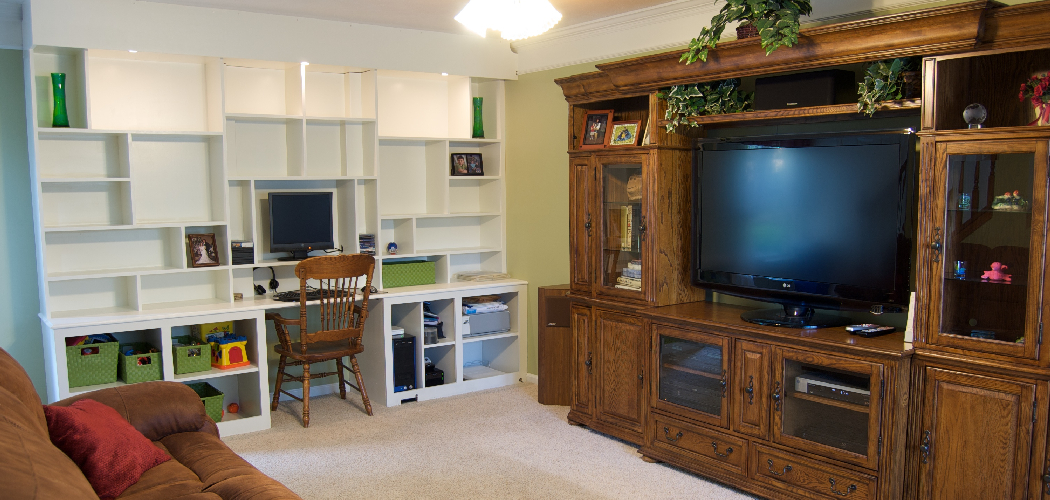
Are you an avid DIY enthusiast who is always on the lookout for new projects to tackle? Perhaps you’ve been eyeing up that entertainment center of yours, but are unsure how to paint entertainment center. Painting furniture can be a daunting task – after all, when done wrong it can instantly ruin any piece!
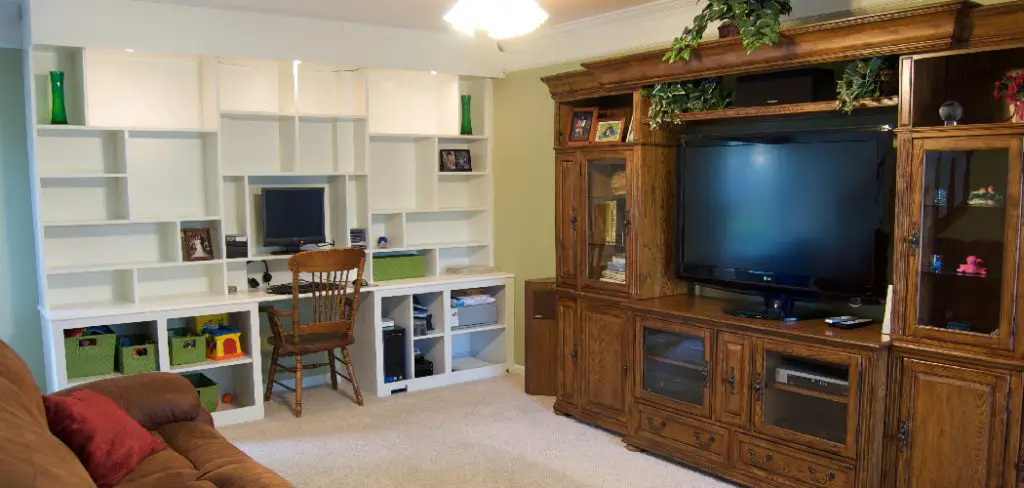
However, don’t worry — we’re here to guide you through the entire process and show you just how easy painting furniture can be. Keep reading to find out more about getting started with painting your entertainment center today!
Tools and Materials Need to Paint Entertainment Center
- Sandpaper or sander
- Primer
- Paint of your choice
- Sponge brush, roller, or paint sprayer
- Drop cloths or tarps to protect surfaces
- TSP (Trisodium Phosphate) cleaner
- Painter’s tape
- Safety goggles, gloves, and a respirator mask
Step-by-Step Guidelines on How to Paint Entertainment Center
Step 1: Prepare Your Entertainment Center for Painting
Before you do anything else, make sure that your entertainment center is clean and ready to be painted. Begin by wiping down the entire surface with a damp rag or cloth and TSP cleaner. This will help remove any dirt or debris that may be present on the furniture. Before going any further, allow the entertainment center to dry completely.
Step 2: Sand and Prime Your Entertainment Center
Next, you must sand your entertainment center in order to create a smooth finish for painting. You can use either sandpaper or an electric sander for this step. Make sure that you are using the appropriate grit size of sandpaper for the job.
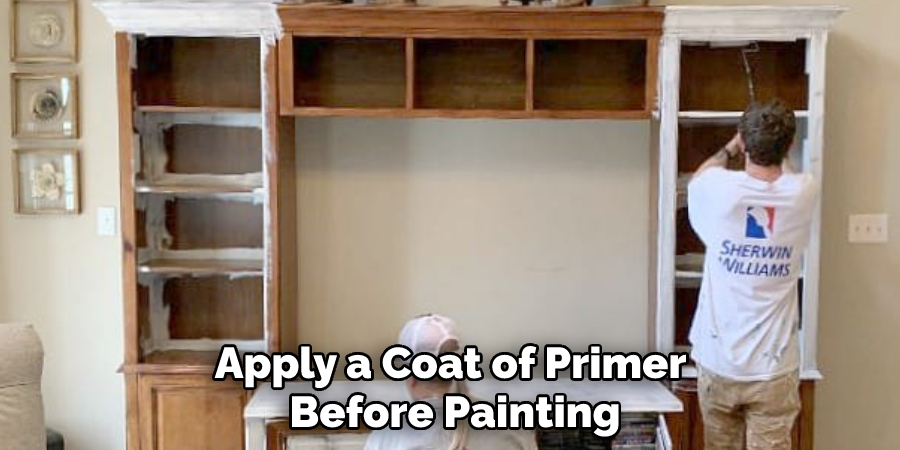
Once you have finished sanding, it’s time to prime your entertainment center. Primers are essential when painting furniture as they help to create a strong bond between the surface and paint that will last much longer than without primer. Follow the instructions on your chosen primer and make sure to allow it to dry completely before moving on to the next step.
Step 3: Paint Your Entertainment Center
Now that your entertainment center is primed and ready, you can finally get to painting! Before beginning, be sure to set up a painting station with all of the necessary materials, such as drop cloths or tarps, paintbrushes or rollers, and painter’s tape.
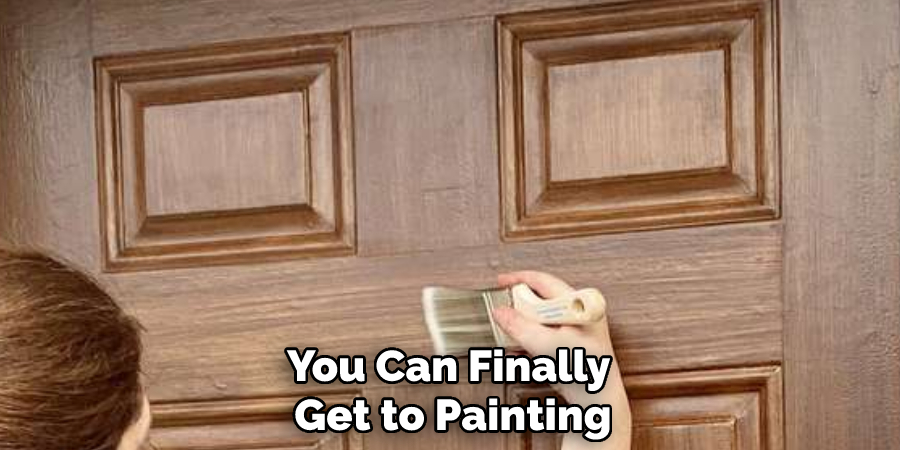
Choose a paint color or finish of your choice, and apply it in thin coats over the entire surface. Allow each coat to dry completely before adding another one. This may take several hours depending on the number of layers you are wanting to apply, so patience is key!
Step 4: Touch Up Your Entertainment Center
Once you have finished painting your entertainment center, it is time to do any necessary touch-ups or sealant. If desired, apply a clear coat of polyurethane over the painted finish in order to give it an extra layer of protection against wear and tear.
Finally, remove all of your painter’s tape and any other materials used in the process. Step back and admire your handy work – you are now finished painting your entertainment center!
Congratulations on completing this project successfully! With a little bit of hard work, patience, and these guidelines, painting furniture is much easier than it may seem. Now that you know how to paint an entertainment center, why not try out your new skills on other pieces in your home? We hope you have found this guide helpful and wish you the best of luck with your furniture painting projects!
Additional Tips and Tricks to Paint Entertainment Center
1. Sand the surface thoroughly to create a smooth finish by using medium-grit sandpaper. This will help the paint adhere better and provide even coverage while also creating the attractive glossy finish that you desire.
2. Use a primer before painting as it helps in filling out any uneven surfaces, holes, or dents, and provides an even base for the paint to adhere to.
3. When it comes to choosing the right type of paint, work with a professional or do your own research to make sure you use the best quality option for your entertainment center.
4. Apply multiple thin layers of paint rather than one thick layer as this allows for better coverage and prevents any smudges.
5. Allow each layer of paint to dry completely before adding the next one. This will ensure that the entire piece is evenly coated with paint and that nothing bleeds through.
6. After all the layers are applied and painted, finish off your work using a sealant or varnish to protect the paint job and make it last longer.
7. Finally, let your entertainment center dry completely before you place any items on it or start using it. This will also prevent any damage from occurring due to water seeping through the painted surface.
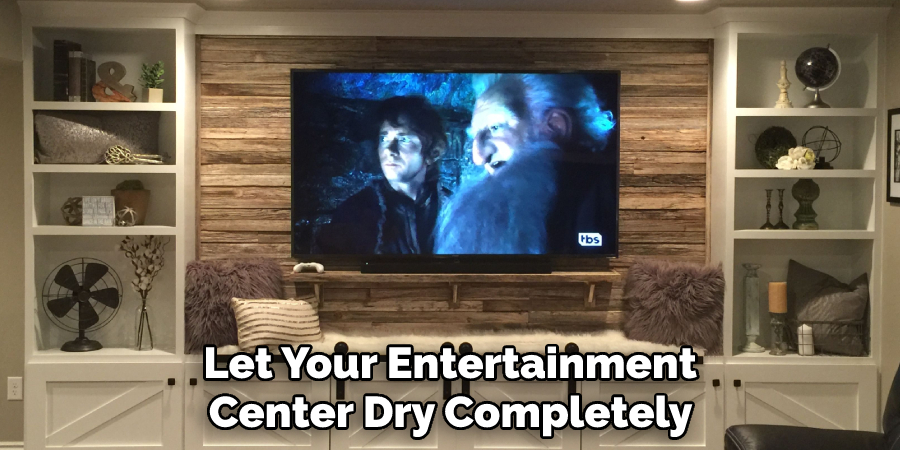
Following these additional tips and tricks can help ensure that your entertainment center looks great and lasts for a long time. With the right preparation, paint, primer, and sealant you can create an attractive, glossy finish that will last for years to come. Good luck with your painting project!
Things You Should Consider While Painting Entertainment Center
1. Clean the surface:
Before you start painting, make sure to thoroughly clean the surface of your entertainment center with a cloth and soapy water or sand down any rough areas for better adhesion. If you clean your surface well, you will ensure that the paint sticks better and your project looks much better in the end.
2. Prep the area:
Before painting your entertainment center, make sure to prep the area by protecting any surrounding surfaces from spills or splatters with plastic sheeting or drop cloths. Also, make sure to remove all screws and hardware from the entertainment center to make sure no paint gets on them.
3. Use painter’s tape:
Using painter’s tape can help you create a crisp line around any areas you don’t want to be painted, such as handles, knobs, or decorative elements. A clean line will make your paint job look much more professional.
4. Apply a primer:
Using a good-quality primer is essential to ensure the paint adheres well and creates an even finish. The primer should be applied in thin coats with light sanding between each layer for best results.
5. Paint your entertainment center:
Now you can start painting your entertainment center. Make sure you use even strokes and don’t over-apply the paint as this can lead to drips or runs in the finish. Try to do several thin coats, instead of one thick coat, for best results.
6. Let it dry completely:
Once you have finished painting your entertainment center, it’s important to let the paint dry completely before reassembling it. Depending on the type of paint and environmental conditions, this could take anywhere from 12 to 24 hours.
7. Reassemble your entertainment center:
Once the paint has dried completely, you can start reassembling your entertainment center by replacing any screws or hardware. Make sure to tighten them securely, but don’t overtighten them as this can strip the threads on the screw.
With these considerations in mind, you can be sure that your entertainment center looks its best after painting. With the right supplies and a bit of patience, you’ll have a beautiful end product!

Frequently Asked Questions
Do I Need to Sand the Entertainment Center Before Painting?
Yes, you should always sand your furniture before painting. This will help create a smooth finish and ensure that the paint adheres properly. If there are any imperfections in the wood, those can be filled in with wood filler or putty prior to sanding.
What Kind of Paint Should I Use?
You should use latex or oil-based paint for your entertainment center. Latex paint is the most common type of paint used for furniture and is best suited for light-duty projects like painting an entertainment center. Oil-based paints provide a more durable finish and are great for heavily-used pieces of furniture.
How Many Coats of Paint Should I Apply?
Two to three coats of paint should be applied for the best finish. Allow each coat time to dry before applying the next one so that you get a nice and even finish. You may need to do some light sanding in between coats as well, for best results.
Do I Need to Apply Primer Before Painting?
Yes, it is a good idea to apply a coat of primer before painting. This will help the paint to adhere better and last longer. Make sure to give the primer ample time to dry before moving on to the next step.
Conclusion
After following the steps outlined in this blog, you will have all the necessary knowledge about how to paint entertainment center! You can use the same technique for other pieces of furniture to give them a fresh new look. Painting can help revitalize furniture to make it look and feel new without spending much money.
With practice, you can also experiment with a range of colors and diversity to transform your home or office space. Use this tutorial as an opportunity to practice and have fun – you will definitely be surprised by how creative you can be when painting! So go on, get creative, and start transforming your home one piece at a time!

