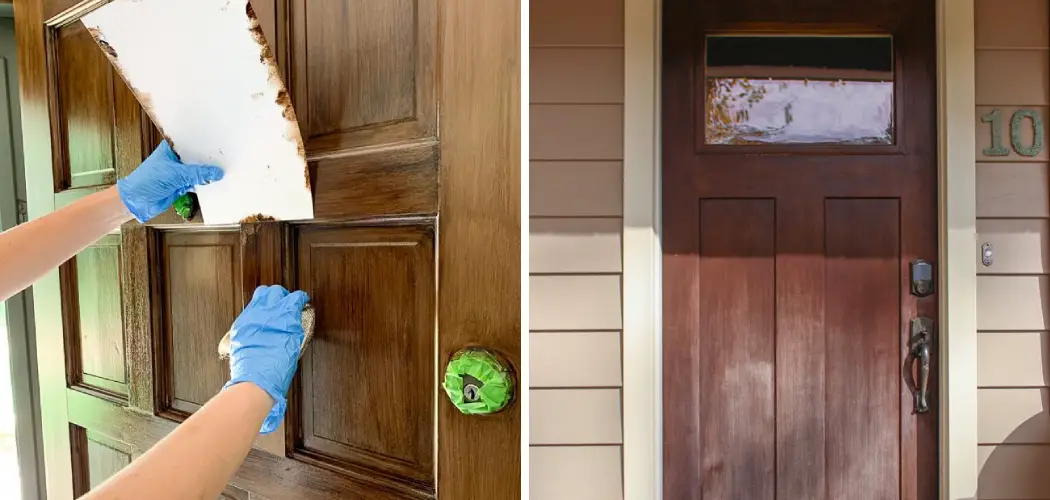
Do you want to give your home a rustic, classic look without the worry of it fading? Look no further – you can easily paint any wooden door with the right supplies and patience for an authentic faux wood look. Before we dive into our step-by-step guide on how to paint a door to look like wood, let’s explore why this idea is so appealing and some tips that can make this project easier.
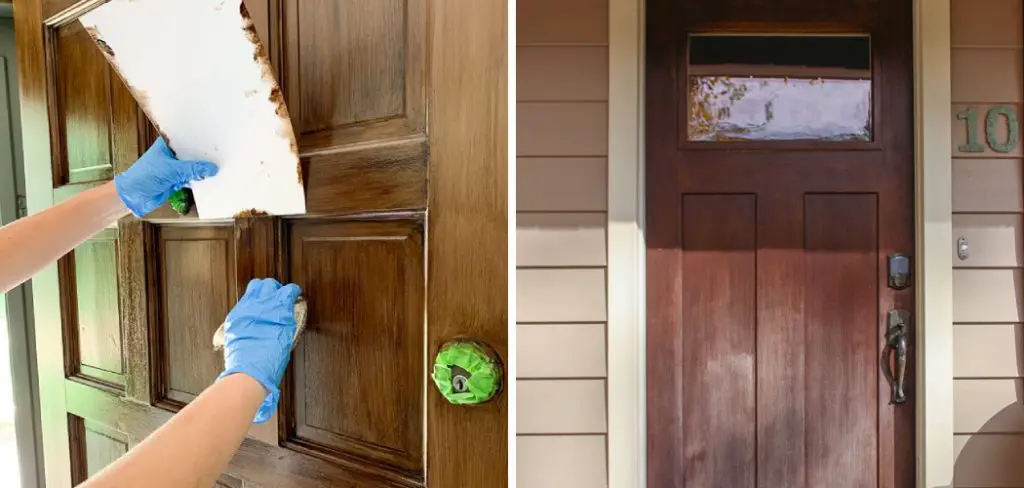
From learning about what materials to use in order to get lasting results, understanding DIY skills required such as sanding and staining techniques, or avoiding common beginner mistakes – you’ll be able to gain all the knowledge needed by the end of this article!
Tools and Materials You Will Need to Paint a Door to Look Like Wood
- Sandpaper (various grits)
- Tack cloth
- Wood grain tool or comb
- Stain
- Paint brushes and rollers
- Painter’s tape
- Drop cloth or plastic sheeting
- Wood glaze
- Clear polyurethane top coat
Step-by-step Guidelines on How to Paint a Door to Look Like Wood
Step 1: Prepare the Door for Painting
Before you start painting, make sure to clean the surface of your door thoroughly. Use a damp cloth or sponge with mild soap and water to remove any dirt or debris. Once it’s dry, lightly sand the surface with medium grit sandpaper to create a rough texture for the paint to adhere better. Preparing the door properly will ensure a smooth and long-lasting finish.

Step 2: Apply the Base Coat of Paint
Choose a base coat color that is similar to the wood stain you will be using. Apply 1-2 coats of paint, letting each coat dry completely before moving on to the next one. Use a roller or brush for larger areas and a smaller brush for detailed parts like panels and edges. While applying the base coat, make sure to follow the direction of the wood grain for a more natural look.
Step 3: Create Wood Grain Patterns
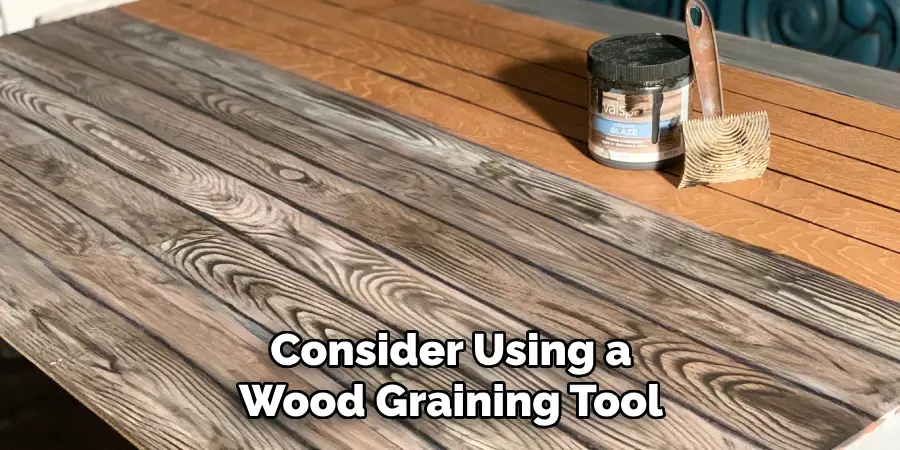
Once the base coat is dry, it’s time to create the wood grain patterns. Dip a wood grain tool or comb into your chosen stain color and drag it vertically down the door, following the direction of the wood grain. Continue doing this until you have covered the entire door, keeping an eye on the consistency of your pattern. Don’t worry if it’s not perfect – wood grain has natural variations and imperfections.
Step 4: Add Depth with Wood Glaze
For a more realistic wood look, add some depth by applying a wood glaze over the stained areas. This will create a more textured, aged appearance. Use a small brush to apply the glaze in areas where wood would naturally have imperfections such as knots or cracks. Adding some random brush strokes will also enhance the realism.
Step 5: Let it Dry and Seal
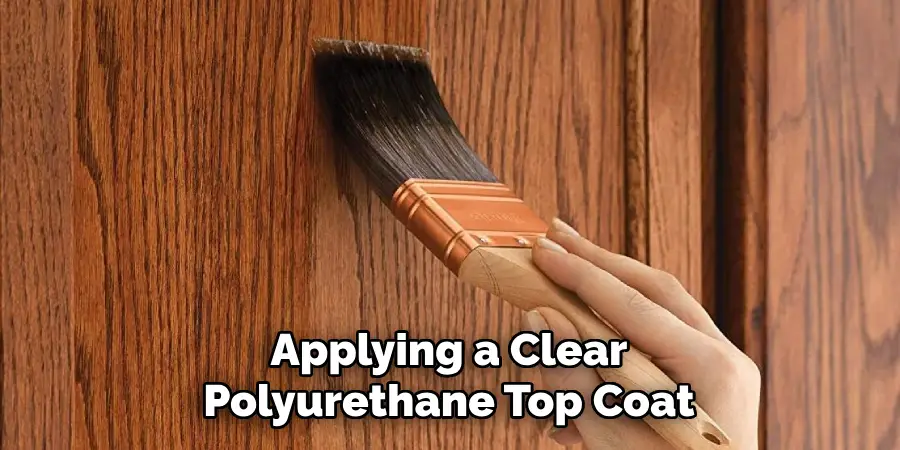
Once you’re satisfied with the wood grain patterns and glaze, let the door dry completely before applying a clear polyurethane top coat. This will seal in the paint and give your door a glossy finish while protecting it from wear and tear. This step is crucial for achieving a long-lasting faux wood look. Make sure to follow the manufacturer’s instructions for drying time and number of coats needed.
Congratulations, you have successfully painted your door to look like wood! With these simple steps and some patience, you can transform any wooden door into a beautiful focal point in your home. Remember to take your time and have fun with it – this project is all about creating a unique, rustic look that will add charm and character to your space. Happy painting!
Additional Tips and Tricks to Paint a Door to Look Like Wood
1. Before painting, it is necessary to sand the door thoroughly. This will help remove any existing paint or varnish and allow for better adhesion of the new paint. Use 120-grit sandpaper to create an even surface.
2. To achieve a wood-like texture, use a faux painting technique such as ragging or wood graining. These techniques involve using tools like sponges or combs to create grain-like patterns on the surface of the door. You can find tutorials and guides online for these techniques.
3. Stenciling is another way to add detail and texture to your painted door. You can use stencils with wood-like patterns to create a realistic wood grain effect. Be sure to practice on a scrap piece of wood first before attempting it on your door.
4. Don’t be afraid to play around with colors. While traditional wood doors are usually brown, you can experiment with different shades and tones of brown to create a unique look for your door. You can also add accents of other colors to mimic the look of natural wood.
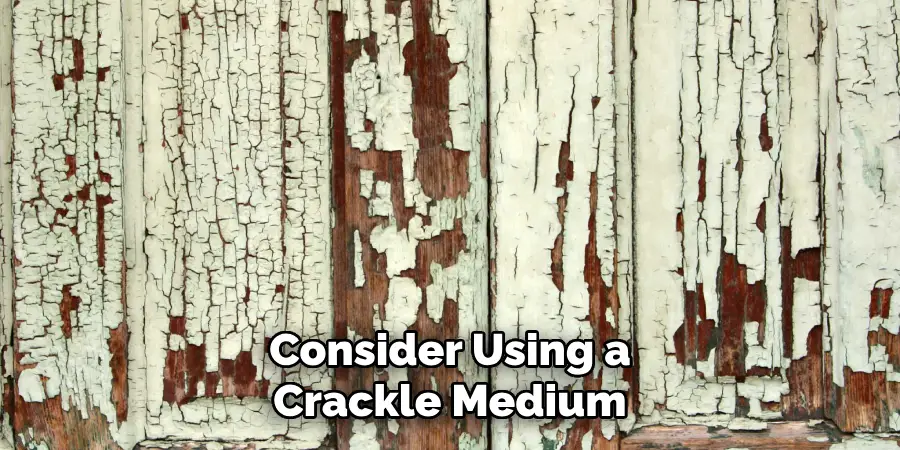
5. If you want to create a distressed or aged wood effect, consider using a crackle medium. This will cause the paint to crack and show the base color underneath, giving your door a weathered appearance. Again, be sure to practice on a scrap piece of wood first before applying it to your door.
6. To add a glossy finish to your painted door, consider using a clear polyurethane or varnish. This will not only protect the paint but also give it a more polished and realistic wood-like look.
7. Remember to let each layer of paint dry completely before applying the next one. Rushing the process can result in an uneven finish and ruin all your hard work.
8. If you make a mistake, don’t panic. There are always ways to fix it. For example, if the paint is too dark, you can lightly sand it down and apply lighter-colored paint on top. Or if your faux wood grain doesn’t look realistic, you can use a damp cloth or sponge to blend and soften the lines.
Following these tips and tricks can help you achieve a stunning wood-like finish on your door. But remember, practice makes perfect! Don’t be discouraged if your first attempt doesn’t turn out exactly as planned. Keep experimenting and refining your technique until you get the desired result. Happy painting!
Precautions Need to Follow for Painting a Door to Look Like Wood
1. First and foremost, it is essential to properly prepare the surface of the door before starting the painting process. This includes cleaning, sanding, and priming the door to ensure a smooth and even surface for the paint to adhere to.
2. It is important to choose the right type of paint for this project. Look for paint specifically designed to create a wood-like finish or opt for an acrylic paint that can be mixed with glaze or faux finishing products to achieve a wood grain effect.
3. Before starting to paint, it is recommended to do a test patch on a small area of the door to ensure the desired wood-like effect is achieved. This will also allow you to practice and perfect your technique before applying it to the entire door.
4. When painting, make sure to use long, even strokes in the direction of the grain for a more realistic wood look. Varying the pressure and angle of your brush strokes can also help create a more natural wood grain pattern.
5. While painting, don’t be afraid to mix different colors or shades to add depth and dimension to the faux wood finish. You can also use a dry brushing technique by lightly dragging a nearly dry paintbrush over the door to create a more weathered and textured look.
6. It is important to allow the paint to fully dry between coats and apply multiple thin layers rather than one thick coat. This will help achieve a more realistic wood texture and prevent drips or uneven coverage.
7. To add even more realism, consider using a wood graining tool or a piece of rock or crumpled paper to create knots, grain patterns, and imperfections in the faux wood finish.
8. Once the paint is fully dry, protect your newly painted door with a clear sealant or varnish to ensure the durability and longevity of the faux wood finish.
Following these precautions and techniques will help you achieve a professional-looking faux wood finish on your door. Remember, practice makes perfect, so don’t be afraid to experiment and have fun with this project. With the right preparation and attention to detail, you can transform any plain door into a beautiful wood-like masterpiece. Happy painting!
Conclusion
In conclusion, we hope you can take the knowledge and tips we’ve provided to give your door a natural, wood-looking finish. Painting a door doesn’t have to be intimidating – rather, it can be something fun and rewarding!
You’ll feel an extra sense of accomplishment when you get compliments from visitors about your DIY project. Plus, a reputation with friends for the best home improvement projects is key. Take your time and don’t forget to get yourself some safety equipment!
Now that you know how to paint a door to look like wood, keep the beauty going with expansive colors on the walls and art that expresses your individual style. So go ahead – get yourself some supplies zero in our last blog post and transform the entryway that welcomes people into your home. From prepping the space for painting to sealing it off after you’re finished – don’t hesitate to take on this project today!

