Glossy surfaces can be beautiful and eye-catching, but they are not always appropriate for every style. Whether you are refinishing furniture, repainting a room, or simply trying to tone down the sheen of a surface, you can take a few simple steps to dull a glossy finish.

This blog post will walk you through seven of the most effective ways to do just that. So keep reading for more information about how to dull a glossy finish.
Can You Dull a Glossy Finish?
Glossy finishes are popular for furniture, floors, and even cars, but what if you want to tone down the shine? It’s natural to think that you can’t dull a glossy finish without ruining it, but the good news is that there are several methods to achieve a more subdued look.
You can pick the method that works best for your project, from sandpaper to a matte clear coat. Changing the finish of a piece can drastically alter the overall look and feel, so don’t be afraid to experiment and discover how you can bring a unique touch to your next DIY project.
Why Should You Dull a Glossy Finish?
Glossy finishes are undoubtedly eye-catching, but sometimes they can be a bit too bright or stark for some spaces. This is where dulling comes in. Dulling refers to the process of slightly reducing the shine of a glossy finish. One of the main reasons for doing this is to reduce the glare that the glossy finish creates, especially in well-lit areas like living rooms or kitchens.
Additionally, a duller finish can bring a more natural and organic feel to a room, making it warmer and more inviting. So, dulling your glossy finishes might be the perfect solution, whether you’re trying to soften a modern space or simply make a room feel cozier.
7 Steps to Follow on How to Dull a Glossy Finish
Step 1: Clean the Surface
Before you can begin dulling a glossy finish, you need to start with a clean surface. Any dirt, dust, or debris on the surface can interfere with the effectiveness of the next steps.
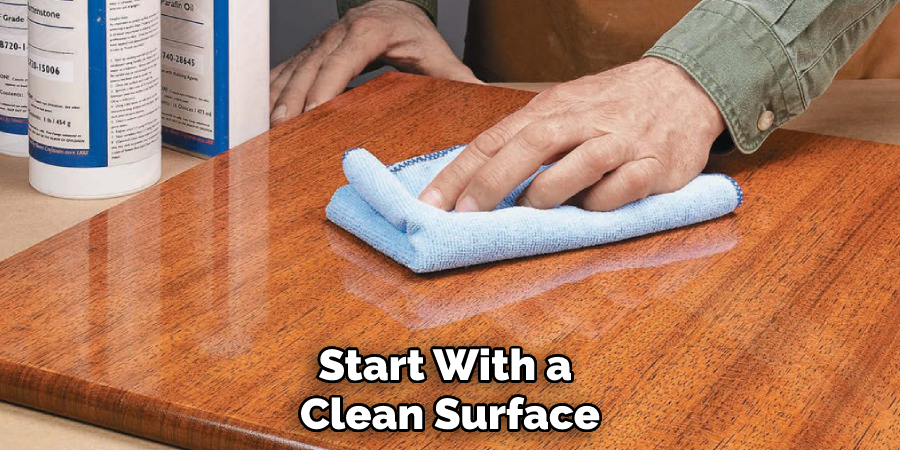
Use a gentle cleaner or soap and water to remove any particles from the surface thoroughly. Be sure to rinse the surface well and allow it to dry completely before moving on to the next step.
Step 2: Sand the Surface
Sanding the surface with fine-grit sandpaper is the next step toward dulling a glossy finish. Use sandpaper with a grit of 220 or higher, and sand the surface in a circular motion. This will scuff up the surface, removing some of the sheens. Be sure to sand gently and evenly, and wipe away any dust with a damp cloth.
Step 3: Apply a Deglosser
A deglosser is a chemical solution that removes the glossy finish from a surface. Dip a clean cotton cloth or sponge into the deglosser and apply it to the surface, working in small sections.
Allow the deglosser to sit on the surface for the recommended amount of time (usually 10-15 minutes), then wipe it off with a clean, damp cloth. Be sure to follow the manufacturer’s instructions carefully, as some glosses can be harsh and require protective gear.
Step 4: Add a Matte Finish
Adding a matte finish solution is a good option if you want to dull a glossy finish to a more matte appearance. You can find matte finish products at most hardware or home improvement stores.
Apply the matte finish according to the manufacturer’s instructions using a clean brush or sponge. Allow the solution to dry completely before touching or using the surface.
Step 5: Buff the Surface
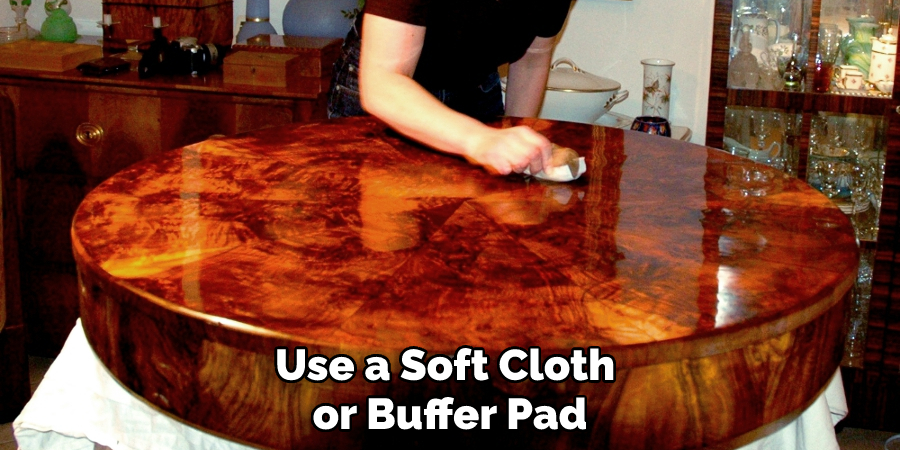
Next, you can buff the surface to help further dull a glossy finish. Use a soft cloth or buffer pad to buff the surface in a circular motion gently. This will help smooth out any bumps or rough areas and will blend the matte finish evenly across the surface. Be careful not to buff too hard; this can remove the matte finish or damage the surface.
Step 6: Paint Over the Finish
If you want to dull a glossy finish further, you can paint over it with flat or matte paint. Choose a paint specifically designed for your surface’s material (wood, metal, etc.). Apply several thin coats of paint and allow each coat to dry completely before adding another. This will help ensure that the paint is even and smooth.
Step 7: Seal the Finish
Finally, you may want to seal the dulled finish with a clear coat of polyurethane or another sealant. This will protect the surface from damage and wear and tear and add further durability to your dulled finish.
Apply the sealant according to the manufacturer’s instructions and allow it to dry completely before touching the surface.
That’s it! You’ve now learned how to dull a glossy finish. Remember to take your time when completing each step and use the proper tools and products for the best results. Good luck!
5 Considerations Things When You Need to Dulling a Glossy Finish
1. Consider the Material
First, it’s important to consider the material you are working with. Generally speaking, a gloss finish can be dulled by sanding or using an abrasive product and varying levels of pressure depending on the material in question. For example, if you’re looking to dull metal finishes such as chrome or stainless steel, rough paper or medium-grit sandpaper will work best, while wood finishes require finer-grit paper.
2. Know the Finish
Secondly, familiarize yourself with the exact finish you are working with so that you can ensure it’s treated correctly and won’t be damaged in the process. For instance, if you’re dealing with a lacquer finish, you will need to take extra care not to rub too hard, or else it could be stripped away.
3. Choose the Right Tools
Thirdly, pick the right tools and materials for the job. If you’re sanding, choose sandpaper with a grit that is appropriate for the material in question, and always use a damp cloth and wipe away the dust afterward. If you’re using an abrasive product, ensure it is suitable for the finish in question and won’t tarnish or discolor the surface.
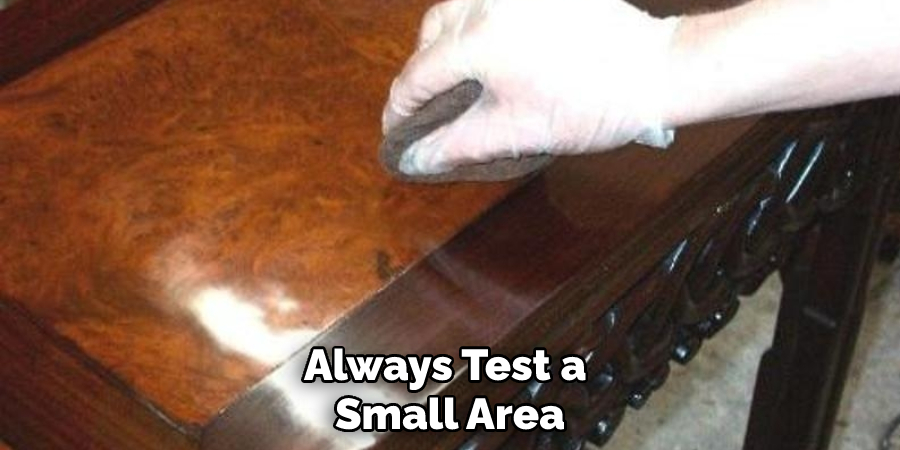
4. Test a Small Area First
Fourthly, always test a small area before dulling the entire surface. This will give you an idea of how the material reacts to the sandpaper or abrasive product and help you avoid any costly mistakes.
5. Protect the Material
Finally, when dulling a gloss finish, it’s important to protect the underlying material from damage. This could include covering up areas with tape or plastic before sanding or using a damp cloth to protect the surface from abrasive products.
By taking these extra precautions, you can rest assured that you won’t be damaging or discoloring the material in the process.
Dulling a gloss finish isn’t difficult if you know what you’re doing. Follow these five considerations, and you’ll have no trouble achieving the desired results.
Benefits of Dulling a Glossy Finish
Dulling a glossy finish can provide a host of benefits, both aesthetically and practically. From reducing the glare on TVs and computer screens to adding a soft touch to furniture, a matte finish can bring a unique look and feel to any space. Not to mention, dulled surfaces are less prone to show fingerprints, scratches or wear – making them more durable in high-traffic areas.
And if you’re looking to reduce cleaning time, a matte finish is much easier to maintain than its shiny counterpart. Whether you’re opting for a muted matte look for your home decor or looking to elevate your product packaging, the benefits of a dulled finish are not to be overlooked.
Some Common Mistakes People Make When Trying to Dull a Glossy Finish
When it comes to trying to dull a glossy finish, many people make mistakes that can be easily avoided. One common mistake is using the wrong type of abrasive material to sand down the glossy surface. Another mistake is not properly cleaning the surface before dulling it, which can lead to an uneven finish.
Additionally, many people fail to use the proper technique when applying the dulling agent, causing streaks and patches on the surface. To avoid these mistakes and achieve a beautiful, evenly-dulled surface, it is important to take the time to research and properly prepare for the process. With the right tools and technique, anyone can achieve a stunning, matte finish on a previously glossy surface.
Which Materials or Tools Are Best for Dulling a Glossy Surface?
If you’ve ever tried to paint or draw on a glossy surface, you know the frustration of the paint or ink simply sliding right off. Thankfully, there are ways to dull that glossy surface and make it more receptive to art. One of the best materials for this task is sandpaper.
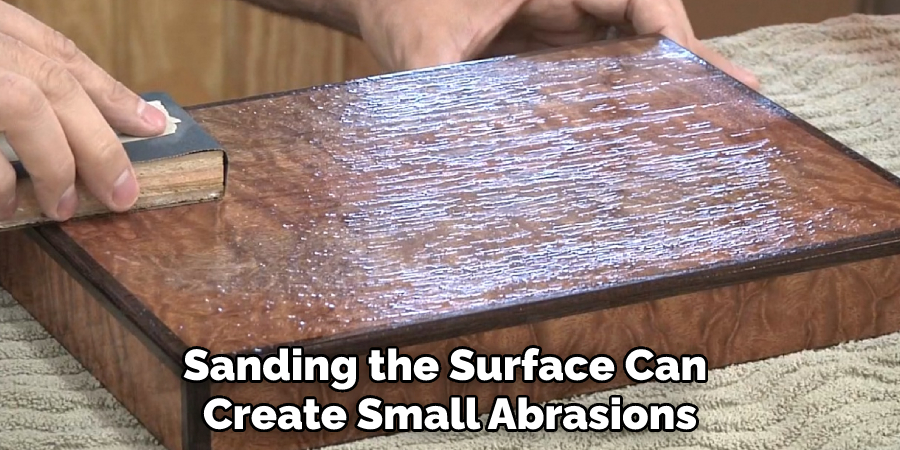
Gently sanding the surface can create small abrasions that give paint or ink something to adhere to. Another tool you could use is steel wool. This is especially effective for metal surfaces. And if you’re hesitant to use something abrasive, try rubbing the surface with rubbing alcohol or vinegar. These two household items can help remove any waxy coatings that might be causing issues.
Conclusion
Dulling a glossy finish does not have to be a complicated or difficult process. With these five simple steps, you can easily transform a glossy surface into a more muted, matte appearance.
Remember to always start with a clean surface, be gentle and patient while sanding and using chemicals, and follow the manufacturer’s instructions for any products used. You can achieve the exact look you want for your space with a little effort. Thanks for reading our post about how to dull a glossy finish.

