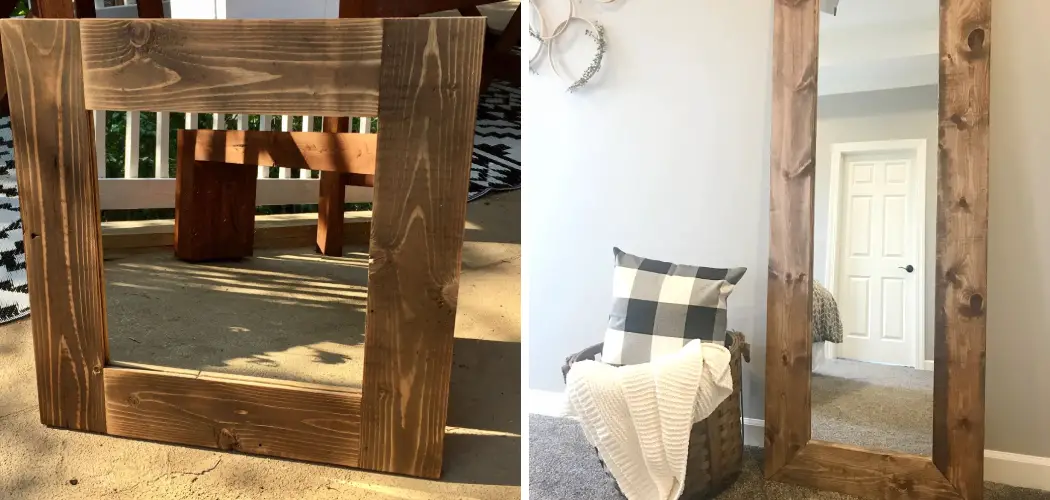
Are you looking to add a unique decorative touch to your home? Mirror frames are the perfect way to do that, and making one out of wood is a great way to make it special. With just a few basic tools and materials, you can create an eye-catching mirror frame that will transform any part of your home into something truly spectacular!
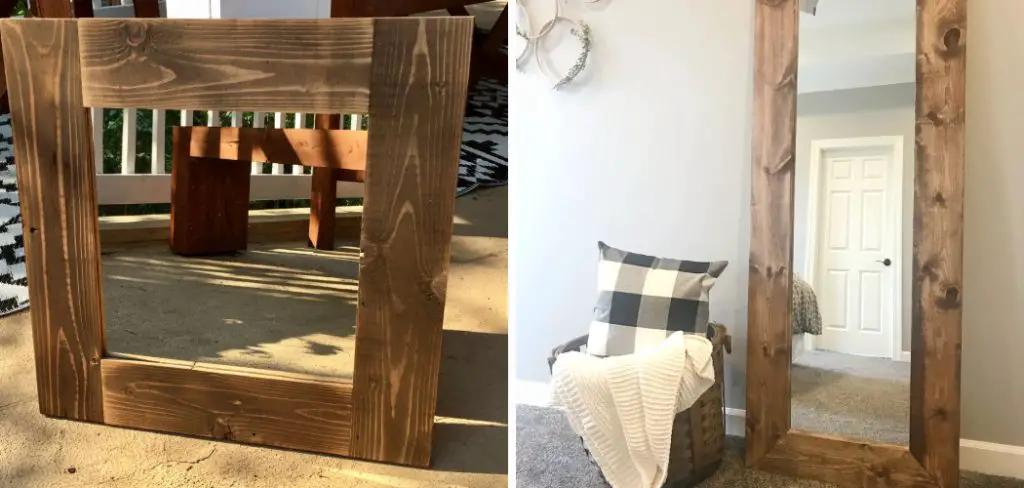
In this blog post, we’ll walk you through each step of the process of how to make a wood mirror frame so that you can easily make your own custom wood mirror frame. Keep reading for all the tips and tricks needed to show off your DIY skills!
Tools and Materials You Will Need to Make a Wood Mirror Frame
- Wood of your choice (pine, oak, cherry, etc.)
- Saw
- Sandpaper
- Nails or screws
- Hammer or screwdriver
- Stain or paint (optional)
- Varnish or sealant (optional)
Step-by-step Guidelines on How to Make a Wood Mirror Frame
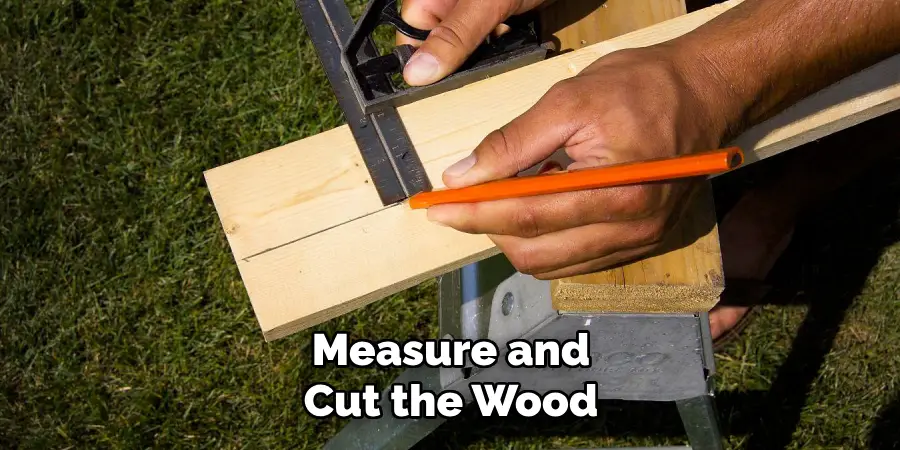
Step 1: Measure and Cut the Wood
The first step to making a wood mirror frame is to measure and cut the wood to the desired size. You can either use a saw or have the wood pre-cut at your local home improvement store for convenience. Measuring and cutting accurately is crucial in getting a well-fitted frame, so take your time with this step.
Step 2: Sand down the Wood
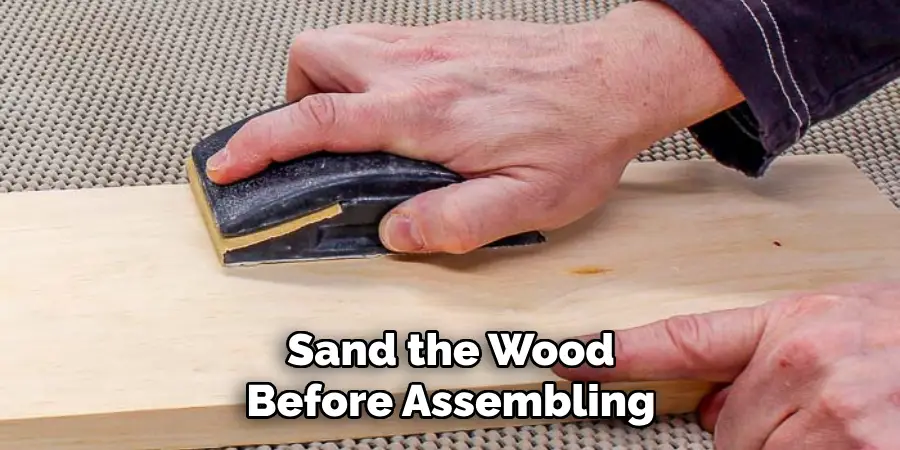
Once you have all of your pieces cut, it’s time to smooth out any rough edges using sandpaper. This will help create a clean and polished look for your wood mirror frame. Be sure to sand in the direction of the wood grain for best results. While sanding, you can also create distressed or textured effects for a more rustic feel.
Step 3: Assemble the Frame
Using your nails or screws, start assembling the pieces of wood together to form the frame. Be sure to use a level to ensure everything is straight and aligned correctly. Once you have all of the pieces attached, flip the frame over to ensure it is sturdy and secure. This is also the perfect time to add any decorative elements such as corner brackets or embellishments.
Step 4: Paint or Stain (Optional)
If you want to add some color or change the appearance of your wood mirror frame, now is the time to do it. You can use a stain for a more natural look, or paint for a pop of color. Make sure to let it dry completely before moving on to the next step.
Step 5: Seal the Wood (Optional)
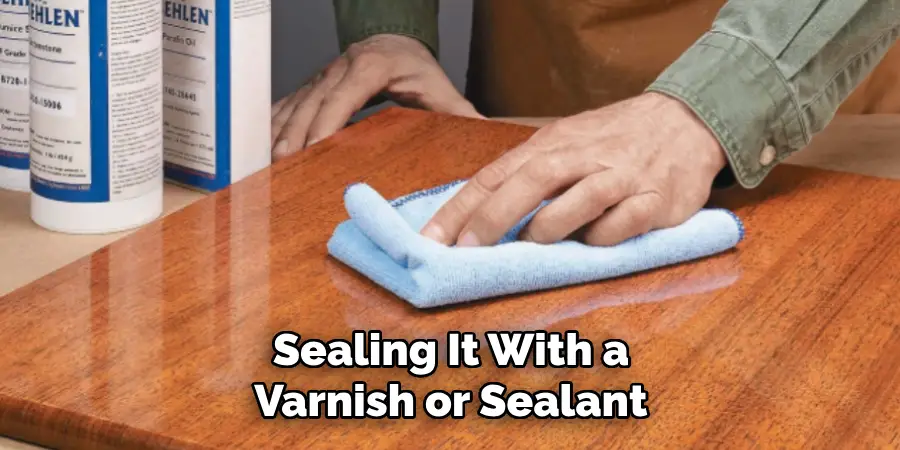
To protect your wood mirror frame from damage and add a glossy finish, consider sealing it with a varnish or sealant. This will also help preserve the color and texture of your chosen stain or paint. If you seal your frame, make sure to let it dry completely before handling. This will also help prevent any smudging or smearing of the paint or stain.
Step 6: Attach the Mirror
Once everything is dry and secure, it’s time to attach the mirror. Place it in the center of the frame and use mirror clips or adhesive to hold it in place. Make sure it is centered and level before finishing up. While attaching make sure to wear gloves and protective eyewear for safety. You can also attach a hanging wire or brackets for easy wall mounting.
Step 7: Hang Your Wood Mirror Frame
Finally, it’s time to hang your wood mirror frame! Use heavy-duty picture hangers or screws to securely mount it on the wall. Make sure to find sturdy studs or use wall anchors for added support. And that’s it, you now have a beautiful custom wood mirror frame to showcase in your home!
Following these simple steps, you can create a wood mirror frame that will add character and charm to any room. Experiment with different types of wood, stains, paints, and embellishments to make it truly unique. By making your own frame, you can save money while adding a personal touch to your home decor. So why wait? Gather your tools and get ready to impress everyone with your DIY skills. Happy creating!
Additional Tips and Tricks to Make a Wood Mirror Frame
- If you want to add a unique touch to your wood mirror frame, consider using different types of wood for a contrasting effect. For example, you can use light and dark wood together to create a beautiful pattern.
- To make the corners of your mirror frame seamless, try using a miter saw instead of regular cuts. This will give your frame a professional and polished look.
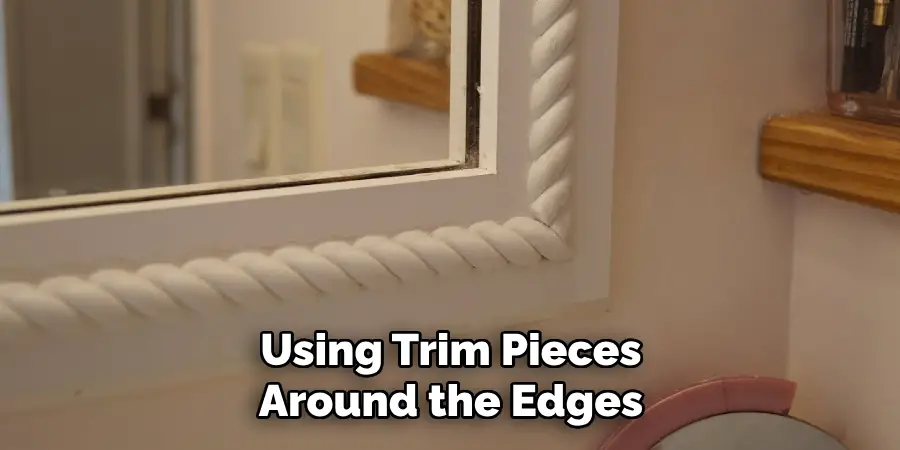
- If you want to add some dimension to your mirror frame, consider using trim pieces around the edges. This will not only enhance the overall appearance but also cover any small imperfections in your cuts.
- When staining or painting your wood mirror frame, make sure to use a high-quality brush for a smooth and even finish.
- To prevent the warping or splitting of your wood mirror frame, seal it properly with a clear coat or varnish.
- If you’re feeling adventurous, try adding some decorative elements to your wood mirror frame such as carving, stenciling, or inlay work. This will truly make your mirror frame one-of-a-kind.
- Don’t be afraid to experiment with different finishes for your wood mirror frame. You can use a distressed finish for a rustic look or a glossy finish for a more modern touch.
- Use sandpaper to smooth out any rough edges or imperfections on your wood mirror frame before applying the final finish.
- Instead of traditional hanging hardware, consider using picture wire or D-rings to securely hang your wood mirror frame.
Following these tips and tricks will not only help you create a beautiful wood mirror frame but also allow you to unleash your creativity and make it uniquely yours. Have fun with the process and enjoy your new custom piece of decor. Happy crafting!
Precautions Need to Be Followed for Making a Wood Mirror Frame
- Always wear protective gear such as gloves, goggles, and a mask when working with power tools.
- Make sure the wood is free from defects such as knots, cracks, and warping, as they can affect the appearance and stability of the frame.
- Use a level to ensure that all corners are square and the frame is straight before securing it together. This will prevent any misalignment in the final product.
- Double-check all measurements before cutting or drilling holes to avoid any mistakes.
- Sand all surfaces of the wood before assembly to ensure a smooth finish and reduce the risk of splinters.
- Using clamps to hold pieces in place while attaching them together will prevent slippage and make the process easier.
- Always use appropriate-sized screws or nails for your project to prevent splitting or weakening of the wood.
- When attaching the mirror to the frame, use a strong adhesive specifically designed for mirrors and follow the instructions carefully.
Following these precautions will not only ensure a successful and visually appealing wood mirror frame but also prevent any accidents or injuries during the making process. Always prioritize safety and take your time to carefully craft your frame for the best results. So, if you are planning to make a wood mirror frame, be sure to follow these steps and precautions for a beautiful and sturdy end product.
Frequently Asked Questions
What Type of Wood Should I Use?
The type of wood you should use for your mirror frame depends on your budget, personal preference, and the overall design of your room. Commonly used types of wood for mirror frames include pine, oak, cherry, and maple.
Keep in mind that different types of wood have different characteristics, such as hardness and grain patterns, which can affect the overall look and durability of your frame.
How Do I Measure for the Mirror Frame?
To measure for a mirror frame, you will need to measure the length and width of your mirror from edge to edge. Make sure to take accurate measurements and consider adding extra inches to each side for overhang if desired. Additionally, if you plan on hanging the mirror, make sure to measure the distance between the top of your mirror and where you want it to hang on the wall.
Do I Need to Sand the Wood Before Assembling?
It is recommended to sand the wood before assembling as this will help create a smooth finish and allow paint or stain to adhere better. Sanding also helps remove any imperfections in the wood and ensures a clean and polished final product.
How Do I Assemble the Wood Mirror Frame?
To assemble a wood mirror frame, you will need to cut your wood pieces to size using a saw. Then, you can use screws or nails to secure the corners together. If desired, you can also use clamps and wood glue for additional stability.
After assembling the frame, sand down any rough edges and apply a coat of paint or stain for a finished look. Finally, carefully attach the mirror to the back of the frame using mirror clips, brackets, or adhesive.
Conclusion
Now you know how to make a wood mirror frame! With the right materials and tools, it can be a fun and rewarding DIY project that adds a personal touch to your home decor. Remember to take accurate measurements, and before assembling, and choose the type of wood that best fits your style and budget. Happy crafting!

