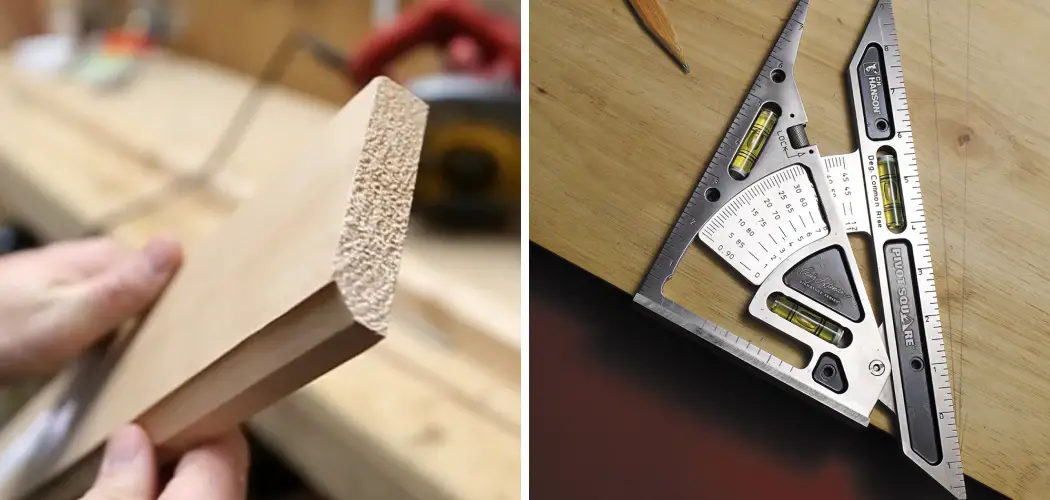
In order to make a bevel cut on wood, you need to have the proper measurements. This tutorial will show you how to measure wood for a bevel cut and provide some tips on how to get accurate measurements. Be sure to read through this guide before starting your next woodworking project!
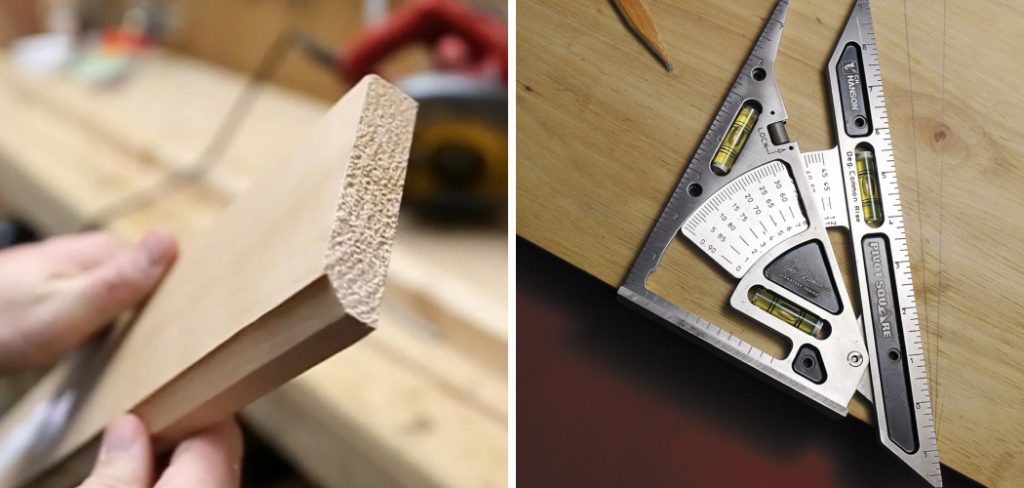
When you need to make a bevel cut on a piece of wood, it’s important to measure the wood correctly so that the cut is even and looks professional. There are several ways to measure for a bevel cut, but the most accurate way is to use a protractor or framing square. In this tutorial, we’ll show you how to do it. Let’s get started!
How to Make a Perfect Bevel Cut?
- Start by drawing a straight line on your wood using a ruler and pencil. This will be the baseline for your cut.
- Now, use a protractor to set the angle of the bevel cut you need. Place the protractor on the wood so that one arm is aligned with your baseline, and move it until the other arm is at the desired angle.
- Take a framing square and place it over top of the protractor so that one arm is parallel to your baseline and move it around until its other arm lines up with the protractor’s angle setting. Make sure both arms are touching each other when lined up correctly, as this will ensure an even cut along all sides of your saw blade.
- Trace the outline of the framing square onto your wood with a pencil. This will give you the correct measurements to make a perfect bevel cut.
- Finally, use a circular saw to carefully and precisely make your bevel cut along the traced line.
Your bevel cut should now look perfect! With this tutorial in hand, measuring for a bevel cut is easy and accurate. Follow these steps next time you need to measure wood for a bevel cut, and you’ll get great results every time!
10 Methods How to Measure Wood for a Bevel Cut
1. Use a Tape Measure :
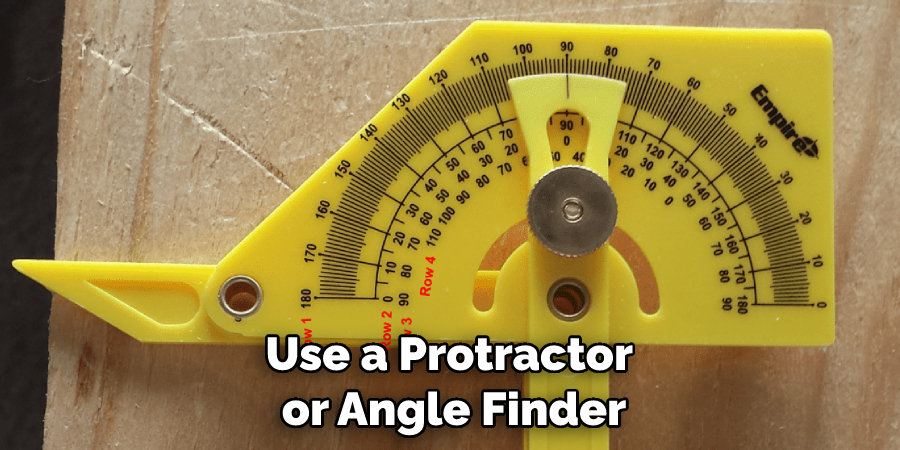
Measure the length, width, and thickness of the wood using a tape measure. Record these dimensions to determine how much material you need for your bevel cut. If you need an angled cut, use a protractor or angle finder to measure the degree of the angle. Although a tape measure is not the most precise tool, it is a simple and quick way to measure your wood.
2. Use a Speed Square:
Place the speed square against the piece of wood and mark off the desired angle for your bevel cut. Make sure that it is drawn accurately so that you will get proper results from the saw blade. If you need to measure the length and width of the wood, you can use a ruler or tape measure as well. While speed squares are not always perfectly accurate, they provide a reasonable level of precision and accuracy.
3. Mark It Off with a Pencil:
After establishing the angle with a speed square, draw an outline along each edge of the wood with a pencil or other marking instrument. This will help guide you as you make your bevel cut on the saw table. Although this method is not as precise as using a caliper or other measuring tool, it will still ensure that your cut is made accurately. Make sure to draw the lines with a steady hand.
4. Set Up Your Saw Table:
Set up your saw table according to the bevel-cut angle that you have marked onto your wood. Make sure that it is level and secure before beginning your work. If you have a jigsaw or other saw that does not have an adjustable table, use a miter box instead. The miter box will give you the same angled cuts as you would get with a saw table. Make sure to double-check your measurements before cutting.
5. Check the Blade Tilt:
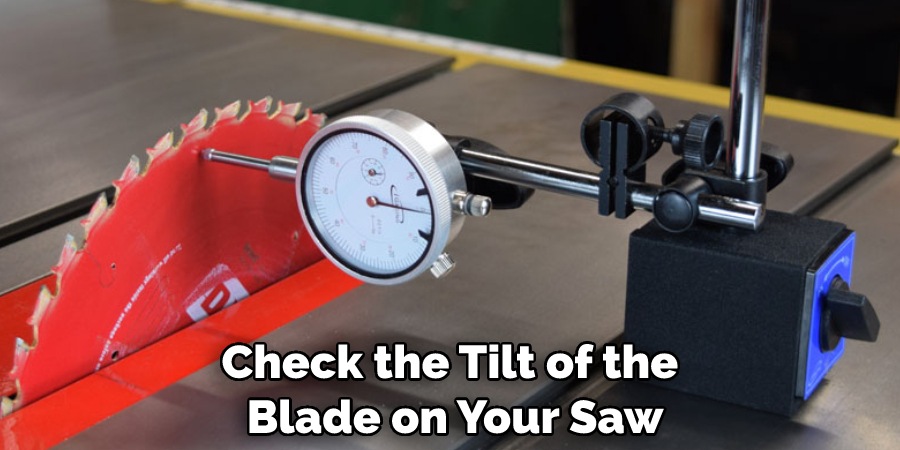
Check the tilt of the blade on your saw to make sure that it matches the angle that has been marked off in pencil on your piece of wood. If you are using a circular saw, you will need to adjust the tilt of the blade before making your cut. If the angle is not correct, it could result in an inaccurate cut. Try to make small adjustments in the blade tilt until it matches your desired angle.
6. Measure Out Your Cut:
Measure out the length of your bevel cut with a tape measure, marking this measurement with a pencil along each edge of the wood before making any cuts. While it can be tempting to make quick cuts without measuring, this will usually result in inaccuracies that could ruin your project. Take your time and measure everything carefully before proceeding. If you need to, make several practice cuts on scrap wood before making any actual cuts.
7. Make Test Cuts:
Make test cuts on scrap pieces of wood for practice, using different angles and depths until you feel comfortable with the process. This will help you get better results when creating your bevel cut on the main piece of wood. Though it may take a bit of extra time, it will ensure that the final product is accurate and to your satisfaction. If you need to, use sandpaper or file to refine the cut and make it look more professional.
8. Set Up a Stop Block:
Secure a stop block to your saw table to help ensure that each of your cuts will be consistent and accurate in depth. While this is not necessary, it will help you ensure that your bevel cuts are all the same length. Once the stop block is in place and secured, you can make your bevel cuts with confidence. Make sure to double-check the measurements before making any actual cuts.
9. Cut Along Your Outlines:
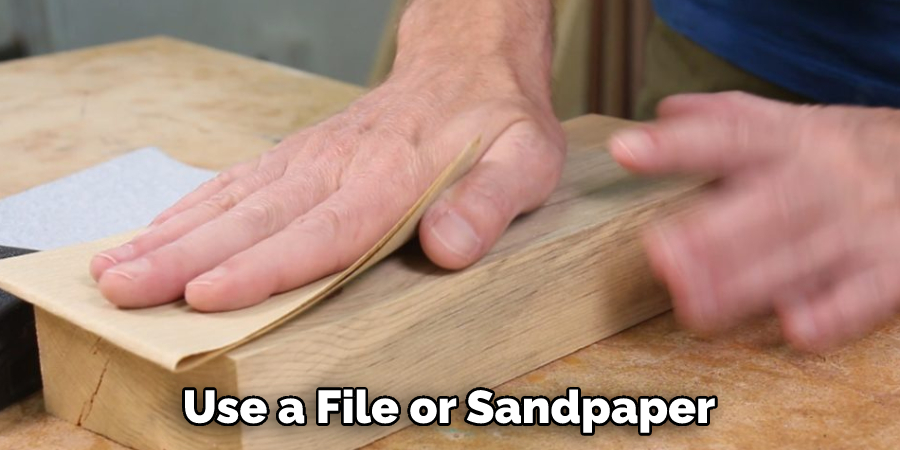
Once everything is set up, begin cutting along the lines that you have marked off for your desired angle and depth. Use slow, steady strokes to create a uniform bevel cut across the entire surface area. If you need to make multiple bevel cuts, reset the stop block and repeat the process. When you are finished, use a file or sandpaper to refine the edges of your cut.
10. Check Your Results:
After making all of your cuts, check them to make sure they are within acceptable parameters according to what you need for your project or design. If necessary, make any adjustments as needed before moving on to the next step. Although it may take some extra time, double-checking your work will help ensure that the final product meets your expectations.
Following these steps will help you create a precise and accurate bevel cut in your woodworking project. With practice and patience, you can perfect this skill and create stunning pieces of art in no time!
Things to Consider While Measure Wood for a Bevel Cut
- Determine the precise angle of the bevel cut. This will not only affect the size and shape of your piece but also impacts the length of wood required for each side.
- Measure from the point where you want to make the bevel cut rather than from one end or another. This ensures that you get an accurate measurement, as any discrepancies with the angles can cause irregularities in size and shape later on.
- Measure twice, cut once! It’s essential that you double-check all measurements before cutting so that there are no mistakes when working with wood for a bevel cut.
- Use a miter saw to perform bevel cuts rather than a hand saw for accuracy. This will help ensure a cleaner and more precise cut, which is essential for bevel cuts.
- Consider the size of the wood you’re working with, as this affects the angle of your bevel cut. The larger the piece, the greater the angle required to achieve a successful beveled edge.
- Use clamps to secure your workpiece securely in place before cutting so that you can get an even and accurate measurement that won’t move while you’re cutting.
- Make sure to leave allowance when measuring and to mark out your measurements on the wood – it’s always better to have some extra room than not enough!
- Finally, never forget safety precautions when working with wood, especially for bevel cuts. Make sure to wear proper safety gear such as gloves and goggles that can protect you from any potential risks.

By following these simple tips, you should be able to achieve the perfect bevel cut for your project. If in doubt, always consult an expert or seek assistance from someone who has more experience than you do in measuring and cutting wood for a bevel cut. Good luck!
Conclusion
When measuring for a bevel cut, you need to take into account the desired angle of the cut, as well as the thickness and width of the board. You’ll also need a tape measure, pencil, and calculator. To get started, first mark the center of your board with a pencil.
Then, using your tape measure, find the point that is equal to half of the width of your board plus the desired depth of your bevel cut. From there, you can use a simple equation to find the length of your bevel-cut line. Finally, make sure to double-check your measurements before making any cuts!
Thanks for reading our blog post on how to measure wood for a bevel cut! We hope you found it helpful and informative.
You Can Check It Out to Support Ceiling Joists from Above

