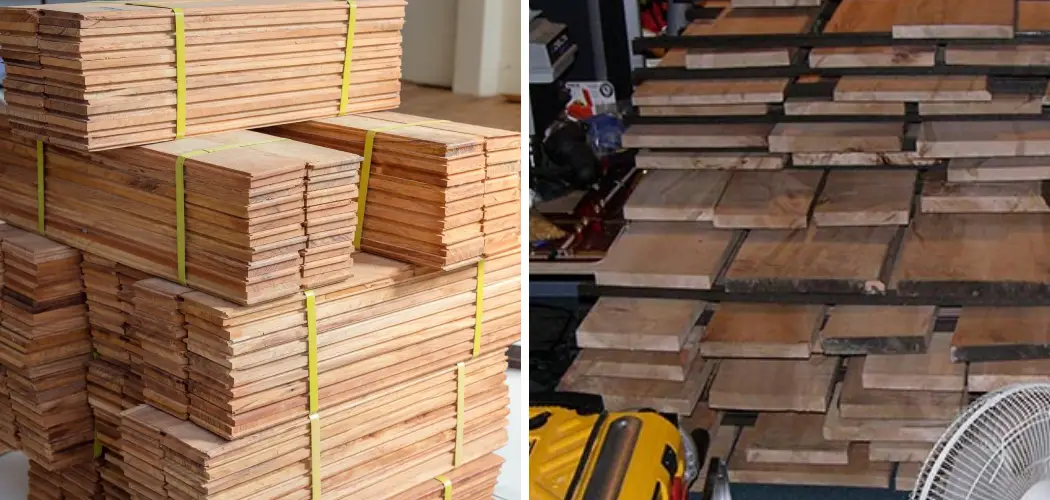
If you just bought your hardwood flooring and are ready to begin the installation process. There are some important steps before getting started. Storing your hardwood flooring properly. It is important to know how to store hardwood flooring before installation.
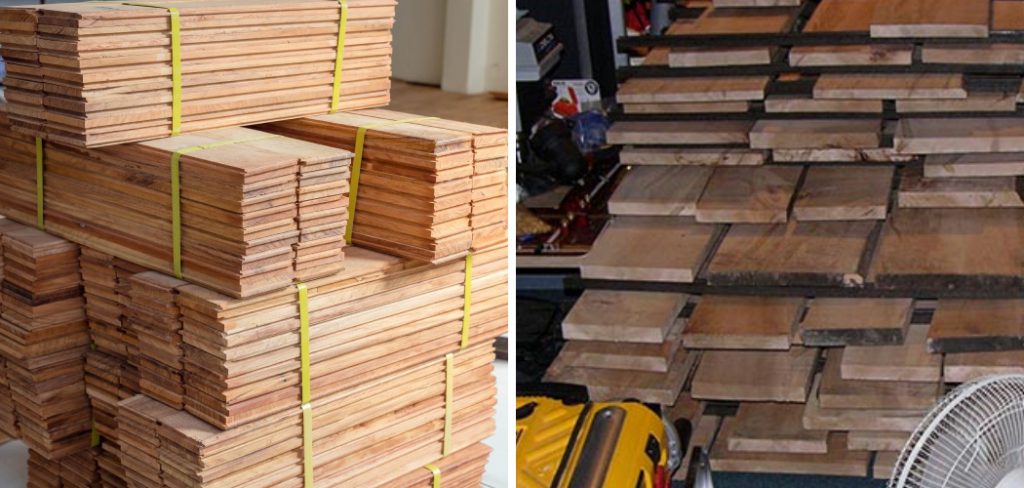
Hardwood floors can be expensive, so it’s essential to make sure that they are safely stored during transport and before laying them down. Doing this will help ensure that your investment remains in prime condition for years to come.
In this blog post, we’ll show you how to store your hardwood flooring correctly before installation so that when the time comes you’ll have beautiful wooden floors without a hitch.
Tools You Will Need
- A flat, level surface
- Cardboard or plywood sheeting
- Protective covering for the hardwood flooring (plastic sheeting, blankets, etc.)
7 Steps on How to Store Hardwood Flooring Before Installation
1. Choose Your Storage Space
When storing hardwood flooring before installation, it is important to make sure that you choose the right storage space. An ideal storage area should be flat, level, and dry to prevent your flooring from warping or becoming damaged due to humidity. Ensure that the space receives minimal direct sunlight and does not contain any dampness.
It is best to leave cardboard packaging on the floor until closer to installation as it will provide additional protection. Additionally, you may want to keep the room at a stable temperature. By taking careful consideration when selecting your storage space, you can avoid many of the common issues related to storing hardwood flooring such as buckling or warping before installation.
2. Place a Thick Layer of Cardboard
Protecting hardwood flooring before installation is an essential step for ensuring it is in good condition and will look as intended upon completion. One of the best practices to achieve this is to lay a layer of cardboard or plywood sheeting on the existing surface before laying the flooring, as this creates a buffer between, which can help protect the new floor from excessive wear and tear.
Furthermore, this barrier can also provide a more level plane to better prepare your space for proper installation, leading to a higher quality finished product that looks sharp and clean with minimal effort.
Get started ahead of time and make sure you have enough cardboard or plywood sheeting set up beforehand – it’s well worth taking these preparatory steps to ensure your hardwood floors look great!

3. Remove Any Dust Particles
Cleaning your hardwood flooring before installation is a crucial step if you want to ensure the best finish possible. Dust, sand, and other particles can adhere to unfinished wood and form an uneven surface that will not receive the finish properly. To remove these from store-bought hardwood floor planks, dust mop or vacuum the surface immediately after taking them out of the box.
You may also use special wood cleaners or mild detergents on large flat surfaces for deeper cleaning. Doing this not only eliminates dust and other dirt that could compromise the finish but it makes sure that each plank is scratch free so they will fit seamlessly together when laid out during installation. Taking this extra step assures you of having a quality finished product that you can be proud of owning.
4. Place Your Hardwood Flooring in Stacks
Stacking hardwood flooring is a great way to save space in your pre-installation storage area, but it is important to heed certain guidelines so that the wood stays in pristine condition until it is ready to be installed. Any stacks of boards should not exceed three to four high – any more than that could risk warping the wood.
Placing cardboard or plywood sheeting between each board of wood will also protect and further insulate the hardwood from any external moisture or dust during storage, ensuring that your floors look like new for years after installation.
5. Check to See if There Are Any Signs of Damage
Whether you’re laying a new hardwood floor or just looking to store extra boards, it is always important to inspect the boards carefully for any possible signs of damage before storing them. This can help avoid any further damage due to improper storage and also reduce the chances of having to discard flooring and buy new boards.
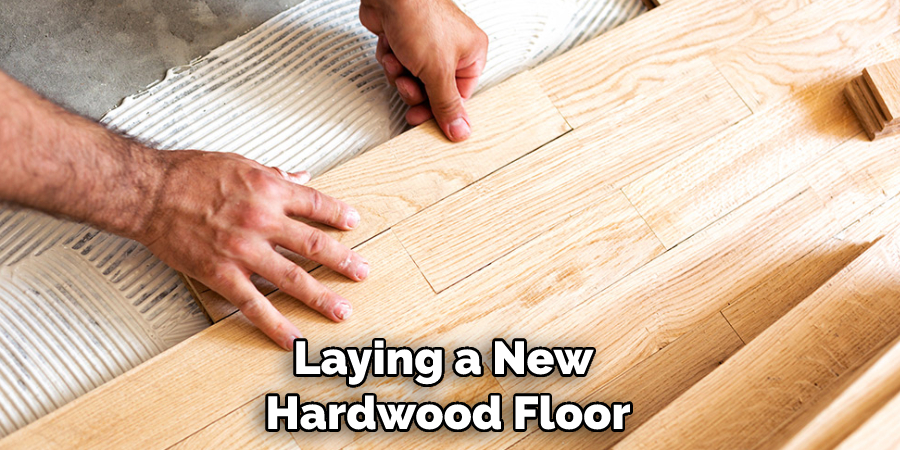
Be sure to look for dents and scratches on the sides, as well as ridges that may form along the top of two different sets of boards that were put together. Additionally, check for discolorations and ensure there are no gaps between boards that could lead to splintering. Taking these precautionary measures will set your hardwood floor up for success now and in the future.
6. Make Sure the Hardwood Flooring is Not Too Heavy
It is important to manage the weight of the hardwood flooring you will use when installing it to prevent any damage to the boards or floors. Even if you are using high-quality lumber, carrying a stack of flooring that is too heavy can result in scratching or splintering of the boards.
When storing hardwood flooring, it is recommended to separate them into smaller piles rather than having a single large stack – this should help distribute the weight more evenly and prevent the long-term weakening of the boards.
For wider boards, try using two hands to balance the weight so that strain isn’t placed on one side of the sawed lumber. Taking these extra steps during handling and storage can ensure that your hardwood floor will look beautiful for years to come!
7. Cover Each Stack
To keep your hardwood flooring in the best condition possible for installation, it’s important to cover each stack with a protective covering. Plastic sheeting, blankets, or foam padding can all provide great protection between layers of flooring, ensuring that dust and dirt are kept far away.
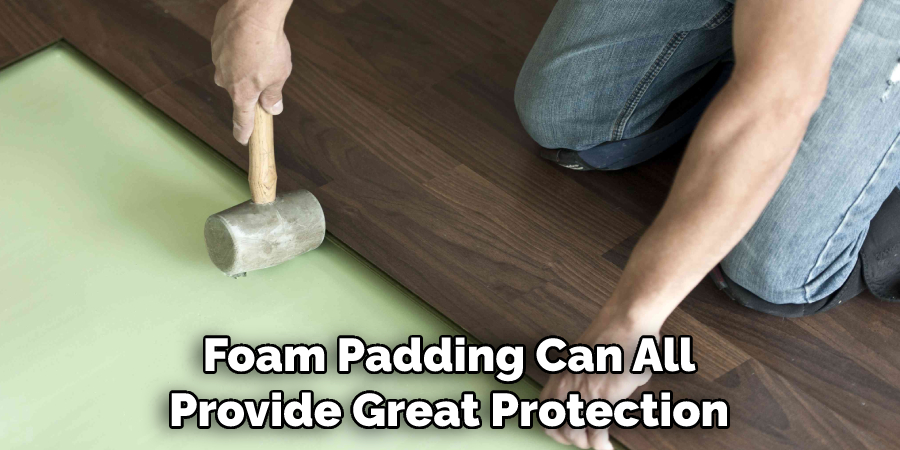
These materials are relatively inexpensive but offer superior coverage that will help you keep your hardwood flooring looking nice until installation. When wondering how to store hardwood flooring before installation, be sure to invest in a protective covering and enjoy the long-lasting effects of your quality flooring.
Following these simple steps will help ensure that your hardwood flooring is stored safely and securely before installation. Doing this extra step will protect your investment and give you peace of mind knowing that when the time comes to install, your beautiful wooden floors won’t have any issues. Happy building!
Frequently Asked Questions
How Do You Prevent the Warping of Hardwood Flooring When Storing?
Warping is a common problem when storing hardwood flooring, but it’s possible to prevent it in a few simple steps. First, be sure to store the flooring flat or stacked with something heavy on top while ensuring there is proper airflow around the boards. Make sure that the area where it’s stored is kept away from direct sunlight or sources of heat and humidity.
You should also spread a moisture control material like plastic sheeting over the boards before you stack them to minimize the damage caused by moisture, and try not to leave them in storage for an extended period. Following these tips can help ensure your hardwood flooring will remain warp-free until you’re ready to install it.
How Should Large Stacks of Hardwood Floors Be Managed for Safe Storage?
Managing a large stack of hardwood floors safely requires adequate space and preparation. The floor should be stored in a dry, cool place away from direct sunlight, as high temperatures and humidity can damage the floors. Ensure that there is also plenty of clearance between walls, furniture, and other items to minimize the risk of crushing or warping the parts.
Additionally, stacking pieces one on top of another may create stress points and lead to cracks, so it is important to store them side-by-side in a layered form for long-term storage. Finally, use caution when moving heavy hardwood flooring stacks since it is prone to shifting and falling over if not handled properly. Taking the proper precautions when storing hardwood floors is key for protecting them from damage.
How Can Discolorations in the Wood Be Prevented Before Installation?
Proper wood selection and protection techniques can help reduce the chances of discoloration before installation. For example, it is advised to select hardwood varieties that are dense and resist movement when installed in an environment with high levels of temperature and humidity.
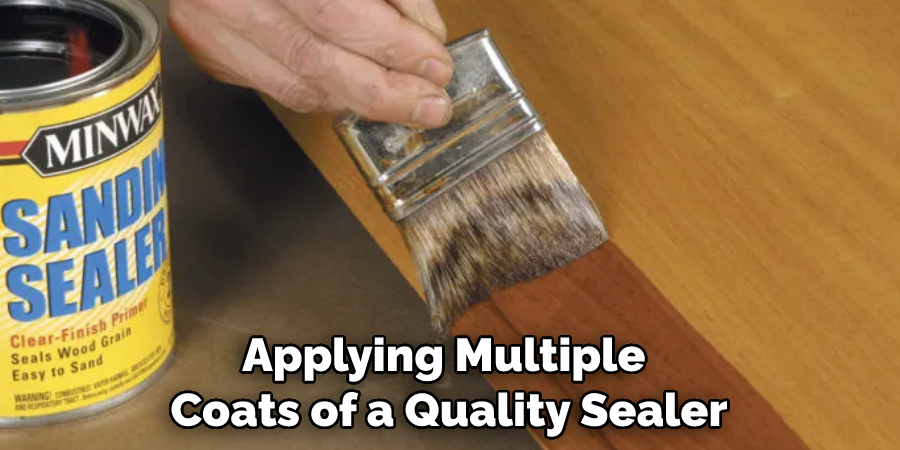
Additionally, applying multiple coats of a quality sealer or finish can help protect against potential discoloration from UV exposure or other environmental factors. It is important to note that some discolorations, such as watermarks from spilling liquid on the wood surface during installation, cannot be completely prevented but can often be mitigated by cleaning the area immediately after the spill occurs.
Conclusion
Storing your hardwood flooring properly before installation is important to ensure that it will last for many years. You should carefully determine how to store hardwood flooring before installation. By following these tips, you can be sure that your hardwood floors will look great and last for a long time. Thanks for reading!
You Can Check It Out to Restore Faded Polywood Furniture

