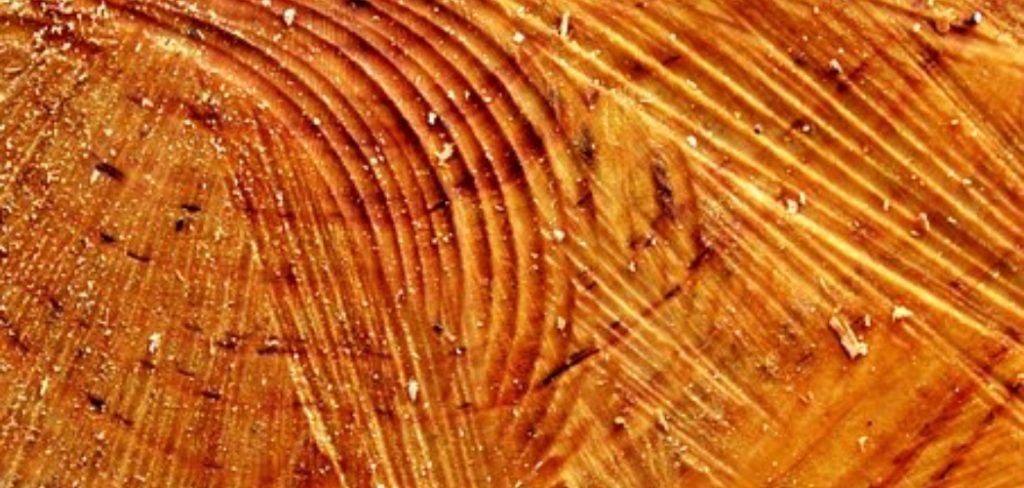
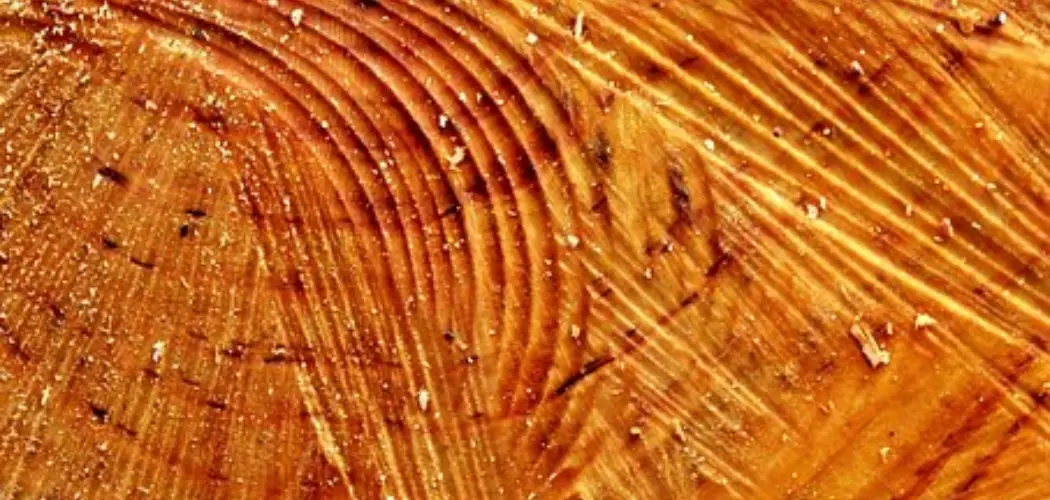
Creating a faux rough-sawn finish gives your woodworking projects or furniture an authentic rustic look. This type of finish is easy to achieve and requires minimal tools, making it an ideal project for DIYers with basic workshop skills. Although the texture created may not be as strong as that found on naturally rough-sawn lumber, it will still add an interesting element to your project.

The main advantage of making wood look rough-sawn is that it adds texture and character to any piece of furniture or home décor. This technique can be used on both finished and unfinished wood, allowing you to create a unique look that is sure to stand out in any space.
Rough-sawn wood has a more rustic feel than traditional wood finishes and is also more durable. The rough texture of the finish helps to reduce splits in the wood and can help protect it from moisture damage. You can find step-by-step instructions on how to make wood look rough sawn in this blog article.
Tools You Will Need
- Table Saw
- Jigsaw
- Circular Saw
- Router
- Power Sander
- Chisel
- Hand Plane
- Hammer and Nail Set
- Clamps
- Safety Gear (Goggles, Ear Protection, Gloves, etc.)
Step-by-step Instructions for How to Make Wood Look Rough Sawn
Step 1: Inspect the Wood
Make sure the wood you use suits a rough-sawn look. Inspect for any imperfections, knots, or splits that need filling in before you begin. Use an orbital sander and a medium to coarse grit sandpaper to sand down the wood surface. Pay close attention to areas that have imperfections or knots. Make sure to sand uniformly to get an even surface.
Step 2: Use a Wood Plane
Using a wood plane, begin to plane the surface of the wood in order to create a rough-sawn look and texture. This will take more effort than just sanding, but it’s worth it for the more natural look. To achieve a rough-sawn look, use a hand saw to make grooves on the wood surface. Place your saw at an angle and begin to cut into the wood. Make sure you are cutting in straight lines for an even texture.
Step 3: Sand Again
After cutting with the hand saw, sand the wood again. Make sure to use a medium or coarse grit sandpaper and an orbital sander to smooth out any rough edges. Once you are satisfied with the texture of the wood, stain it using a varnish or polyurethane finish in order to protect it and bring out the color.
Step 4: Seal the Wood
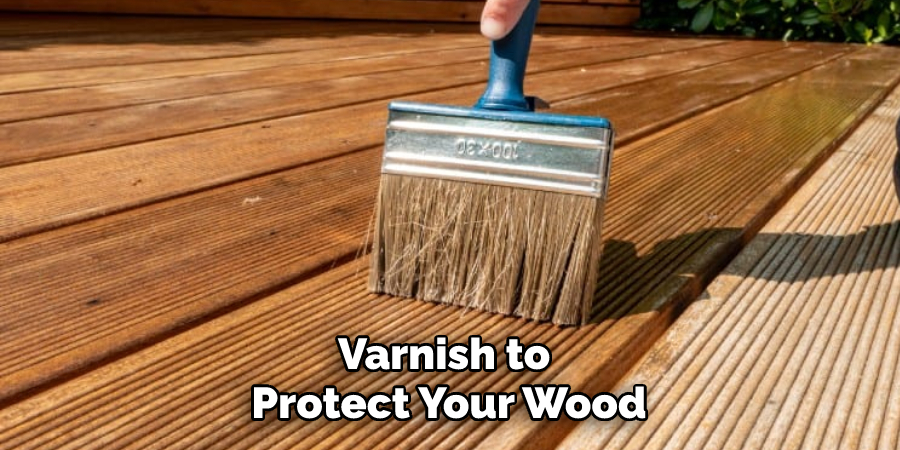
Use a water-based sealant or varnish to protect your wood from moisture and ensure a lasting finish. Once you have applied the sealant, sand the wood again with a fine-grit sandpaper. This will help to bring out the natural texture and give the wood a more even finish.

Step 5: Apply Finishing Touches
You can further enhance the rough-sawn look by distressing or aging the wood if desired. This can be done with a variety of tools, including a wire brush, chisel, or sandpaper. Once you have finished the process, enjoy your newly rough-sawn wood. This unique look is sure to make any project stand out and will be a conversation starter for years to come.
Safety Tips for How to Make Wood Look Rough Sawn
- Wear safety goggles and a respirator when sanding, sawing, or doing any kind of work that could create dust particles.
- Use personal protective equipment, including gloves, long sleeve shirts, and pants, to protect your skin from splinters or sharp edges.
- Choose the right type of saw blade for the type of wood you are cutting.
- Use a saw or chisel to create rough-sawn surfaces, and avoid using power tools whenever possible.
- Securely clamp the wood in place before attempting to cut it.
- Always use sharp tools, as dull blades can cause more splintering and rough edges.
- Ensure the area you are working in is well-ventilated to reduce the inhalation of sawdust.
Following these safety tips when attempting to make wood look rough-sawn will help ensure that your project is completed safely and successfully.
Are There Any Special Techniques That Need to Be Followed When Creating a Rough Sawn Finish?
Yes, there are several key steps that need to be followed in order to create a rough-sawn finish on the wood. These include sanding the wood smooth and applying a thin layer of stain or paint, then adding texture with a sander or router to give the wood an aged look. After you’ve created the desired rough-sawn finish, you can apply a sealant or top coat to protect the wood and give it lasting durability.
When sanding the wood, make sure to use the proper grit of sandpaper for your project. Start with coarse-grit paper such as 80 or 100 to remove any rough areas, then move up in grits until you reach a smooth surface. Be sure to sand with the grain of the wood, not against it.
Once your desired level of sanding is reached, apply a thin layer of paint or stain. This will help to seal in the rough-sawn finish and provide an even color throughout the wood. After allowing time for drying, use a sander or router to create the desired texture. This will give the wood an aged, rustic look and help to bring out the natural beauty of the wood grain.
How Can You Maintain and Care for a Rough Sawn Finish?
Once you have achieved the desired rough-sawn finish, there are some steps that you can take to ensure that it lasts for a long time. The most important step is to use the appropriate wood sealer or varnish. This will help protect the wood from damage and keep its look intact. It is also advised to periodically clean your rough-sawn wood with a damp cloth, using mild soap and water. Avoid harsh or abrasive cleaners, as these can damage the wood.
Additionally, you should sand down any scratches or blemishes that appear over time to prevent them from becoming worse. Lastly, keeping your furniture away from direct sunlight is also important since this can cause fading or discoloration of the wood. By following these simple steps, you can ensure that your rough-sawn finish will last for years to come.

Are There Any Mistakes to Avoid When Creating a Rough Sawn Look?
When making wood look rough-sawn, it is important to carefully consider the technique used and ensure that each step of the process is done correctly. Some common mistakes that may occur when attempting to make wood look rough-sawn include:
- Not Sanding Enough: If you don’t spend enough time properly sanding the wood, it will not have the desired rough-sawn look.
- Sanding Too Much: If you sand too much, the wood may become too smooth and take away from the rustic look.
- Not Using the Right Tools: The type of tool used can make a big difference in how effective your technique is. Make sure to use the right tool for your project, such as a belt sander or hand planer.
- Not Using the Right Wood: The type of wood you use can also have an effect on how it looks when finished. For example, pine is typically better for creating a rough-sawn look than oak.
You can create a beautiful rough-sawn look for your woodworking project by avoiding these common mistakes and doing each step correctly.
How Long Does It Take to Complete the Project?
The time it takes to make wood look rough-sawn will depend greatly on the project’s size and the design’s complexity. You can probably finish in an hour or two for a small piece, such as a single shelf or frame. Larger projects may take multiple days to complete. It’s also important to take into account the time spent sanding, staining, and sealing the wood to achieve a finished look.
Additionally, you may need to allow extra time for drying between each step. Before starting any project, planning how long it will take and ensuring you have enough time to complete it properly is important. This will help ensure that you don’t run out of time and end up with less-than-desirable results.
Making wood look rough-sawn can be a fun and rewarding project, but it is important to remember that it takes time to get the desired results. With some patience and planning, however, you’ll be able to make your project look beautiful and unique.
Conclusion
In conclusion, creating a rough-sawn look with wood is not difficult. With the right tools and materials, you can easily create a stunningly beautiful finish that adds beauty to any project. By starting with the right type of wood, sanding it thoroughly, and using wood stain, glaze, and wax, you can create a truly rustic finish that looks like it was milled right out of the forest.
With patience and proper technique, you can make wood look rough-sawn in no time at all. I hope reading this post has helped you learn how to make wood look rough sawn. Make sure the safety precautions are carried out in the order listed.

