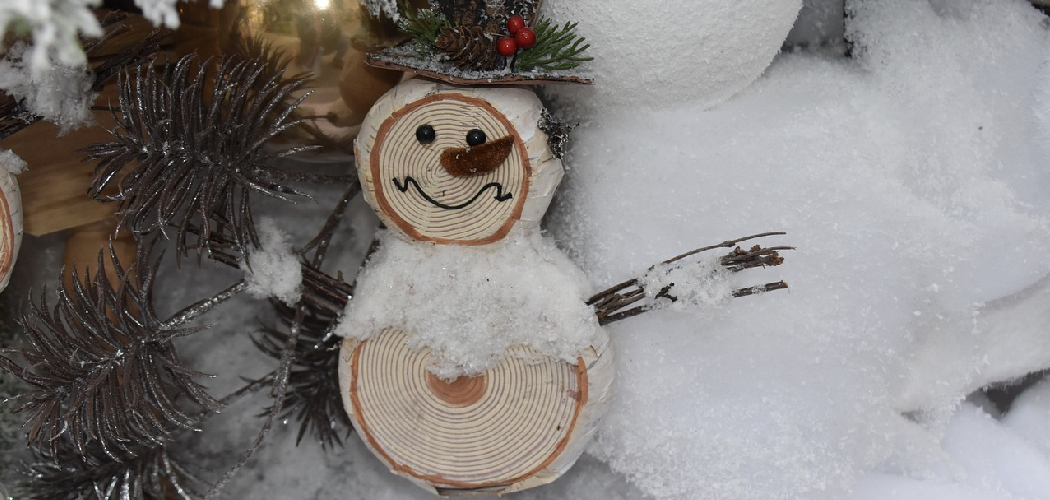
Are you looking for a fun and creative winter project to keep yourself busy on weekend afternoons? Why not make your wooden snowman? Crafting an adorable wooden snowman out of wood pieces, nails, screws, rope, and paint is simple enough for anyone to do—even beginners.
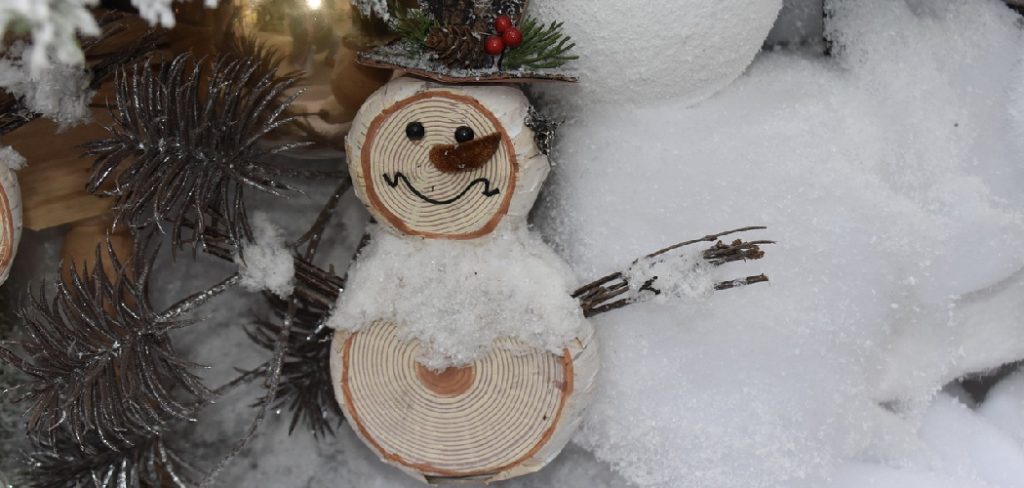
Whether just to brighten up your mantle or decorate your front lawn during the snowy months of the year, creating these unique carvings is a great way to curate something special that will last for years.
With a few supplies, tools, and a little creativity, you can build an adorable homemade wooden snowman that’ll bring joy during winter. Get ready to take part in this amazing DIY project on how to make a wooden snowman- in just a few simple steps, you’ll be able to create your unique wooden masterpiece for display or as a gift.
What Will You Need?
To make a wooden snowman, you will need the following tools and materials:
- Wood Pieces: You can use scrap wood or 2×2 boards for the snowman’s body.
- Miter Saw: This tool cuts wood pieces into the desired sizes.
- Sandpaper: To smooth out any rough edges on the wood.
- Paint: Black, white, and red craft paint for the snowman’s features and accessories.
- Scrap Fabric or Burlap: Add a scarf or hat to the snowman.
- Ornamental Greenery Bushes: Optional for decorating the snowman.
- Wood Glue: To secure the different parts of the snowman together.
- Brushes: To apply the paint on the wooden snowman.
- Drill: A drill may be required if you want to add additional elements like buttons or eyes.
- Optional: Decorative items like buttons, twigs, or ribbons to personalize your snowman.
You can start the project once you get all the materials in hand.
10 Easy Steps on How to Make a Wooden Snowman
Step 1. Gather Your Materials:
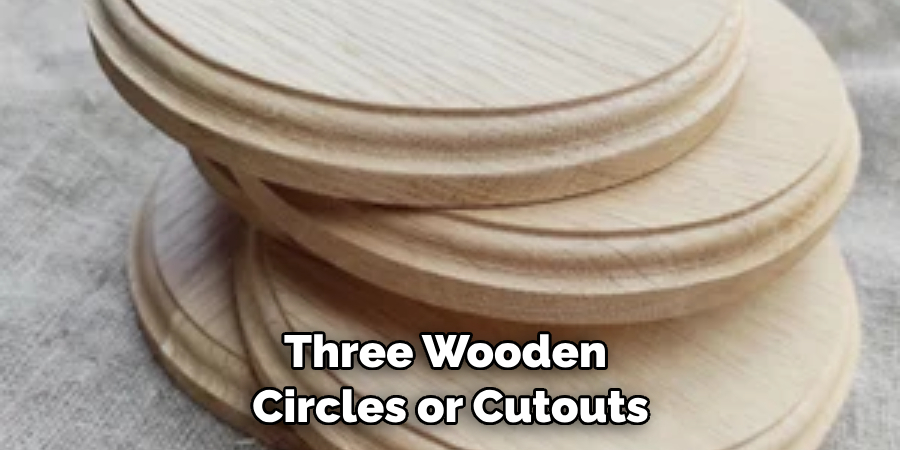
You’ll need three wooden circles or cutouts in decreasing sizes, a wooden dowel, acrylic paint, paintbrushes, a hot glue gun, and any additional decorations you’d like to add, such as buttons, ribbons, or twigs. Be careful when drawing the snowman. Don’t over color the painting.
Step 2. Cut and Smooth the Wood:
Using the miter saw, cut your wood pieces into three separate sections to form your wooden snowman’s base, midsection, and head. After cutting, use sandpaper to smooth any rough edges on the wood pieces. This will make it easier to paint and assemble your snowman later on.
Step 3. Assemble and Glue the Sections:
Arrange the cut wood pieces in the order of a snowman, starting with the largest circle at the bottom, followed by the medium-sized circle in the middle, and the smallest circle at the top for the head. Using wood glue, attach each section to the one below it to create your snowman’s body. Let the glue dry thoroughly before moving on to the next step.
Step 4. Paint Your Snowman:
Once the glue is completely dry, it’s time to bring your snowman to life with some paint! Using your brushes, paint the entire body of the snowman white. You can also add black paint for the eyes, mouth, and buttons and paint a cute carrot nose with orange paint. Remember to paint on both sides and around the edges for a uniform look. Let the paint dry completely.
Step 5. Add the Finishing Touches:
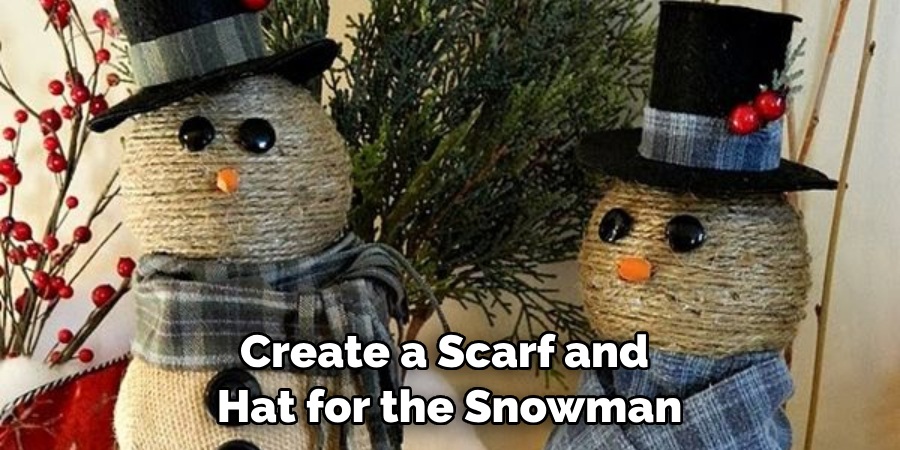
After the paint has dried, it’s time to add the finishing touches. Use the leftover fabric or burlap to create a scarf and hat for the snowman. You can use the glue gun to secure them in place. Additionally, if you opted for any other decorative items like buttons, twigs, or ribbons, you can attach them now to personalize your snowman.
Step 6. Optional Decors:
Whether you want to keep your wooden snowman simple or jazz it up with additional decor is entirely up to you. Ideas include adding twigs as arms, painting on a jacket or buttons, or even giving the snowman a festive holiday hat. These extra decorative elements add a touch of personal charm and whimsy to your wooden snowman. Remember, your wooden snowman reflects your creativity – so let it shine!
Step 7. Secure the Snowman:
Depending on where you plan to display your snowman, you should secure its base. You can do this by attaching a flat wooden circle to the bottom of your snowman using wood glue. This will give it more stability, especially if you plan to display it outdoors.
Step 8. Let it Dry:
After adding all the decorative elements and securing the base, allow your snowman to dry completely. This might take a few hours or even overnight, but it’s an essential step to ensure the durability of your wooden snowman. You can use a hair dryer to fasten the process.
Step 9. Apply a Sealant:
In order to enhance the longevity and weather resistance of your wooden snowman, especially if you’re planning to place it outdoors, applying a sealant is a good idea. Use a clear, outdoor-grade sealant and apply a thin coat over the entire snowman, including the base. Cover every painted area and any decorative elements you’ve added. Let the sealant dry completely before proceeding to the next step.

Step 10. Display Your Wooden Snowman:
Congratulations! You’ve successfully created your wooden snowman. Now, it’s time to show off your work of art. You can put it on your porch, in your garden, or even inside your home. No matter where you display it, your handmade wooden snowman will surely bring a touch of winter charm and a smile to all who see it. Enjoy your unique decoration, and take pride in knowing you made it yourself!
Following these steps, you have transformed a few blocks of wood into a delightful holiday decoration. From construction to painting to final decoration, each step of the process offers an opportunity to personalize your project and infuse a bit of your spirit into the result.
5 Additional Tips and Tricks
Tip 1. Choose Your Wood Wisely:
Don’t just opt for any wood you find around. The best types of wood for this project are softwoods like pine, fir, or cedar, as they’re easier to cut and shape. If you’re recycling old wood, ensure it’s clean, smooth, and free from any contaminants or pests.
Tip 2. Get Creative with Colors and Accessories:
While the classic snowman is white with a black hat and scarf, there’s no rule saying yours has to be! Feel free to explore different colors and accessories to make your wooden snowman unique. You can even add seasonal accessories like a Christmas Santa hat or a New Year’s top hat.
Tip 3. Safety First:
Always remember to handle your tools, especially when cutting the wood carefully. Wear safety goggles to protect your eyes from sawdust, and use gloves to prevent any accidental cuts or splinters.

Tip 4. Multi-Coat for a Smooth Finish:
Apply multiple thin coats of paint for a smoother, more professional-looking finish. Let each coat dry completely before applying the next. This is especially important when painting the face and other small details.
Tip 5. Make It a Family Project:
Invite your family or friends to join you in creating the wooden snowman. They can help with painting and decorating, and it’s also a great way to spend quality time together. Plus, the more hands, the merrier the snowman!
With the right care, your handmade wooden snowman can become a cherished holiday decoration for years. Keep it clean and dry, and store it in a cool, dry place when it’s not in use.
5 Things You Should Avoid
1. Avoid Rushing the Process:
Creating a wooden snowman is a labor of love that requires time and patience. Rushing through the steps may result in a poorly constructed snowman that only lasts for a short time. Take your time at each stage, from cutting and sanding the wood to painting, decorating, and sealing.
2. Do Not Use Wet or Rotten Wood:
Ensure the wood you use is dry and free of rot. Wet or rotten wood can lead to structural instability and may deteriorate quickly, especially when exposed to the elements. Check the wood carefully before starting your project.
3. Avoid Using Toxic Materials:
If you’re crafting this wooden snowman with children, ensure all paints, glues, and sealants are non-toxic. Also, be cautious about the type of decorations you use – avoid small items that could be a choking hazard for young kids.
4. Do Not Skip the Sealant:
It might be tempting to skip the sealant, especially if your wooden snowman looks perfect and you’re eager to display it. However, this step is crucial for the longevity of your creation. The sealant provides a protective barrier that shields your snowman from moisture, UV rays, and other damaging elements, particularly if displayed outdoors.
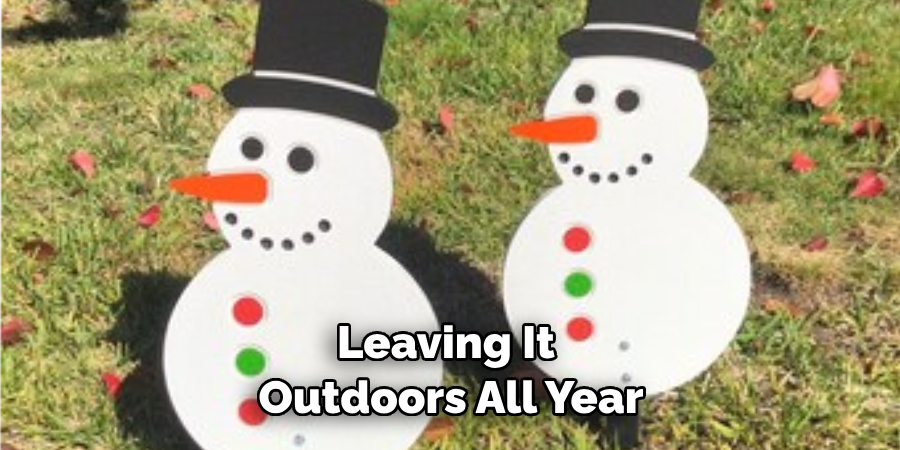
5. Avoid Leaving Your Wooden Snowman Outdoors Year-Round:
While your wooden snowman is designed to be durable and weather-resistant, it’s not invincible. Leaving it outdoors all year can expose it to harsh weather conditions and accelerate wear and tear. Instead, bring it inside after the winter season is over. Store it in a cool, dry place to ensure it stays in good condition for the next winter.
By taking proper care of your wooden snowman, it can bring joy and holiday spirit to your home for many years to come.
Conclusion
How to make a wooden snowman is a fun activity to do that can serve as an enjoyable winter decoration. Whether you make your snowman from cedar, pine, or any other type of wood, the result will be sure to bring a smile when displayed in your living room. Making wooden snowmen can create beautiful works of art that can be kept for many winters and won’t deteriorate like traditional snowmen.
Furthermore, this project is simple enough for anyone to feel accomplished when constructing it, and many modifications may be made to saturate the snowman with one’s ideas and inspirations. Crafting a wooden snowman is a fun experience that will put anyone in the holiday spirit!
Hopefully, this comprehensive guide has provided you with the steps, tips, and precautions to craft your wooden snowman successfully. So, gather your materials and let your imagination run wild. Here’s to a fun-filled crafting experience and a charming wooden snowman that will add a touch of homemade magic to your winter celebrations. Happy crafting!

