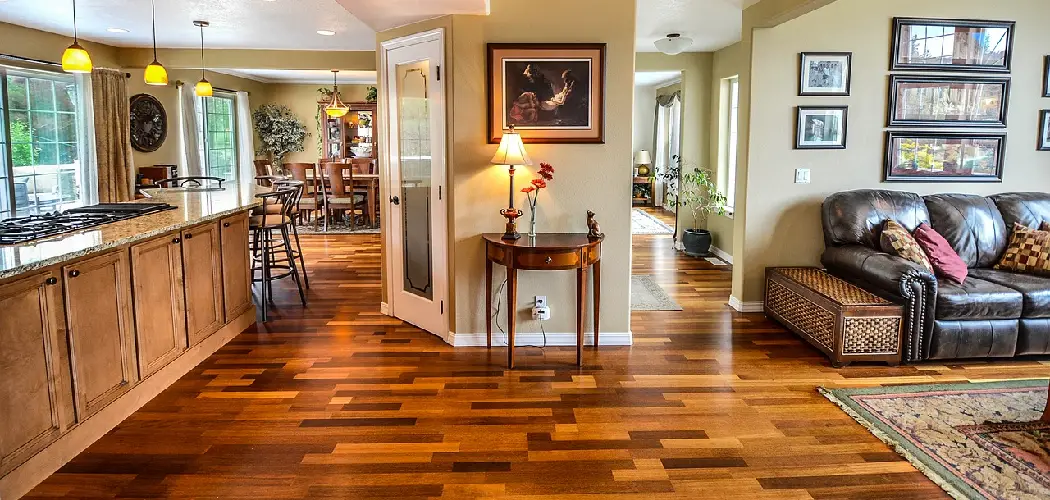
Are you about to embark on a home improvement or remodeling project and concerned about how you can protect your precious hardwood floors from dust, dirt, scrapes, scratches, and other damage during the construction process? You’re not alone! We understand this is an important concern for many homeowners who want to ensure their beautiful hardwood floors remain in tip-top condition.
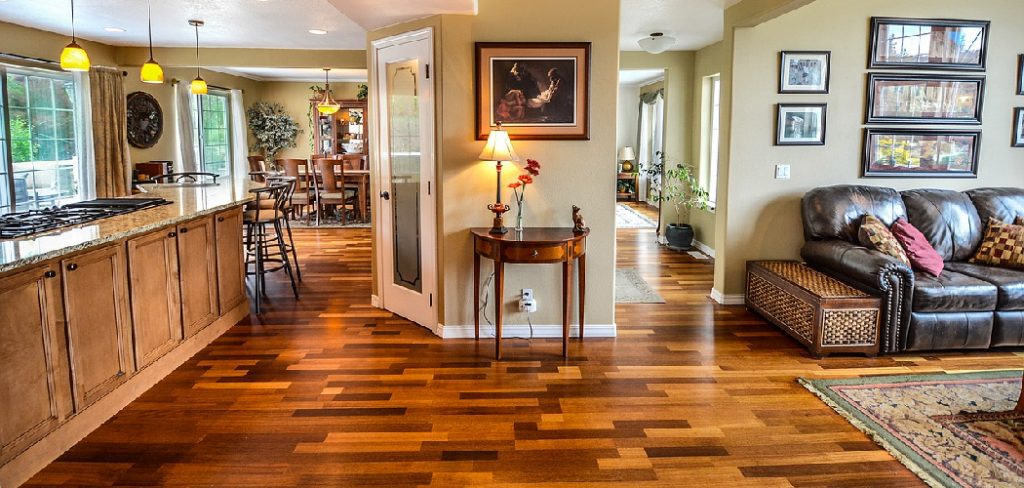
In this blog post, we will discuss some of the best ways how to protect hardwood floors during construction — from practical steps like using doormats and covering railings to more involved approaches such as installing temporary floor products underneath furniture and appliances. With these tips in mind, let’s explore various considerations for protecting your prized hardwood floors during construction!
9 Best Ways on How to Protect Hardwood Floors During Construction
1. Cover Railings With Plastic Sheeting:
If you have any exposed staircases and banisters, cover them up with plastic sheeting to avoid direct contact with hardwood floors. This helps protect the floor from scuff marks and scratches caused by furniture or tools used during construction. This method also keeps dust and dirt from accumulating on the floor.
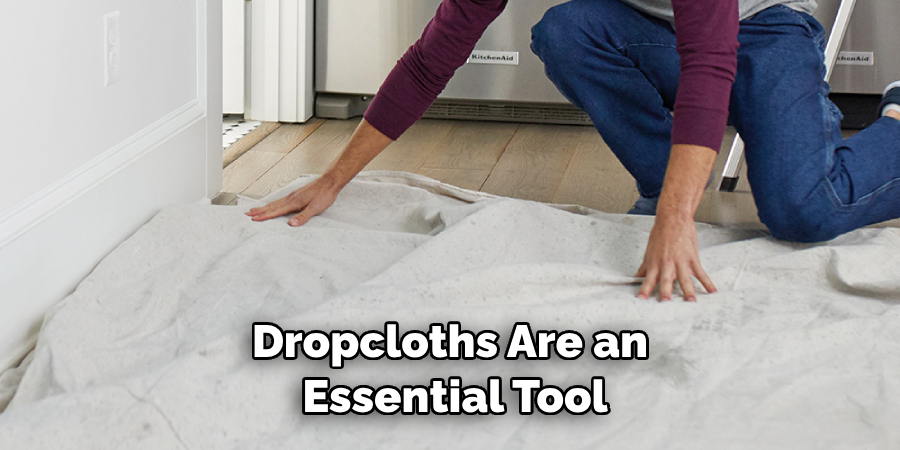
2. Use Dropcloths:
Dropcloths are an essential tool during a home improvement project. When placed over hardwood floors, they help protect against dust, dirt, paint drips, and other debris that can cause damage to the wood’s finish. Make sure to use heavy-duty cloths to cover the entire area of the floor, including baseboards and other fixtures.
3. Place Doormats at All Entrances:
A great way to help protect hardwood floors from dirt and debris is by placing doormats at all entrances. These mats can help trap dust, dirt, mud, and other particles that may be tracked in from outside. Additionally, it can also reduce the amount of scraping and scratching that may occur when people come in and out of the home.
4. Remove Furniture or Appliances:
If possible, remove all furniture or appliances from the area or cover them up with drop cloths to prevent direct contact with hardwood floors. This will help avoid scratches, dents, and other damage that may be caused by these items during construction. Removing furniture and appliances also reduces the amount of dust that can accumulate on these items which can then be transferred to the hardwood floor.
5. Install Protective Floor Products:
If you are unable to remove furniture or appliances, there are protective products available that you can install underneath them. These can include felt pads, corner guards, and other materials specifically designed for hardwood floors. These products can help cushion impacts and help reduce the chances of scratches or dents on the floor’s surface.
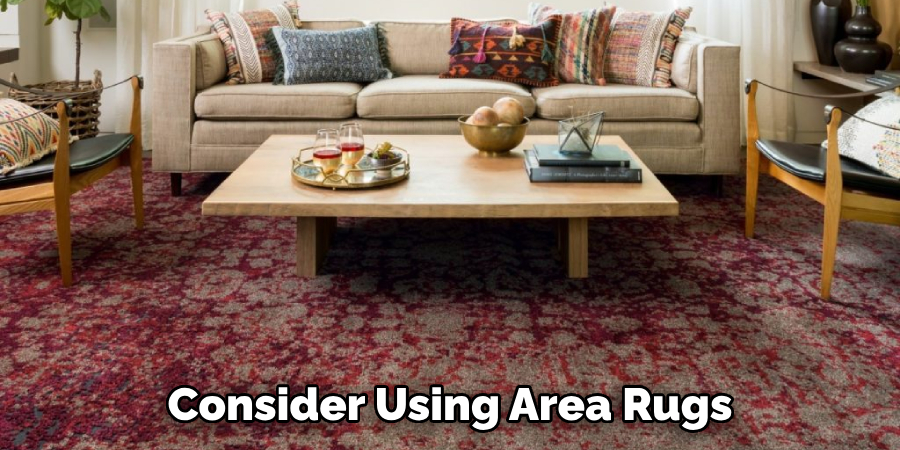
6. Use Area Rugs:
If you want to add extra protection to hardwood floors, consider using area rugs in high-traffic areas such as hallways, staircases, or entryways. This will help reduce the amount of dirt and debris that can get tracked into the room. Additionally, area rugs also provide an extra layer of comfort to your floors while helping to absorb sound in a room.
7. Install Temporary Flooring:
For more involved projects such as kitchen remodeling, it might be necessary to install temporary flooring underneath furniture or appliances. This can protect the hardwood from heavy tools and equipment used during the project and keep them safe from any potential damage. It also helps to keep the area more organized and tidy by isolating dust, dirt, and debris in one place.
8. Clean Up Regularly:
During a home improvement project, it’s important to keep hardwood floors clean and free of dust and debris. Make sure to vacuum or sweep the floor every day to remove any dirt or particles that may have accumulated. You should also use a damp mop occasionally to help clean up any spills and messes that occur during the project.
9. Reapply Hardwood Floor Finish:
Once your home improvement project is complete, it’s important to reapply a hardwood floor finish to protect the wood from wear and tear. This will help keep your hardwood looking like new for years to come and maintain its original luster and shine.
By following these tips, you can enjoy peace of mind knowing that your precious hardwood floors are safe from dust, dirt, scratches, scuffs, and other damage during a home improvement or remodeling project. With the right knowledge and steps in place, you can rest assured that your hardwood floors will look as good as new for years to come!
Additional Tips and Tricks to Protect Hardwood Floors During Construction:
1. Invest in some area rugs or other floor coverings to protect the hardwood floors from additional damage during the construction period.
2. Hire a professional flooring expert to come in and survey the area before beginning any renovations, as they will be able to suggest methods on how best to protect the wood floors.
3. Make sure that you regularly inspect the flooring for any signs of damage, like scratches or discoloration.
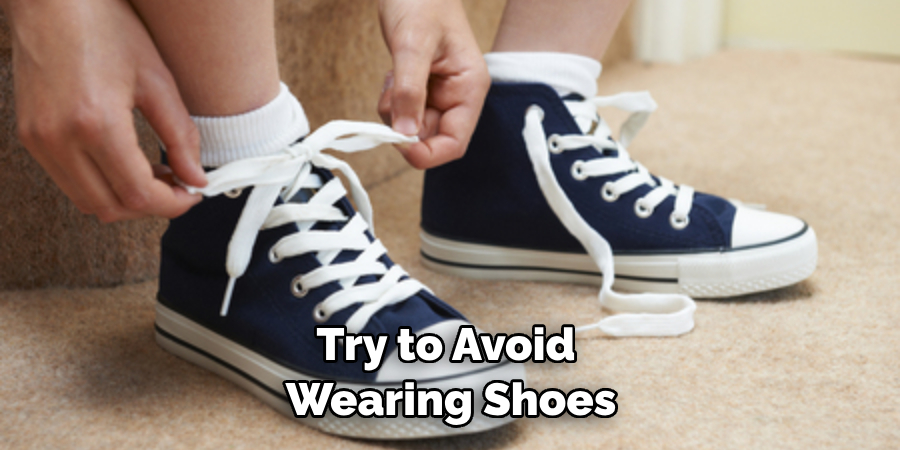
4. During construction, try to avoid wearing shoes on your hardwood floors as this can cause further damage. If you must walk around in shoes, invest in some soft-soled slippers that won’t scratch the surface.
5. Install door mats and rugs at each entrance to your home. This will help collect dirt and debris from shoes before they have a chance to make it onto the hardwood floors.
6. Vacuum the floor on a regular basis in order to remove any dust or debris that may have accumulated during construction work.
7. As much as possible, try to keep furniture off of the hardwood flooring during the renovation process.
8. If you’re using any large tools or equipment, make sure to place them on a protective layer such as a tarp or blanket before setting them down on the hardwood floor. This will help prevent scratches and other types of damage.
9. Consider adding a coat of sealant or polyurethane after construction is complete. This will help protect the wood from wear and tear, as well as prolong its life.
10. Keep in mind that hardwood floors typically require more care and maintenance than other types of flooring, so it’s important to practice proper cleaning and upkeep habits in order to keep them looking their best.
11. Finally, don’t forget to remove any nails or staples that may have been used during the construction process. These can lead to long-term damage if left in place.
Following these tips and tricks will help ensure that your hardwood floors stay in the best possible condition during and after construction. With a little bit of extra effort, you can keep your hardwood floors looking great for years to come!
Frequently Asked Questions
What Can I Do to Protect My Hardwood Floors During Construction?
The best way to protect your hardwood floors is to cover them with protective plastic sheeting or drop cloth before any construction, painting, or other activities take place. Make sure not to leave any gaps at the edges so that dust and debris can’t get underneath. You’ll also want to make sure the plastic is taped down securely so it won’t move around.
Additionally, place adhesive-backed felt pads on all furniture legs that come into contact with your floors. This will help prevent scratches and dents while also protecting against heat damage from items like radiators and fireplaces.
Can I Use Cardboard Instead of Plastic Sheeting to Protect My Hardwood Floors?
No, cardboard is not recommended as a protective material for hardwood floors. Cardboard does not provide adequate protection against dust and debris and can be easily punctured or torn. Additionally, the adhesive used to hold it down may cause damage to your floor in the long run. Plastic sheeting may cost more upfront, but it will provide much better protection.
What Should I Do If My Floors Have Already Been Damaged During Construction?
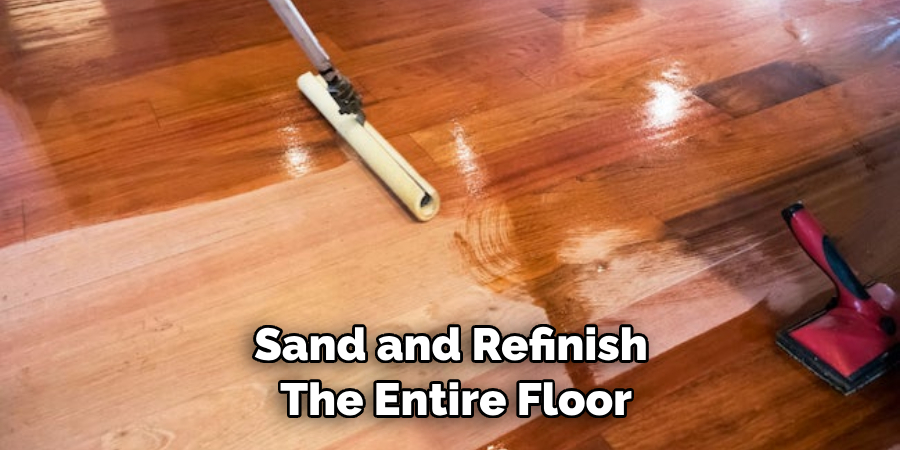
If your floors have been damaged due to construction, the best course of action is to get them professionally repaired as soon as possible. Depending on the extent of the damage, you may need to sand and refinish the entire floor or just repair isolated areas.
However, it’s important to have a professional determine the best solution and take care of the repairs. Doing so will ensure that your floors look as good as new once the construction project is completed.
Is It Possible to Avoid Damage to My Hardwood Floors During Construction?
Yes, there are steps you can take to minimize or avoid damage to your hardwood floors during construction. As mentioned above, the most important thing you can do is to cover them with plastic sheeting and felt pads.
Additionally, it’s a good idea to move any furniture or other items away from areas where construction will be taking place. This will help reduce the risk of accidental damage or scratches from tools and supplies. Following these steps can help keep your hardwood floors looking great long after construction is complete.
Conclusion
It’s important to protect hardwood floors during construction because the damage can be irreversible. With proper knowledge and precautions, you can help protect your hardwood floors from potential harm. Taking simple steps to prepare your home before construction begins as well as using the correct materials and techniques during the process will make all the difference in protecting your investment.
With a little extra preparation and understanding of what needs to be done, keeping hardwood floors safe during construction is definitely possible! And if you ever have any questions or concerns about how to protect your investment, don’t hesitate to consult a professional.
Now that you know the basics on How to Protect Hardwood Floors During Construction don’t delay in making sure these vital steps, and tasks are taken care of accurately. So start today for an easier tomorrow!

