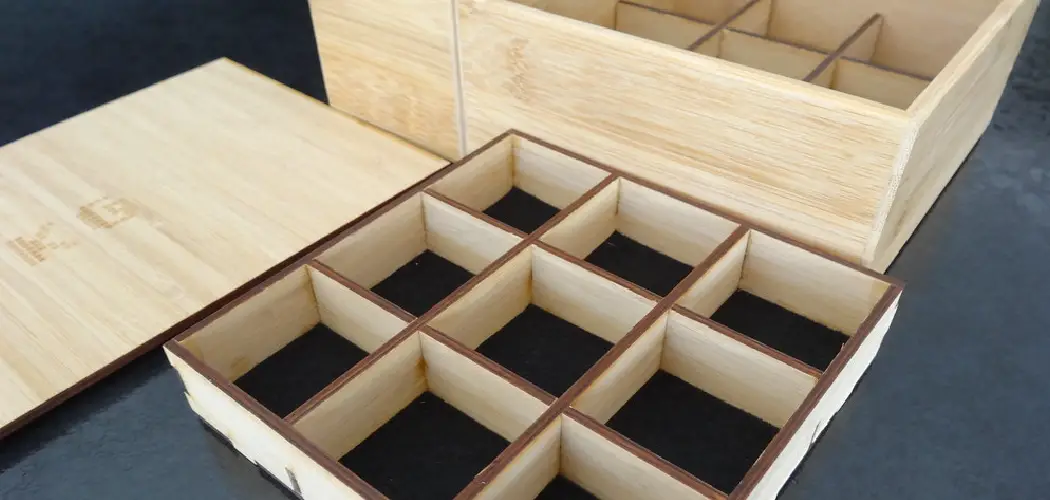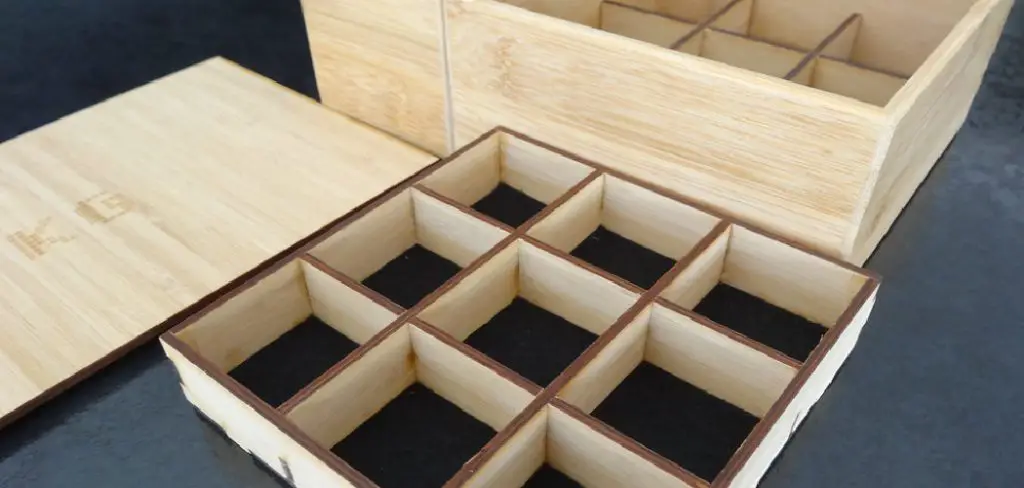
Wooden boxes are a popular item to make because they are versatile and can be used for a variety of purposes. This box is perfect for storing small items such as jewelry or screws. You will need a few simple tools and supplies to get started. In this blog post, we’re going to show you how to make a wooden box with dividers.
This is a great project for anyone who wants to learn more about carpentry and woodworking, and it can be used for a variety of purposes, such as storage or display. We’ll walk you through each step of the process, so you can follow along and create your own wooden box with dividers. Let’s get started!
Why Is Wooden Box Divider Essential?
The divider is an essential part of a wooden box as it helps to organize and separate the items within the box. The dividers can be used to store different types of items, such as smaller jewelry pieces, screws, nuts, bolts, or other small items. By having dividers in your box, you can easily find what you’re looking for without having to go through everything in the box.
What You’ll Need
- Wooden boards
- Table saw or jigsaw
- Hammer and nails
- Sandpaper
- Wood glue
10 Methods How to Make a Wooden Box with Dividers
1. Gather the Materials
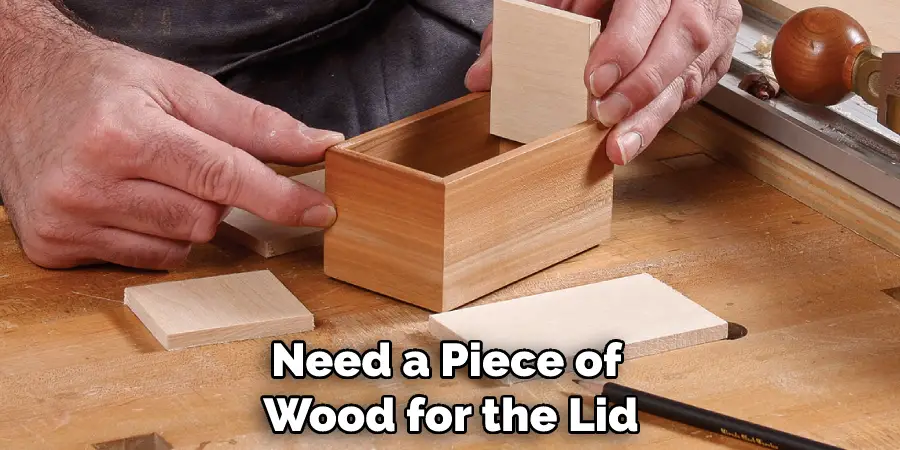
To make a wooden box with dividers, you will need a piece of wood for the lid and bottom, four for the sides, eight for the dividers, wood glue, clamps, a saw, and sandpaper. If you prefer, you can also use nails or screws to secure the box. While you are gathering materials, make sure you measure the pieces of wood that you need to ensure a proper fit.
2. Cut the Pieces
Use the saw to cut the pieces of wood to the desired size. The lid and bottom should be the same size, and the sides should be slightly longer than the lid and bottom. The dividers should be cut to fit snugly between the sides. Although you can use a hand saw, a jigsaw will provide you with more precision and control. Keep in mind that safety should always come first when using power tools.
3. Glue the Pieces Together
Apply wood glue to the edges of the lid and bottom piece, then place two of the side pieces on top so that they form a rectangle. Repeat this step with the remaining pieces to form a second rectangle. If desired, you can use clamps to hold the pieces together until the glue dries. While the glue is drying, you can begin to cut and prepare the dividers.
4. Clamp the Pieces Together
Place clamps on each corner of both rectangles to hold the pieces in place while they dry. Let the glue dry for at least 24 hours before proceeding to the next step. However, you can leave the clamps on for up to 48 hours or longer, depending on the type of glue used. If you plan to use screws or nails, pre-drill the holes before affixing them to the wood.
5. Sand the Boxes
Use sandpaper to smooth out any rough edges on both rectangles. Be sure to sand in the direction of the grain to avoid damaging the wood. If desired, you can also apply a coat of paint or stain to give the box an extra layer of protection. Keep in mind that this step is optional and should not be done until the glue has completely dried.
6. Attach the Dividers
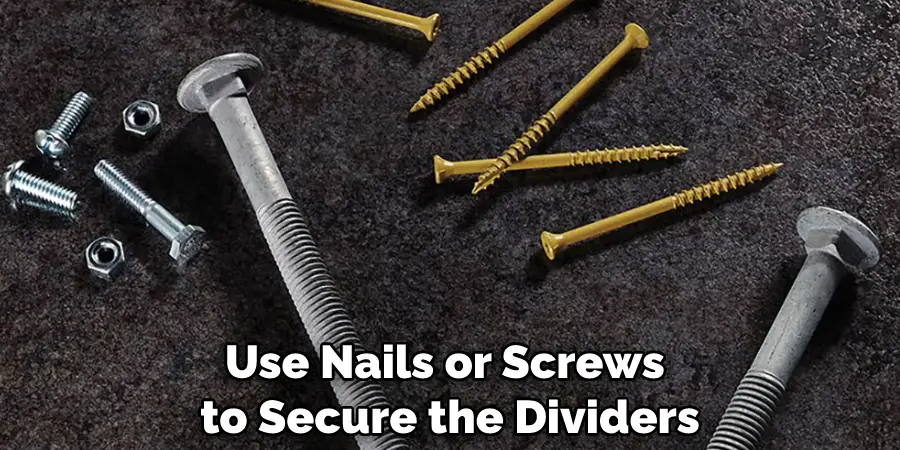
Apply wood glue to one end of each divider, then insert them into place between the two rectangles. Use clamps to hold them in place while they dry. Let them dry for at least 24 hours before proceeding to the next step. If desired, you can use nails or screws to secure the dividers in place. While the glue is drying, you can start to prepare the lid.
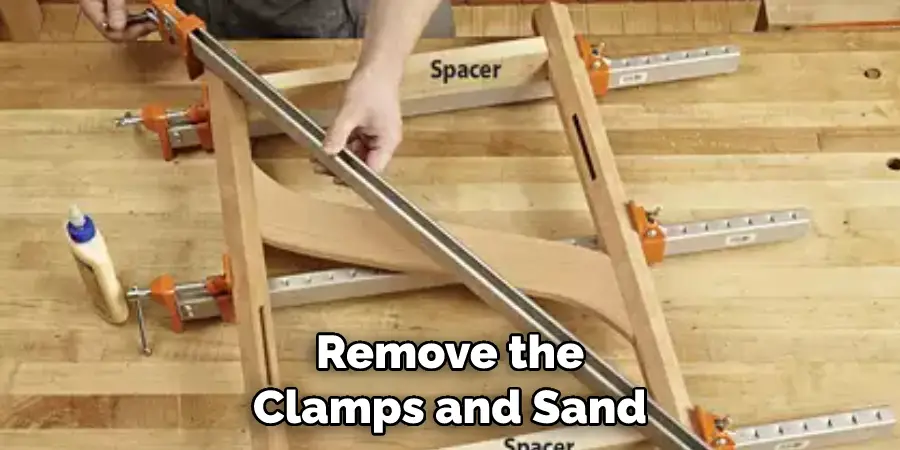
7. Remove the Clamps and Dividers
Once the glue has dried completely, remove all of the clamps and dividers from both rectangles. Sand any rough edges on both boxes again if necessary. While you are sanding, be sure to wear protective gear such as a dust mask and goggles. Although this step is optional, it can help to ensure that the box looks neat and professional. If desired, you can also apply a coat of paint or stain.
8. Attach Lid and Bottom Pieces
Apply wood glue around all four edges of each rectangle, then place a lid or bottom piece on top so that it is flush with all four sides. Use clamps to hold it in place while it dries. Let the glue dry for at least 24 hours before proceeding. If desired, you can use nails or screws to further secure the lid and bottom pieces in place. Make sure to pre-drill any holes before affixing them to the wood.
9. Sand Again and Add Finishing Touches
Once the glue has dried completely, remove the clamps and sand any rough edges on both boxes again if necessary. Apply a finish of your choice for protection and to enhance the look of your box. Keep in mind that the finish should not be applied until the glue has completely dried. If desired, you can also add decorative touches, such as handles or corner brackets, for extra flair.
10. Enjoy Your New Wooden Box with Dividers!
Your new wooden box with dividers is now ready to use! Enjoy displaying your items in style and keeping them organized with the dividers you have built. It is sure to be a beautiful addition to any room. Tyr to be creative and make a wooden box with dividers that are unique to you.
By following these steps, you can easily make a wooden box with dividers that are both practical and stylish. With patience and attention to detail, you can create a beautiful piece of furniture that you can enjoy for years to come!
Things to Consider When Making a Wooden Box with Dividers
1. Choose the Right Wood
Depending on what you plan to use your box for, certain woods will work better than others. For example, if you’re planning to make a jewelry box or something else that needs to look nice, then a hardwood like mahogany might be best. Alternatively, if you want a box that’s highly durable and able to hold heavier items such as tools, then oak would be a good choice.
2. Measure Accurately
Make sure you measure all of the pieces carefully before cutting them out, so they fit together properly when constructing the box and dividers. Measuring twice is always better than measuring once. While it’s important to have accurate measurements for the box, it’s even more important to make sure that your dividers are all the same size and shape. Otherwise, the box won’t fit together properly.
3. Select the Right Hardware
When making wooden boxes, you’ll need some hardware such as screws, nails, and hinges. Choose the right hardware for the job, so your box is strong and secure when it’s finished. Make sure the size of the screws and nails match the thickness of the wood you’re using.
4. Finishing Touches
Before putting the finishing touches on your wooden box with dividers, it might be worth sanding down all of the pieces to give them a smooth finish. You can then use wood stains or paints if you want to give the boxes a particular look.
5. Joinery
Making sure that all of your joineries are tight and secure will ensure that your wooden box with dividers won’t start coming apart in a few weeks’ time, ruining all your hard work! Look into different types of joinery techniques to make sure that your box is as strong and durable as it can be.
6. Glue
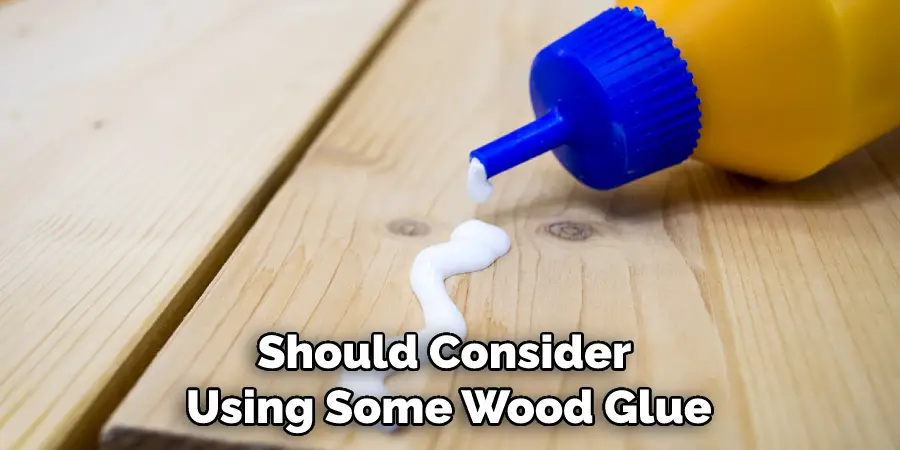
For added security, you should consider using some wood glue to hold the pieces together before nailing them or screwing them in place. This will ensure that everything stays put no matter what. If you’re feeling confident, you could even try making dovetailed joints as a more advanced joinery technique.
7. Select a Suitable Sealant
A sealant will help protect your wooden box with dividers from any moisture damage, so choose one that’s suitable for use on wood. Make sure you apply it according to the manufacturer’s instructions for the best results.
Conclusion
You can make a box with dividers to hold small items such as nails, tacks, or buttons by following these simple steps. With only a few supplies and some basic woodworking skills, you can create a functional and attractive divided box in no time.
A divided box makes an excellent gift for the handyman or woodworker in your life, or it can be a great way to organize your own workbench or toolbox. Give it a try today!
Thanks for reading our blog post on how to make a wooden box with dividers! We hope you found it helpful and informative.
You Can Check It Out to Make a Curved Deck

