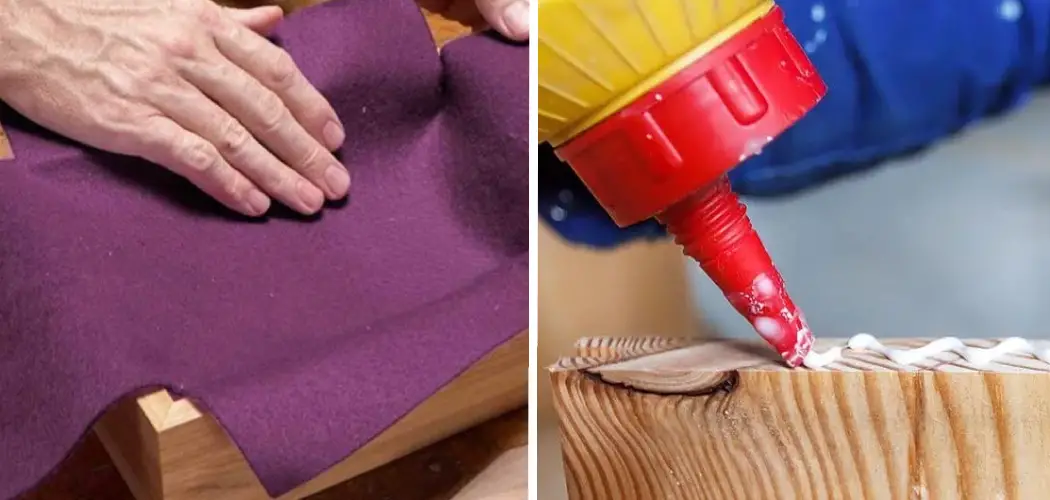
Are you looking for a fun and easy way to add some personality to your furniture? If so, then you should try adding felt to wood. This simple crafting technique can be used to create all sorts of decorative pieces, from coasters to wall art.
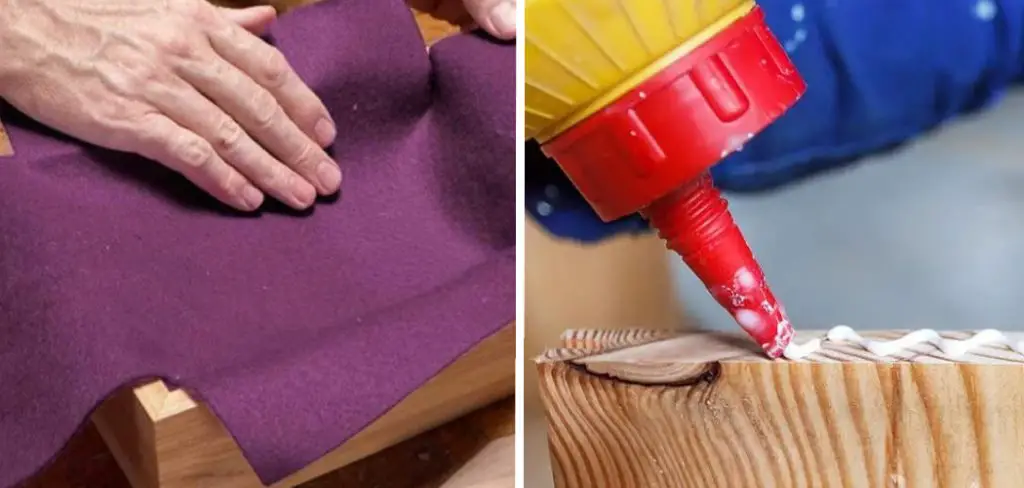
Best of all, it’s a quick and easy process that anyone can do. So gather up your supplies and get ready to transform your furniture with felt! Bloggers and crafters often use felt to create DIY projects.
Felt is a versatile material that can be used for a variety of applications, including applique, crafts, and more. If you’re looking for how to apply felt to wood, here’s how to do it.
Does Spray Adhesive Work on Felt?
Yes, spray adhesive is an effective way to attach felt to wood. The spray adhesive will help hold the felt in place and make sure it doesn’t move around once applied. Make sure you use a strong-hold adhesive for best results. Although the spray adhesive will provide some protection, you may want to consider using a sealant such as Mod Podge or DecoArt ProtectCoat to ensure the felt stays in place.
10 Methods on How to Apply Felt to Wood
1. Adhesive
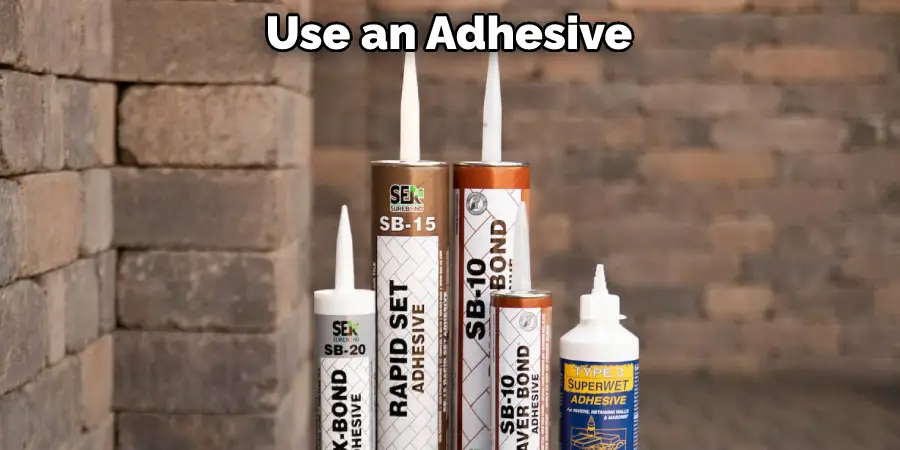
One of the easiest ways to apply felt to wood is to use an adhesive. There are a variety of adhesives on the market that can be used for this purpose, so be sure to choose one that is appropriate for the type of wood you are working with. Apply a thin layer of adhesive to the surface of the wood, then place the felt on top and press it into place.
2. Brads
Another option for attaching felt to wood is to use brads. Brads are small metal fasteners that can be inserted into the wood. To use this method, simply insert a brad into the surface of the wood, then place the felt on top and press it into place. If necessary, you can also add a drop of adhesive to help secure the felt. While this method takes a bit more time and effort, it produces a very sturdy bond.
3. Carpet Tape
If you are working with a large piece of wood, you may want to consider using carpet tape to attach the felt. Carpet tape is a strong adhesive that can be used to attach carpeting or other materials to a variety of surfaces. To use this method, simply apply a strip of carpet tape to the surface of the wood, then place the felt on top and press it into place. If necessary, you can also use brads or staples to help secure the felt.
4. Clamps
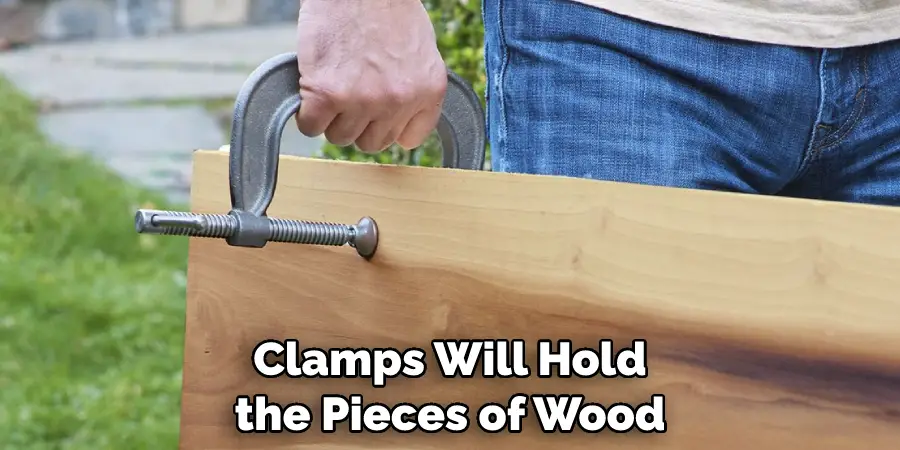
If you have several pieces of wood that you need to attach felt too, you may want to consider using clamps. Clamps will hold the pieces of wood in place while you attach the felt. To use this method, simply clamp the pieces of wood together, then apply adhesive or brads to attach the felt. If necessary, you can also add a drop of adhesive to help secure the felt. Although this method is a bit more time-consuming, it produces a very strong bond.
You Can Check It Out to Fix Door Not Latching
5. Contact Cement
Another option for attaching felt to wood is to use contact cement. Contact cement is a type of adhesive that creates a strong bond between two surfaces when they are pressed together. To use this method, simply apply a layer of contact cement to both the surface of the wood and the back of the felt. Allow the cement to dry for several minutes before pressing the two surfaces together.
6. Double-Sided Tape
Double-sided tape is another option for attaching felt to wood. This type of tape has adhesive on both sides, making it ideal for attaching two surfaces together. To use this method, simply apply a strip of double-sided tape to one side of the felt, then press it into place on the surface of the wood. While this method works best with smaller pieces of felt, it does produce a strong bond. If necessary, you can also add a drop of adhesive to help secure the felt.
7. Glue Gun
A glue gun can also be used to attach felt to wood. Simply apply a line of glue along one edge of the felt, then press it into place on the surface of the wood. Be sure not to use too much glue, as this can make it difficult to remove later if necessary. If necessary, you can also add a drop of adhesive to help secure the felt. Try to avoid using a glue gun on large pieces of wood, as it can be difficult to work with.
8. Hammer and Nails
If you are working with a small piece of wood, you may be able to attach the felt using a hammer and nails. Simply drive a nail through one edge of the felt and into the surface of the wood. Be sure not to drive the nail in too far, as this could split the wood. Repeat this process until the entire piece of felt has been attached. You can then remove any excess nails with pliers. If necessary, you can also add a drop of adhesive to help secure the felt.
9. Staple Gun
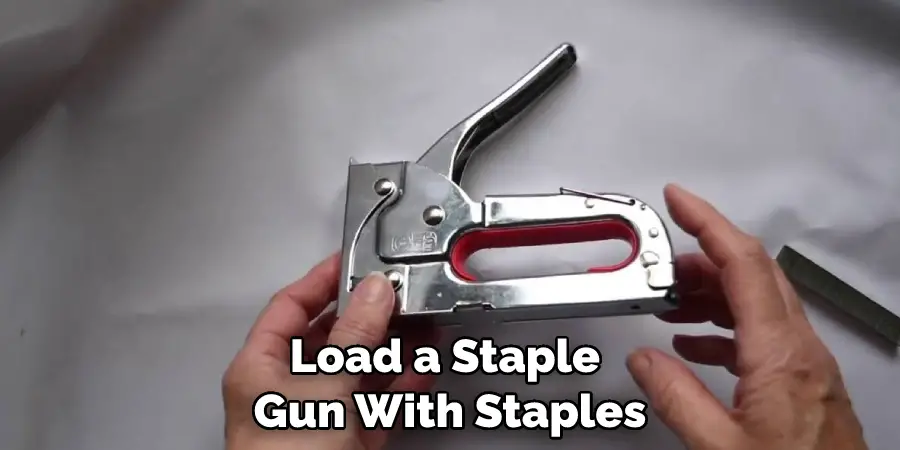
A staple gun is another option for attaching felt to wood. To use this method, simply load a staple gun with staples, then press the felt into place on the surface of the wood and fire off a few staples. Be sure not to use too many staples, as this can make it difficult to remove later if necessary.
If necessary, you can also add a drop of adhesive to help secure the felt. Try to avoid using a staple gun on large pieces of wood, as it can be difficult to work with. Make sure you always use the correct size staples for the job.
10. Screws
Screws are ideal for attaching larger pieces of felt to wood. To use this method, simply pre-drill some holes in the surface of the wood, then insert screws through the felt and into the hole. Be sure not to use too many screws, as this can make it difficult to remove later if necessary.
If necessary, you can also add a drop of adhesive to help secure the felt. If you are using this method on a large piece of wood, it is best to use screws that are designed for outdoor use. This will help prevent rusting over time.
By using one of these methods, you should be able to easily attach felt to wood for any project. It is important to choose the right method depending on your needs and preferences. With some patience and attention to detail, your project will turn out to look great!
Things To Consider While Apply Felt to Wood
1. Choose the Right Felt:
Make sure to choose a felt that is appropriate for your project. For example, if you are covering a tabletop with felt, it’s important to use an adhesive-backed felt rather than one without adhesive backing. This will help the feel stick better and last longer.
2. Clean the Surface:
Before applying the felt, make sure to clean the surface of any dust or debris that could prevent the adhesive from bonding correctly. You can also lightly sand down any rough spots in order to make sure that the fabric adheres properly.
3. Measure & Cut:
Measure and cut out pieces of felt so they fit onto your wood project perfectly. You may need to trim down the felt to get a neat fit.
4. Apply Adhesive:
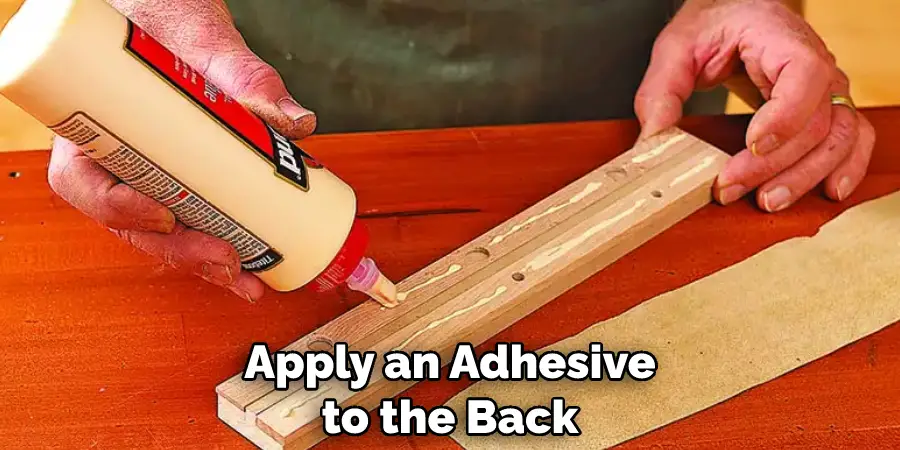
Once your pieces of felt are cut out, apply an adhesive to the back and press it firmly onto the wood surface. You may need to use a roller or brush to ensure that there are no air bubbles or gaps between the fabric and the wood.
5. Let Dry:
Allow the adhesive and fabric to dry completely before moving on to any other steps. This will help ensure that everything sticks securely and prevents any issues down the line.
6. Trim Edges:
After the adhesive has dried, trim down any excess fabric from around the edges for a clean finish. Be sure not to trim away too much, so you don’t damage the wood surface.
7. Finish & Enjoy:
Finally, you can enjoy your newly felt-covered wood project! With proper care and maintenance, your felt-covered wood should last for years to come.
Conclusion
Now that you know how to apply felt to wood, it’s easier for you to do the job done. Applying felt to wood is a great way to add protection and style to any piece of furniture. There are many different types of adhesive that can be used, but the best option for most people is hot glue.
Hot glue will hold the felt in place and provide a strong bond that will last for years. Be sure to test the adhesive on a small area before applying it to the entire surface. Once you have applied the adhesive, allow it time to dry completely before using or removing any items from the surface.
You Can Check It Out to Apply Pre Stain Wood Conditioner

