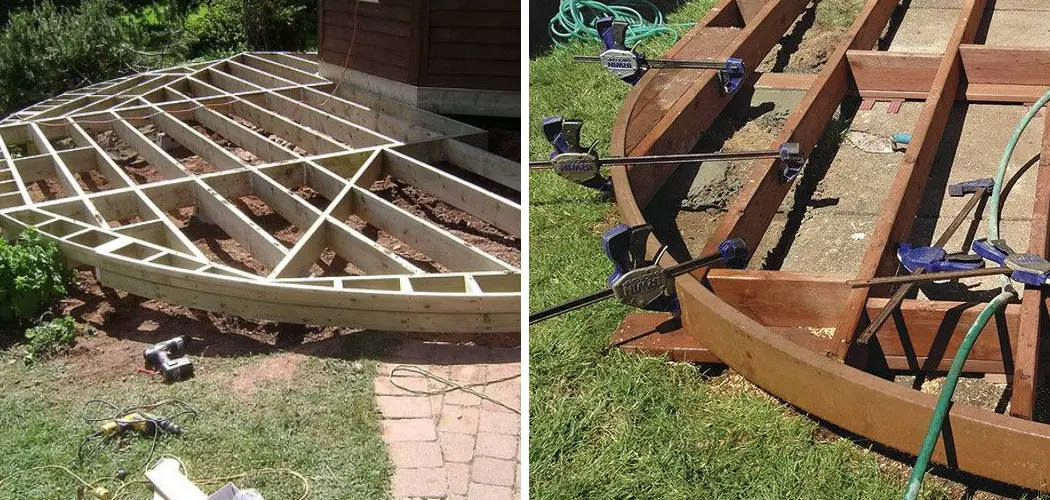
A curved deck is a great way to add interest to your outdoor space. While it may seem daunting, building a curved deck is simpler than you think! In this blog post, we’ll walk you through the steps need to take to build a beautiful, functional curved deck. So keep reading to learn more about how to make a curved deck.
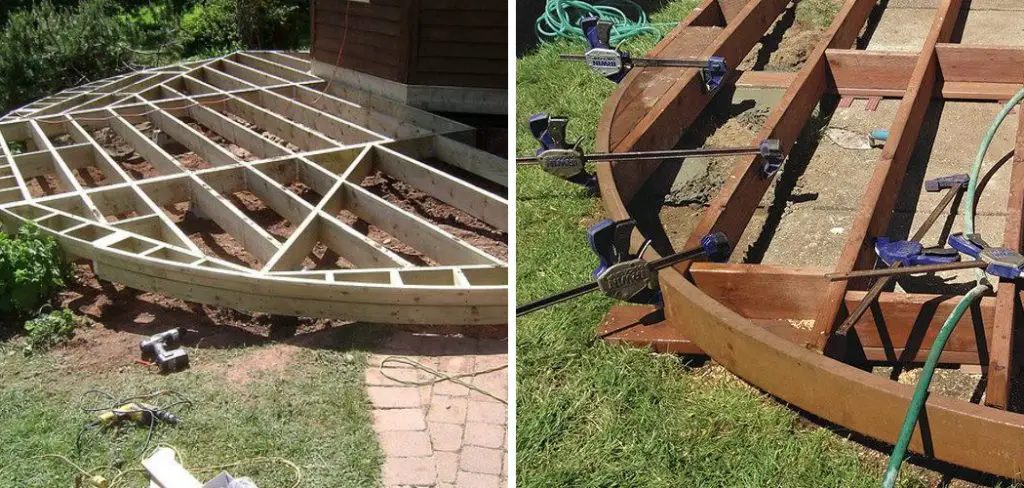
Why Should You Make a Curved Deck?
A curved deck can add a touch of elegance to any home. But a curved deck has some practical advantages beyond its good looks. For one thing, it can help to break up the wind, making it more comfortable to use on breezy days. Additionally, a curved deck can provide additional space for socializing or relaxing.
And because it’s not exposed to the sun all day long, it tends to be cooler than a straight deck, making it more comfortable to use in hot weather. A curved deck is a great option if you’re looking for a new place to entertain guests or simply want to add some curb appeal to your home.
What Kind of Materials Can Be Used for a Curved Deck?
Curved decks can add a touch of elegance to any home and can also be a great way to use otherwise unused space. But what kind of materials can be used for a curved deck? Traditional lumber can be difficult to bend into the desired shape, and composite decking may not provide the desired look. However, a few options may work well for your curved deck.
One is to use pre-curved decking boards. These are made from either lumber or composite material and have already been shaped into curves. This can save you both time and money on your project. Another option is to use flexible PVC decking. This material is easy to work with and can be molded into just about any shape you desire.
It’s also durable and will last many years with little maintenance. With so many choices available, you’re sure to find the perfect material for your curved deck.
7 Steps to Follow on How to Make a Curved Deck
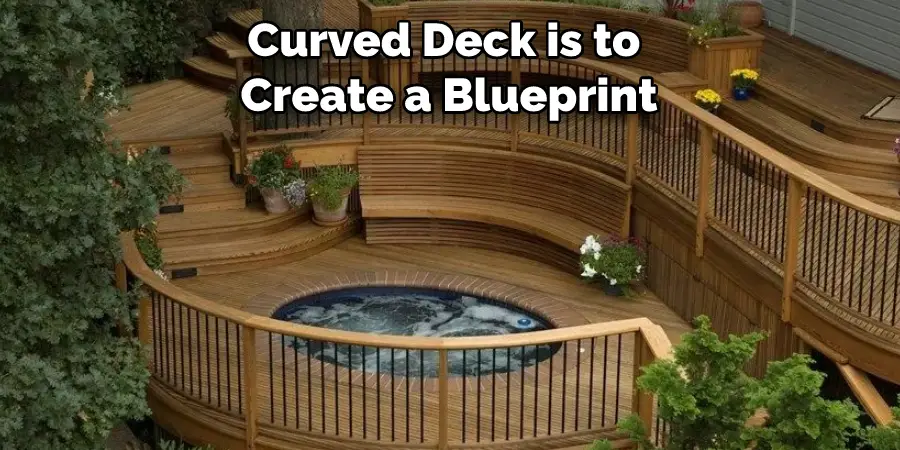
Step 1: Create a Blueprint
The first step in building a curved deck is to create a blueprint. This will help you visualize the finished product and ensure that all of your materials are cut correctly.
Once you have your blueprint, you’ll need to mark out the perimeter of your deck on the ground. Then, using a chalk line or string, mark out the curve that you want your deck to follow.
You Can Check It Out to Build a Hatch Door in a Deck
Step 2: Cut the Joists
The next step is to cut the joists that will support your decking. When cutting the joists, it is important to leave them long enough to be attached to the ledger board. Once the joists are cut, you’ll need to mark out where the holes will go for the bolts that will attach the joists to the ledger board.
Step 3: Install the Ledger Board
The next step is to install the ledger board. This board will be attached to the house and supports the ends of your deck joists. To do this, you’ll need to measure and cut the ledger board to size, then attach it to the house using lag screws or bolts.
Step 4: Attach the Joists to the Ledger Board
Once the ledger board is installed, you can start attaching the joists to it. Begin by attaching the end joists first, using joist hangers. To do this, hold the joist up to the ledger board at the desired height and mark where the holes in the joist hanger line up with the ledger board.
Then, drill pilot holes and screws into the ledger board at those marks. Next, use a hammer to tap the joist hanger into place on the ledger board. Finally, insert a nail or screw into the predrilled holes in the joist hangers to secure them in place.
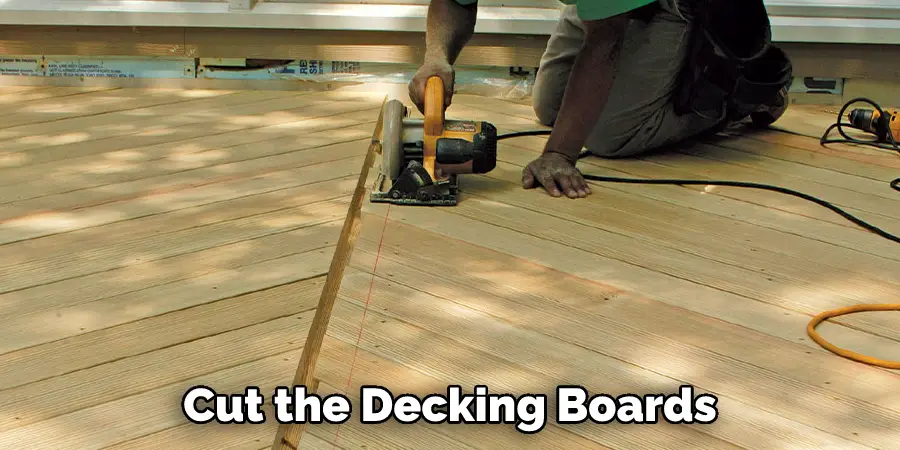
Step 5: Cut the Decking
The next step is to cut the decking boards. When cutting the decking boards, it’s important to leave them long enough so that they can be attached to the joists. To do this, use a circular saw to make a cut about 1/4 inch longer than the joists.
You Can Check It Out to Make Notches in Wood
Step 6: Install the Decking
The next step is to install the decking. Begin by attaching the first piece of decking to the frame using screws or nails. Then, continue attaching the remaining pieces of decking, working your way around the curve of the frame. Make sure that each piece of decking is properly secured before moving on to the next.
Step 7: Install the Railings
The final step is to install the railings. You’ll need to mark where the holes will go for the posts to do this. Then, dig the holes for the posts using a post-hole digger. Once the holes are dug, you’ll need concrete in the posts. After the concrete has cured, you can install the railings and stairs.
That’s it! You’ve now learned how to make a curved deck. This project can be completed in a weekend, and you’ll have a beautiful new addition to your home that you can enjoy for years to come.
What Are the Benefits of Having a Curved Deck?
A curved deck can provide a beautiful and unique focal point for your backyard. When it comes to decorating, there are a few things to keep in mind to make the most of your space. First, consider the overall atmosphere you want to create. Do you want a relaxed and natural feel or something more glamorous? Once you have a general idea in mind, you can start thinking about specific details.
Try hanging string lights or lanterns from the railing for a natural look. Potted plants can also help to create a sense of organic growth while providing additional privacy. If you’re going for something more upscale, try adding some elegant outdoor furniture and accessories.
A fire pit or water feature can also add a touch of luxury to your deck. Whatever your style, with a little creativity, you can transform your curved deck into an outdoor oasis.
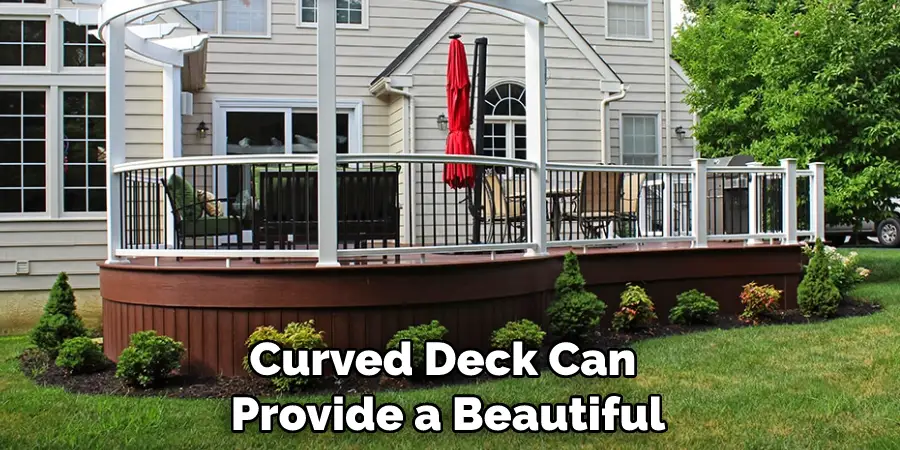
How to Create Custom Deck Railings for a Curved Deck
Curved decks can be both beautiful and challenging to build. One of the most difficult aspects of a curved deck is creating custom deck railings that will follow the contours of the deck.
There are a few different ways to achieve this, but one of the most common is to use mitered joints. By cutting the railing at an angle and joining it together, you can create a smooth, uninterrupted line that will complement the curve of your deck.
Another option is to use secondary handrails that are installed perpendicular to the main railings. This gives you more flexibility in terms of design, but it can be more difficult to achieve a seamless look. Whichever approach you choose, custom deck railings can add both style and function to your curved deck.
How Much Does It Cost to Build a Curved Deck?
The cost of building a curved deck will depend on several factors, including the size and shape of the deck, the materials used, and the location. Typically, a curved deck will cost more than a traditional square or rectangle deck because of the increased material costs and labor required to build it.
The deck size will also affect the price, with larger decks costing more than smaller ones. The materials used can also impact the cost, with natural wood being more expensive than composite materials. Finally, the deck’s location can also affect the price, with decks in more rural areas typically costing less than those in urban areas.
Considering all these factors, it isn’t easy to give an exact price for building a curved deck without knowing more about the specific project. However, as a general rule of thumb, it is safe to say that a curved deck will cost more than a straight one.
Lighting Ideas for Your Curved Deck
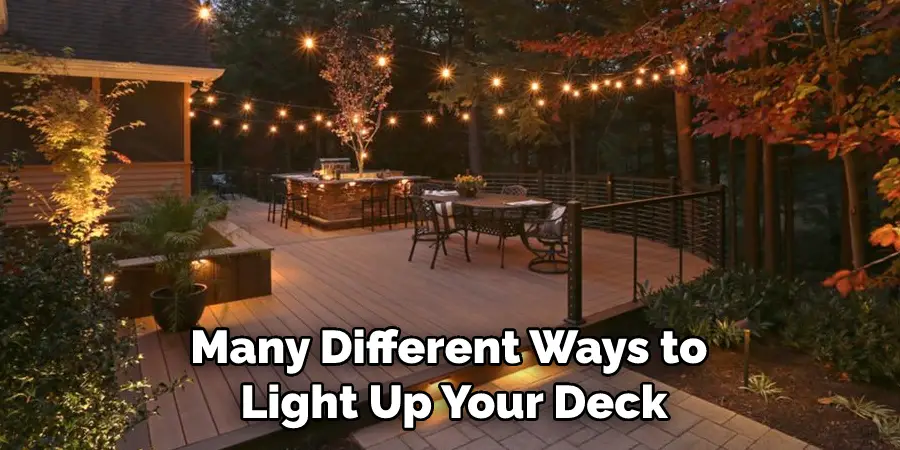
One of the best things about having a curved deck is that you can get creative with your lighting. There are many different ways to light up your deck, and each one can create a different atmosphere. For example, hanging string lights is a great way to create a warm and inviting space.
You could also use solar-powered lanterns to add some ambiance or even install LED lights underneath the handrails for safety. Whatever lighting you choose, test it out before committing to anything so you can see how it looks at night. With a little bit of planning, you can easily find the perfect lighting solution for your curved deck.
Decorating Ideas for Your Curved Deck
A curved deck can provide a beautiful and unique focal point for your backyard. However, when it comes to decorating, there are a few things to keep in mind to make the most of your space.
First, consider the overall atmosphere you want to create. Do you want a relaxed and natural feel or something more glamorous? Once you have a general idea in mind, you can start thinking about specific details.
Try hanging string lights or lanterns from the railing for a natural look. Potted plants can also help to create a sense of organic growth while providing additional privacy. If you’re going for something more upscale, try adding some elegant outdoor furniture and accessories.
A fire pit or water feature can also add a touch of luxury to your deck. Whatever your style, with a little creativity, you can transform your curved deck into an outdoor oasis.
Conclusion
Following these simple steps will help you build a stunning curved deck that will be the envy of all your neighbors! Just remember to take your time, measure twice and cut once, and don’t be afraid to ask for help if needed. Thanks for reading our post about how to make a curved deck.
You Can Check It Out to Cover a Mantel With Wood

