Consider making a wood panel if you’re looking for a unique and eye-catching way to decorate your walls. Wood panels are an age-old style of art that brings a sense of warmth and elegance to any room in your home. Plus, with some simple materials and tools, creating one yourself is easy!

This blog post will show you all the steps on how to make a wood panel – from finding the right timber boards and cutting them down to size to joining them together securely and staining or painting the final product. Read on for all the tips and tricks needed for successful DIY wood paneling!
Tools and Materials You Will Need to Make a Wood Panel
- 2-3 Pieces of Wood – Pine, oak, or maple are all suitable choices.
- Pencil and/or ruler
- Circular saw
- Hammer and nails
- Sandpaper and a sanding block
- Stain or paint (optional)
- Wood glue
- Clamps to hold the panels in place while you work
Step-by-Step Guidelines on How to Make a Wood Panel
Step 1: Select and Cut Your Pieces of Wood
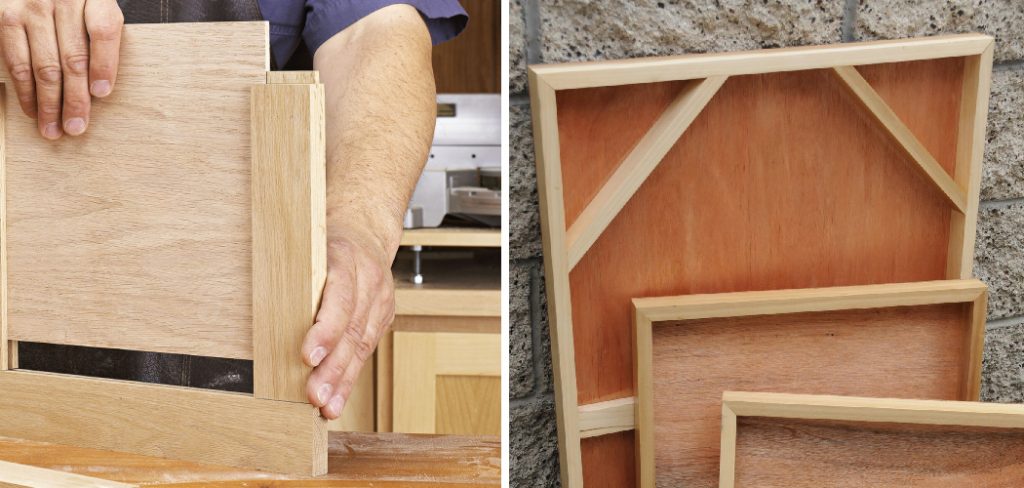
Start by selecting a few pieces of wood that will make up your panel. Make sure they are all the same thickness, as this will help give a unified look to your finished product. Use a pencil and ruler to draw a guideline on each board, indicating where you will be cutting it. Then, use a circular saw to cut along the lines you have drawn.

Step 2: Join Your Pieces Together
Next, join your pieces of wood together using either nails or wood glue. Nails are an easy way to keep the panels in place while you work, but wood glue also works well. If you’re using wood glue, make sure to clamp the boards together until the glue has dried completely. Joining the panels together securely will help ensure that your wood panel looks great and lasts for years.
Step 3: Sand and Stain or Paint
Once you’ve joined all the pieces of wood together, it’s time to sand them down. You can use sandpaper or a sanding block to smooth out any rough edges or imperfections on the surface of your wood panel. Once you’re happy with the results, stain or paint the wood to give it a unique look and protect it from damage over time.
Step 4: Hang Your Wood Panel
Finally, it’s time to hang your wood panel on the wall! Depending on where you want to hang it, you may need specific hardware. For example, if you plan to hang your panel over a door frame or window frame, make sure to get extra-long nails for secure mounting. Once the panel is hung up, admire your work and enjoy the beauty of your handmade wood panel!
Making a wood panel at home is relatively easy and a great way to add some character to any room in your house. With these steps, you’ll have a beautiful finished product in no time. Have fun with the process and don’t forget to take pictures along the way – it’s an accomplishment you can be proud of!
Additional Tips and Tricks to Make a Wood Panel
- Choose the right type of wood for your panel. Make sure that you select a strong, durable wood such as oak, walnut, or mahogany.
- Select the correct hardware for mounting your panel. You will need screws and bolts that are capable of securely holding up the weight of your wood panel.
- Use a power drill to make sure that the hardware is firmly secured to your panel. Pre-drill holes in the wood before you attach it to ensure that it won’t pull away from the wall or support structure.
- Paint or stain the wood panel to give it a polished finish and protect it from moisture, dust, and mildew.
- Consider adding a sealant to your wood panel for extra protection. This will help to extend the life of your panel and make it look its best for years to come.
- Pay special attention to any corners or edges as these are prone to damage over time. Consider using corner guards or edge trim to protect your panel from chipping and splitting.
- When mounting the panel, make sure to use appropriate anchor screws that are designed to hold the weight of your wood panel.
- Test the stability of your wood panel before you hang any artwork or decor, as this will ensure that it won’t topple over.
- If you are adding decorative accents to your wood panels, make sure that they can handle the weight and pressure of being mounted. This will help prevent damage to both your panel and its decorations.
- Finally, once your wood panel is hung, inspect it periodically to make sure that everything is still secure and functioning properly. This will help keep your panel looking great for years to come.
Follow these tips and tricks to help you create a beautiful, sturdy wood panel that will be the perfect addition to any space. With a little bit of planning and preparation, you can have the perfect wood panel for your home or office. Good luck!
Things You Should Consider to Make a Wood Panel
- Choose your wood. Quality is important, so make sure you pick wood that will stand the test of time and look good doing it. Hardwoods like oak, cherry, or walnut work well for most projects, but if you’re looking for something more exotic, consider mahogany or bamboo instead.
- Determine the size of your wood panel. For a large project, like a wall panel, measure the space you have available and decide on your dimensions from there. Keep in mind that different woods may have slightly different sizes when cut, so be sure to leave some room for discrepancies if needed.
- Decide how you want to join the pieces together. Many people choose to use tongue-and-groove joints for a wooden panel, but if you’re looking for something more decorative or structural, other joinery methods such as dowel joints are also available.
- Cut the wood to size. If you’re using a saw, make sure to use safety equipment and follow all manufacturer instructions closely. Power sanders can also be used for a more refined finish.
- Assemble the pieces. Glue and clamps are necessary to secure each joint together, and you may want to use additional screws or nails as well if your panel will need to support the extra weight.
- Finish the project with stain, varnish, or paint. Depending on the look you’re going for, you may want to use a clear finish or something with more color. Sanding down the wood in between coats ensures a smooth and even look.
Making a wood panel is a rewarding project that can add beauty and functionality to any home. With patience, time, and the right tools, you’ll be able to create stunning panels that will last for years to come. Good luck!
Precautions Need to Follow for Making a Wood Panel

- Wear safety glasses and gloves when using power tools or any other type of hazardous machinery.
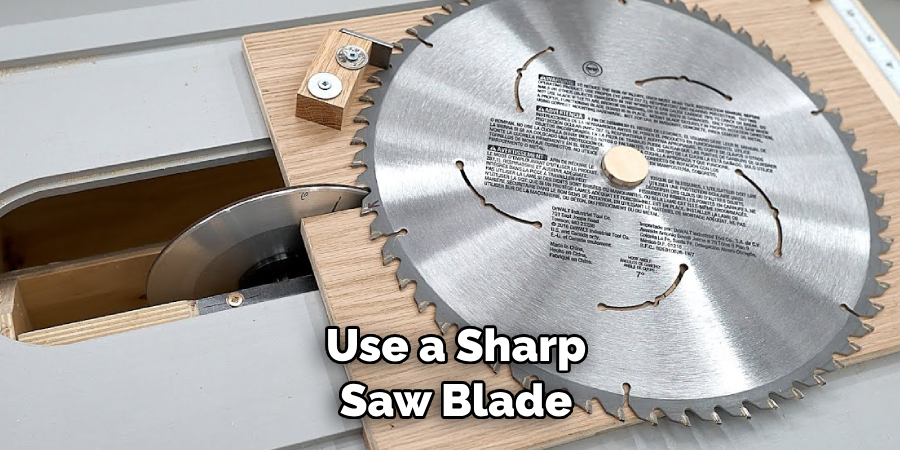
- Always use a sharp saw blade when cutting wood; dull blades can produce splinters or uneven cuts, which can result in an unsatisfactory panel.
- Use a straight edge to create straight lines on the panel surface. If necessary, use a hand saw or jigsaw to make the cuts.
- A belt sander is an effective tool for evening out the panel’s surface and sanding down any rough edges. Start with a coarse-grit sandpaper, then gradually switch to finer grits until desired smoothness has been achieved.
- Apply wood glue and clamps to hold the pieces of wood together while it dries.
- If desired, paint or stain the wood panel to achieve the desired finish and color. Use a bristle brush or cloth to apply an even coat and let dry fully before any further alterations are made.
- Keep in mind that furniture-grade panels may require additional steps like routing edges, drilling holes for handles, and varnishing. In this case, it is best to seek professional advice before attempting these tasks on your own.
Following these precautions when making wooden panels will help you achieve the highest quality results in the safest way possible. With a bit of time and care, your wood panel will be a beautiful addition to any room’s décor.
Frequently Asked Questions
What Types of Wood Can Be Used to Make a Wood Panel?
You can use any type of wood for the panel, although hardwoods such as oak or walnut tend to create a more durable product. You can also use softwoods such as pine or cedar if desired. The type of finish you choose will depend on what look you are hoping to achieve and what type of environment the panel will be used in.

What Are Some Common Uses for Wood Panels?
Wood panels are often used as accent pieces in home interiors. They can be hung on walls or used to create unique furniture pieces such as headboards and bookcases. Wood panels can also be used outdoors, providing a decorative touch to decks, patios, and outdoor living spaces. Additionally, wood panels can be used to create sculptures or other decorative pieces of art.
What Is the Best Way to Care for Wood Panels?
Wood panels should be dusted regularly in order to keep them looking new. You can also use a mild detergent or wood cleaner as needed in order to remove dirt and grime. In addition, it is important to protect wood panels from moisture in order to prevent warping or cracking. If the panel is kept indoors, heating and air conditioning should be regulated to prevent extreme temperature fluctuations.

Conclusion
With the above outlined you can easily learn how to make a wood panel and also what types of wood are best suited for it. You should also be aware of the steps needed to make a wood panel, and how to care for one afterwards. With the right knowledge, you can easily create beautiful projects that will last for years to come.

