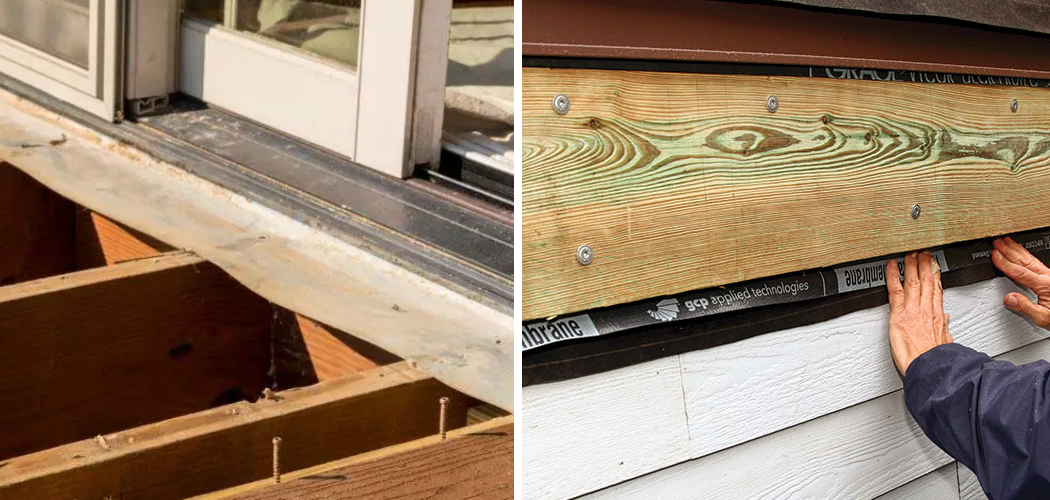
Are you a DIY enthusiast looking for a way to install flashing on wood? If so, then you’ve come to the right place. Attaching flashing to wood is an important part of many home improvement projects, but it can be difficult if you don’t know how.
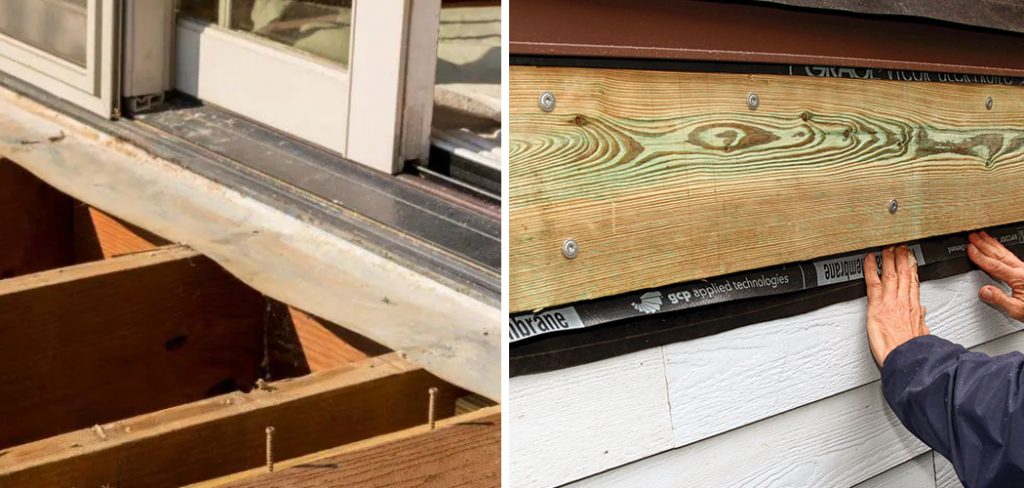
This blog post will provide step-by-step instructions on how to attach flashing to wood so that anyone can easily learn how to attach flashing correctly—whether it’s for fresh eaves installation or preventing water damage in existing rooflines.
We’ll cover what type of flashings are available, the materials and tools needed for installation, and everything else required for successfully installing your flashings without any technical difficulties. Read on to learn more!
Tools and Materials You Will Need to Attach Flashing to Wood
- Flashing of your choice, such as aluminum, copper or vinyl
- Hammer
- Nails
- Tape measure
- Pencil
- Caulk gun (or other adhesive product)
- Utility knife
- Safety glasses and hearing protection
- Work gloves
- Wood screws (optional)
- Plywood (optional)
Step by Step Guidelines on How to Attach Flashing to Wood
Step 1: Measure and Mark the Area
Take your tape measure and accurately measure the area where you will be attaching the flashing. Mark it with a pencil to ensure accuracy. Measuring the area is essential to ensure that the flashing will fit correctly. While measuring, also make a note of potential obstructions around the area, such as vents or pipes.
Step 2: Cut the Flashing to Size
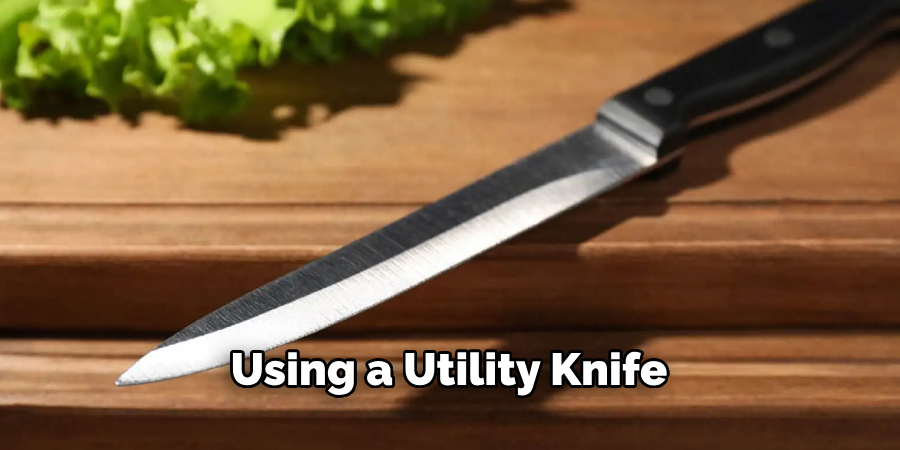
Using your measurements from Step 1, cut the flashing to size using a utility knife. Be sure to cut away any sharp edges and burrs. Sometimes, pre-fabricated flashing pieces are available but they may not fit your exact needs. So, it’s always a good idea to measure and cut the flashing yourself.
Step 3: Attach the Flashing
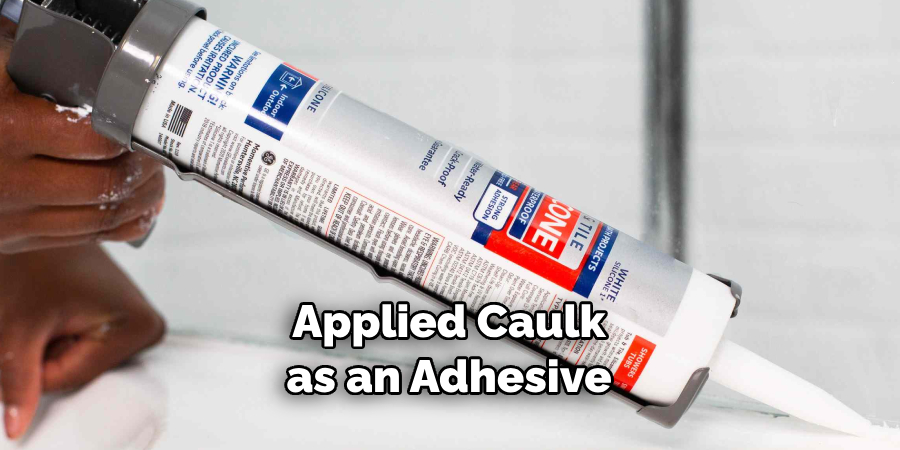
Depending on what type of material you are using, attach the flashing to your wood surface with either nails or screws. If you’re using an adhesive product such as caulk, apply it evenly around the edges of the flashing. While attaching the flashing, make sure you leave enough slack for expansion and contraction caused by temperature changes.
Step 4: Reinforce with Plywood (Optional)
Reinforcing the wood surface with a piece of plywood is optional but recommended in most cases. This will help provide added strength when attaching flashing to your wood surface. Cut the plywood to fit and attach it using screws. This will also help protect the wood surface from any moisture damage.
Step 5: Check for Leaks
Once the flashing is securely attached, check around the edges and seams of the flashing to make sure there are no leaks or gaps. If you find any, seal them with caulk or another suitable product. if you applied caulk as an adhesive, you may need to re-apply it at this point. Make sure the seams are properly sealed before you move on.
Step 6: Enjoy the Results
Once you’ve attached your flashing and checked for any leaks or gaps, you can enjoy the results of your hard work. Be sure to take extra care of your finished product and keep an eye out for any future signs of damage.
By following the above guidelines, you can successfully attach flashing to wood and protect your home from water damage. Remember that proper preparation is key when it comes to DIY projects like this one—so take your time and do everything right the first time to get the best results! Good luck with your next project!
Additional Tips and Tricks to Attach Flashing to Wood
- Pre-drill holes in the flashing and the wood to allow for easier installation. This will help reduce any potential of tearing or stretching of the flashing while you’re attaching it to the wood.
- Use self-adhesive tape along with screws or nails to secure the flashing to the wood better. This will ensure that the flashing stays in place and does not move or come off easily.
- Make sure to use a sealant around the edges of the flashing to prevent water from seeping through any gaps between the wood and the flashing. This will also help ensure that the flashing is properly secured to the wood.
- Use stainless steel screws, nails, or rivets when attaching the flashing to the wood. This will prevent rust and corrosion, which can weaken the attachment of the flashing over time.
- Take your time and double-check measurements before attaching the flashing to make sure it is installed properly. Measure twice, cut once!
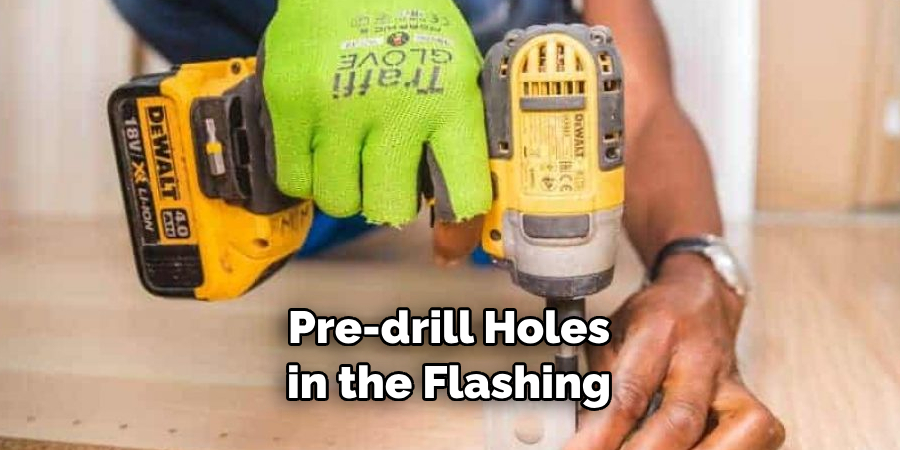
By following these tips and tricks, you can be sure that your flashing is properly and securely attached to the wood. This will provide you with a long-term solution that is designed to last for years without any issues.
Things You Should Consider to Attach Flashing to Wood
- Determine what type of flashing is needed. Flashing is available in a variety of materials, including copper, aluminum, or galvanized steel. You’ll need to choose the right material for the job based on your needs and where it will be used on the wooden structure.
- Measure and mark the area where you will attach the flashing. Having an accurate measurement of the surface area will ensure that you have the right amount of material to cover it and that it is properly sized.
- Choose the appropriate fasteners for attaching the flashing. You can either use nails or screws depending on the type of wooden structure you are working with and where the flashing will be placed.
- Lay the flashing on the wood and use a hammer or drill to attach it securely in place. Make sure you are using enough pressure to ensure that no gaps remain where water could seep through.
- Apply sealant around the edges of the flashing to protect against moisture damage and create an added layer of protection for your wooden structure. This will help prevent future water damage and keep your structure looking great.
By following these simple considerations, you can successfully attach flashing to your wood and make sure it is protected from moisture. Make sure you take the time to properly install the flashing and use the right materials for a long-lasting installation.
Precautions Need to Follow for Attaching Flashing to Wood
- Make sure that the flashing is designed for wood attachment. Some flashings are made specifically for metal, so it’s important to choose the correct one.
- Ensure that there is enough space between the flashing and any adjacent material, such as siding or roofing material that could impede its proper installation and sealant curing process.
- Before attaching the flashing to wood, clean the area where it will be placed with a wire brush and use a mild detergent solution such as soap and water. Rinse the area thoroughly. Allow it to dry completely before beginning the installation of the flashing.
- If possible, use galvanized nails or screws for attaching flashing to wood, as they are better able to withstand moisture. Make sure the nails or screws are long enough to penetrate the wood beneath, and that they are spaced evenly.
- Apply a primer or sealer to both sides of the flashing before attaching it for best results. This will help ensure that the connection between the flashing and the wood is watertight and secure.
- When the flashing has been attached, use a caulk or sealant along the edges of the flashing to ensure a completely watertight seal. Make sure you apply enough to fill any gaps and use an appropriate backing material if necessary. Allow the sealant time to dry before continuing with any other building projects.
- Finally, inspect the flashing for any signs of cracking or damage before proceeding with your project. If the flashing does not appear to be secure, then it should be replaced or repaired as soon as possible. Damaged flashing can create significant issues in terms of water infiltration into the building materials beneath it.
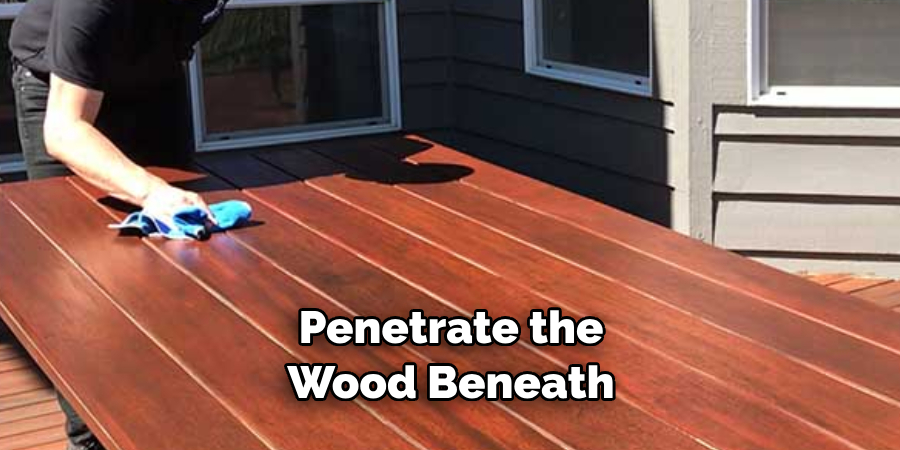
Following these precautions will help ensure that the flashing is securely and properly attached to the wood, preventing water infiltration and protecting the building materials beneath. Taking every step of proper installation can further extend the life of your project. If you are unsure about any aspect of installing flashing on wood, consult with a professional for assistance. It’s always better to be safe than sorry when it comes to protecting your home.
Frequently Asked Questions
What Types of Wood Are Best Suited for Attaching Flashing to?
Pressure-treated lumber is often the preferred choice as it has a more durable surface and is less likely to rot or warp when exposed to moisture. Softwoods such as pine, cedar, and spruce can also work well but may require additional protection from water damage.
Do I Need Special Flashing Equipment?
Yes, you will need a hammer and some nails or screws in order to attach the flashing properly. It is also recommended that you invest in a quality waterproof sealant such as silicon caulk to help ensure a tight seal between the wood and the flashing material.
What Is The Best Way To Measure The Wood For Flashing?
The best way to measure the wood for flashing is to measure from one corner of the wood and then mark off each side that requires flashing. To ensure a secure fit, it is best to add an extra inch on either side of the measurement.
Are There Any Special Precautions I Should Take When Installing Flashing?
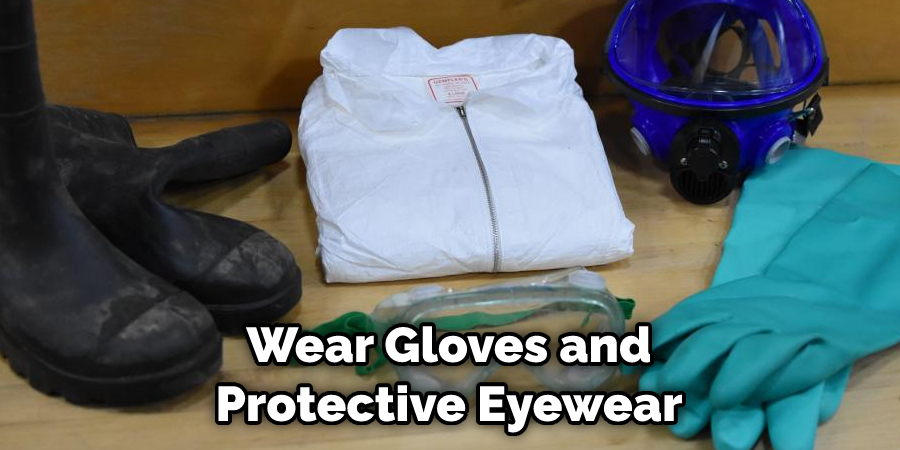
Yes, it is important to wear protective gloves and eyewear when installing flashing. Additionally, you should check your local building codes to make sure that the flashing is installed according to standards as this may differ from region to region.
Conclusion
In conclusion, flashing is an important piece of the home improvement puzzle. It serves as a protective barrier against the elements and helps keep your wood projects lasting longer. Attaching flashing to wood is relatively straightforward and requires just a few steps.
First, identify where on the project you need to install it, then measure out and cut the pieces you need. Use an adhesive or screws to attach it securely in place, making sure that it’s firmly in contact with the surface. With these steps in hand, you can help ensure that your energy-efficient wood projects will remain sound for years to come!
Now that you understand how to attach flashing to wood, you can begin to explore other energy-saving projects that will improve the efficiency of your home. We hope this guide has been helpful and we wish you the best in your future endeavors!

