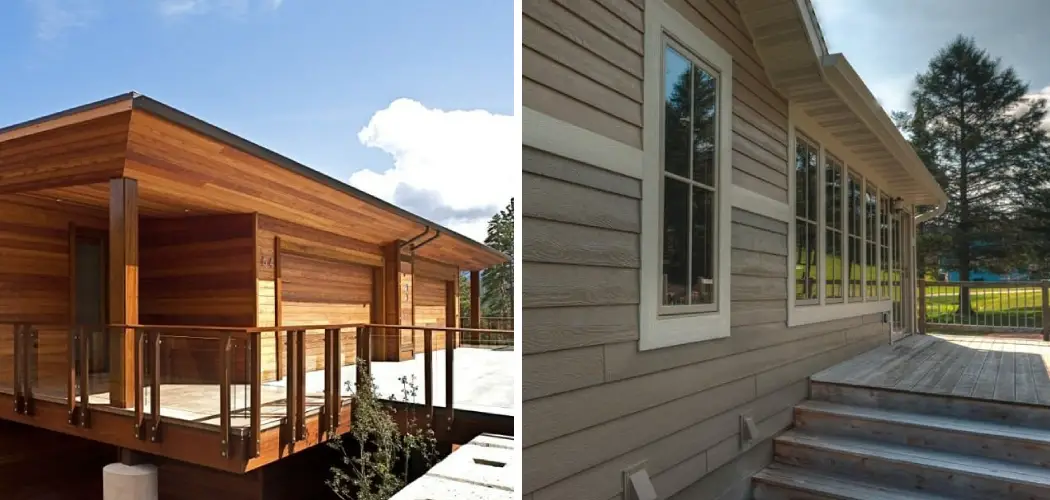
Are you thinking of replacing the outer cladding on your home? If so, have you considered engineered wood siding as an option? Engineered wood siding is one of the most popular choices for exterior cladding due to its combination of affordability and increased durability. Plus, it’s surprisingly easy to install yourself if you are up for a challenge!
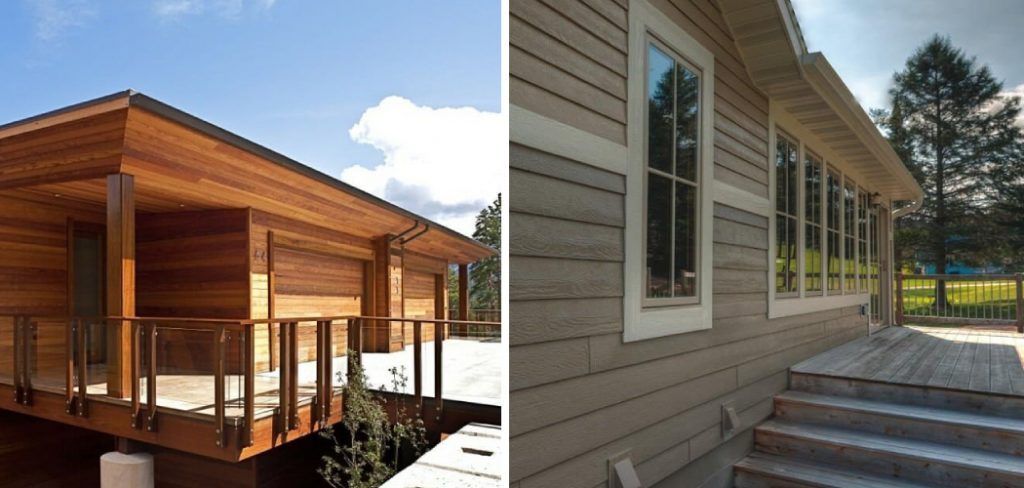
This blog post will cover all the steps necessary on how to install engineered wood siding on your own properly. So if you’re ready to start, keep reading for everything you need to know about installing engineered wood siding.
Supplies You Will Need to Install Engineered Wood Siding
- Metal furring strips
- Nails or screws
- Hammer
- Tape measure
- Level and chalk line
- Caulking gun
- Exterior caulk
- Siding panels
Step by Step Guidelines on How to Install Engineered Wood Siding
Step 1: Measure the Walls
The first step in installing engineered wood siding is to measure all of the walls you will be covering. Make sure to measure both the width and height of each wall, as this will allow you to calculate how many panels you’ll need for your installation. Measuring the walls beforehand will also help you to plan the layout of your siding in advance.
Step 2: Mark the Wall for Installation
Once you have an idea of how many panels you need, it’s time to mark the wall for installation. With a level and chalk line, draw a vertical line down the length of each wall that will be covered with siding. This will be used as a guide for placing the furring strips and panels later on. While marking the wall, also mark any windows or doors that will be covered by siding.
Step 3: Install the Furring Strips
Once you have your walls marked for installation, it’s time to install the furring strips. These are thin metal strips that are placed horizontally along the length of each wall and act as a base for mounting the siding panels.
Using nails or screws, attach the furring strips to the wall so they are flush with each other and level with your marked line. Make sure to leave a gap of 1/8 inch between each strip for allowing the siding panels to fit in when installing them later.
Step 4: Install Siding Panels
Now that you have the furring strips in place, you can start installing the siding panels. Start at one end of your marked line and begin placing the siding panels on top of the furring strips. Make sure to leave a gap of 1/8 inch between each panel for proper expansion and contraction as temperatures change.
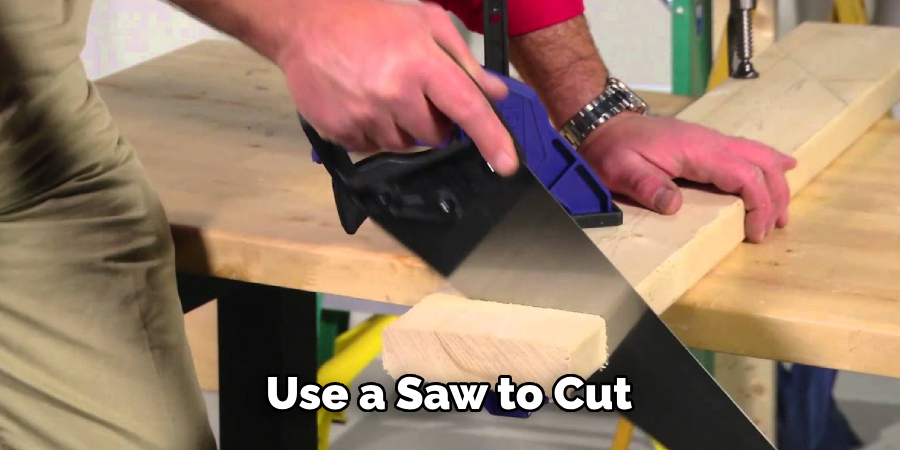
As you continue laying down the siding panels, use a level to ensure everything is straight and flush with the wall. Once you have reached the other end of your marked line, use a saw to cut any panels that may need trimming.
Step 5: Seal Around Windows and Doors
Once all the siding panels are in place, it’s time to seal around windows and doors. With a caulk gun, apply exterior caulk to any gaps between the siding panels and the window or door frame. This will ensure that no water or moisture can get in, protecting your home from any potential damage.
And that’s it! You have successfully installed engineered wood siding on your own. Make sure to check back every few months to see if all of your panels are still in place and seal any gaps around windows or doors as needed. With proper maintenance, your engineered wood siding should last for years to come.
Additional Tips and Tricks to Install Engineered Wood Siding
- To ensure the wood siding is installed correctly and securely, use a minimum of two nails per piece to attach it to the wall. Be sure to place them at least 6 inches apart from each other, or as stated in the manufacturer’s instructions.
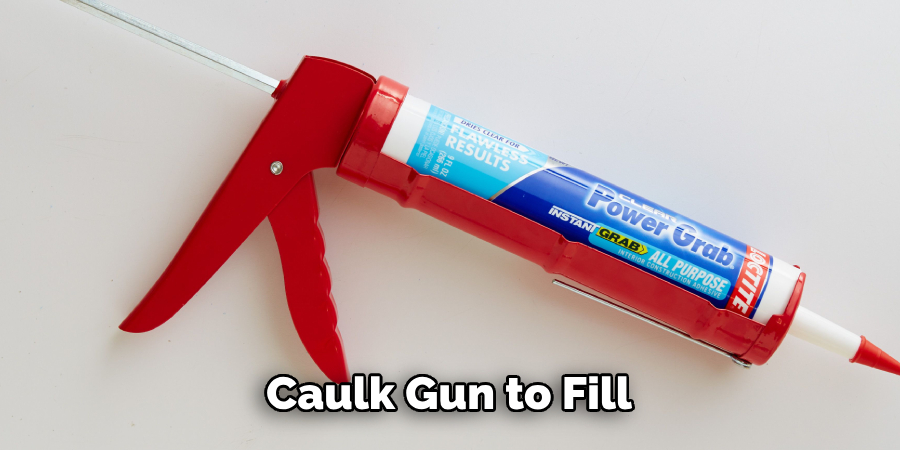
- If you come across any gaps between panels while installing engineered wood siding, use a caulk gun to fill them in. This will keep out moisture and could help protect against insect infestations as well.
- Before beginning the installation process, make sure that you have all of the necessary tools on hand, such as an electric drill, level, tape measure, jigsaw, chisel, caulking gun and miter saw.
- Wear protective gear such as safety glasses, gloves, and a dust mask when cutting the siding to prevent any debris or sawdust from getting into your eyes or lungs.
- As you are placing each piece of engineered wood siding onto the wall, check it for warping and other signs of damage. If there is any noticeable damage, replace it with a new piece before continuing the installation process.
- If possible, use a power washer to clean the siding after installation. This will help keep it in good condition and make sure it looks its best for years to come.
- Lastly, always follow the manufacturer’s instructions carefully and double-check your work as you go. Doing so can help to ensure that the installation is completed correctly and will provide long-lasting performance.
Following these tips and tricks can help you to properly install engineered wood siding on your home and enjoy the beauty, durability, and low-maintenance benefits it has to offer. With a little patience and some handy skills, you’ll be able to successfully complete this project in no time. Good luck!
Precautions Need to Follow for Installing Engineered Wood Siding
- Ensure that the surface you are installing the engineered wood siding onto is clean, smooth, and level. This will allow for even product installation and reduce any potential problems down the line.
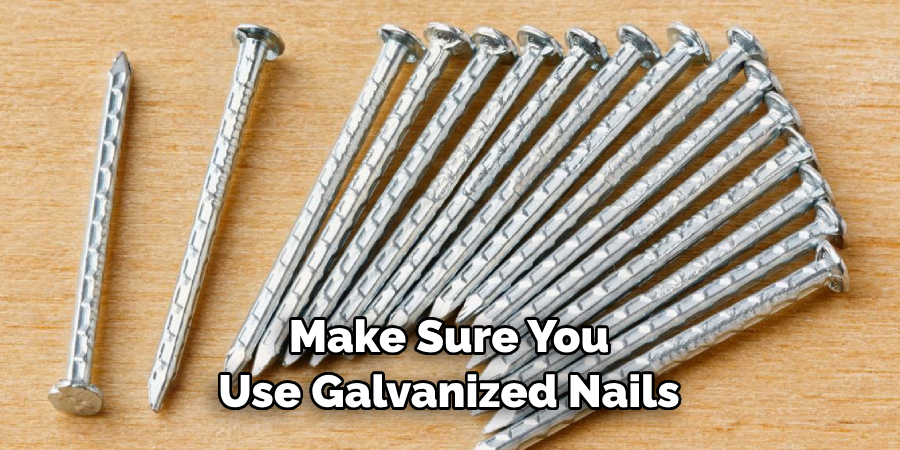
- Make sure you use galvanized nails when installing your engineered wood siding to ensure a secure fit and avoid rusting or corrosion in damp climates.
- You must make sure that the siding is properly primed before installing it to protect it from moisture and ensure maximum performance.
- Install your engineered wood siding in straight lines so that any patches or repairs are not visible once completed.
- Always wear protective gloves and eyewear when handling the engineered wood siding as it can cause splinters or sawdust to fly up.
- Be sure to caulk all the seams to prevent water infiltration and further protect your engineered wood siding from moisture damage.
- Follow the manufacturer’s instructions carefully during installation, as this will ensure that you get the best results possible for your project.
Installing engineered wood siding can give your home a beautiful and fresh look, as long as you take the necessary precautions when installing it. Following these steps will ensure that your siding is securely installed and provides maximum protection from moisture damage and wear over time.
Frequently Asked Questions
What Type of Adhesive Should Be Used With Engineered Wood Siding?
It is recommended to use a high-grade construction adhesive specifically designed for use with engineered wood siding. This will ensure that the siding remains securely in place and that it does not come loose or warp due to weather conditions. Make sure to follow the manufacturer’s instructions for proper application of the adhesive.
How Long Does It Take To Install Engineered Wood Siding?
The amount of time it takes to install engineered wood siding depends on a variety of factors, such as the size and complexity of the project, as well as any other projects that may be happening in the area at the same time. On average, you could expect the project to take anywhere from one day for a simple installation, to several days or possibly even weeks for a more complicated job.
Can I Do The Installation Myself?
Although it is possible to install engineered wood siding yourself, it is not recommended. Installing siding requires skill, experience, and specialized tools. If the job is not done properly, it could lead to costly repairs down the line. To ensure that the job is done correctly, hire a professional contractor with experience in installing engineered wood siding.
Are There Any Maintenance Requirements For Engineered Wood Siding?
Engineered wood siding will require regular maintenance in order to ensure that it remains looking its best and remains securely attached. It is recommended to inspect the siding periodically for any signs of damage, such as warping or cracks.
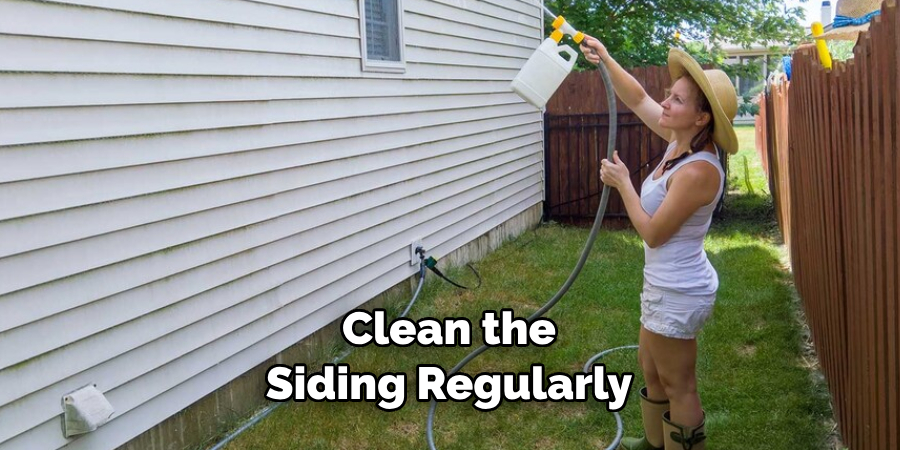
Also, be sure to clean the siding regularly with an appropriate cleaner that does not contain harsh chemicals or abrasives. This will help keep your siding looking like new for years to come.
What Are The Benefits Of Installing Engineered Wood Siding?
Engineered wood siding is a great choice for those looking to increase the value of their home with an attractive and durable material. This type of siding is resistant to rot, insect damage, and other weathering elements.
It is also easy to install and requires minimal maintenance. Additionally, engineered wood siding is an environmentally friendly choice since it is manufactured from recycled wood fibers. In short, engineered wood siding offers a great combination of beauty, durability, and energy efficiency that will last for years to come.
Conclusion
As you can see, installing engineered wood siding is far from complicated. As long as you follow the provided steps and do your research on any product-specific instructions, you should be able to understand how to install engineered wood siding. With all of the types of available siding, why not give engineered wood a chance? You’ll find that it’s an attractive and budget-friendly option that can last for years.
Get started today—order some materials, plan out your design, and begin the process of making your home look beautiful. Plus, if employed properly, the combination of great looks with durability increases the value of your home. So don’t wait; get creative with engineered wood siding today!
You Can Check It Out to Hang Decor on Wood Siding

