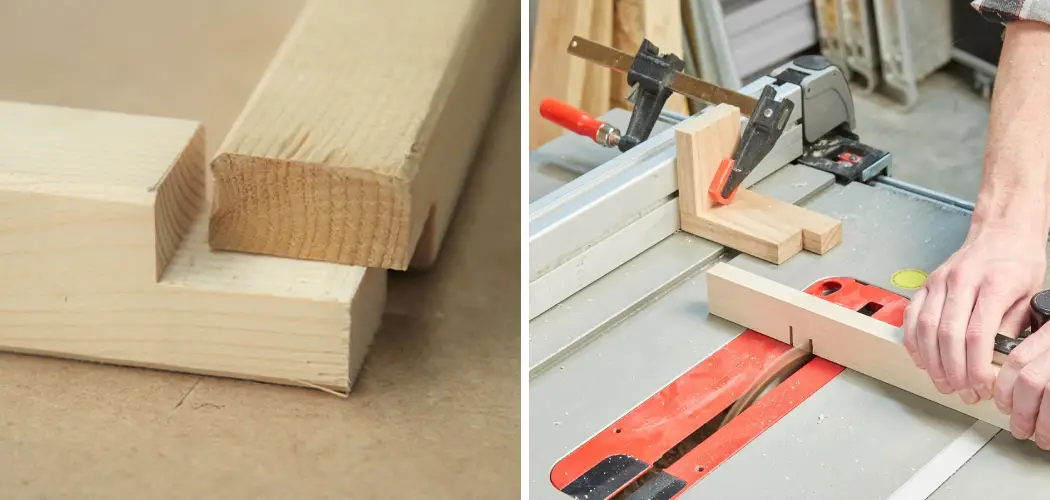
Are you looking for an easy DIY way to make notches in your woodworking projects? Notching is a great technique that helps create joints and edges with smooth, precise results. Whether it’s making a decorative frame or adding structure to your project, like creating shelves and doors, mastering how to notch wood can give you the professional finish of a store-bought piece; in this blog post, we’ll be walking through the step-by-step instructions on how to make notches in wood so you can take pride in creating amazing pieces at home!
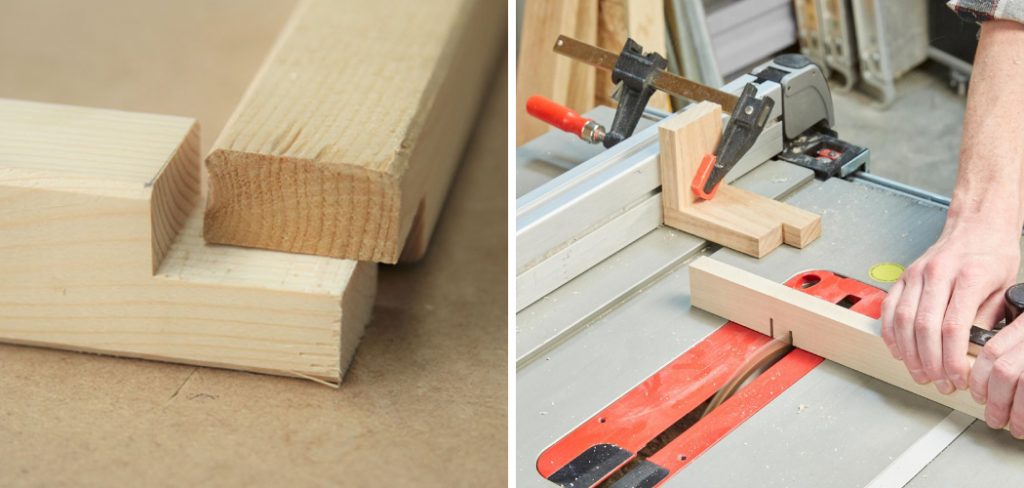
How Long Does It Take for Notching to Work?
The amount of time it takes for notching to work depends on the size and type of wood you are using. Generally, smaller pieces of softer woods (e.g., pine) require less time than larger or harder pieces (e.g., oak). A medium-sized piece of softwood can usually be notched in about 10 minutes, while a larger, harder piece can take up to an hour. It’s best to start with smaller pieces of wood and gradually work your way up in size and hardness as you gain experience.
When notching large or hard pieces of wood, it is important to take regular breaks throughout the process. Notching can be physically demanding, and taking frequent breaks will help to ensure that you don’t overwork yourself. Additionally, it is important to use the right tools for the type of wood you are working with. Using the wrong tool can damage or even break your piece of wood, so make sure to get advice from an experienced carpenter if necessary.
Overall, notching can be a time-consuming process, but with patience and the right tools, it can yield beautiful results. With practice, you will become more efficient and eventually learn how to make perfect notches in the wood.
10 Methods How to Make Notches in Wood
1. Using a Saw
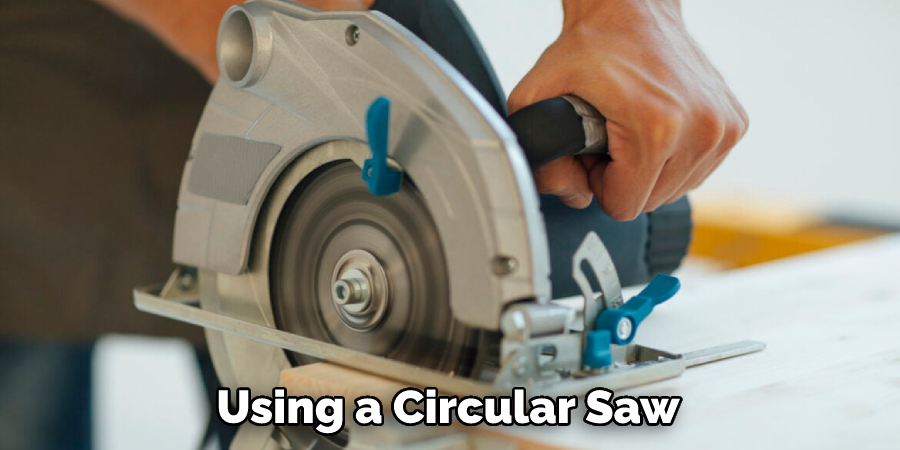
One of the easiest ways to make a notch in wood is to use a saw. There are several different types of saws that can be used for this purpose, including hand saws, circular saws, and jigsaws. When using a saw, it is important to use a sharp blade and to make sure that the cuts are straight. If you are using a circular saw, make sure to secure the wood in place and use a guide or straight edge to ensure accuracy.
2. Using a Chisel
Another way to make a notch in wood is to use a chisel. Chisels come in a variety of sizes and shapes, so it is important to choose one that is appropriate for the size and type of wood that you are working with. When using a chisel, it is important to hold it at the correct angle and strike it with a hammer in order to create the desired shape.
3. Using a Router
A router is another tool that can be used to make a notch in the wood. It can be used to create a variety of shapes and sizes, depending on the type of router and the bit used. To make a notch with a router, you will need to adjust the depth of the router bit to match the size of the notch you want to make.
Once the depth is set, carefully guide the router along the line you want to cut, making sure to go slow and keep the router bit in contact with the wood at all times. When you have finished cutting, use a chisel or other tool to clean up the edges of the notch and make it perfect.
4. Using a Drill
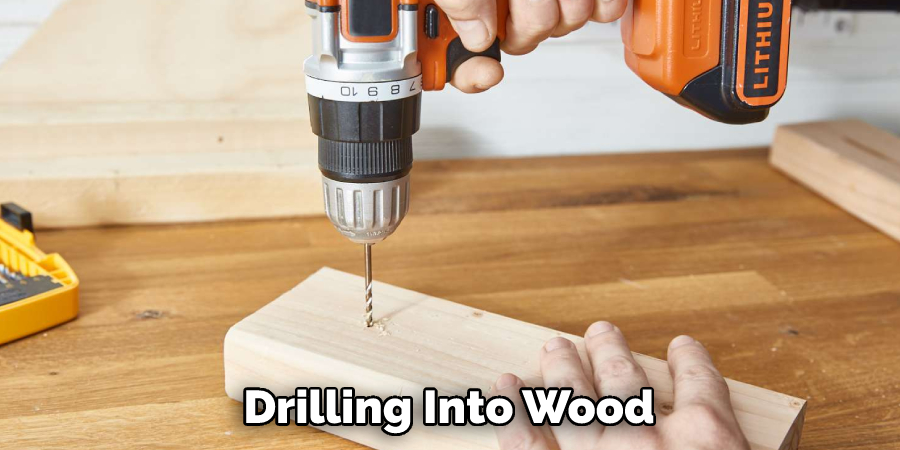
A drill can also be used to make notches in the wood. To do this, simply set the drill bit to the desired width and use it to bore a hole by rotating the bit while pressing it into the piece of wood. If you need a longer notch, you can make multiple holes that connect together. This method is great for making wide or deep notches in thick pieces of wood.
Be sure to use a drill bit that is made specifically for drilling into wood, as other bits may cause damage to the material. Once you have completed the notch, sand it down to create a smoother surface and remove any splinters or rough edges.
5. Using an Ax
An ax can be used for making a notch in the wood. Use an ax with a curved blade and make sure the blade is sharp. Align the blade of your ax with the marked line on your wood, then strike it firmly to create the notch. Make sure that you are hitting the same location multiple times to ensure a clean cut. Be aware of any splinters or chips that the ax might create, and take care not to accidentally chop too deep into the wood. Use a saw to clean up any excess material after your notch is complete for a professional-looking finish.
6. Using a Knife
A knife can be used to make a notch in the wood. Drive the blade of your knife into the wood at an angle, then pull it outward while pushing down. This should create a shallow groove or notch in the wood. For larger notches, you can use multiple passes to deepen and widen the initial groove. Be careful when using knives – always wear protective gloves and use a cutting board to reduce the risk of injury.
Take your time and be sure to take breaks if needed, so you don’t overexert yourself. With patience, you can create a neat notch in wood with a knife. Make sure to clean up any splinters or debris afterward.
7. Using Sandpaper
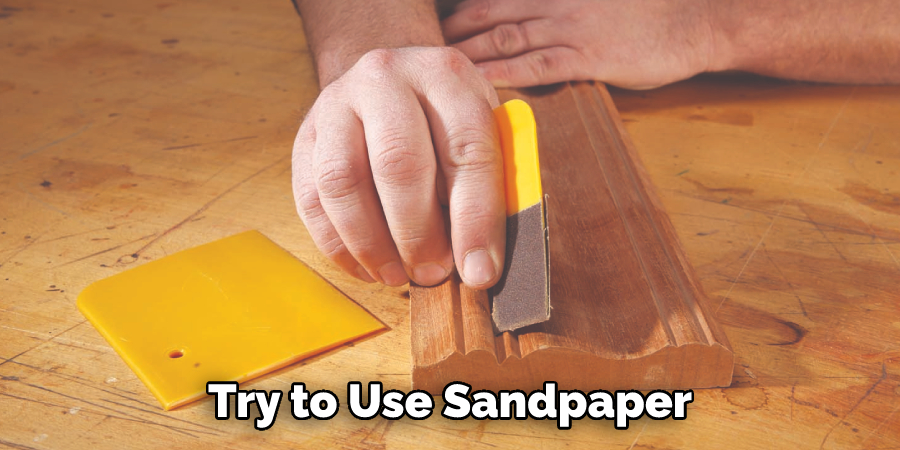
Sandpaper is a great tool for smoothing the edges of your notched wood. This can be done by hand or with an electric sander, depending on the size and shape of the notch. Start with a coarse-grit sandpaper to remove any rough edges or splinters, then move up to finer grits until the notch is as smooth as desired. Be sure to cover any surfaces that you don’t want to be sanded with tape or a sheet of plastic to protect them.
Once you’ve finished sanding, clean up the debris, and your notch is ready to use. Try to use sandpaper with a range of grits since it will give you the most control over the finished product.
8. Using a File
A file can be used to even out the edges of a notch. This can be done by holding the file perpendicular to the edge and going around it in a circular motion. It is important to keep the file level even so as not to damage the wood. Once the notch is cut, use a finer grade of the file to smooth out the edges and create a more consistent look. Be sure to go over both sides of the notch in order to ensure an even look. Additionally, make sure to wear safety glasses and a dust mask when filing wood, as debris can fly off and cause eye and lung irritation.
9. Using a Plane
A plane can be used to make a notch, but the process is more complex than the other steps outlined. Before making a notch with a plane, you will need to measure the depth and width of the notch. Then, you will need to mark out the area that you want to remove with a pencil or knife.
Once you have marked out the notch, use a plane to make several passes over the area. You may need to go over it multiple times in order to achieve your desired depth and width. Remember to apply firm pressure as you plane, but be careful not to go too deep.
10. Finishing Up
Now that you have created the notch in your piece of wood, you can use sandpaper to smooth out any rough edges or imperfections. For a more professional look, you may want to apply a finish such as a varnish or a stain to seal the surface and give it a polished appearance.
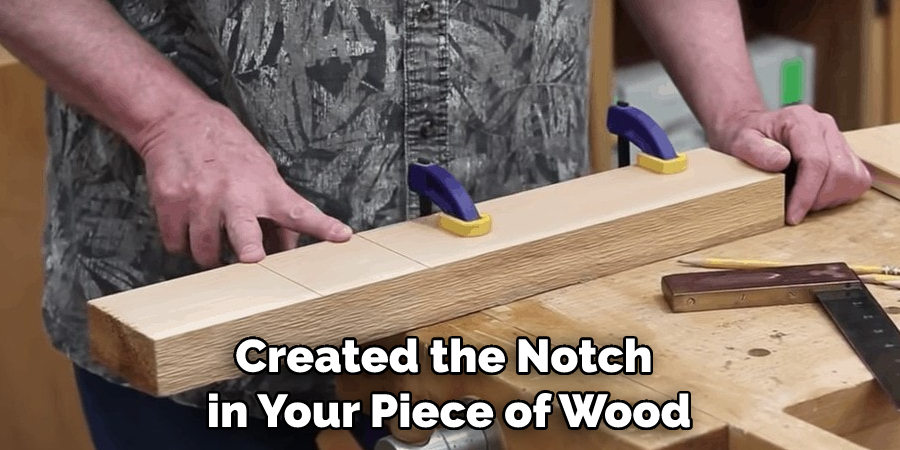
By following these steps, you should be able to make a notch in wood with a plane. Remember to take your time and use the right tools for the job. With patience and practice, you will soon become an expert at notching wood with a plane. Good luck!
Conclusion
Wooden notches can add a decorative touch to any wooden structure or project. You can make them easily with just a few tools and some simple steps. Just remember to take your time and use caution when working with power tools. Now that you know how to make notches in wood, you’re ready to tackle any project that comes your way. Don’t be afraid to experiment with different sizes and shapes of notches until you find the ones that work best for you. With a little practice, you’ll be an expert at making notches in no time!
You Can Check It Out to Make Your Own Hardwood Flooring

