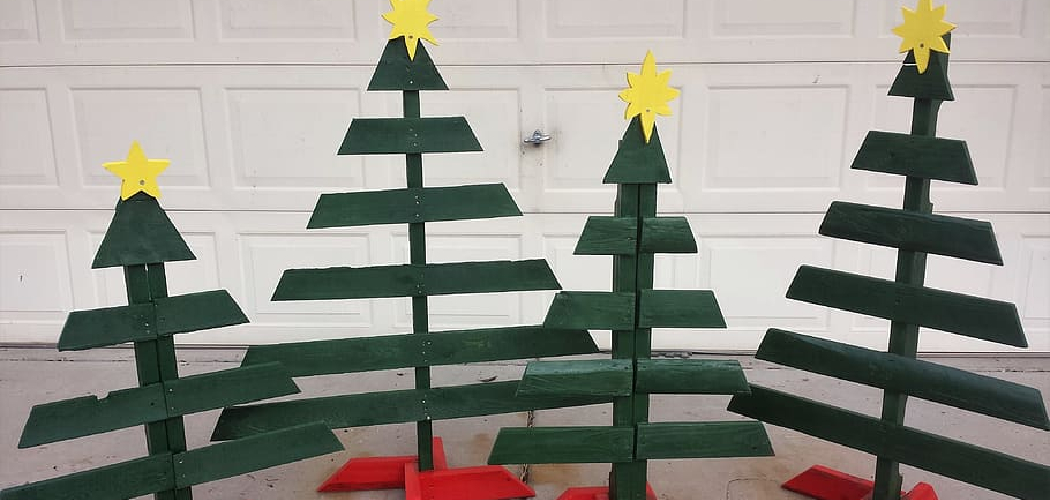
The holiday season is fast approaching, and with it comes the joy of decorating our homes with festive decorations. While there are many ways you can spruce up your house for Christmas, creating your own handmade pieces out of wood has become a popular trend in recent years.
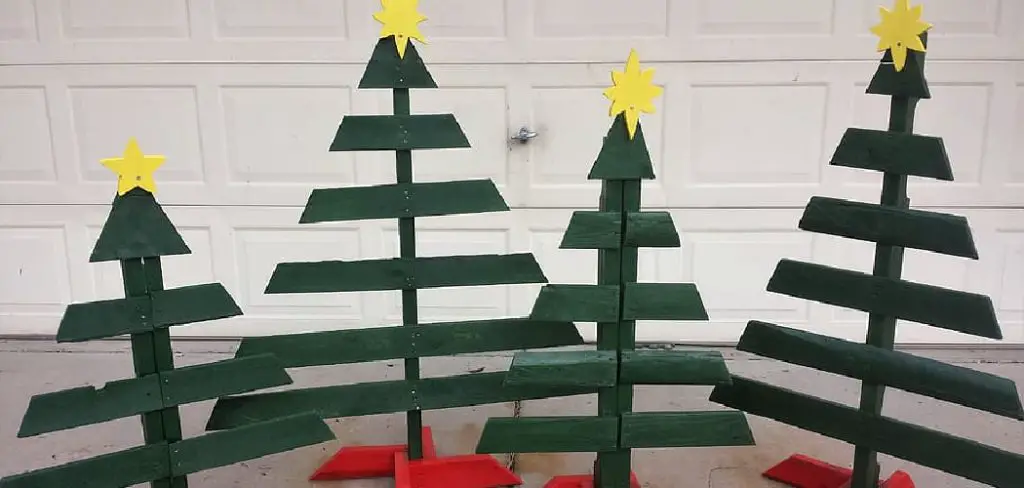
If you’re looking to make something special this year, why not try making a wooden Christmas tree? Not only will you have the satisfaction of crafting an impressive piece on your own, but it also provides an environmentally friendly alternative to traditional plastic decorations.
In this blog post, we’ll guide you step-by-step through the process of how to make a christmas tree from wood!
Step-by-step Guidelines on How to Make a Christmas Tree From Wood
Step 1: Gather the Materials
To make a wooden Christmas tree, you’ll need plywood, wood glue, screws and nails, a drill bit, a saw, and paint in desired colors. It’s important to wear proper safety gear such as goggles, gloves, and a dust mask when working with wood. But before you get to work, measure the dimensions of the tree and make sure your material is cut to size.
Step 2: Measure and Cut the Plywood
Measure and cut your plywood into four pieces, two for the sides and two for the back. Make sure to measure accurately as this will be the foundation of your tree. That way, when you put all the pieces together, it will form a perfect triangle. Remember to be safe when using power tools such as a saw. Be sure to wear all the necessary safety gear.
Step 3: Construct the Base
Now that you have all your pieces cut to size, use wood glue and nails or screws to attach them together. Make sure they are properly aligned and the edges fit tightly. It’s important to use the right amount of glue and nails so the structure holds firmly. Before you move on, let the base dry for several hours. It’s best to leave it overnight.
Step 4: Add the Branches
Once your base is constructed, it’s time to add the branches. This is where your creativity comes in! You can either use pre-cut pieces of wood or you can cut them yourself using a saw. Once you have your pieces ready, attach them to the base using wood glue and screws or nails. It’s important to use the right amount of glue and screws so the branches are firmly attached.
Step 5: Paint the Tree
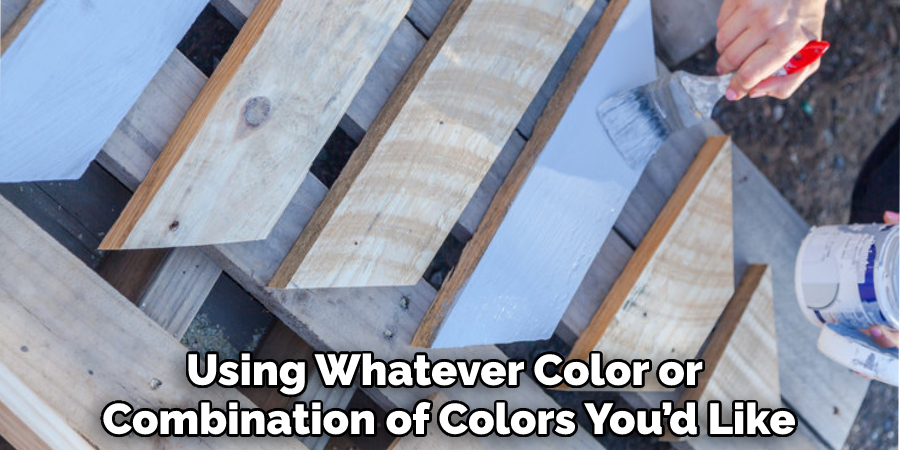
Once you’ve added all your branches, it’s time to paint. This is where you can really make the tree your own by using whatever color or combination of colors you’d like. You can also use glitter or other decorations to give it a festive look. Once the paint has dried completely, your wooden Christmas tree is ready for display!
Step 6: Decorate the Tree
Now that the tree is complete, you can add your own personal touch. You can hang garlands or lights from the branches to give it a festive look. Ornaments and decorations also make for great additions. Make sure to use sturdy materials so they don’t damage the tree! This is your chance to show off your creativity and make the tree unique.
Step 7: Display the Tree
Now that your wooden Christmas tree is complete, it’s time to display it. You can either place the tree in the corner of your living room or on a mantelpiece. Whatever you choose, make sure to put it in a place that gets plenty of light so you can admire your work. Make sure to place the tree away from any direct heat sources.
Step 8: Inspect the Tree
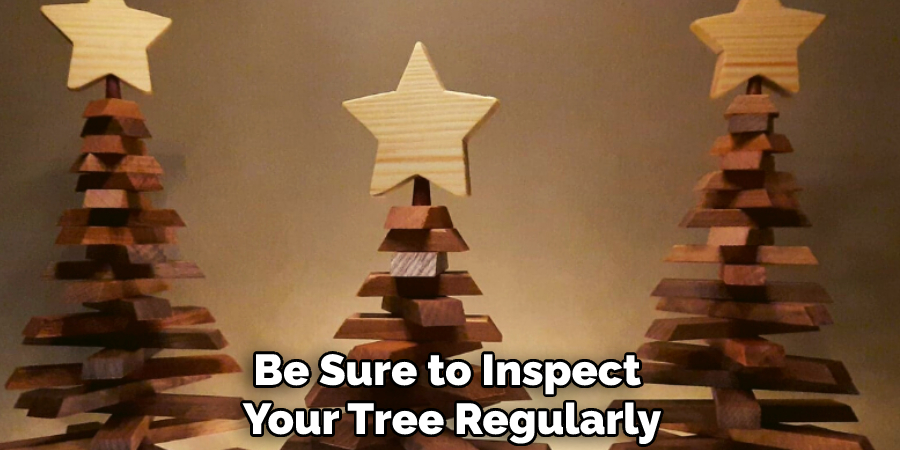
Be sure to inspect your tree regularly for any signs of damage such as broken branches or loose screws. If you find any, be sure to repair them right away. Regular maintenance is important to keep your tree looking its best and avoid any accidents. So make sure to check it often! This will also help the tree last longer.
Step 9: Clean and Store the Tree
Once the Christmas season is over, it’s time to clean and store your wooden tree. Make sure to dust it off carefully with a dry cloth and remove any decorations. This will help keep the tree in pristine condition for next year. Then, place it carefully in its original box or a storage bag and keep it away from moisture and pests.
Congratulations, you’ve now made a wooden Christmas tree from scratch! Making this piece by hand will bring joy to your home and create lasting memories for years to come. Enjoy the festive season and happy crafting!
Thank you for reading! We have now provided a step-by-step guide on how to make a Christmas Tree from wood. From gathering materials, measuring, cutting the plywood, constructing the base, adding branches and painting it with desired colors, we have covered all the essentials of making a beautiful wooden Christmas Tree. Now that you have crafted your own holiday decoration out of wood, what other projects can you start working on?
Pros and Cons of Making a Christmas Tree From Wood
Pros:
- It is an eco-friendly and cost-effective way to create a beautiful home decoration
- You can customize it the way you like with colors, decorations, lights and more
- The end product will be unique and personalized to your style
Cons:
- Creating a wooden Christmas tree requires time, effort and craftsmanship
- It can be difficult to find the right materials at times
- Wooden trees require regular maintenance and inspection to keep them in good condition.
Do You Need to Use Professionals?
In most cases, making a Christmas Tree from wood is not something that requires the help of professionals. With the step-by-step guide provided here, you should be able to make your own wooden tree with ease. However, if you feel like you need some extra help or want advice from experienced carpenters, then it’s always a good idea to consult professionals.
They can provide you with invaluable advice and help ensure that your Christmas Tree is made correctly and looks great.
How Much Will It Cost?
The cost of making a wooden Christmas Tree depends on the materials that you use. Most materials can be purchased at your local hardware store or craft store. However, some specialized tools and supplies may need to be bought online. On average, it should cost around $50-100 to make an entire wooden Christmas Tree from scratch.
Frequently Asked Questions
Q: What Type of Wood is Best for Making a Wooden Christmas Tree?
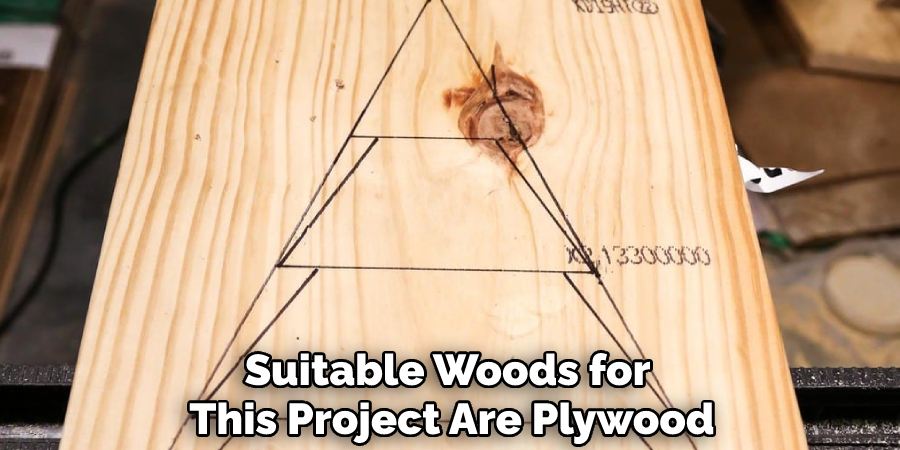
A: The most suitable woods for this project are plywood, hardwood and softwood. Plywood is strong yet lightweight and comes in various sizes. Hardwoods such as oak, walnut and cherry offer a more solid structure while softer woods like cedar can be used for accents.
Q: What Kind of Tools Are Needed?
A: To make a wooden Christmas tree you will need a saw, wood glue, screws or nails and paint. You may also need clamps to help hold the pieces together while they dry.
Q: How Long Does it Take to Make a Wooden Christmas Tree?
A: Depending on your skill level and the type of tree you’re making, it can take anywhere from a few hours to an entire day. Make sure to take your time and enjoy the process!
Q: How Can I Store My Tree?
A: Once the Christmas season is over, make sure to clean and store your wooden tree. Dust it off carefully with a dry cloth and remove any decorations. Then, place it carefully in its original box or a storage bag and keep it away from moisture and pests. Doing this will help keep your tree in pristine condition for next year.
Q: What Are Some Tips to Make My Tree Look Even Better?
A: There are many ways you can make your wooden Christmas tree look even better. Try adding festive decorations such as Christmas lights, ornaments, garlands and more. You can also paint the tree in different colors to make it stand out from the rest of your holiday decorations.
With a few simple steps and materials, you can have an amazing wooden Christmas Tree in no time. All that’s left to do is to enjoy the holiday season with your handmade decoration!

Conclusion
Crafting a Christmas tree out of wood is an excellent way to get creative and reuse materials while also adding a unique decoration to your home. Not only that, but it’s also a wonderful project for the whole family to participate in and enjoy.
Whether you decide to use scraps found around the home or buy new wood pieces, assembling your very own wooden Christmas tree will be an enjoyable experience with beautiful results. Begin by choosing the type of wood you want to work with, measuring and cutting out the pieces, and gluing everything together.
After that, you can paint or decorate it however you like! With Christmas trees from wood, you can make some amazing memories this holiday season. This article has given you all the details on how to make a christmas tree from wood.

