It’s important to insulate an interior door because it helps keep your home warm in the winter and cool in the summer. A well-insulated door will reduce energy costs, improve soundproofing, and increase privacy by blocking out any drafts. It can also help seal out allergens like dust, pollen, and pet dander. Insulating an interior door is a relatively simple DIY project that can be done in a few hours or less.

Insulating an interior door has a few primary advantages. First, it can help make your home more energy efficient by preventing air from escaping through the door and windows. Second, it can reduce noise levels in a room or house since it acts as a sound barrier. Third, insulating an interior door provides extra insulation to keep temperatures comfortable during extreme weather. Lastly, it can help improve the overall aesthetics of a room or house by giving it a more uniform look. You can find step-by-step instructions on how to insulate an interior door in this blog article.
Materials You Will Need
- Measure tape
- Acoustic sealant or caulk
- Foam weather stripping (self-adhesive)
- Insulation or soundproofing strips
- Nonflammable insulation sheets
- Hammer and nails
- Screwdriver (or power drill)
- Putty knife or razor blade
- Paint or varnish
- Safety goggles
Step-by-Step Processes for How to Insulate an Interior Door
Step 1: Inspect the Door and Its Frame
Before insulating, inspect the door and its frame. Check to ensure they are in good condition and there are no gaps in the frame or around the edges of the door that would let cold air through. You will need to measure the size of your interior door frame to purchase weatherstripping or foam strips that fit properly. Measure the width and height of the door frame, measuring from corner to corner for accuracy.

Step 2: Weatherstrip the Door Frame
Once you have measured your interior door frame, it’s time to weatherstrip it. You can purchase weatherstripping in rolls at most hardware stores, and it is easy to cut and fit into the door frame. Start by fitting the top of the weatherstripping into the frame, then move down each side. Once all four sides are in place, check for any gaps or holes that may still allow cold air through.
Step 3: Add Foam Strips
The last step in weatherstripping a door frame is adding foam strips. These strips will help keep the cold air out of your home and are very easy to install. Start by cutting the foam strips to size and then insert them into the sides and top of the door frame.
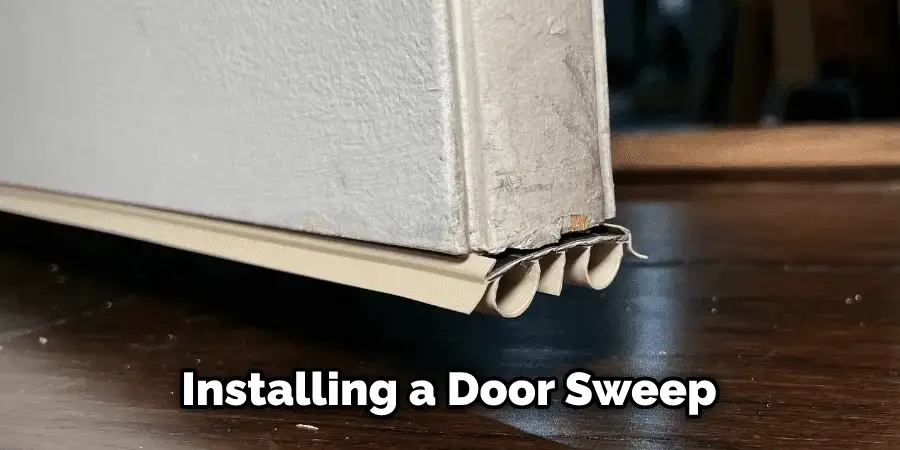
Step 4: Install a Door Sweep
Installing a door sweep is the next step in insulating an interior door. This is a strip of plastic or metal that fits underneath the door and helps to seal out any cold air. Measure the door width before purchasing a door sweep, as they come in different sizes.

Step 5: Hang Curtains or Blinds
Installing curtains or blinds inside your door is a great way to keep cold air from entering the room. They will also give you some privacy when needed. Consider using energy-efficient curtains or blinds made with heavy materials that can help reduce heat loss.
Step 6: Install an Interior Door Insulation Kit
If you are looking for an even more effective way to insulate your interior door, consider installing an insulation kit. These kits typically include pieces of foam that fit into the door frame and some kind of adhesive to hold them in place. Installing a door threshold is another great way to keep cold air from entering the room. Choose one with weatherstrip on the bottom that can help seal the door from any drafts.
Step 7: Install a Door Draft Stopper
If you have an existing gap between the floor and your door, you can use a door draft stopper to fill it. These are usually long tubes filled with insulation material that fit into the space between the floor and the door to block out any cold air. To ensure your door is fully insulated, make sure you check for any gaps or cracks in the frame and seal them with caulk or foam insulation. This will help keep your home warm and cozy all winter long.
Safety Tips for How to Insulate an Interior Door
- Be sure to wear protective eye and respiratory gear when installing insulation, as airborne particles can cause irritation or allergies.
- Turn off the electricity in the area of the house where you’ll be working on insulating an interior door, and make sure not to come into contact with any electrical wiring while working.
- Measure the door area to ensure that you buy or cut enough insulation for the job.
- Securely attach the insulation directly to the door with adhesive tape or finish nails and a hammer.
- Make sure any gaps between the door frame and insulation are filled in with weatherstripping or caulking.
- Consider layering insulation with a layer of reflective material on the inside and a layer of thicker material, such as foam or fiberglass, on the outside.
- Be sure to seal any seams between pieces of insulation with additional adhesive tape, caulk, or weatherstripping.
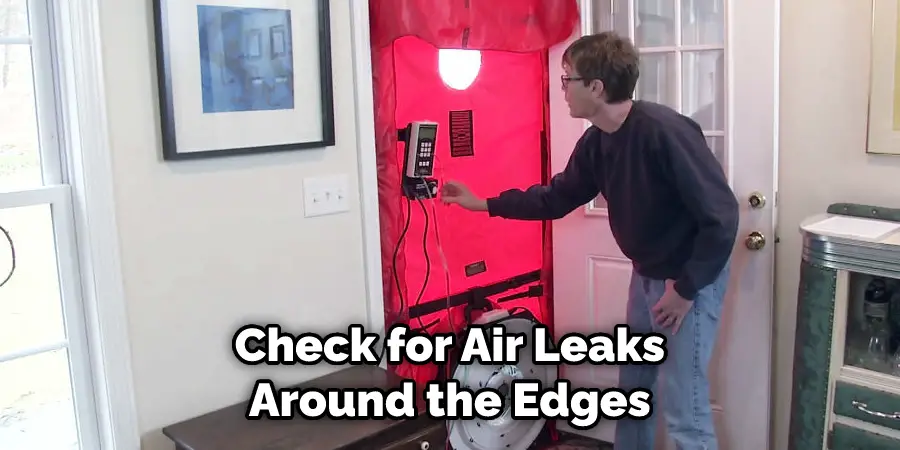
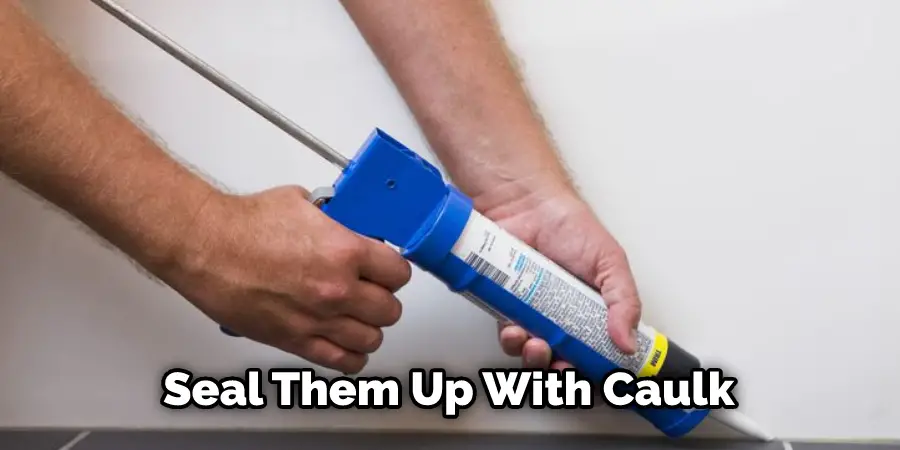
- Check for air leaks around the edges of the door or windows and seal these with caulk or weatherstripping. This will help to ensure maximum insulation is achieved.

These steps will help you safely and effectively insulate an interior door in your home, helping to save money on energy costs and improve indoor comfort.
What Maintenance is Required to Keep an Interior Door Properly Insulated?
Once your interior door is properly insulated, it is important to maintain its performance and keep it in working order. Regularly inspect the insulation for any damage or holes, and replace any damaged insulation immediately. Furthermore, check the weatherstripping regularly to ensure that there are no gaps between the frame and the door. If necessary, apply additional weatherstripping around the frame and door. Clear away any debris or buildup on the weatherstripping too, as this can reduce its effectiveness.
Finally, check the hinges periodically to ensure they are in good condition and replace them if necessary. Proper maintenance of an interior door is important for keeping it properly insulated; by following these steps regularly, you can ensure that your insulation will last for years to come. By taking the time and effort to insulate an interior door properly, you can create a comfortable space for your home and reduce energy costs simultaneously.
How Often Should You Check the Insulation of Your Interior Door?
If you have insulated your interior door and it is functioning correctly, you should not need to check the insulation daily. However, it is important to inspect your door periodically to make sure that the insulation has not deteriorated over time. A good rule of thumb is to inspect the insulation annually or after any major storm or door repairs.
When checking your insulation, look for signs of deterioration, such as wet spots, rips or tears in the material, and any other damage that could affect its ability to keep air out of your home. If you notice any issues with the insulation, it may be time to replace it with a new one. In addition to inspecting the insulation annually, it is also important to keep up with routine maintenance, such as cleaning and lubricating any moving parts of your door.
How Can You Tell if There is Any Air Leakage Coming From Your Insulated Interior Door?
After you’ve insulated your interior door, it can be difficult to tell if there is any air leakage coming from the door. To check, you can light a candle and hold it close to all of the edges of the door. If you notice that the flame flickers when held near an edge or seam of the door, then there is likely an air leak. A gap in the insulation or poor installation could cause this.
If you find any leaks, it is important to seal them up with caulk or other sealing products as soon as possible to prevent energy loss and high energy bills. You should also keep an eye out for any drafts from the door, which can indicate air leakage. If you find any drafts, try to locate the source of the draft and seal it with caulk or another appropriate product.

In addition to checking for air leaks, you may want to consider adding weatherstripping around the edges of your door. This can help keep cold air out during winter months and cool air in during summer months. Weatherstripping can also help to reduce noise from outside, making your home more comfortable.
Conclusion
In conclusion, insulating an interior door is a great way to reduce noise and improve your home’s energy efficiency. It’s also relatively easy to do, depending on the type of insulation you choose to use. For maximum effectiveness, select an insulation material that fits snugly between the gap around the edges of the door and the door frame.
Then measure and cut the insulation to size, and secure it in place using adhesive tape or other means. Finally, fit the weather stripping around the edges of the door for extra protection from drafts. With these steps, you can be sure that your interior doors will remain comfortable and energy efficient all year long. I hope this article has been beneficial in learning how to insulate an interior door. Make Sure the precautionary measures are followed chronologically.
You Can Check It Out to Cover Door Knob Hole

