If you’re like many homeowners, you may have recently found yourself wondering how to move the door strike plate in order to properly fit a new lock. Don’t worry—it isn’t nearly as difficult or intimidating as it may seem, and with some simple tools and steps, you can learn how to move a door strike plate without too much effort.
In this post we will walk through everything from selecting the correct tools for the job, safety best practices for installation/renovation work, measuring and marking up correctly, cutting out necessary hole sizes in your door frame, fitting and attaching the strike plate into place–all of those small details that make all the difference when it comes to proper installation. Follow this guide on how to move door strike plate. Let’s jump right in!
Can You Do It?
Yes, you can definitely move a door strike plate. However, it is important to note that this must be done before the lock is installed—so if you’ve already fitted your lockset, then you will need to remove them first in order to properly move the door strike plate.
Gather Your Tools
The next step is to gather your tools and materials:
- Hammer – to drive in nails/screws
- Measuring tape – to measure distances accurately
- Pencil – to mark up measurements
- Drill with the appropriate drill bit size for the screws
- Chisel (or flat head screwdriver) – to remove the old strike plate and remove excess material from the door frame
- Level – to ensure the strike plate is properly aligned
- Strike plate kit – which should include new screws and a new strike plate
- Safety equipment such as goggles and gloves
10 Steps on How to Move Door Strike Plate
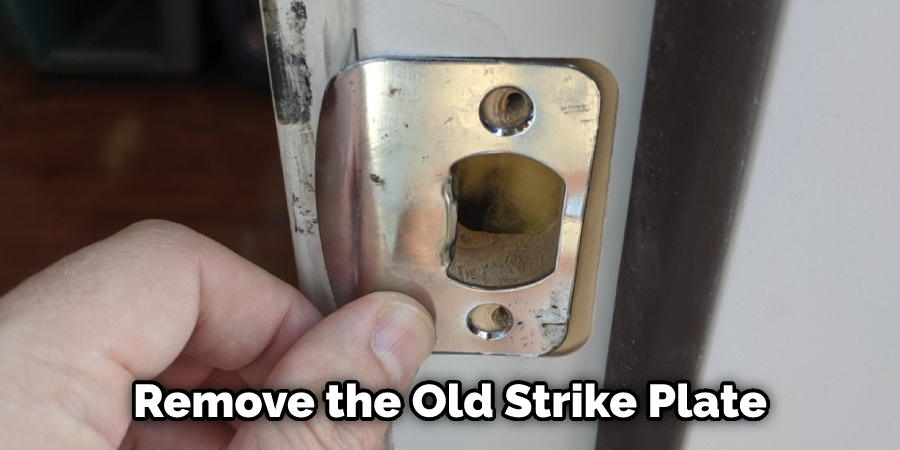
Step 1: Remove the Old Strike Plate
Start by using a flathead screwdriver or chisel to remove the old strike plate from the door frame. This should not require any major force, but it’s important to make sure you don’t damage the surrounding woodwork in the process.
Step 2: Measure and Mark Up
Using a measuring tape, measure the distance from the edge of the door frame to the center of where you plan to install the new strike plate. Make sure to mark this measurement with a pencil on both sides of the door frame.
Step 3: Drill Holes for Screws
Using a drill and the appropriate drill bit size, make holes for the new strike plate screws at the measurement points you marked in step 2. Drilling these holes will make it easier to attach the new strike plate.
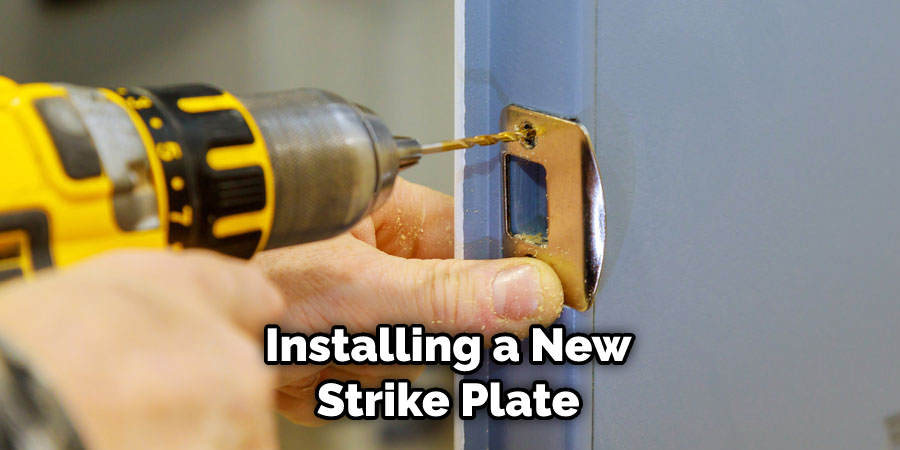
Step 4: Fit the Strike Plate
Once you’ve drilled the appropriate holes, you can now fit the strike plate into place by lining up its two screw holes with those you have just drilled in the door frame. Make sure to double-check that everything is properly aligned by using a level.
Step 5: Secure the Strike Plate
Using the screws provided in your strike plate kit, start by tightening one screw, then move on to the other. Make sure to tighten both screws securely but not so tight that you risk damaging the door frame material.
Step 6: Test it Out
Now it’s time to test out the strike plate. Open and close the door several times to make sure it is properly aligned and that there are no issues with its functionality.
Step 7: Make Final Adjustments
If necessary, you may need to make some final adjustments, such as minor height/width adjustments in order to ensure that the strike plate is properly aligned. This can be done either by using a chisel or flathead screwdriver to remove a small amount of material from your door frame or by adding extra shims and/or caulk in order to fill any gaps between the strike plate and the door frame.
Step 8: Add Finishing Touches
Once all final adjustments have been made, you can add a finishing touch to your newly installed strike plate using a hammer and nails. This is completely optional but will help secure the strike plate in place and give it an overall nice professional look.
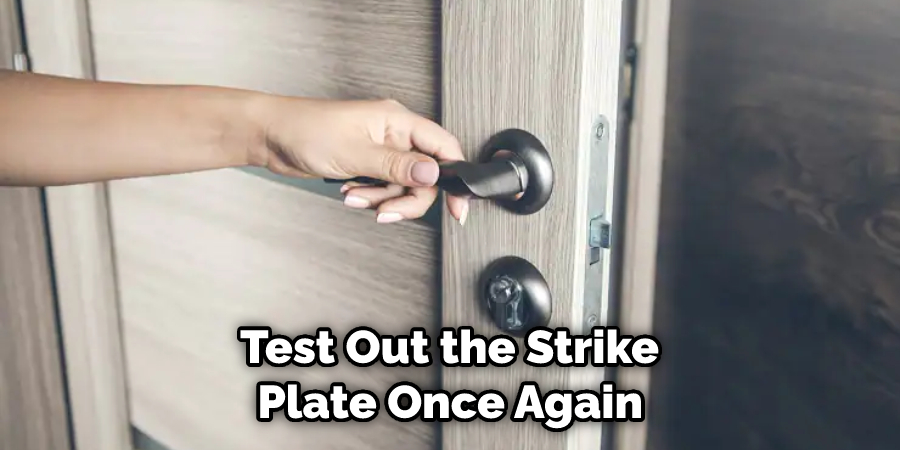
Step 9: Test Again
Now that you’ve completed all of the steps, it’s a good idea to test out the strike plate once again just to make sure everything is working properly. Testing will also help you identify any potential issues that may need to be addressed.
Step 10: Enjoy Your New Strike Plate!
You’re done! Now you can enjoy your new door strike plate and have peace of mind knowing that it was installed properly. Check your work periodically to ensure that the strike plate is still in good condition and functioning properly.
With these steps, you can easily learn how to move door strike plates on your own. Be sure to have all of the necessary tools at hand before beginning, and don’t forget the safety equipment.
10 Safety Measures to Take
- Wear protective gear such as safety goggles and gloves. Safety goggles and gloves will help protect your eyes and hands from any sharp objects or flying particles.
- Always keep the area clear of bystanders when using power tools. It’s important to make sure that no one else is in harm’s way while you’re working with power tools.
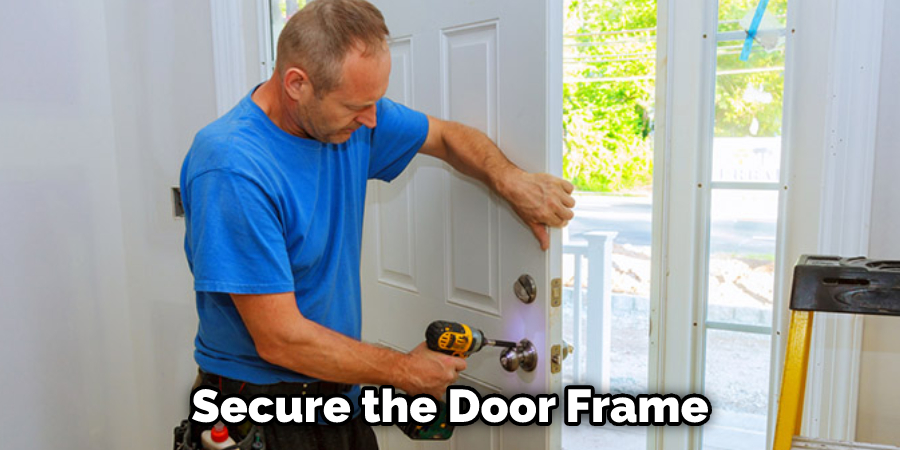
- Secure the door frame by taping it off or using clamps. This will make sure that the door frame stays in place while you’re installing the new strike plate.
- Make sure to use the correct drill bit size when drilling holes for screws. Using a drill bit that is too large can cause damage to the door frame material and result in an improper fit.
- Don’t overtighten the screws securing the strike plate in place. This can cause damage to both the door frame and the strike plate itself.
- Double-check that everything is properly aligned before tightening the screws completely. Using a level will ensure that you get an accurate outcome each time.
- Disconnect the power to any electric tools you may be using before starting. This will help prevent any electrical accidents that can occur when working with electricity.
- Don’t rush the job. Take your time and make sure everything is done correctly according to safety measures lest you risk injury or property damage.
- Ensure that the strike plate is properly secured in place before testing it out. This will help to prevent any accidents from occurring when opening and closing the door.
- Take the time to clean up after yourself once you’re done with the job. This will help keep your space tidy and hazard-free for future use.
Frequently Asked Questions
What Will Be the Costing of Moving Door Strike Plate?
The cost of moving a door strike plate will depend on the type and size of the strike plate being installed. Prices can range from as little as $5 to up to $50 or more for larger, professional-grade models. In addition, you may also need to purchase tools such as drills, screwdrivers, clamps, and other supplies, which can cost anywhere from $20-50.
Remember to factor in the cost of hiring a professional to do the job for you if that’s an option.
Lastly, you may need to hire a professional if the job is too complex or difficult for you to do on your own. The cost of hiring a professional can range from $100-300, depending on the complexity of the job. Worry less about the budget and take your time to find the right door strike plate for you. It’ll be worth it in the end when you have a secure, properly installed strike plate that will last for years to come.
What Are the Benefits of Moving Door Strike Plate?
Moving a door strike plate is a simple and cost-effective way to increase security in your home. It can be used to replace an old or broken strike plate or to upgrade your current door for added protection. Installing a new strike plate also helps to improve the aesthetics of your door, as it can be used to create a more attractive and inviting entryway.
Additionally, moving or replacing the strike plate can help to fix alignment problems with the door itself–which could otherwise result in difficulty with opening and closing. Finally, by having a properly functioning strike plate, you’ll have peace of mind knowing that your home is protected and secure against intruders.
All in all, the benefits of moving a door strike plate are numerous. From improved security to better aesthetics, it’s an easy and cost-effective way to improve your home’s overall safety and appearance.
Conclusion
It is important to take into consideration the type of door you have before moving a door strike plate. Plus, it’s important to have the right tools and understand the steps involved. By following these tips words, you should be able to move your door strike plate with relative ease.
Furthermore, make sure that you check for function regularly. If there’s any issue with how the plates interact with each other then it’s best to implement some changes so that you don’t end up with a dysfunctional latch system. It can even help improve security if done properly. In any case, understanding how to move door strike plate is an essential step in making sure your doors stay secure and functional over time.
You Can Check It Out to Install Magnetic Cabinet Catch

