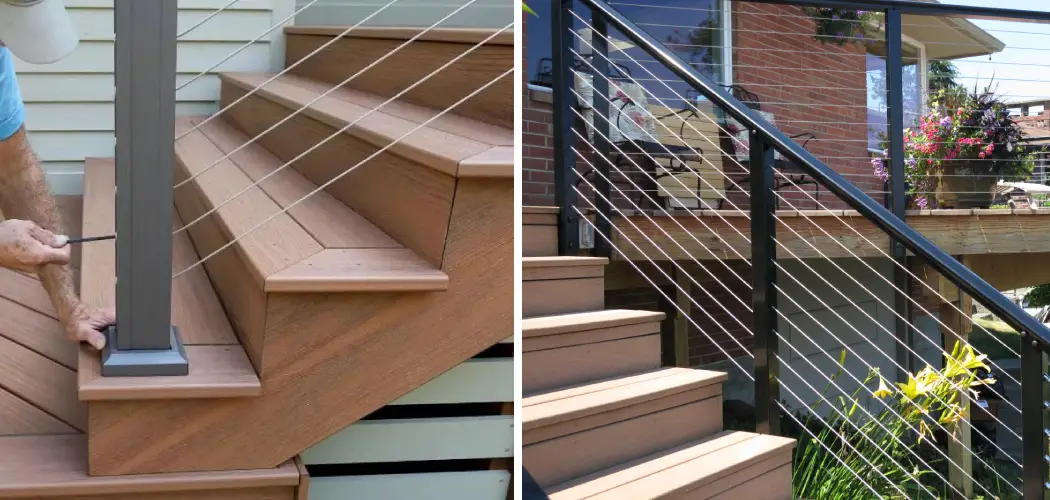
Adding a deck to your home is one of the most rewarding projects you can take on. Not only does it increase the aesthetic appeal of your property, but also adds value which can be great if you’re looking to sell in the future. If you’re ready to spruce up your outdoor area with a custom deck addition, don’t forget to consider how best to upgrade the safety and style of this renovation project – installing cable deck railing!
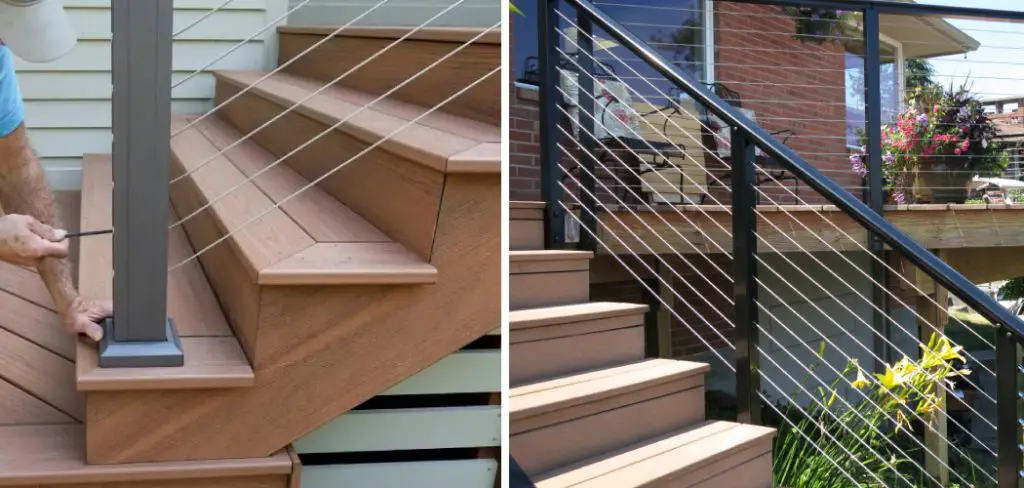
In this blog post, we’ll cover all you need to know regarding what materials are needed for installation and how to install cable deck railing on your own.
Tools and Materials You Will Need to Install Cable Deck Railing
- Drill
- Cable Cutter/Wire Strippers
- Lag Bolts & Washers
- Cables & Fittings (End Caps, Ferrules, Turnbuckles, Eye Straps)
- Wood Screws
- Posts and Spacing Template (if needed)
Step by Step Guidelines on How to Install Cable Deck Railing
Step 1: Measure and Mark Posts
To begin your cable railing project, you’ll need to mark the positions of your posts on the deck. This is done by measuring out the distance between the two posts that you want to install and then marking their locations on the decking surface. Measuring the distance between your posts will help you determine how far apart the railing posts should be spaced. Once you’ve marked the locations, it’s time to install your posts.
Step 2: Install Posts
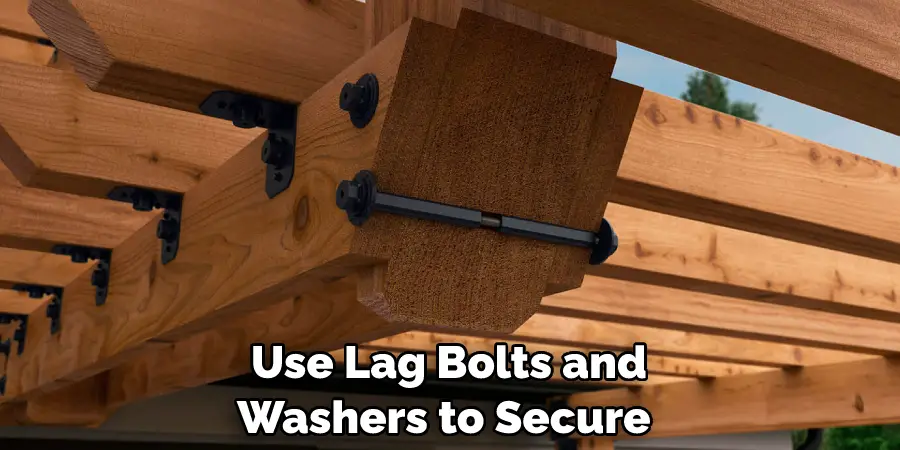
Next, you’ll need to install your posts in the designated spots on the decking surface. Use lag bolts and washers to secure each post firmly in place. Be sure to use appropriate drilling techniques for wood materials and follow safety protocols when using any power tools.
While installing the posts, it’s also important to ensure that they are level and properly aligned with each other. Once you’ve installed all of your posts, it’s time to attach the cables.
Step 3: Attach Cables
Now that you have your posts in place, use cable cutters or wire strippers to cut the cables into the appropriate sizes. Make sure that all of your cables are the same length and fit snugly into the post fittings. Start off by attaching an end cap to one post, followed by a ferrule, then a turnbuckle, and finally an eye strap at the other post. Once you have secured these components in place with wood screws, you can move on to the next cable.
Step 4: Secure with Wood Screws
Finally, insert the second end of the cables into their respective post fittings and secure them with wood screws. This will ensure that your cable deck railing is firmly attached to the posts and ready for use. Be sure to double-check all of your connections and make sure that everything is secure before you enjoy your new deck railing.
Congratulations! You’ve just installed a cable deck railing on your own. With a few tools and some patience, you can easily add an extra layer of safety to your outdoor space while also increasing the aesthetic appeal of your property. Have fun with this project and be sure to maintain your cable deck railing on a regular basis for optimal performance and longevity.
Additional Tips and Tricks to Install Cable Deck Railing
- Measure twice, and cut once. Before you start cutting your posts and railings for the deck railing, make sure to double-check all measurements before getting started so that everything fits correctly when it comes time to assemble your railing. It’s always better to be safe than sorry!
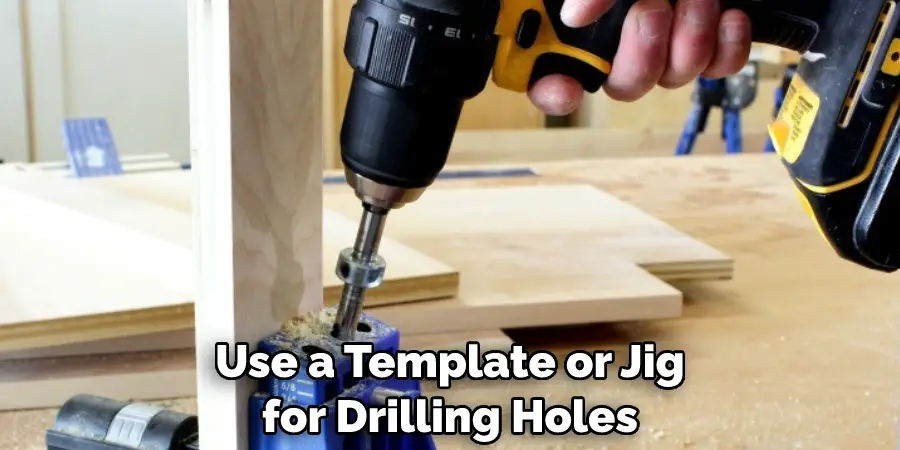
- Use a template or jig for drilling holes. If you plan on using cable railing to secure your deck railing posts, make sure you use a template or jig for drilling the holes perfectly and uniformly. This will ensure that all of your post holes are the same size and shape, which will result in a finished product that looks great and is stable enough to keep everyone safe.
- Consider using a pre-drilled cable rail kit. If you’re looking to save time and energy on the installation process, consider using a pre-drilled cable rail kit, which contains all of the components necessary for installing your railing quickly and correctly. Not only will this make the installation process easier, but it can also help you avoid making costly mistakes due to incorrect measurements or drilling.
- Use a secure and reliable fastener. When it comes time to secure the cable railing in place, make sure you use a secure and reliable fastener such as stainless steel lag screws, which will ensure that your railing remains in place for years to come.
- Apply a sealant to protect your railing. Finally, after you’ve finished the installation process, make sure to apply a high-quality sealant or lubricant to all of the components of your cable deck railing. This will help protect it from corrosion and other elements that could potentially damage the material over time. Plus, this will give your railings the finished look you’re after.
With these tips in mind, you’ll be able to install a cable deck railing that not only looks great but is also safe and secure for years to come. With just a little bit of planning and preparation, you can easily install this type of railing without any issues. So go ahead and get started – you’ll be glad you did! Happy railing!
Precautions Need to Follow for Installing Cable Deck Railing
- Make sure your deck is built to code and is in good condition. Check with your local building department for any requirements that may apply to your project before you begin installing the railing system.
- Be aware of what components are needed for a cable rail installation, which typically includes: posts, top rails, balusters, cable, and hardware. Some components may be sold as a complete system or you may need to purchase individual pieces separately depending on your preferences.
- Take the time to plan out the layout of your railing, paying attention to things such as post placement and where each cable will run between posts. This will ensure that everything fits together properly and looks great once the installation is complete.
- When measuring for the cables, it’s important to note that they should be taut and have a maximum of 3-1/2 inches between posts when stretched tight. Also, make sure that any cuts you make are straight so that the cable will fit correctly and securely in place.
- Always wear protective gear when working with tools and power equipment such as saws or drills. Make sure you have the appropriate safety glasses, gloves, and other necessary items to protect yourself while installing your railing system.
- When you’re ready to install the cables, it’s important to use the right hardware and fastenings to ensure their security. Make sure the screws and other connectors you use are not only rated for outdoor use but that they’re also specifically designed for cable railing.
- Always double-check your work before you move on to the next step. Make sure all connections are tight, cables are taut between posts, and everything is installed correctly for maximum safety and stability.
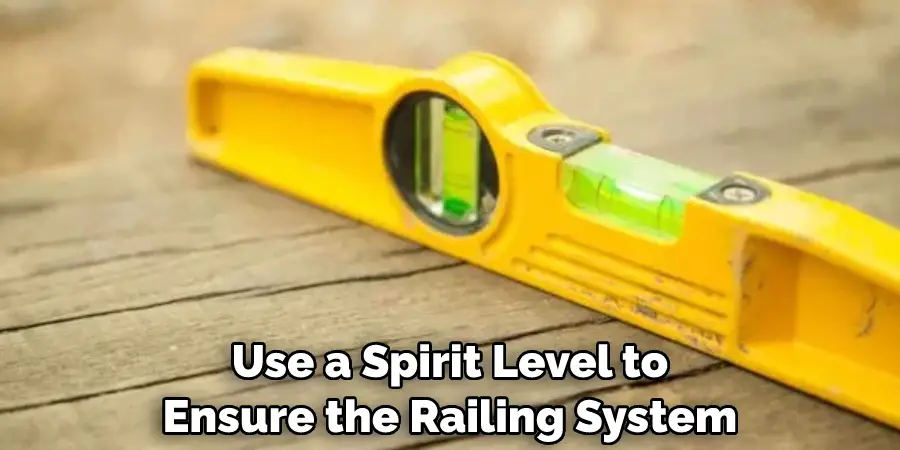
- Finally, use a spirit level to ensure the railing system is even and level when viewed from all angles. This will help it look its best and also provide you with peace of mind knowing that your railing system is safe and reliable.
With the following precautions in mind, you can rest assured that your cable rail installation will be safe and secure. Once the railing system is installed, all that’s left to do is enjoy the view!
Frequently Asked Questions
Do I Need a Permit to Install the Cable Deck Railing?
Yes, most local building codes require you to get a permit before installing any type of deck or fencing. Check with your local municipality for specific requirements in your area.
How Long Does Installation Take?
The time it takes to install cable deck railing depends on the size and complexity of the project. Generally speaking, you should be able to complete installation in one or two days if you have all the necessary materials and tools.
What Type of Cable is Used?
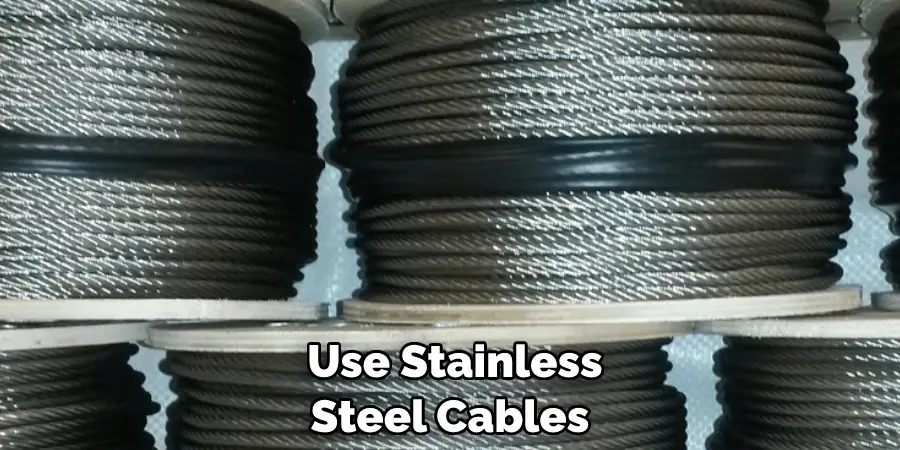
Most cable deck railing systems use stainless steel cables that are 1/8 inch in diameter. They have special fittings or ferrules that secure the cable to the posts and top rails.
How Do I Maintain My Cable Deck Railing?
Regular maintenance is essential for keeping your cable deck railing looking like new. Clean the cables with a soft cloth and mild detergent, checking for any signs of rust or wear. You should also inspect the fittings to make sure they are securely attached. If there is any loose or worn material, replace it immediately.
Conclusion
With some basic knowledge, you can learn how to install cable deck railing. Not only is it fairly cost-effective and results in a stylish and contemporary look to your outdoor space, but it’s also durable, versatile, and pretty straightforward to install.
The foundation of the system is simple — two posts support the cables that form the railings barrier — but once you’ve decided on the layout and size cables you need, assembly becomes seamless and enjoyable. With a little bit of research and preparation, an average homeowner can successfully take on this DIY project!

