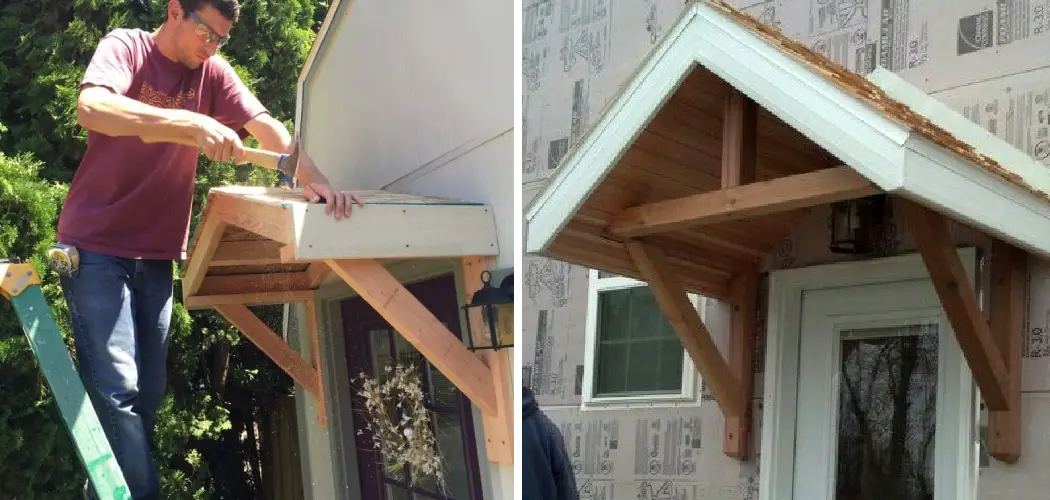
Do you want to add a unique, stylish touch to the exterior of your home? Building an overhang for the entrance door is one of the easiest and most effective ways to do that. Not only does an overhang provide extra protection from sun and rain, but it can also give your entryway a welcoming feel.
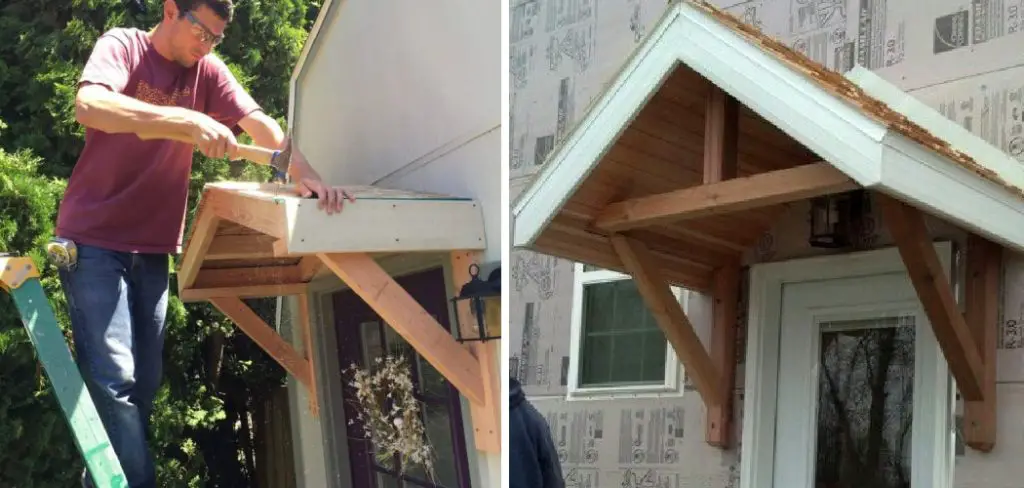
In this blog post, we’ll discuss all the steps on how to build a roof overhang over an exterior door yourself — from gathering materials and designing measurements down to actually putting up your overhang! Whether you’re just starting out with DIY projects or are more experienced with construction, this guide has got you covered. So let’s get started in transforming your outdoor space into something truly special!
What Is the Overhang above a Door Called?
The overhang above a door is typically referred to as an eave, or sometimes an awning. An eave is the portion of the roof that extends beyond the exterior wall of a home, creating shade and protection from rain, snow, and sun.
A traditional eave will usually be made out of wood or vinyl siding, and may be open or enclosed. An awning is similar to an eave, but it usually extends further away from the wall and often has a covering of fabric or other material. Eaves and awnings can both provide shade over an exterior door and protect against wet weather.
When building an eave or awning over an exterior door, it is important to plan ahead. The size and shape of the structure will depend on several factors, such as where the door is located, how much coverage you need, and what materials you will use. In addition, local building codes may require a specific type of roof overhang in order to provide adequate protection from the elements.
Does an Exterior Door Need an Overhang?
An overhang is an important element of a structure, especially above exterior doors. Without it, rainwater will hit the door directly and could cause damage to the wood or other materials used in the construction. It can also create wet conditions around the door which is not only unsightly but can also present a safety hazard if left unchecked.
An overhang over an exterior door protects the door from water damage and can also provide some shelter from harsh weather conditions. It can also prevent water from pooling around the base of the doorway, thus giving it a more finished look.
In addition to protecting your doors, a roof overhang will add visual interest and architectural appeal to your home’s exterior. A well-designed overhang can even enhance curb appeal and increase the perceived value of your property.
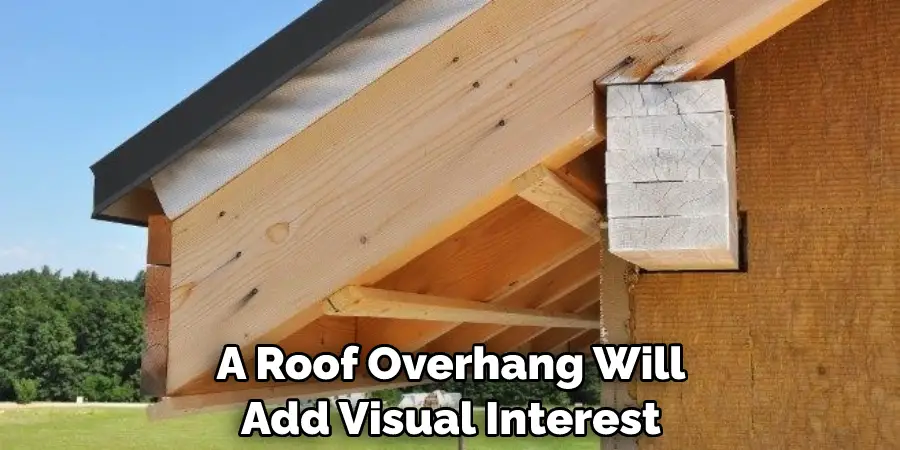
As such, having an aesthetically pleasing roof overhang that compliments both the architecture of your house and its surroundings is something that should be considered when building one. With careful planning and consideration, you can create a beautiful overhang that not only looks great but adds practical protection for your exterior doors.
Remember – an overhang is essential for protecting your door, but it should also be aesthetically pleasing and fit in with the architectural style of your home. With a bit of creativity and planning, you can create a beautiful roof overhang that adds both practical protection and visual value to your property.
10 Methods How to Build a Roof Overhang over an Exterior Door
1. Planning and Design
This method covers the initial planning and design considerations for building a roof overhang. It includes assessing the location, measuring the area, determining the desired size and shape of the overhang, and selecting suitable materials. If you’re installing a pre-made overhang, skip to Step 2. Additionally, it’s important to consider any local building codes and requirements before beginning.
2. Gathering Materials and Tools
Before starting the construction process, it is essential to gather all the necessary materials and tools. This method provides a comprehensive list of materials, including lumber, roofing materials, fasteners, and tools like saws, drills, and measuring tools. If you plan to install flashing, be sure to include that in the list.

However, if the roof overhang is going to be enclosed, you may need additional materials like plywood sheets, flashing tape, and sealants. It is also important to make sure you have enough support materials such as joists, rafters, and trusses.
3. Framing the Overhang
This method focuses on framing the structure of the roof overhang. It provides step-by-step instructions on measuring and cutting the lumber, assembling the frame, attaching the rafters and joists, and ensuring the structure is level and securely fastened.
However, if you lack the carpentry skills needed to complete this task, it is recommended that you hire a professional contractor. Though it will cost you more money, you can rest assured that the job will be done correctly and safely. Once the overhang is framed, it’s time to move on to the next step.
4. Attaching the Ledger Board
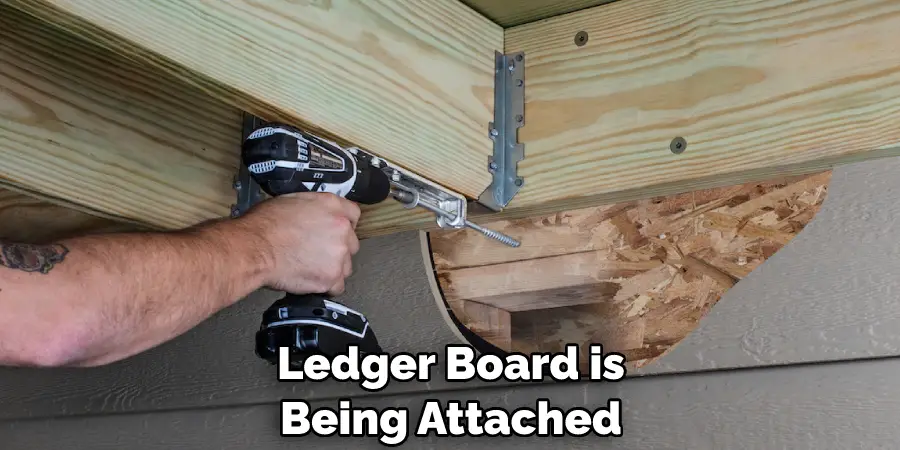
A ledger board is a key component that connects the roof overhang to the exterior wall of the building. This method guides you through the process of locating and attaching the ledger board securely to the wall, ensuring proper alignment and stability.
While the ledger board is being attached, make sure to leave a gap of 1/8 inch between the wall and the ledger board for proper drainage. To start, locate the joists in the wall and mark where they will be attached. Try to find an area that is flat level.
5. Installing the Rafters and Joists
The rafters and joists form the framework of the roof overhang. This method explains how to install and attach these components, including cutting and positioning the rafters and joists, and securing them to the ledger board and the frame of the overhang.
Begin by cutting the two rafters and joists to size. Position them so that they form a simple triangle, with the ridge board set between the two rafters. Make sure to leave equal space on either side of the ridge board. Try to keep the dimensions of the overhang consistent as you go.
6. Adding Sheathing and Roofing
To provide protection from the elements, sheathing and roofing materials need to be installed on the roof overhang. This method provides instructions on selecting and installing appropriate sheathing, such as plywood or oriented strand board (OSB), and attaching roofing materials like shingles or metal panels.

If the roof overhang is connected to an existing roof, the sheathing and roofing material should match the existing structure. Additionally, the roofing material should provide adequate ventilation to prevent moisture buildup.
7. Installing Fascia and Soffit
Fascia and soffit are important for both aesthetics and functionality. This method explains how to install fascia boards along the edge of the roof overhang and attach soffit panels underneath to ensure proper ventilation and a finished appearance.
When installing fascia and soffit, use galvanized nails instead of non-galvanized ones to ensure the material does not corrode. When installing the soffit, make sure there is an air gap between the fascia board and the soffit to ensure proper ventilation.
8. Flashing and Waterproofing
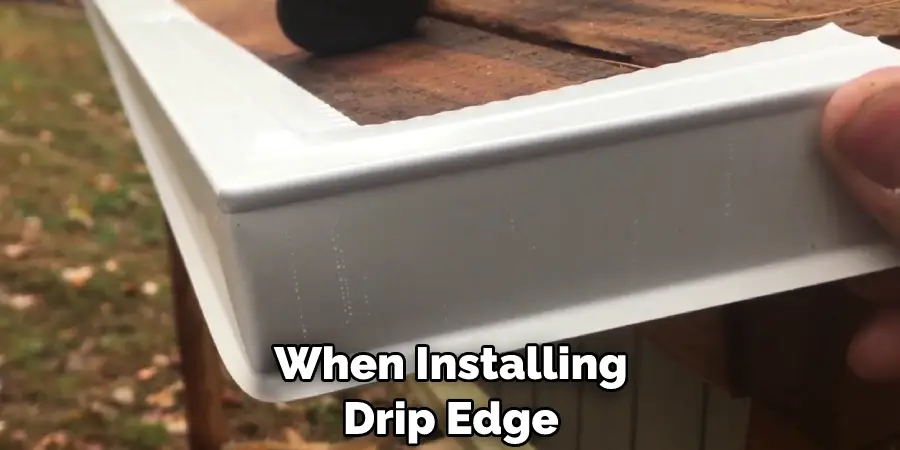
To prevent water infiltration and ensure a watertight roof overhang, flashing and waterproofing measures are necessary. This method covers the installation of flashing materials, such as drip edge and step flashing, and applying appropriate waterproofing membranes or sealants.
Start by installing drip edge flashing along the entire eave edge of the roof overhang, ensuring that it is properly sealed against the fascia and against the roofing material. When installing drip edge, overlap the pieces at least 2 inches.
9. Adding Gutters and Downspouts
Incorporating gutters and downspouts can help manage rainwater runoff from the roof overhang. This method provides instructions on selecting and installing gutter systems, positioning downspouts, and directing water away from the building’s foundation.
First, measure the length of the roof overhang and purchase a gutter system that fits its size. Gutters are available in different materials, such as aluminum and vinyl. Once the gutter system is ready, attach it to the house using gutter brackets or nails.
10. Finishing Touches
The final method focuses on the finishing touches to complete the construction of the roof overhang. It includes steps such as sanding and painting or staining the wood, sealing any exposed edges, and conducting a thorough inspection to ensure the overhang is structurally sound and aesthetically pleasing.
Taking the time to complete these steps will ensure a roof overhang that is both durable and attractive. Additionally, you may want to consider adding other features, such as a gutter to collect rainwater. Whatever you decide, once these final steps are complete, your roof overhang will be ready for use. Congratulations, you have successfully built a roof overhang over an exterior door!
Where Should Overhangs Be Placed?
Overhangs should typically be placed so that they provide a minimum of 4 feet, but no more than 8 feet, of coverage over an exterior door. This provides adequate protection from rain, snow, sun and other elements while also allowing sufficient light to enter. The overhang should be placed so that it is centered on the doorway with an equal distance extending past each side of the door frame.
When considering where to place an overhang above an exterior door, it’s important to also consider the roofline of the home. The roofline must be taken into account so that the overhang does not interfere with any existing features, such as dormers and other windows.
Additionally, it’s important to take note of any objects nearby that could obstruct the overhang or pose a physical danger should they become loose in poor weather conditions. This includes trees, light poles, and other structures.
Once the location of the overhang is determined, it’s time to start building! The first step is to construct the support frames for the overhang, which should be made out of durable materials such as aluminum or pressure-treated lumber.
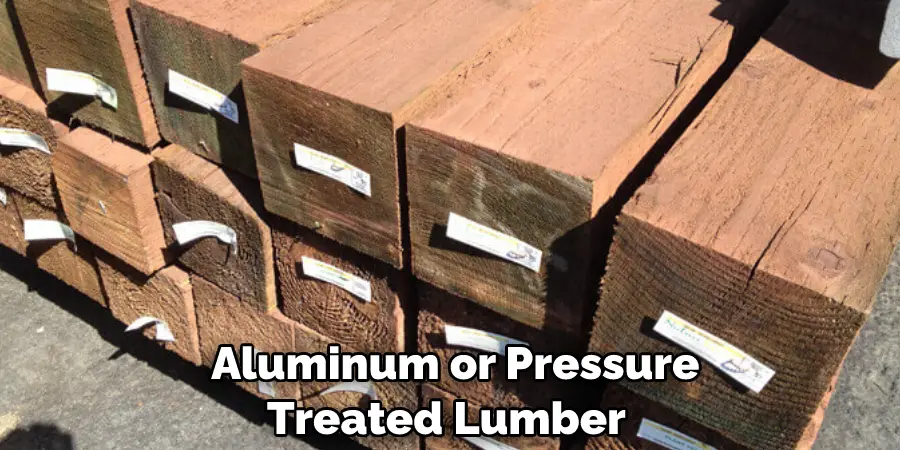
These frames will provide the necessary support for the roofing material that will be installed beneath the overhang. It is important to ensure that these frames are securely attached to the exterior walls of the home, as well as to any existing roof framing.
Things to Consider when Building a Roof Overhang over an Exterior Door
1. Building Codes:
Make sure to check with local building codes before starting a roof overhang project. Some areas may require permits or have specific rules and regulations that must be followed.
2. Weather:
The weather in area should also be taken into account when building a roof overhang. If you live in an area with high winds, the roof should be constructed with stronger materials and reinforced to withstand these forces. Additionally, if you experience heavy rain or snowfall, make sure to choose materials that are waterproof and won’t degrade over time.
3. Insulation:
Proper insulation is essential to ensure the roof overhang doesn’t become too hot or cold during different seasons. Insulating the area between the door and the roof will help keep temperatures regulated, as well as reduce energy costs. Additionally, a vapor barrier can be added to help prevent moisture from entering the area and causing mold or mildew issues.
4. Aesthetics:
The roof overhang should also enhance the look of your exterior door and home. Consider using materials that match the existing style of your house, such as a shingle roof or metal sheeting, for a cohesive look. Additionally, think about paint or stain colors that will coordinate with the rest of your home’s exterior for an attractive finish.
Conclusion
All in all, constructing a roof overhang over an exterior door is a complicated but worthwhile project that you can do on your own. Building this structure requires the proper materials, tools and time, as well as attention to detail and safety precautions. Don’t wait another minute – get started on building your roof overhang now!
Start with gathering supplies and consulting friends or professionals for advice if you need it. And don’t forget to enjoy the process of creating something custom yourself so you can take pride in it! How to Build a Roof Overhang over an Exterior Door is no small feat – but with patience and following the right steps, it can be perfectly manageable.

