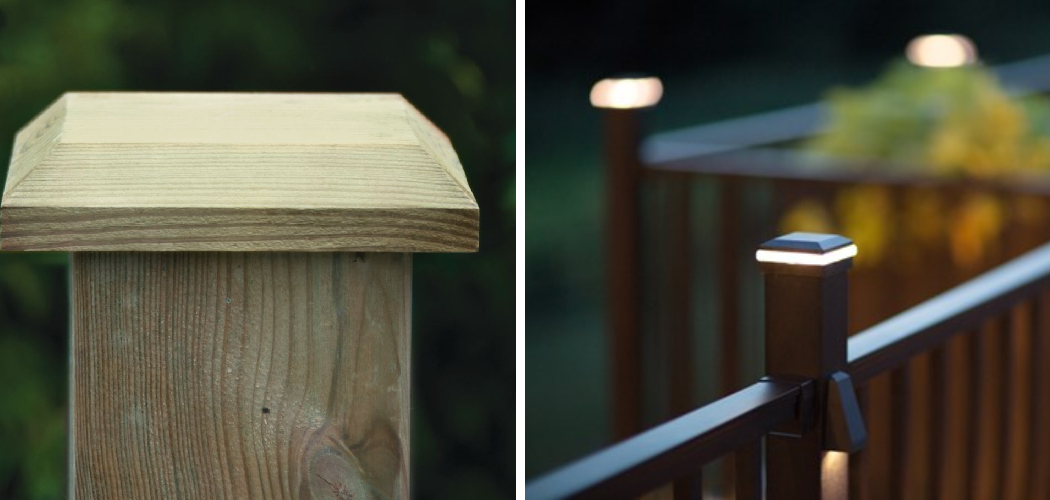
Are you looking to spruce up your deck? Deck post caps are a great way to add an extra element of style and flair to your outdoor living space.
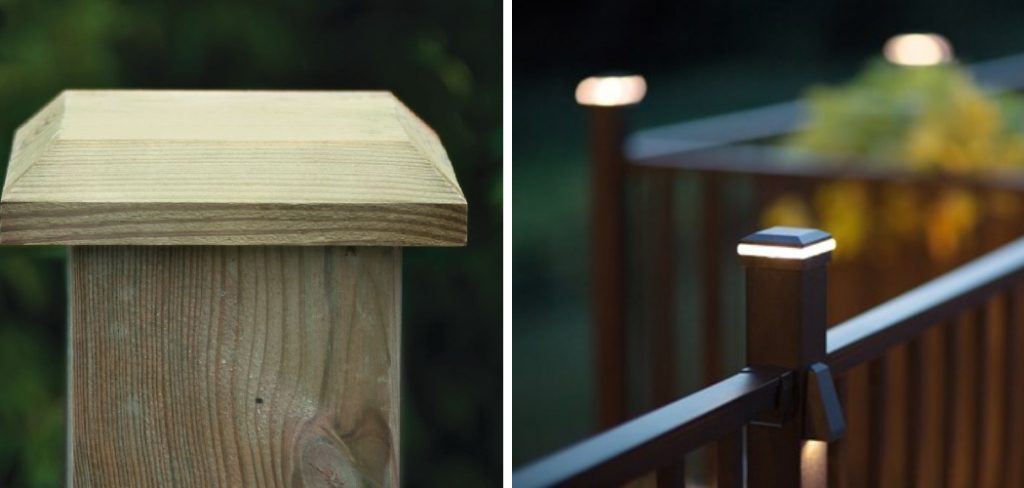
Installing post caps on your deck can instantly enhance its appearance, adding a touch of visual interest and elegance that will make it the envy of your friends and family. With an endless array of cap styles to choose from, you’ll be able to find something that perfectly complements the look and feel you’re trying to create for your outdoor living space. Not only can deck post caps add beauty to your home’s exterior, but they also serve an important structural purpose, such as protecting posts from rot or water damage.
In this blog post, we will break down the process step-by-step on how to install deck post caps, so that you can easily install deck post caps on your own!
What Will You Need?
To install post caps on your deck, you’ll need the following materials:
- Deck post caps
- Screws
- Drill
- Level
Once you have gathered the necessary materials, you can begin the installation.
10 Easy Steps on How to Install Deck Post Caps
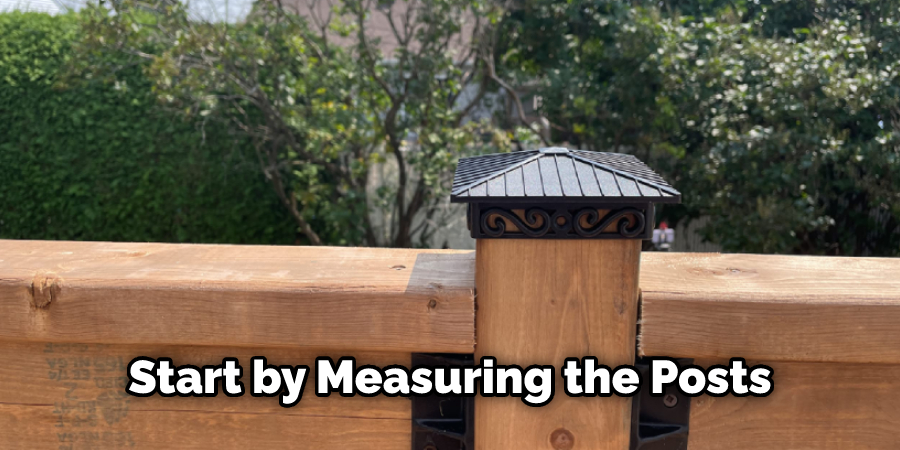
Step 1: Measure and Mark the Posts.
Start by measuring the posts and marking them at the desired height. Use a level to make sure the marks are level and even. If the post caps are going to be exposed to the elements, we recommend adding 2 inches of clearance between the top of the post and the cap.
Step 2: Drill Pilot Holes.
Using a drill, create pilot holes for screwing in the post caps in each post. Be careful to align the pilot holes with the marks you made earlier. Because the posts are likely made of wood, you may want to use a countersink bit to drill deeper holes.
Step 3: Place Post Caps on Posts.
Take your post caps and place them on top of the posts, making sure that they are aligned correctly with the marks you’ve made on each post earlier. If you are using caps with screws, you may want to pre-mark where the screws will go. Ensure that the post caps are level before proceeding to the next step.
Step 4: Secure Post Caps to Posts Using Screws.
Once you’ve placed the cap onto the post, use screws to secure it into place. Make sure to check that it’s level before tightening all screws completely. Repeat steps 1-4 for each post to install deck post caps on your entire deck.

Step 5: Try Different Styles and Colors.
Now that you know how to install deck post caps, why not have fun with it? Try out different styles and colors to create a unique look and feel for your outdoor living space. You can also use post caps to hide unsightly screws or bolts.
Step 6: Apply Finish.
Once the post caps are installed, you can apply a finish such as a sealant or paint to protect them from the elements. This will help enhance your deck’s look and ensure that it lasts for many years. Don’t forget to apply a finish to the posts, as well!
Step 7: Enjoy Your New Deck!
Now that you have completed the installation of your deck post caps, it’s time to enjoy your beautiful new outdoor living space. Invite friends and family over for a BBQ or just relax and admire how wonderful your deck looks with its newly installed post caps. Remember to keep up with regular maintenance to ensure your deck looks its best for years to come.
Step 8: Maintain Your Deck.
Although it may be tempting to forget about the maintenance after all the hard work you’ve put into your deck, regular maintenance is essential to keep your deck looking its best. This includes inspecting and cleaning the posts regularly and reapplying the finish as needed. It will be worth the effort in the long run!
Step 9: Decorate Your Deck.
Now that your deck is installed and maintained, you can get creative with decorating it. The possibilities are endless, whether it’s furniture, plants, or lighting. You can even try stringing a few lights along the railing for added ambiance.
Step 10: Take Pride in Your Accomplishment.
Now that you’ve finished installing deck post caps take pride in your accomplishment! You can now enjoy a beautiful outdoor space for years to come, and others will admire how great it looks. Plus, you can always look back and be reminded of how much hard work you put into creating it.
And there you have it — with these easy steps on installing deck post caps, you can create an inviting outdoor living space that will last many years. So get started today and start making your dream deck a reality!
5 Additional Tips and Tricks
- Measure twice, and cut once. This is essential when fitting deck post caps, as you must ensure it fits the posts correctly and evenly.
- Use a miter saw for precision cuts and a smooth finish when cutting the caps.
- Pre-drill pilot holes in the caps before inserting nails or screws to ensure that they remain secure and don’t split the wood.
- Use a countersink bit to create an indentation at each hole so that the screw head sits flush with the cap surface.
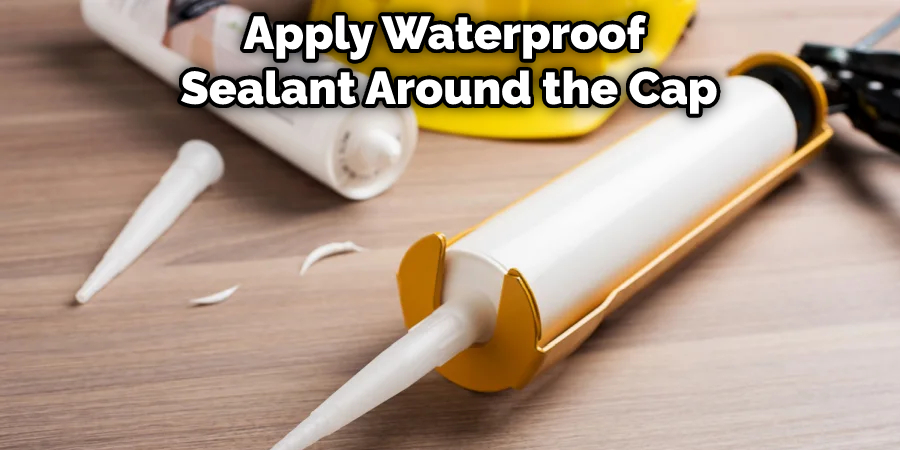
- Apply waterproof sealant around the cap edge before installing it. This will help protect your deck from water damage and offer additional protection against warping, mould, and mildew build-up over time.
With these simple tips and tricks, you’ll be able to successfully install deck post caps and keep your outdoor living space looking great for years to come!
5 Things You Should Know Before Installing Deck Post Caps
1. Choose the Right Size: When selecting deck post caps, ensure they are the right size for your posts. Too large and they won’t fit properly; too small and you won’t get the desired effect. Measure twice to ensure an accurate fit.
2. Know Your Material: There are a variety of materials used to make deck post caps, such as plastic, metal, and wood. Consider how much maintenance each material requires before making your purchase decision.
3. Pre-drill Holes: If you plan on using nails to attach the deck post cap to a wooden post, pre-drill holes first so that the nails don’t split the wood. This will ensure a secure fit and maximize the life of your caps.
4. Use Adhesive: For added security, use an adhesive to hold deck post caps in place once they are installed. This will help keep them firmly attached in all weather conditions.
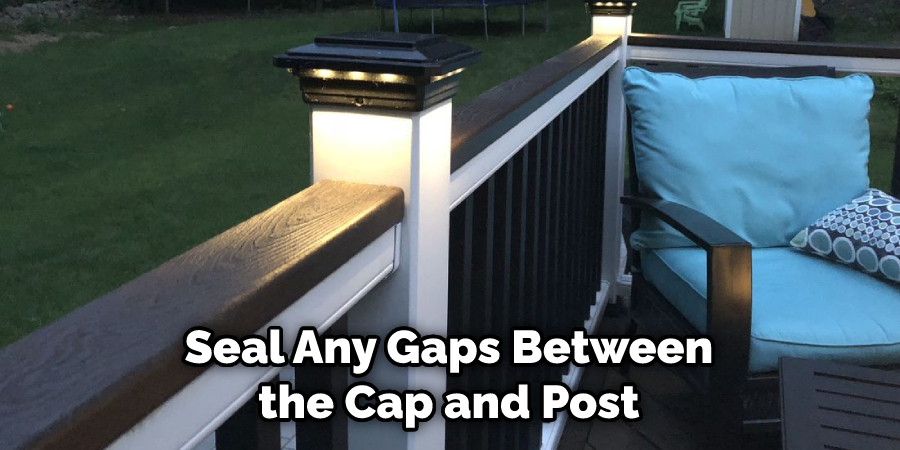
5. Seal Gaps: After installation, use caulk or sealant to fill any gaps between the cap and post that may allow moisture to seep through. Doing so will protect your posts from damage caused by water accumulation over time.
Following these tips can help ensure you get the best fit for your deck post caps and enjoy them for years to come! Shop around for quality products that meet your needs and budget.
5 Things You Should Avoid
1. Don’t Skimp on Quality: When it comes to deck post caps, it pays to invest in quality products. Low-quality caps can be prone to cracking and warping, which could lead to costly repairs or replacements down the line.
2. Don’t Overlook Maintenance: Regularly inspecting and cleaning your deck post caps ensures longevity. Look out for signs of wear and tear — like cracked seals or warped surfaces — as these will need attention right away.
3. Avoid Moisture Damage: Water accumulation and moisture buildup can easily damage your deck post caps over time, so make sure to seal any gaps between the cap and post using caulk or sealant before installing them.
4. Don’t Ignore Stains and Discoloration: Deck post caps can easily become stained or discolored over time, so cleaning them regularly with a mild soap and water solution is important. For more stubborn stains, you may need to use a soft-bristle brush.
5. Avoid Using Too Many Fasteners: Overstuffing your deck post caps with fasteners can make them look unattractive and also weaken the attachment, leading to instability issues in the long run. Use only what is necessary for a secure fitting, as determined by the manufacturer’s instructions.
Following these tips will help ensure that installing deck post caps goes smoothly and provides years of enjoyment. Remember, a little bit of maintenance goes a long way!
How Do You Measure for Post Caps?
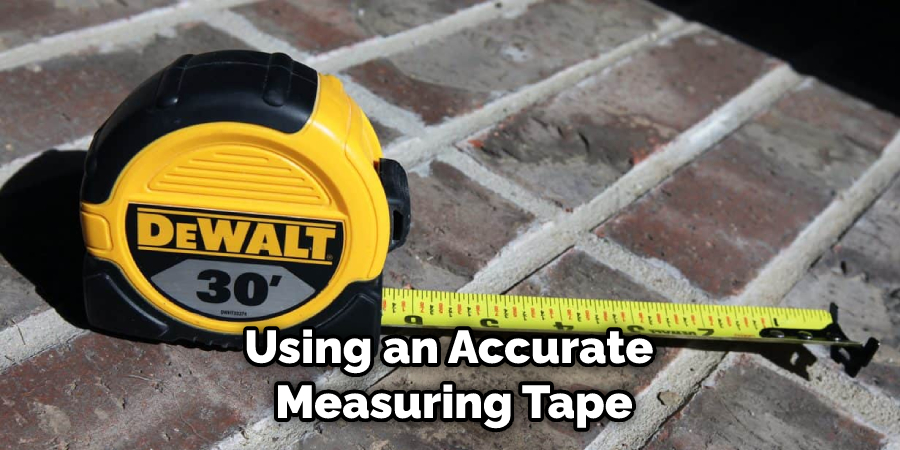
Before you purchase post caps, measuring the posts correctly is important. Using an accurate measuring tape, measure the circumference of each post at its widest point. This measurement will be used to determine how large a cap should be purchased for the best fit.
Once the measurements are taken, compare them against the size listed for each cap on the manufacturer’s website or product description. Re-measure if necessary and factor in how much wiggle room you want between the post and cap before settling on a size.
Measuring your deck posts before purchasing post caps is essential in ensuring they fit properly and look great! With proper measurement and selection, you’ll have no problem enjoying your newly installed deck post caps for years to come.
Conclusion
Installing deck post caps is a great DIY project with a few key points to remember. From finding the right type of caps that work best with your particular deck setup to choosing complementary materials like wood and aluminum, you’ll be able to add the perfect touch of style that brings the all-important finished look to any outdoor living area. Plus, with the wide variety of designs available, you will surely find something special that will make your home stand out from the rest.
Hopefully, the article on how to install deck post caps has been beneficial to you. If you follow these easy steps carefully, you’re sure to create stunning results in no time at all. So why wait? Set yourself up for summer success by installing deck post caps today!

