Are you looking to take your woodworking projects up a notch by learning how to inlay wood? Inlaying wood is an attractive addition to any piece, and with the right tools, it can be surprisingly easy. Luckily for you, routers are the most popular and reliable tool for this job. By mastering the art of inlaying with a router, you’ll be able to make furniture pieces that will stand out amongst all others–and best of all, it’s fun!

So let’s get started on learning how you can use a router at home to achieve stunningly beautiful results on your next crafting project! In this blog post on how to inlay wood with a router, we’ll take you through the basics of choosing and using a router, as well as offer some tips to ensure your success.
11 Step-by-step Guides on How to Inlay Wood With a Router
Step 1: Selecting a Router
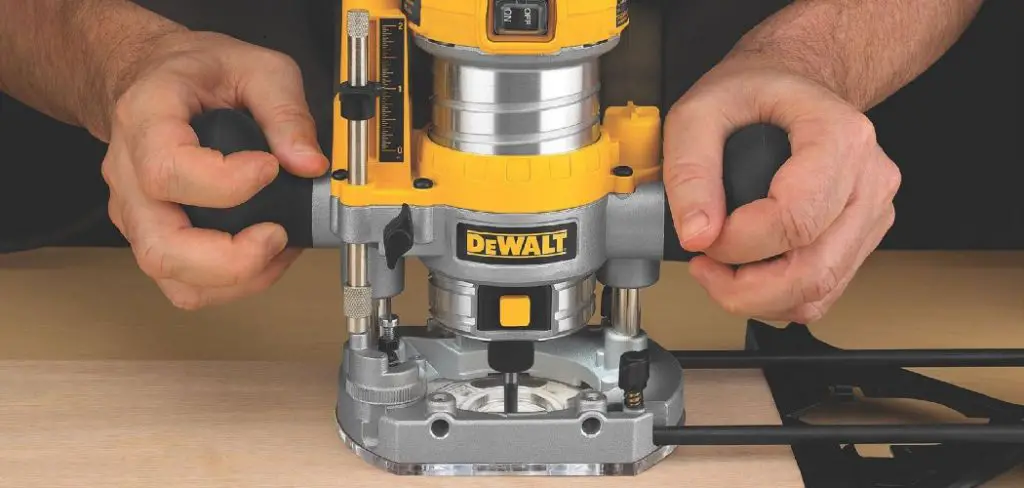
When choosing a router for inlaying wood, size matters. For most inlaying projects, you’ll want to look for routers with at least 1 ¼ horsepower and a depth capacity of 2-1/8” or more. The larger the horsepower, the easier it will be to achieve clean and accurate cuts. It’s also important to select a router with variable speed control so that you can adjust the speed as needed for different cuts.
Step 2: Preparing Your Router Bit
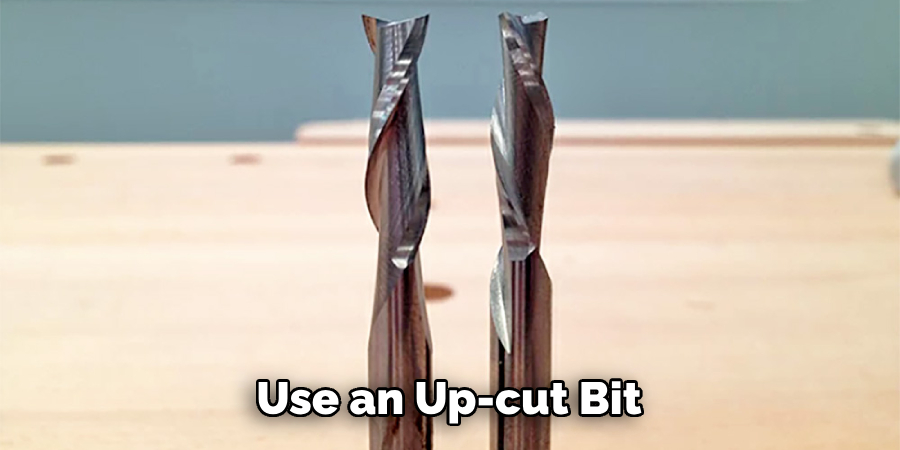
Once you have your router selected, it’s time to prepare your bit. The most reliable way to achieve clean cuts is to use an up-cut bit. An uncut bit is designed to sink into the wood as it moves, allowing for smoother inlay results without splintering or chipping.
Once you have your bit chosen, be sure to sharpen and adjust its height before use. It’s also important to ensure that your bit is securely mounted to the router before you begin.
Step 3: Marking Your Layout Lines
Before beginning your inlaying project, it’s important to mark your layout lines. This will help you identify where the router should move and further minimize the risk of chipping or splintering along the edges. If you’re unsure about which direction to go with the cuts, be sure to make a few practice runs on scrap wood before moving on to your actual project piece.

Step 4: Setting Up Your Router
Once your router bit is ready and your layout lines are marked, it’s time to set up the router. Make sure you have a solid surface for the router to rest on, such as concrete or metal. Also, make sure that the area around the workpiece is free of any obstructions that could interfere with your cuts. This includes any cords, furniture, other tools or anything else that could potentially get in the way.
Step 5: Plunging the Router into Your Work Piece
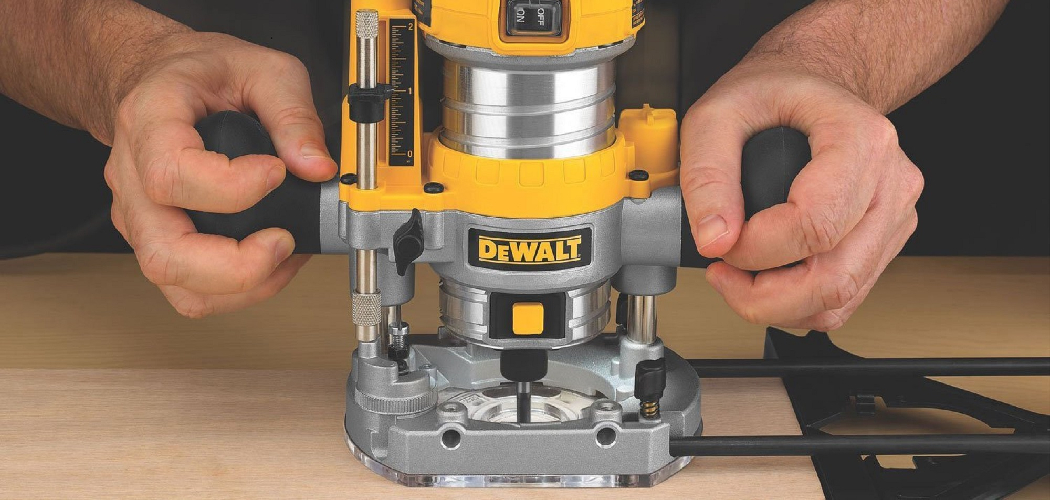
Now that your router is ready, it’s time to start inlaying! Begin by slowly plunging the router into the workpiece, straight down. As you do this, make sure to keep a steady hand and even pressure–this will ensure clean and accurate results. You may also want to practice on scrap wood first if you’re feeling unsure.
Step 6: Taking Careful Cuts
Once the router is in place, begin to move it around the workpiece in a clockwise or counterclockwise direction. Make sure you take your time and apply even pressure throughout–these careful cuts are essential for achieving beautiful results. As you reach the end of each line, be sure to lift the router up and out of your workpiece before moving on to the next. This will minimize any potential chipping along the edges.
Step 7: Checking Your Progress
As you move around your workpiece, take a few moments to check on your progress. This will help you identify any potential issues with the inlay before they become too big of a problem. If necessary, make corrections at this time to ensure your cuts are as accurate and clean as possible. You can also make any necessary adjustments to the router’s speed and depth at this time.

Step 8: Finishing Your Cuts
As you reach the end of each line, take care to make sure the router does not wander onto an unintended area. This could cause chipping or splintering in other parts of your workpiece, ultimately ruining all of your hard work.
Once you are finished with the cuts, be sure to lift the router up and away from your project piece before moving on to the next line.
Step 9: Cleaning Up Your Project Piece
Once all of the inlayings are complete, it’s time to clean up any splinters or chips left behind by the router. Use a pneumatic tool such as an air compressor or sandpaper to smooth out any rough edges and ensure that the inlay looks attractive and professional. But be sure to take your time and not rush the job–careful attention to detail is key here!
Step 10: Applying Finish
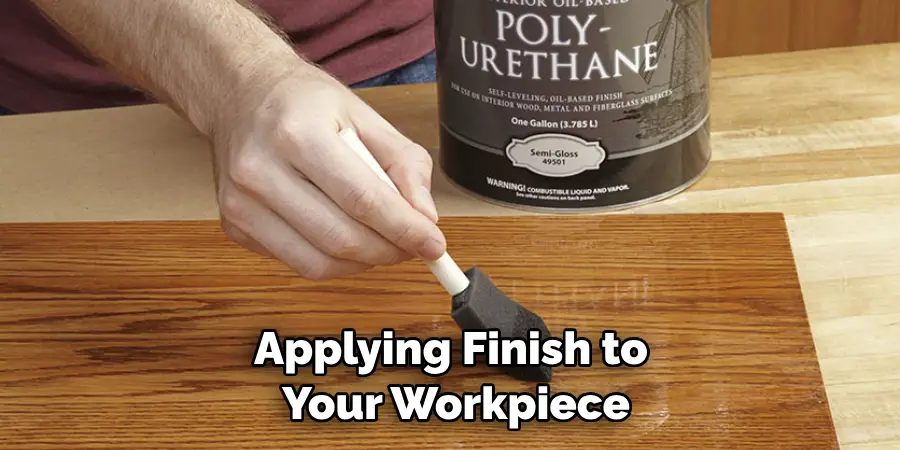
The final step of inlaying with a router is applying finish to your workpiece. Choose a finish that will enhance the beauty of your project, such as a clear coat or wood stain. Once you wood sealant, stain, paint or any other type of finish that suits your project. have chosen a finish, make sure to apply it carefully and evenly to protect the inlay from water damage and further preserve its beauty.

Step 11: Enjoy Your New Creation!
Congratulations! You’ve successfully used a router to create an attractive and unique inlay for your woodworking project. Now it’s time to sit back and admire the beautiful results of your hard work! Always remember to take the time to celebrate your successes–you deserve it.
Inlaying with a router can be a bit intimidating at first, but with practice and patience, you’ll soon master this unique technique. Whether you’re creating furniture or decorations for your home, inlays are an attractive addition that will bring out the beauty in any workpiece. So go ahead and give it a try–you’re sure to be impressed with the results!
Following these simple steps on how to inlay wood with a router, you can use a router to make beautiful inlays for your woodworking projects. With the right tool and a bit of practice, you can bring any project to life with an attractive and unique touch! So go ahead and get started–you’re sure to find that it’s easier than you thought!
Frequently Asked Questions
Q: What Router Bit Should I Use for Inlaying Wood?
A: The most reliable way to achieve clean cuts is to use an up-cut bit. An uncut bit is designed to sink into the wood as it moves, allowing for smoother incoming results without splintering or chipping. It’s important to also sharpen and adjust the height of your bit before use.
Q: How Do I Sharpen and Adjust My Router Bit?
A: Sharpening your router bit is an essential step in achieving clean and accurate cuts. Before use, it’s important to sharpen the router bit according to manufacturer directions and adjust the height of the bit so that i0t is slightly above the surface of the wood. This will ensure that you get smooth and even cuts with minimal risk of chipping or splintering.

Q: What Finish Should I Use for My Inlayed Wood Project?
A: To protect your inlay from water damage and further preserve its beauty, it’s important to choose the right finish. Depending on your desired look, you can apply a clear coat or wood stain to bring out the beauty of the inlay. Be sure to apply the finish evenly and carefully to ensure lasting results.
Q: What Are Some Common Mistakes to Avoid While Inlaying With a Router?
A: It’s important to take your time and apply even pressure throughout the cutting process. A few common mistakes to avoid include over-plunging the router, which can cause chipping or splintering, as well as not lifting the router up at the end of each line. Additionally, be sure to take extra care when setting up the router and adjusting the height of the bit for best results.
Conclusion
Inlaying wood with a router may seem like a daunting task, but the results are worth the effort. With a few easy steps, you can create stunning inlaid patterns that will add beauty and complexity to any project. This method is also an excellent way to combine different types of wood to give it more dimension.
Whether you are a DIY enthusiast or a professional carpenter, using a router to inlay wood can be an interesting and rewarding experience. So grab your tools and use this technique to make your projects pop with added pizzazz. There’s no limit to what you can do when it comes to adding creative designs and accenting your work! Thanks for reading this article on how to inlay wood with a router

