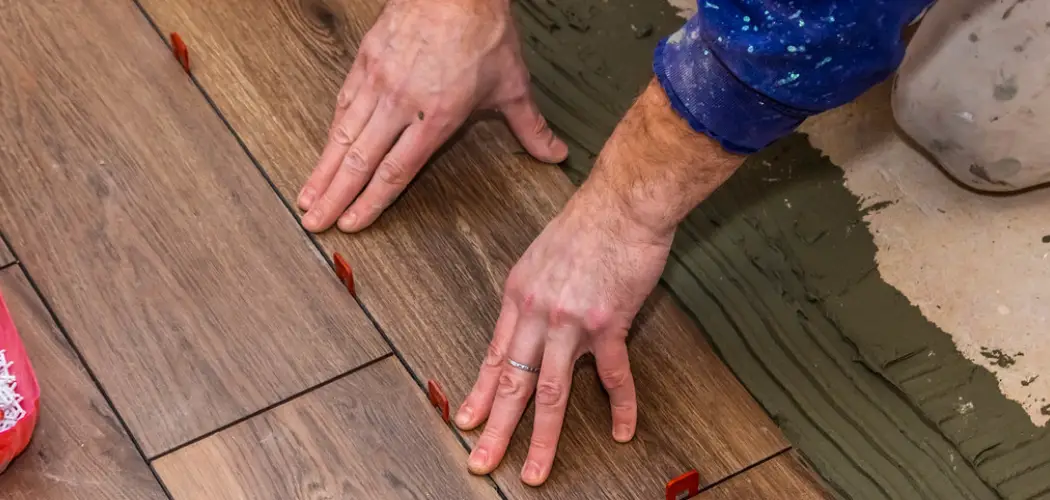
There are many reasons you might want to glue ceramic tile to wood. Maybe you’re tiling a countertop, or perhaps you’re creating a new backsplash. In any case, it’s essential to use a suitable adhesive for the job. In this article, we’ll teach you how to glue ceramic tile to wood using a strong adhesive. We’ll also show you how to prepare the surface so that your tiles will adhere properly. Let’s get started!
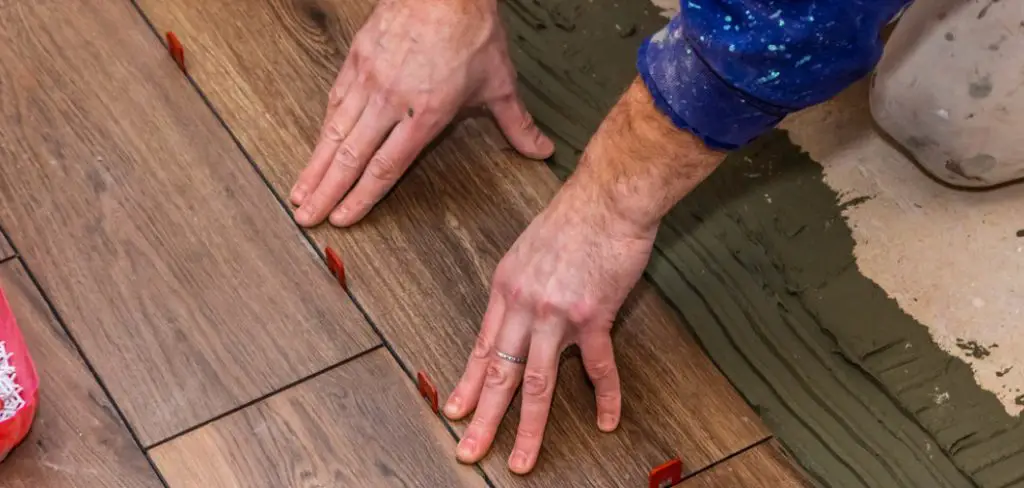
Ceramic tiles are a popular choice for home improvement projects because they’re durable and easy to clean. However, tiling a surface is not always a straightforward process. One of the most common challenges is attaching tile to a wooden surface. If you’re planning to glue ceramic tile to wood, it’s essential to use construction adhesive. Construction adhesive is a strong, durable adhesive that will hold your tiles in place for years. It’s also waterproof and ideal for wet areas like bathrooms and kitchens.
What is Construction Adhesive?
Construction adhesive, also known as a construction adhesive or polyurethane adhesive, is a strong and versatile glue used in many building applications. It’s made of a combination of resins, solvents, and fillers that create a tough bond between two surfaces. Construction adhesives can be used on various materials, including wood, metal, concrete, plastic, and ceramics. They’re also waterproof, making them an excellent choice for projects that require a strong bond in areas exposed to water. It’s essential to use construction adhesive for attaching ceramic tile to wood because it can withstand the expansion and contraction of wood due to changes in temperature and humidity.
Why is Construction Adhesive the Best Choice for Gluing Ceramic Tile to Wood?
There are several reasons why construction adhesive is the best choice for attaching ceramic tile to wood. Firstly, its waterproof and weatherproof properties make it suitable for use in wet areas like bathrooms and kitchens. Unlike other adhesives, construction adhesive can withstand exposure to water without losing its strength or deteriorating over time. Additionally, it has excellent bonding strength, making it ideal for use on heavy materials like ceramic tiles. It also dries clear, so any excess won’t be visible once your project is complete.
Moreover, construction adhesive is easy to use and requires no specialized tools to apply. You can easily dispense it from a tube using a caulking gun, making it perfect for DIY projects. It’s also versatile and can be used on different surfaces, so you don’t have to worry about purchasing multiple adhesives for your project. And finally, construction adhesive is affordable and readily available at most hardware stores.
Tools and Materials Required:
Tiles:
You’ll need ceramic tiles that are suitable for your project. Tiles come in various sizes, shapes, and designs, so choose the ones that best suit your needs.
Construction Adhesive:
As mentioned earlier, construction adhesive is essential for gluing ceramic tile to wood. Make sure to read the product label to ensure it’s suitable for both materials.
Notched Trowel:
A notched trowel is used to spread the adhesive evenly on the surface. The size of the notches will depend on the size of your tiles.
Sponge:
You’ll need a sponge or damp cloth to clean up any excess adhesive that may squeeze out from between the tiles.
Tile Spacers:
Tile spacers are great for keeping an even gap between the tiles. They come in various sizes, and you can choose ones that suit your desired tile spacing.
Tape Measure:
A tape measure is handy for measuring and marking the surface before tiling.
Level:
A level is used to ensure that your tiles are placed evenly and straight.
Grout:
Grout is a mixture of cement, sand, and water used to fill the gaps between tiles. Make sure to choose a grout color that complements your tiles.
Grout Float:
A grout float is used to spread the grout over the surface and into the gaps between the tiles.
Rubber Grout Float:
After the grout has been spread, a rubber grout float is used to remove any excess grout and smooth out the surface.
Grout Sealer:
A grout sealer is applied after the grout has dried to protect it from stains and water damage.
A Step-by-Step Guide on How to Glue Ceramic Tile to Wood
Step 1: Determine the Layout
Before you can begin tiling, you need to determine the layout. This will ensure that your tiles are evenly spaced out and look aesthetically pleasing. To do this, measure the space where you’ll be applying the tile. Then, use a pencil and ruler to draw lines on the wood surface to indicate where the tiles will go. Once you have your layout determined, it’s time to move on to Step 2.
Step 2: Level the Surface
If your wood surface is uneven, it’s essential to level it before you begin tiling. This will ensure that your tiles are applied evenly and there aren’t any gaps. To level the surface, use a circular saw to remove any high spots on the wood. Then, utilize construction adhesive to fill in any low spots. Once the surface is level, move on to Step 3.
Step 3: Choosing Adhesive
You can use two types of adhesives to glue ceramic tile to wood: thin-set mortar and construction adhesive.
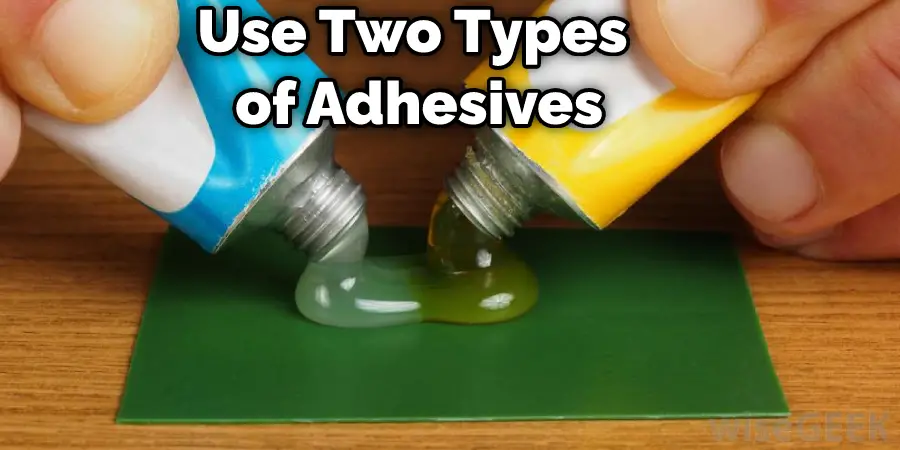
Thin-set mortar is a type of cement mixed with water to create a paste. It is then spread on the surface using a notched trowel, and the tiles are applied on top.
Construction adhesive is glue that comes in a tube and is applied directly to the surface using a caulk gun. It’s important to note that construction adhesive doesn’t provide as strong of a bond as thin-set mortar, so it’s not recommended for use in areas with a lot of weight or movement, such as on countertops or floors.
Step 4: Applying the Adhesive
Once you’ve chosen an adhesive, it’s time to apply it to the surface. If you’re using thin-set mortar, mix it according to the manufacturer’s instructions. Then, spread it on the surface using a notched trowel. Next, place the tiles on top of the mortar and press them. Use tile spacers between each tile to ensure they are evenly spaced out.
Step 5: Place the Tiles
Once the adhesive is applied, it’s time to place the tiles on the surface. If you’re using thin-set mortar, spread it on the surface using a notched trowel. Then, place the tiles on top of the mortar and press them. Use tile spacers between each tile to ensure they are evenly spaced out.
Using construction adhesive, apply it to the surface using a caulk gun. Next, place the tiles on the surface and press them into place.
Step 6: Let the Adhesive Dry
Once you’ve applied the adhesive and placed the tiles, it’s essential to let the adhesive dry completely before moving on to Step 6. This usually takes 24 hours, but it’s best to check the manufacturer’s instructions to be sure.
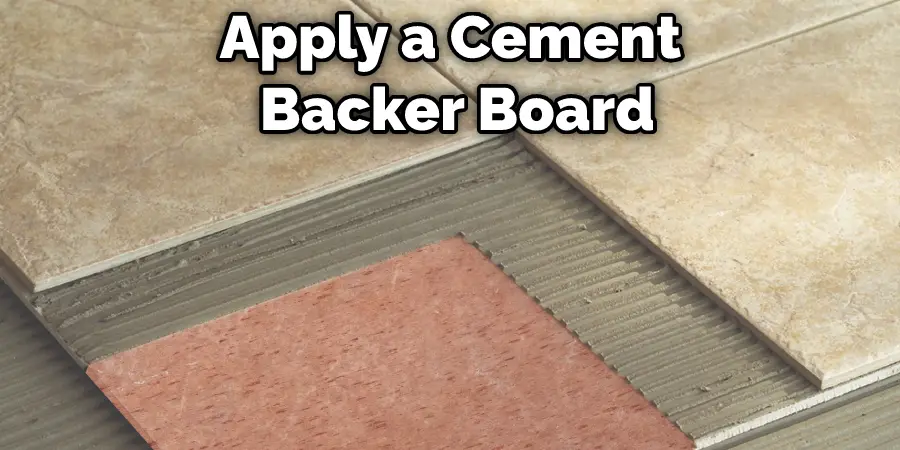
Step 7: Applying Cement Backer Board
Once the adhesive is dry, you need to apply a cement backer board over the top of the tile. This will provide extra support and ensure that your tile doesn’t crack or break. To do this, cut pieces of cement backer board to fit over the tile using a Circular saw. Then, apply construction adhesive to the back of each piece and press it into place.
Step 8: Drilling Holes
Once the cement backer board is in place, you need to drill holes through it to screw it into the wood surface. To do this, use a drill and 1/8 inch drill bit to drill pilot holes through the cement board and into the wood. Then, insert screws into the pilot holes and tighten them until the cement board is secure.
Step 9: Applying Grout
After the cement board is in place, it’s time to apply grout between the tiles. Mix the grout according to the manufacturer’s instructions to do this. Then, spread it over the tile using a rubber float. Once all of the spaces between the tiles are filled, use a sponge to wipe away any excess grout. Let the grout dry for at least 24 hours.
Step 10: Let the Grout Dry
Once you’ve applied the grout, it’s essential to let it dry completely before moving on to Step 10. This usually takes 24 hours, but it’s best to check the manufacturer’s instructions to be sure. Once the grout is dry, you can apply a grout sealer to protect it from stains and water damage. You can also add a top coat of polyurethane to the wood surface for added protection.
Step 11: Applying Sealer
After the grout is dry, you need to apply a sealer to protect it from dirt and stains. To do this, use the sealer according to the manufacturer’s instructions. Once the sealer is dry, your tile is complete! These steps will help in how to glue ceramic tile to wood. Remember to take your time and follow the manufacturer’s instructions for the best results. Happy tiling!
Tips and Warnings:
Tips:
1. Make sure both the ceramic tile and wood surface are clean and free of debris before beginning.
2. If the wood surface is not perfectly level, you may need to use shims to level out the tile.
3. Use a tile adhesive specifically designed for bonding ceramic tile to wood surfaces.
4. Apply the adhesive to the ceramic tile and wood surface using a notched trowel.
5. Press the tile into place on the wood surface and allow the adhesive to dry according to the manufacturer’s instructions.
6. Once the adhesive is dry, you can grout the space between the tiles using a suitable grout color that matches or complements the tile color.
Warnings:
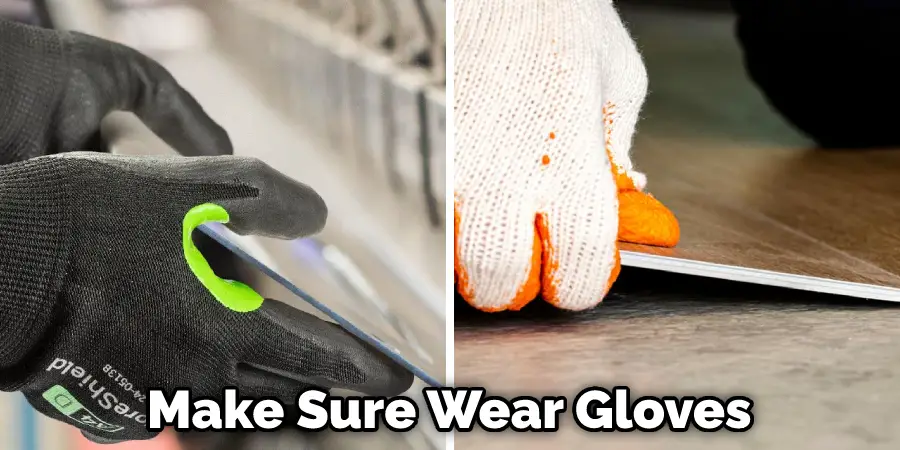
1. Make sure you wear gloves and a dust mask when working with tile adhesive and grout, as these materials can irritate the skin and respiratory system.
2. Be careful not to get any tile adhesive or grout on your clothes or other surfaces, as it can be difficult to remove once it dries.
What Do You Use to Glue Tile to Plywood?
You have a few options when it comes to gluing tile to plywood. You can use a construction adhesive, mortar, or epoxy.
-Construction Adhesive
Construction adhesive is a strong adhesive that is designed to hold heavyweight. It is weatherproof and can be used on both indoor and outdoor projects.
-Mortar
Mortar is a type of cement that is used in many tiling projects. It has a powerful bond and will hold the tile for many years.
-Epoxy
Epoxy is another type of adhesive that is very strong and durable. It can be used on both indoor and outdoor projects.
When choosing an adhesive, select the appropriate one for the type of tile you are using. Ask a sales associate at your local hardware store for assistance if you are unsure.
Once you have chosen the right adhesive, follow the instructions on the package. Make sure to apply it evenly to avoid any air pockets. Press the tile firmly and allow the adhesive to dry completely before grouting or using the surface.
You Can Check It Out To Build Glued Lapstrake Wooden Boats
What is the Best Glue for Ceramic Wood?
When choosing the best glue for ceramic to wood, many factors to consider. The type of ceramic and wood and the application and environment all play a role in the selection process. For example, if the ceramic is being used in a wet or humid environment, waterproof glue is essential.
On the other hand, if the goal is to adhere two flat surfaces together, a less versatile but more affordable option may be sufficient. It is always essential to test the glue on a small area before applying it to the entire project. This will help ensure that the glue adheres properly and does not cause any damage to the materials. Finding the best glue for ceramic to wood is a relatively easy task with careful consideration and a little trial and error.

Ceramic tiles are famous for many home renovations and new construction projects. They are durable, easy to clean, and come in various colors and styles. While ceramic tiles can be attached to many different surfaces, they are most commonly affixed to wood. This is because wood is a stable surface that provides a good foundation for the tile. In addition, attaching ceramic tile to wood is typically much more straightforward than sticking it to other materials, such as concrete or brick.
You Can Check It Out to Get Lysol Off Wood
Frequently Asked Questions:
Q: Can You Glue Ceramic Tile to Wood?
A: Yes, ceramic tile can be glued to wood using a suitable adhesive. Make sure to follow the manufacturer’s instructions and allow proper drying time before applying grout. Otherwise, the tile may not adhere correctly and could become loose over time.
Q: How Long Does It Take for Tile Adhesive to Dry?
A: The drying time for tile adhesive can vary depending on the type of adhesive used and environmental factors such as humidity and temperature. It is best to check the manufacturer’s instructions for specific drying times, but generally, it takes around 24 hours for tile adhesive to dry completely.
Q: Do I Need to Seal the Tile after Grouting?
A: Yes, sealing the tile after grouting is recommended to protect it from dirt and stains. Make sure to follow the manufacturer’s instructions for the specific sealer being used. Otherwise, the seal may not be as effective. It is also important to regularly reseal the tile to maintain its protection.
Q: Can I Use Regular Glue to Stick Ceramic Tile to Wood?
A: No, regular glue is not suitable for attaching ceramic tile to wood. It may not provide a strong enough bond and could cause the tile to become loose over time. It is best to use a tile adhesive specifically designed for this purpose.
Q: What is the Best Adhesive for Outdoor Ceramic Tiles?
A: The best adhesive for outdoor ceramic tiles would be a waterproof construction adhesive or mortar. These types of adhesives are designed to withstand exposure to moisture and harsh weather conditions. It is always important to read the instructions and choose an adhesive that is appropriate for your specific project.
Overall, it is important to follow the proper steps and use appropriate materials when gluing ceramic tile to wood to ensure a successful and long-lasting result. With the right tools and techniques, you can easily complete this project and enjoy your beautiful new tile surface. Remember to take precautions and follow the tips and warnings mentioned above for a safe and successful experience. Happy tiling!
You Can Check It Out To Thin Wood Glue
Conclusion:
So, there you have it – everything you need to know about how to glue ceramic tile to wood! We hope this article was helpful and that you are now ready to get started on your next DIY project. Remember to take your time and be patient; if something doesn’t go right the first time, don’t worry – try again. And most importantly, have fun with it!
You May Also Read: How to Make Cardboard Look Like Wood

