If you have engineered hardwood floors, you may have noticed that they can sometimes develop bubbles. This is usually due to moisture getting trapped beneath the flooring, and it can cause the boards to warp and become damaged. Fortunately, you can do a few things to fix this problem. First, ensure the area is well-ventilated to allow the floors to dry out. You may also need to replace any damaged boards and use a sealant to protect the rest of the floor from moisture.
With these tips, you can fix bubbles in your engineered hardwood floor and keep it looking great for years to come. In this blog post, you will learn in detail how to fix bubbles in engineered hardwood floor.
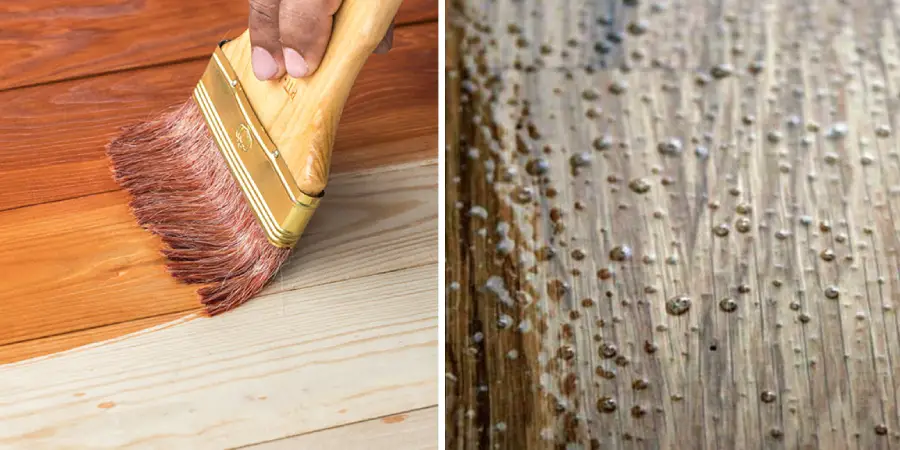
Step-by-Step Processes for How to Fix Bubbles in Engineered Hardwood Floor
Step 1: Locate the Source of the Problem
You must first identify where the issue is coming from to fix the problem. There are a few ways you can do this. One way is to look for the bubbles simply. Another way is to use a moisture meter to test different floor areas. If you find that the moisture content is higher in one area than others, then that is likely the area you need to focus on.
Step 2: Remove the Affected Flooring Planks
Once you have located the source of the problem, you will need to remove the affected flooring plank. To do this, you will need to use a chisel and hammer. First, you will need to score the plank with the chisel. Be sure only to score the top layer of the plank. Next, you will need to hammer along the scored line to break the plank into two pieces.
Step 3: Inspect the Subflooring
Once you have removed the affected flooring plank, you will need to inspect the subflooring. If you find that the subflooring is damp, then you will need to replace it. However, if the subflooring is in good condition, then you can proceed to the next step.
Step 4: Dry the Subflooring
If the subflooring is damp, you will need to dry it out before proceeding. The best way to do this is to use a dehumidifier. To dry out the subflooring completely, you will need to run the dehumidifier for at least 24 hours.
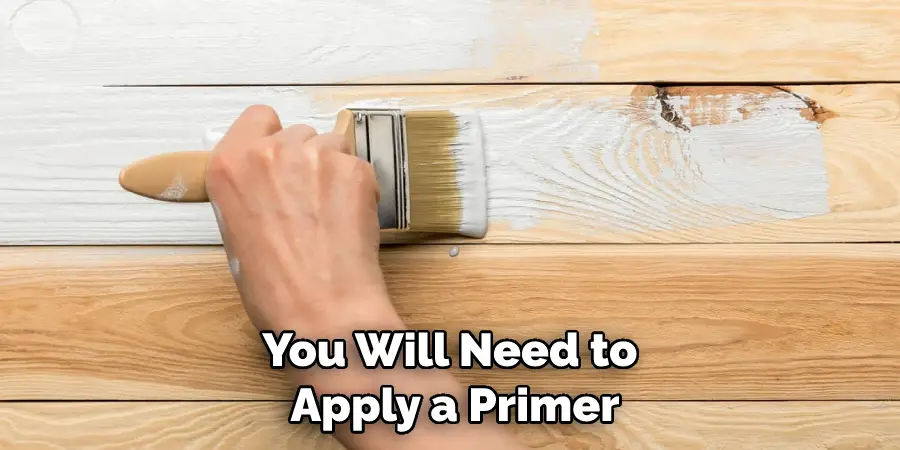
Step 5: Apply a Primer
Once the subflooring is dry, you will need to apply a primer. This will help to ensure that the flooring adhesive will adhere properly. Be sure to follow the manufacturer’s instructions when applying the primer. Next, you will need to apply the flooring adhesive to the subflooring.
You Can Check It Out to Fix Raised Wood Grain
Step 6: Install the New Flooring Plank
Once the adhesive is applied, you can install the new flooring plank. Be sure to align the plank with the other planks on the floor. Once the plank is in place, you will need to use a hammer and nails to secure it. Once the new flooring plank has been installed, you will need to apply a sealant. This will help to protect the floor from future damage.
Step 7: Allow the Floor to Dry
Once you have applied the sealant, you will need to allow the floor to dry. This usually takes around 24 hours. Once the floor is dry, you can then proceed to the next step.
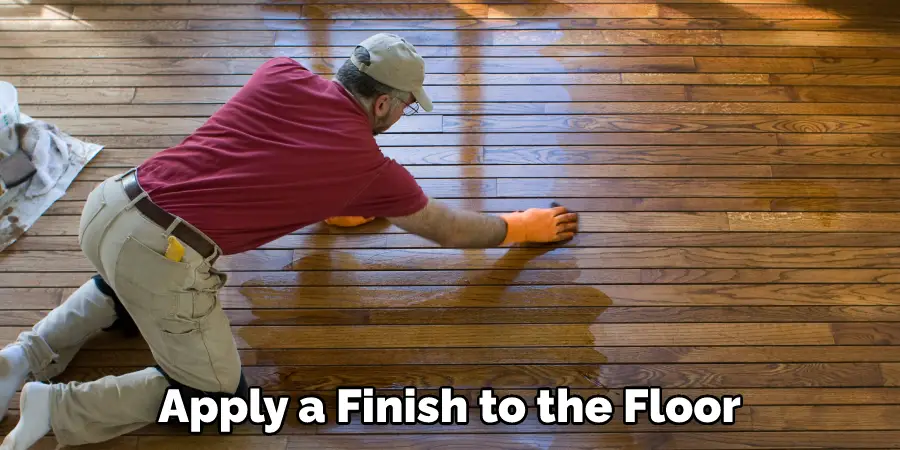
Step 8: Apply a Finish
The next step is to apply a finish to the floor. This will help to protect the floor and give it a shine. Once you have applied the finish, you must allow the floor to dry. This usually takes around 24 hours. Once the floor is dry, you can then proceed to the next step.
The next step is to apply a maintenance coat to the floor. This will help to protect the floor and keep it looking its best.
You Can Check It Out to Fix Water Damage on Wood
Tips for How to Fix Bubbles in Engineered Hardwood Floor
- Always read the manufacturer’s instructions carefully before starting any repair project, and if possible, identify the source of the leak and patch it before proceeding with the repair.
- Use a sharp utility knife or chisel to score along the bubble’s perimeter. Be sure not to cut into the wood flooring beneath and inject a repair adhesive into the bubble’s center using a caulk gun.
- Use a putty knife or your fingers to spread the adhesive evenly over the bubble’s surface and apply pressure to the bubble to help adhere the adhesive to the surrounding wood flooring.
- Allow the adhesive to dry completely according to the manufacturer’s instructions before walking to the repaired area. If the bubble is still visible after the repair, sand it down until it is flush with the surrounding wood flooring.
- Vacuum up any dust created by sanding and apply a new coat of finishes to the repaired area, if desired.
- If the repair is not successful, or if the leak persists, you may need to replace the affected engineered hardwood flooring plank(s) and always wear safety goggles and a dust mask when performing any repairs on your engineered hardwood floors.
- Be sure to safely and responsibly dispose of any used rags or other materials safely and responsibly, and never leave power tools unattended while turning them on.
- Always unplug power tools when they are not in use.
How Can You Prevent Bubbles From Forming in Your Engineered Hardwood Floor?
Bubbles can form in engineered hardwood floors for a variety of reasons. Most often, it is due to moisture or humidity levels that are too high. When the air is too moist, it can cause the boards to expand and warp, creating gaps that allow water to seep in. This can happen if you live in an area with high humidity or if you have a leaky pipe or another water source nearby.
You can prevent bubbles from forming in your engineered hardwood floor by controlling your home’s moisture and humidity levels. If you live in an area with high humidity, use a dehumidifier to keep the air dry. You should also fix any leaks or other water sources as soon as possible. If you have a problem with high humidity, you may need to install a vapor barrier underneath your flooring to keep the moisture from seeping up.
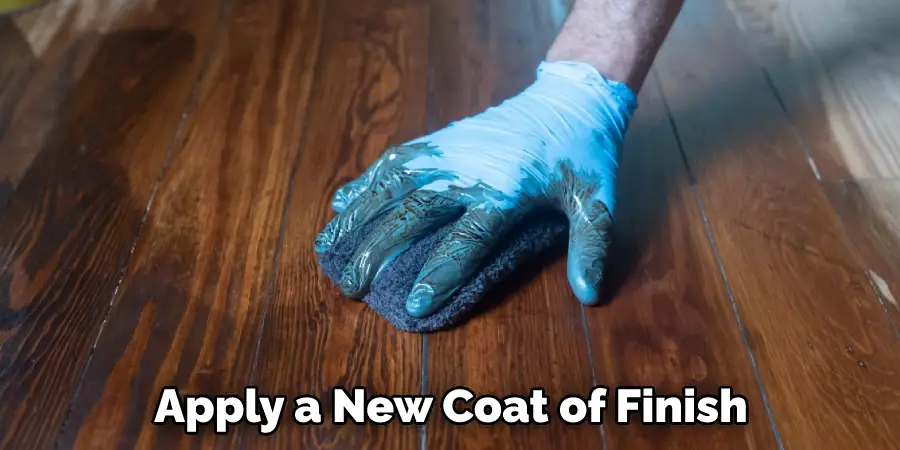
If you already have bubbles in your engineered hardwood floor, you can try to repair them yourself. Start by sanding down the area around the bubble to create a smooth surface. Then, use a floor patching compound to fill in the hole. You can find these products at your local hardware store. Once the patching compound is dry, sand it down and apply a new coat of finish.
If you have severe damage or cannot fix the problem yourself, you may need to call a professional. A flooring contractor can sand down the entire floor and apply a new finish. This will cost more than fixing the problem, but it will give you a new start.
What Causes Bubbles in Engineered Hardwood Floors?
Bubbles in engineered hardwood floors are caused by moisture. When the wood gets wet, it expands and causes bubbles to form. The most common cause of moisture is spills or leaky appliances. Other causes can include high humidity, pet urine, or even just wet mopping.
How Much Does It Cost to Repair Bubbles in Engineered Hardwood Floors?
The cost to repair bubbles in engineered hardwood floors will vary depending on the issue’s severity and the affected area’s size. Minor bubbles can usually be repaired relatively easily and inexpensively, while more severe damage may require professional help. In most cases, repairing Bubbles in Engineered Hardwood Flooring is a fairly straightforward process that should not take more than a few hours.
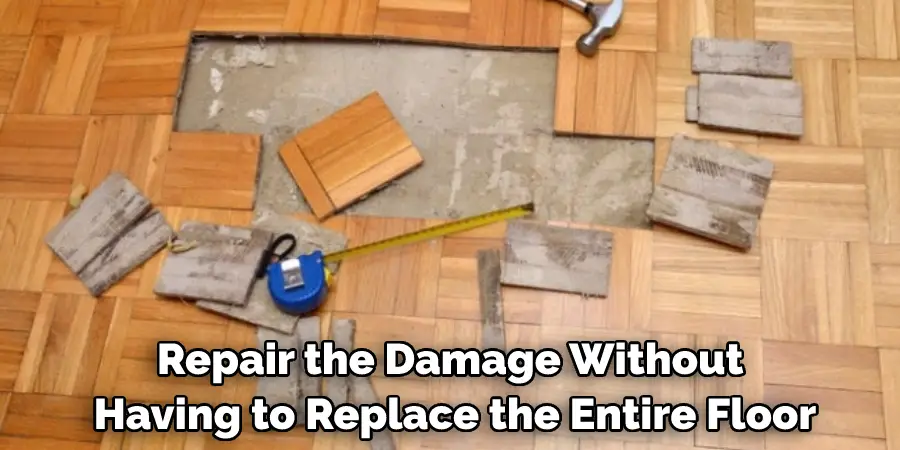
For more severe damage, it is best to consult with a professional. They can assess the damage and determine the best course of action. In some cases, they may be able to repair the damage without having to replace the entire floor.
how to prevent overhanging toes in open-toed shoes
Conclusion
Engineered hardwood floors are a beautiful and durable option for your home. Unfortunately, they can be susceptible to problems like bubbles. Bubbles occur when water gets trapped between the flooring layers, causing the top layer to lift up. If you’re dealing with this issue, don’t panic! There are a few simple steps you can take to fix the problem. First, try to identify the source of the water leak and repair it. Next, use a sharp knife to puncture the bubble and release the trapped air.
Finally, apply a small amount of glue to the area and press the edges of the bubble down. I hope this article has been beneficial for learning how to fix bubbles in engineered hardwood floor. Make sure the precautionary measures are followed chronologically.

