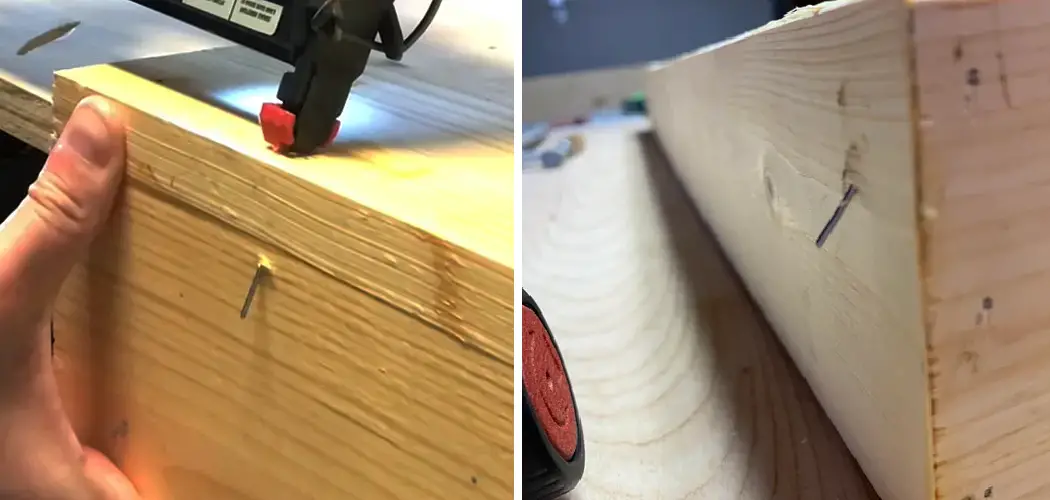
Do you have a piece of furniture or a home DIY project that has been ruined by Brad nails sticking out? If so, you know how annoying it can be trying to figure out the best way to fix them. It’s time consuming and often difficult to guess the right approach.
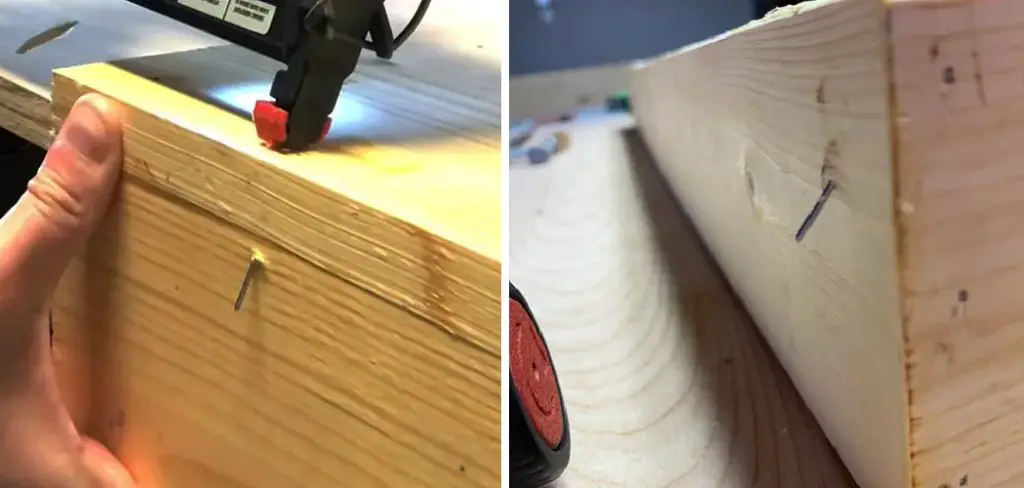
We have some tips and tricks for how to get your furniture back in shape quickly and easily without ruining the piece even further. Read on for our top strategies for repairing protruding brads; this is sure to save you time, stress, and money!
While this might seem like a small issue, if left unchecked, it could have disastrous consequences for the future of your project–not to mention the potential safety hazard posed by nails sticking up from any surface!
Thankfully, there are ways for you to fix these problematic protruding brad nails so that your work looks great and is completely safe. In this blog post, we will discuss how to fix brad nails sticking out. Read on to discover simple tips and tricks for resolving this common issue!
What Causes Brad Nails Sticking Out?
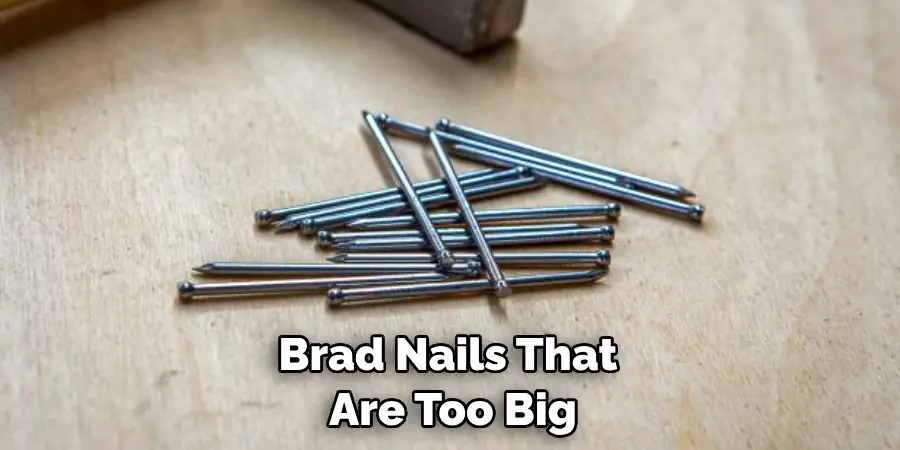
1 . Incorrect Nail Size
Brad nails that are too big may not fit snugly into the wood, resulting in them sticking out. Make sure you use a nail size that is appropriate for the job. Also, consider the type of wood being used, as some types of wood may require a different nail size.
2 . Using Excessive Force
Driving in brad nails with too much force can cause them to protrude through the wood. Make sure you use just enough force to ensure that the nail is driven in completely without going through the wood.
3 . Improper Hammering Technique
To ensure that your brad nails are being driven in straight, it is important to use proper hammering techniques. Make sure when you are hammering the nail in that you do so at a 90-degree angle and avoid hitting the nail with too much force or from an angle.
4 . Unwanted Movement of the Wood
When hammering in brad nails, make sure that you are firmly holding down the piece of wood that is being nailed into. If there is unwanted movement of the wood, then it can cause the brad nail to stick out. It is also recommended that you pre-drill a pilot hole in the wood to reduce the chance of it moving when you are hammering.
How to Fix Brad Nails Sticking Out in 7 Easy Steps
Step 1: Gather All The Tools
The very first step is to gather all the necessary tools for fixing the nail. This would include a hammer, some sandpaper or an electric sander, and wood filler. If you don’t have wood filler, you could even use sawdust mixed with glue as a substitute.
Step 2: Remove The Nail
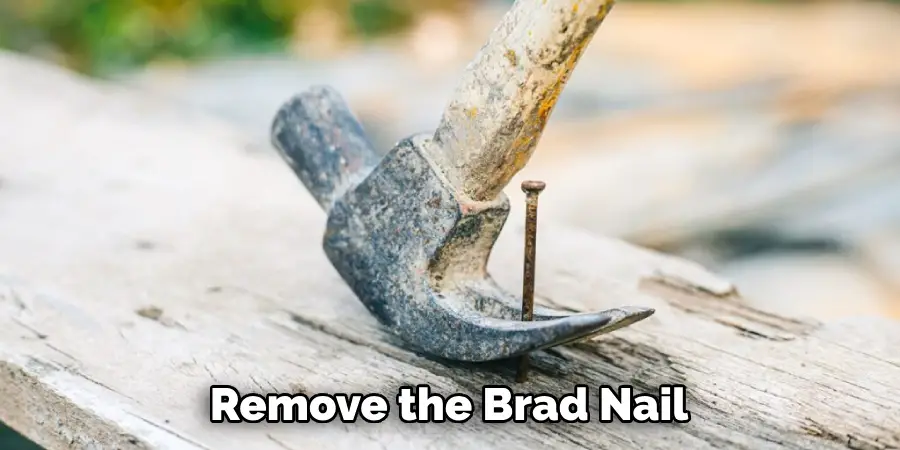
After gathering all the tools needed, the next step is to remove the brad nail. To do this, use a hammer and tap it on the head of the nail gently. This should be done in a manner so that it won’t damage the surrounding wood surface.
Step 3: Sand The Surrounding Area
Once you have removed the nail, use sandpaper or an electric sander to sand the surrounding area. This will make sure that there are no sharp edges left behind and the surface is smooth for the wood filler.
Step 4: Apply Wood Filler
Once you have finished sanding, it’s time to apply some wood filler. You can use either a putty knife or a butter knife to apply the wood filler. Make sure that you fill the hole completely and let it dry for at least eight hours.
Step 5: Sand The Wood Filler
After the wood filler has dried, use sandpaper or an electric sander to sand down the area until it is smooth. Make sure that you don’t overdo it as the wood filler should not be too thin.
Step 6: Stain The Area
Once you have finished sanding, you can stain the area with a matching color. This will make sure that the patch looks like part of the original material and it won’t stand out too much.
Step 7: Seal The Area
The final step is to seal the area so that it is protected from moisture. This will help ensure that the repaired area remains intact for a long time. Use either shellac or polyurethane to seal the area, depending on your preference.
With these seven steps, you’ll be able to repair the area quickly and easily. Just remember to take your time and make sure that everything is done properly. Good luck!
Some Extra Tips to Fix Brad Nails Sticking Out
1 . Sanding the Nail Head
Sand down the brad nail head with multi-grit sandpaper. This will help to flatten out any uneven dents in the surface and make it look smoother. You can also use a rotary tool with an appropriate grinding bit for this task.
2 . Filling and Priming the Area
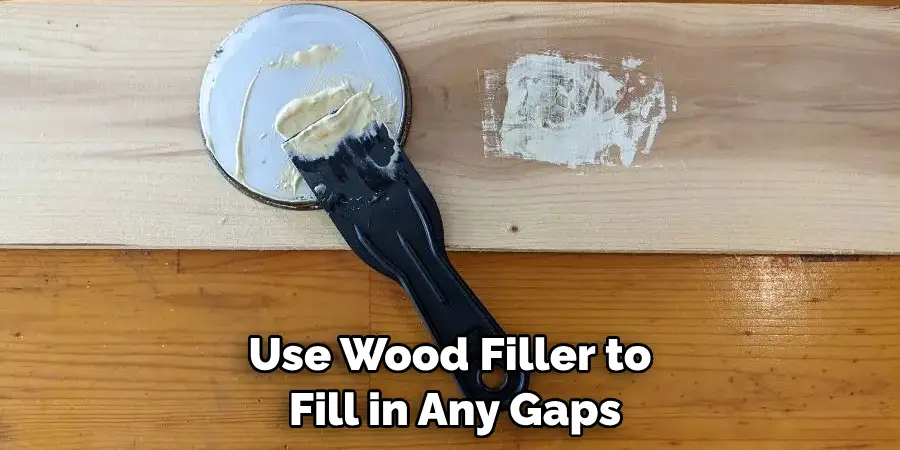
Use wood filler to fill in any gaps and cover the nail head. Sand down the area once again with sandpaper or a rotary tool to smooth out any rough edges and create a seamless surface. Then, apply primer before painting or staining for best results.
3 . Painting/Staining
Once you have primed and filled the area, you can apply paint or stain of your choice. When applying the paint or stain, make sure to cover the entire area and avoid any clumping – this will ensure an even finish.
4 . Sealing the Area
Finally, seal the area with a clear coat such as polyurethane or varnish. This will help to protect the area from moisture and wear and tear. Also, make sure to apply the sealant with even strokes and avoid going over it too many times.
5 . Ensuring Proper Nail Size
One of the most important things to do when fixing brad nails sticking out is to make sure you are using the correct nail size. If it’s too big, it may not fit snugly into the wood and this can cause them to stick out. Also, consider the type of wood you are using as some types may require a different size nail.
With these tips, you should be able to easily fix any brad nails that are sticking out. Make sure to take your time and always use the appropriate tools for each task so that it’s done correctly. Good luck!
Frequently Asked Questions
What Precautions Should Be Taken Before Fixing Brad Nails Sticking Out?
When tackling the task of fixing brad nails sticking out, it’s important to remember to take some precautions. Always wear goggles or safety glasses and a dust mask as you will be dealing with sawdust and other debris when hammering in your brads.
It’s also important to make sure that the area is well-ventilated as you will be using a hammer and power tools. Finally, make sure to unplug any power tools if they are not in use to avoid electric shock.
What Tools Will I Need to Fix Brad Nails Sticking Out?
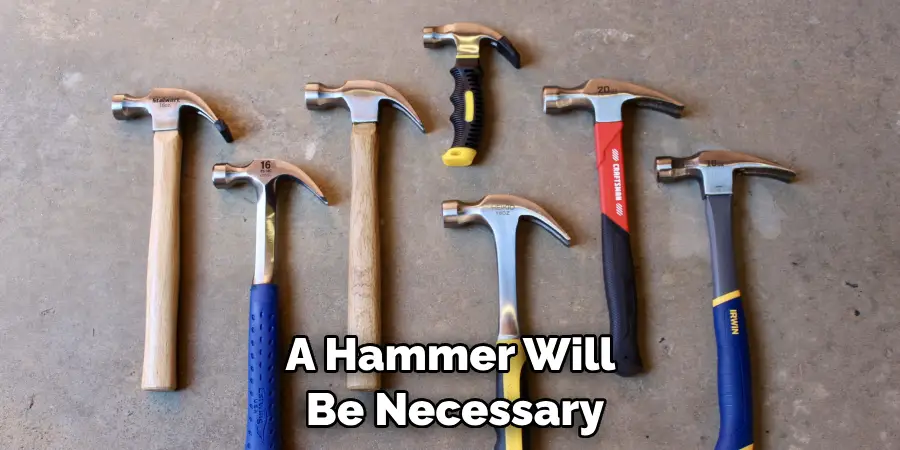
In order to properly fix brad nails sticking out, you will need a few tools. A hammer will be necessary for driving in the brads and a small saw or file will come in handy should you need to shorten them. You may also want to use an electric drill with a countersink bit to make sure the nail heads are flush with the surface. Finally, some sandpaper may be needed if you need to smooth out any rough edges after filing.
What Steps Do I Need to Take in Order to Fix Brad Nails Sticking Out?
The first step you will need to take when attempting to fix brad nails sticking out is to use a hammer and an extra brad nail to drive the existing nail further into the material. Once you have done this, the next step is to shorten any nails that may still be sticking out above the surface.
This can be done with a saw or file and then sanded down until they are flush with the material. Finally, use an electric drill and countersink bit to make sure the nail heads are flush with the surface. Once your brad nails are fixed, you can finish with sandpaper or other materials of your choice for a finished look.
What Should I Do If My Brad Nails Keep Sticking Out?
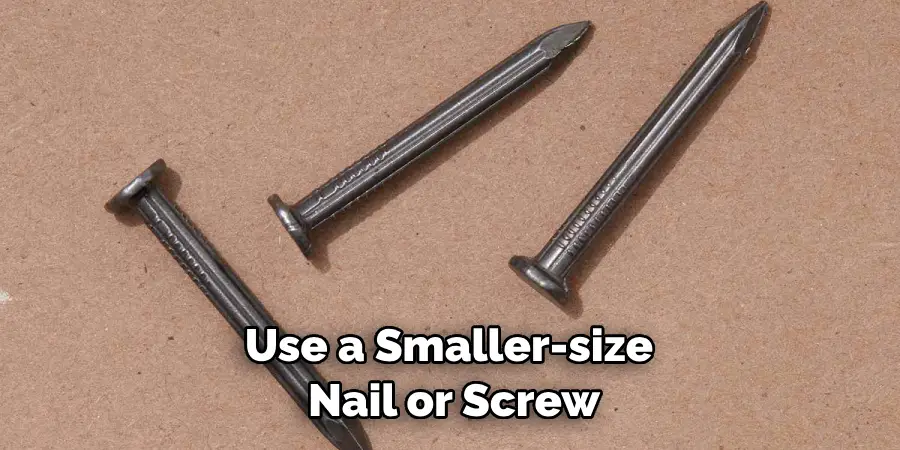
If after following the steps above your brad nails still keep sticking out, it may be necessary to use a smaller-size nail or screw. Make sure the size of your brad nails is appropriate for the material you are working with and if they are too big, switch to a smaller size. This should reduce the amount of sticking out after hammering them in. If this doesn’t work, consider using glue or another fastening material instead of the brad nails.
Are There Any Other Tips for Fixing Brad Nails Sticking Out?
One other useful tip for fixing brad nails sticking out is to always use a nail set when hammering the nails in. This will help ensure that the nail heads are properly driven into the material and won’t pop back up after you have finished.
Additionally, it may help to use a nail punch to create a pilot hole for the brad nails if you are hammering them into hardwood or another dense material. This should make it easier for the brad nails to go in and not come back out again.
Conclusion
Fixing brad nails sticking out is a simple DIY task. It’s not too difficult to correct the issue; all you need are a few basic supplies and your own elbow grease. Proper nail selection for the job is important, as well as ensuring you use the right type of nails that will do the job well while limiting damage to surrounding surfaces.
Now you know how to fix brad nails sticking out! With proper preparation, preventative measures and diligent work, you can have brad nails back in the woodwork in no time. So next time you come across this common problem, don’t fret – instead follow these steps and you can restore those protruding nails for a seamless finish.
And if DIY just isn’t your thing, don’t hesitate to consult a professional who specializes in carpentry and woodworking. At either rate, you’ll be on your way to restoring that smooth, sleek surface free from protruding brad nails!

